Users Manual
www
?
1
ENGLISH
P/N: 109948
NEED HELP?
As we are often updating and improving our products, your device’s software may have
a slightly different appearance or modified functionality than presented in this Quick Start Guide.
On our Website: See the Frequently Asked Questions section on http://arnovatech.com/faq
Contact our Technical Support Team:Visit http://arnovatech.com/support for e-mail support.
Please register your product before contacting Technical Support (see
Register your Product
).
REGISTER YOUR PRODUCT!
Thank you for choosing this ARNOVA product. We hope that you will enjoy using it and that it will give you satisfaction for many
years to come. Once you unpack your ARNOVA product, we recommend that you take a few minutes to register it
(http://arnovatech.com/register). This will allow you to get access to ARNOVA technical support (http://arnovatech.com/support).
ÄOn the web at http://arnovatech.com/register
2
???
7
8
9
12 11
13
1
4
23
5
10
6
ENGLISH
DESCRIPTION OF THE DEVICE
1
2
3
4
5
6
7
8
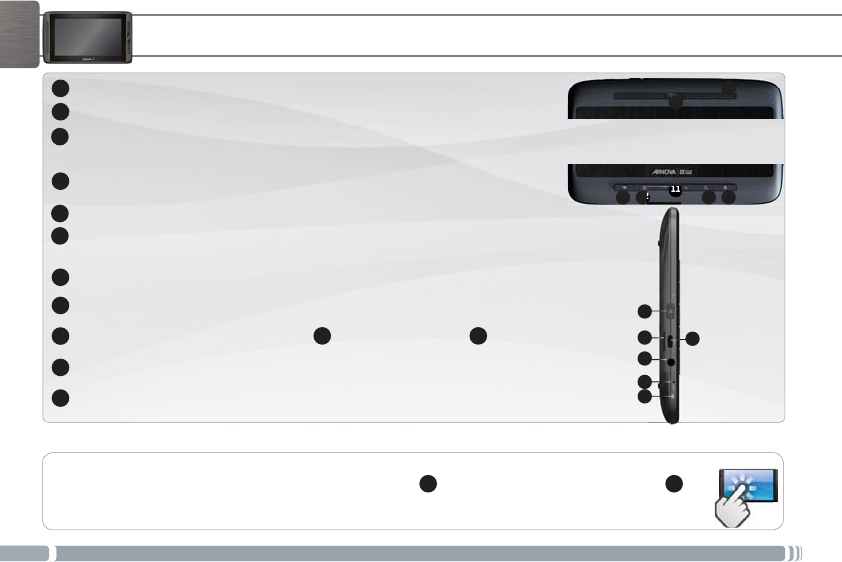
On/Off button:enables to turn on or turn off the device.
Micro-SD card slot
Micro-USB port: to charge the battery of your ARNOVA - to connect your ARNOVA
to your computer, using the included USB cable (to transfer files)
Headphone jack
Hardware Reset
Charging indicator: Red light: battery charging /
Green: battery charged.
Camera
Loudspeakers
Home - return to the Home screen. Search Volume buttons
Menu - gives menu options according to the current screen.
Back-returns to the previous screen
13
12
1110
9
IMPORTANT:
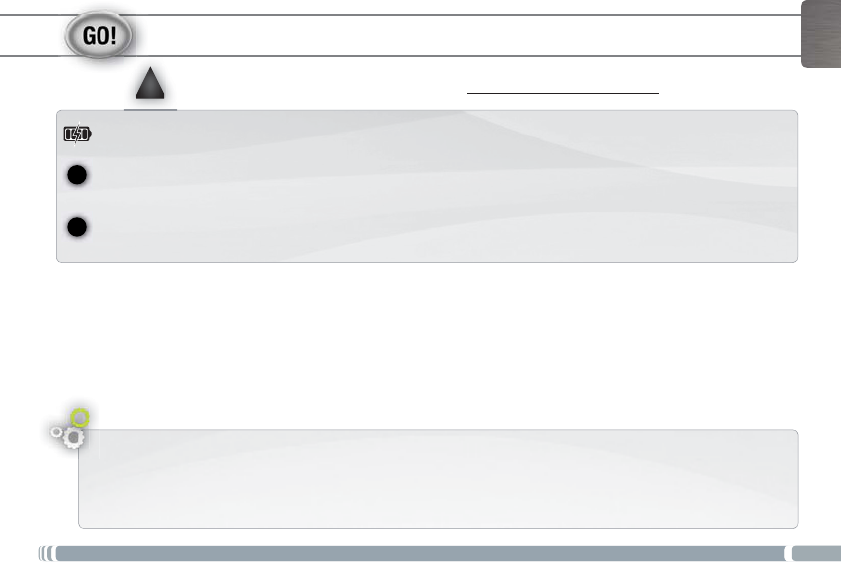
Your device is frozen.You can turn it off. Press the ON/OFF button 1 for 10 seconds or press the reset button 5.
3
ʆ
!
ENGLISH
STARTING UP
Installation Wizard
The first time you start up your ARNOVA, the installation wizard will bring you through a few screens to help you set up
the principal settings: Language, country, time, etc.
$GHQTGWUKPI[QWT#4018#HQTVJGÒTUVVKOGcompletely charge the battery!
Charging the Battery
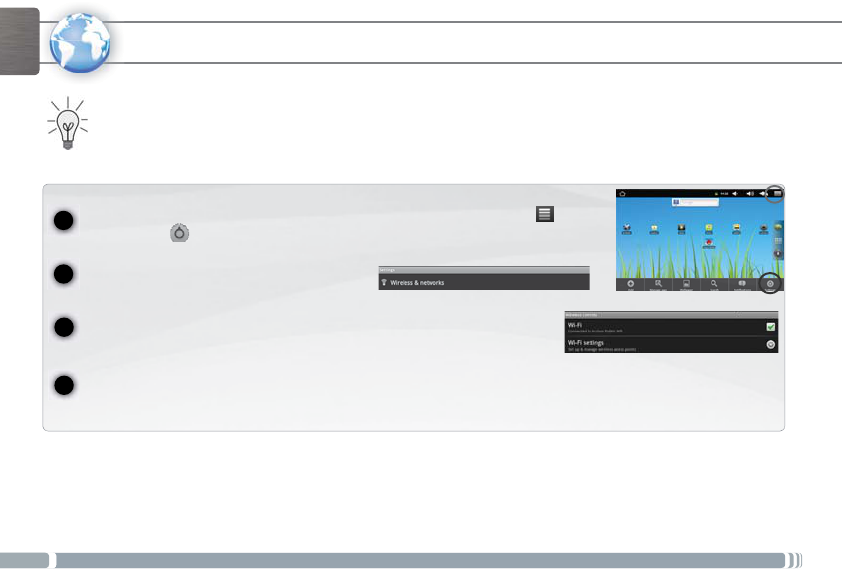
Connect the supplied power cable to the ARNOVA and to a wall outlet.
The ARNOVA device will turn on and start charging. The Power indicator light is red while the battery is charging. It will turn
green when the battery is fully charged.
1
2
4
1
2
3
4
www
ENGLISH
CONNECTING TO THE WIFI NETWORK
For this procedure to work, you need to be in a WiFi zone that will allow you to connect to it. Every time the ARNOVA is
in range of a network that you have already configured once, it will attempt to make a connection.
* For free access WiFi points, there is no need to enter any special information. For secured networks, you will need either a key (a series of numbers and/or letters)
of the type WEP, WPA, or WPA2. To obtain the exact connection parameters required, contact the Internet service provider.
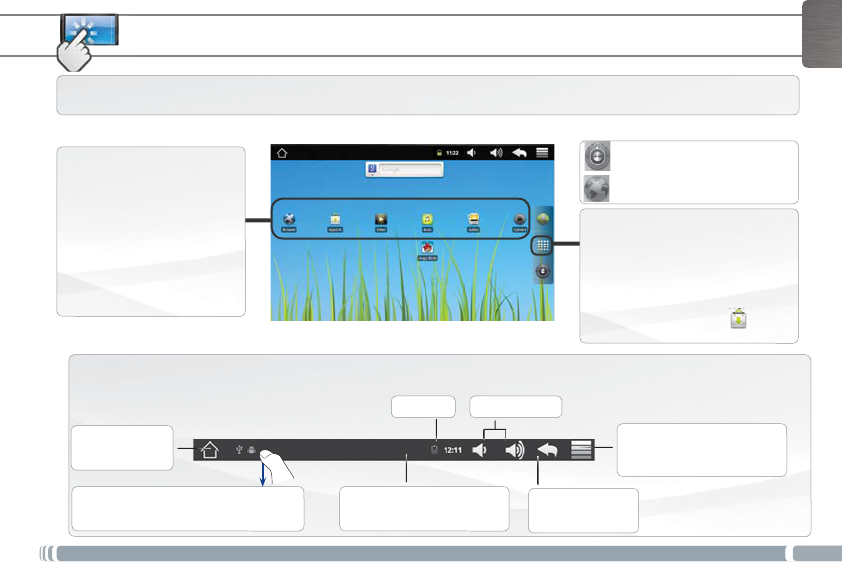
To configure a new WiFi network, go on the Home screen, tap on the Menu icon , then
select Settings .
In the Settings screen, select Wireless & networks.
If the WiFi is off, tap on the Wi-Fi line to turn it on. Then select Wi-Fi settings. The ARNOVA
will scan for available WiFi networks and display them at the bottom of the screen.
Tap on the network you want to connect to, enter the required network information* and then tap on Connect.
Your ARNOVA will establish a connection to that WiFi hot spot.
5
ź
ź ź
ź
źź
ENGLISH
THE ARNOVA INTERFACE
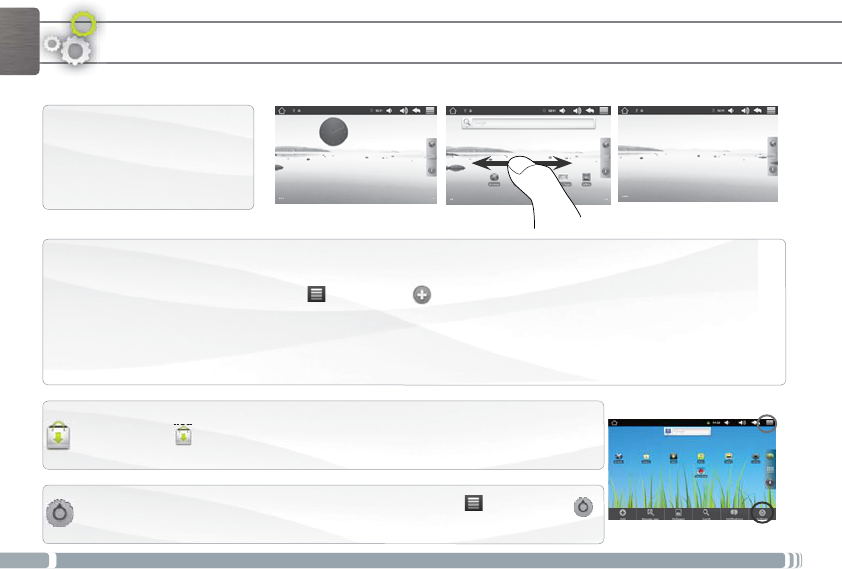
Top bar of the Interface (varies according to the screen you are in)
Return to the
Home screen
Return to the
previous screen
Menu: gives menu options ac-
cording to the current screen.
Your ARNOVA device is equipped with a capacitive touchscreen. Use your finger pulp to navigate.
Status icons: (WiFi connection
status, battery level, etc.)
Notification icons: drag the top bar downwards
to reveal the notification messages (if any).
These are the default Android™
shortcuts (Web Browser,EMail,
etc.). Tap on an icon to open the
corresponding application. You
can customize the Home screen
by adding/removing shortcuts
and widgets, etc. See next page.
Home Screen
Application button
Tap on this icon to reveal all the An-
droid™ applications installed on your
ARNOVA (games, various tools, etc.).
You can copy them onto the Home
screen. You can get more Android™
applications from AppsLib .
Time Volume -/+
Settings shortcut
Web browser shortcut
6
ENGLISH
Customizing the Home screen items
-To add a Home screen item (shortcuts, widgets, etc.), hold your finger on the screen at an empty location, then choose from
the list. You can also tap on the Menu icon and select Add , at the bottom of the screen.
-To move a Home screen item, hold your finger onto it until it gets larger, then drag it to the desired location, and release
your finger.
-To remove a Home screen item, hold your finger onto it, drag it onto the recycle bin (while you’re holding an item, the
Applications tab, on the right side of the screen, turns into a recycle bin) and release your finger.
CUSTOMIZING YOUR PRODUCT
Changing the Settings: From the Home screen, tap on the Menu icon , tap on Settings
and choose a category: Wireless controls,Sound & display,Date & time, etc.
The extended Home screen
Slide your finger horizontally on
the screen to go to the left or right
side of the extended Home screen.
Adding more applications with APPSLIB : With the ARNOVA connected to the Internet, tap on
the AppsLib icon . This online library of free and purchasable applications has thousands of
fun games and useful applications to download and use.
7
1
2
3
ENGLISH
PLAYING MULTIMEDIA FILES
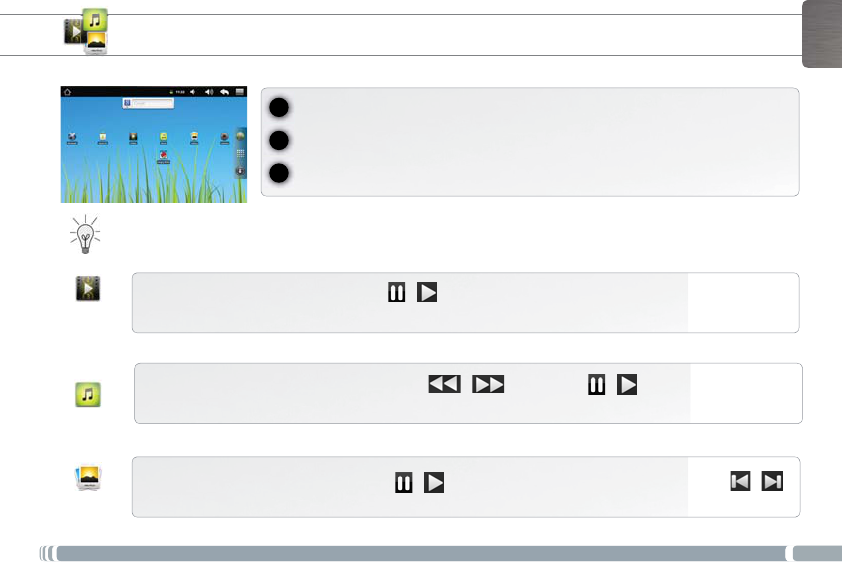
From the Home screen, tap on the video, audio or photo icon.
6JG#4018#YKNNFKURNC[CNKUVQHÒNGUQTHQNFGTUEQTTGURQPFKPIVQVJGUGNGEVGFECVGIQT[
Tap on an item to start playing it.
Only in Video and Photo modes: to display/hide the on-screen controls, tap anywhere on the screen.
To pause or resume a video, tap on the icon / (bottom of screen). To go to any particular point in the video,
slide the progression bar to the desired point.
To play the next or previous song, tap on the icons / . Use the icons / and the progression bar as
in the video player screen (see above).
To start or pause a slide show, tap on the icon
/
. To view the next or previous photo, tap on the icons / .
Video
Music
Photo
8
ENGLISH
TRANSFERRING MEDIA TO YOUR ARNOVA
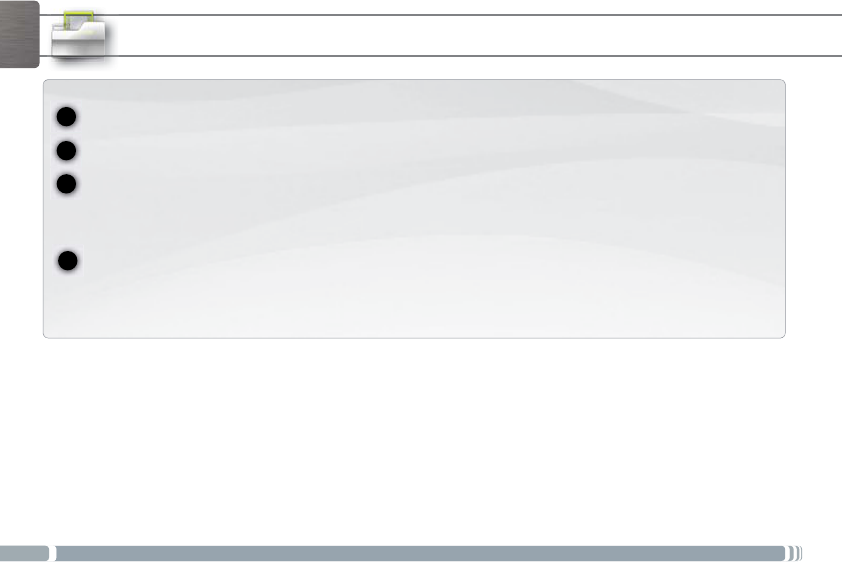
Connect the supplied USB cable to the ARNOVA and to a running computer.
The ARNOVA will turn on. Within a few seconds the ARNOVA will appear as an icon on your computer.
You can transfer your media files to the ARNOVA either by copy/pasting them into the respective folders using Win-
dows® Explorer (or the Finder on a Mac®), or by using Windows Media® Player. Open Windows Media Player® and then
use the Sync tab to synchronize your music, videos, and photos onto your ARNOVA. See Windows Media Player®’s Help
to learn more about this.
Once all your file transfers are finished, close Windows® Explorer and any other program that may have read or written to
the ARNOVA. Click on the ‘safely remove’ icon in the system tray, next to the clock. You can now unplug the USB cable.
2
3
4
1

49
National restrictions
7KLVGHYLFHLVLQWHQGHGIRUKRPHDQGRI¿FHXVHLQDOO(8FRXQWULHVDQGRWKHUFRXQWULHVIROORZLQJWKH(8GLUHFWLYH(&ZLWKRXW
DQ\OLPLWDWLRQH[FHSWIRUWKHFRXQWULHVPHQWLRQHGEHORZ
Country Restriction Reason/remark
Bulgaria None General authorization required for outdoor
use and public service
France Outdoor use lim-
ited to 10 mW e.i.r.p.
within the band
2454-2483.5 MHz
Military Radiolocation use. Refarming of the
2.4 GHz band has been ongoing in recent
years to allow current relaxed regulation. Full
implementation planned 2012
Italy None If used outside of own premises, general
authorization is required.
Luxembourg None General authorization required for network
and service supply (not for spectrum)
Norway Implemented This subsection does not apply for the geo-
graphical aera within a radius of 20 km from
the centre of Ny-Alesund
Russian Federation None Only for indoor applications
Note: Frequency 2454-2483.5MHZ are restricted to indoor use in France.
Consult the DECLARATION OF CONFORMITY on http://www.arnovatech.com/products/declaration_conformity.html
