Ascalade Technologies B187R26H 1.9GHz DECT USB/POTS TELEPHONE-HANDSET User Manual VOIP 321 USA 3111 285 29xxx
Ascalade Technologies, Inc. 1.9GHz DECT USB/POTS TELEPHONE-HANDSET VOIP 321 USA 3111 285 29xxx
Contents
- 1. USERS MANUAL 1
- 2. USERS MANUAL 2
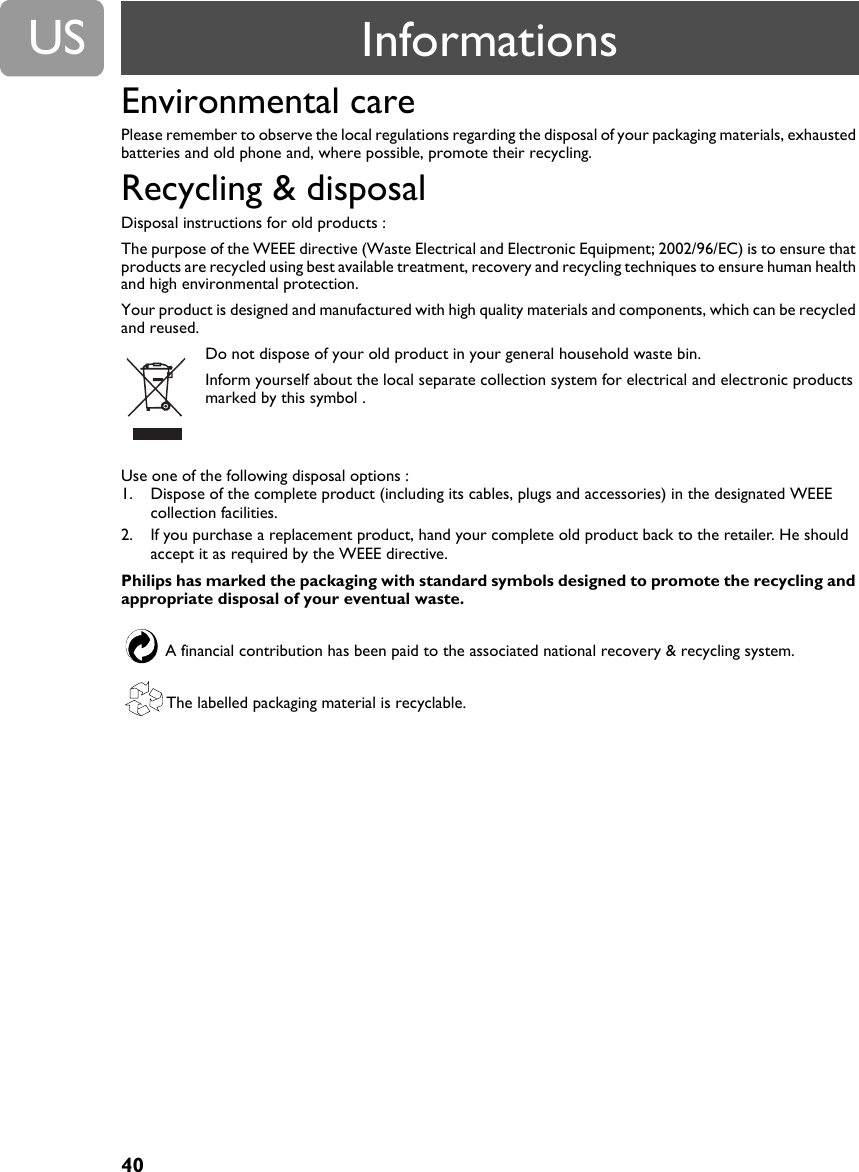
USERS MANUAL 1