Ascalade Technologies UB19R51H 1.9GHZ USB PHONE- HANDSET User Manual VOIP251 IFU US EN
Ascalade Technologies, Inc. 1.9GHZ USB PHONE- HANDSET VOIP251 IFU US EN
UserManual.wiki
>
Ascalade Technologies
>
UB19R51H User Manual
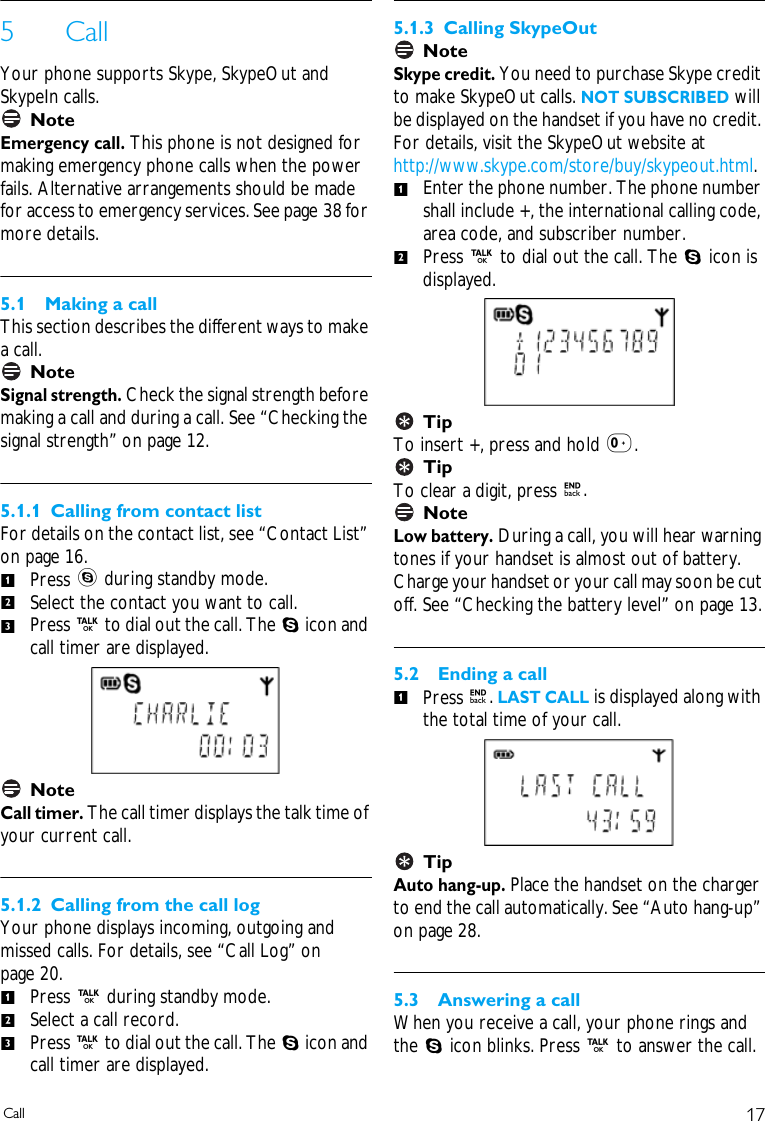
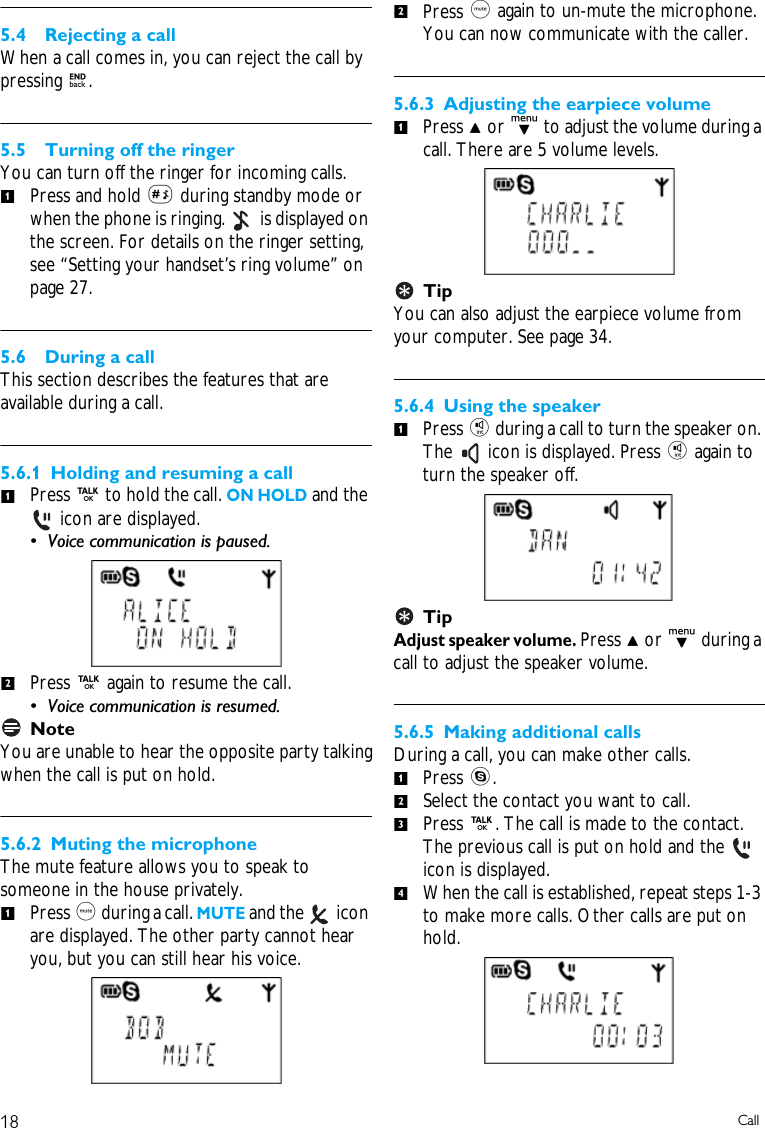
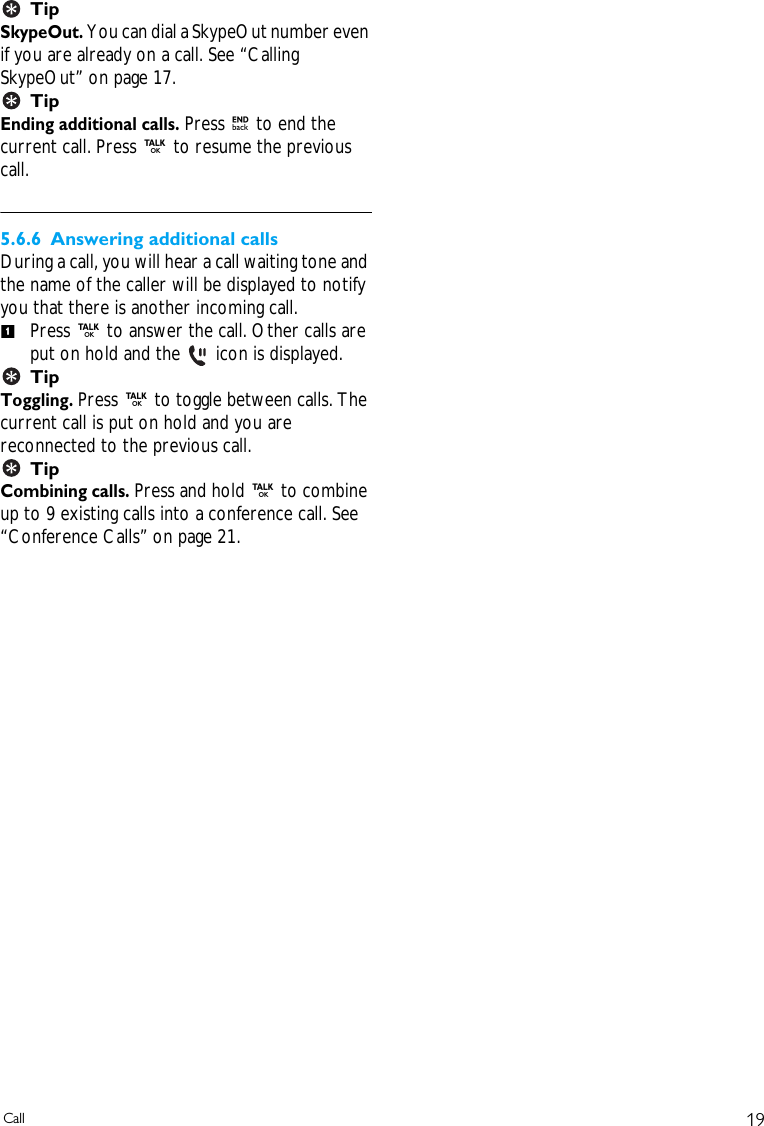
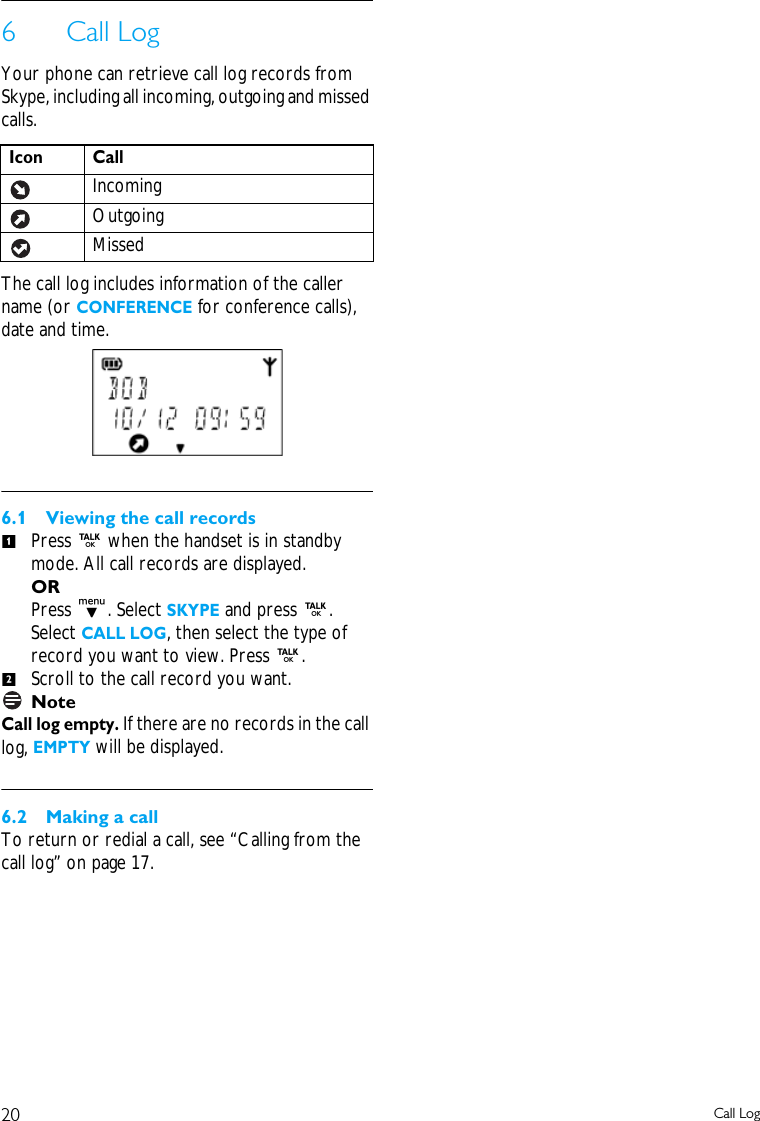
USERS MANUAL
Navigation menu
Upload a User Manual
Namespaces
Wiki Guide
HTML
PDF
Info
Views
User Manual
Discussion / Help
Navigation