Asian Express PL1440T Cloud Rider Drone with air pressure sensor User Manual Propel CloudRider IM 2016 HD
Asian Express Holdings Limited Cloud Rider Drone with air pressure sensor Propel CloudRider IM 2016 HD
Contents
- 1. User manual
- 2. User Manual
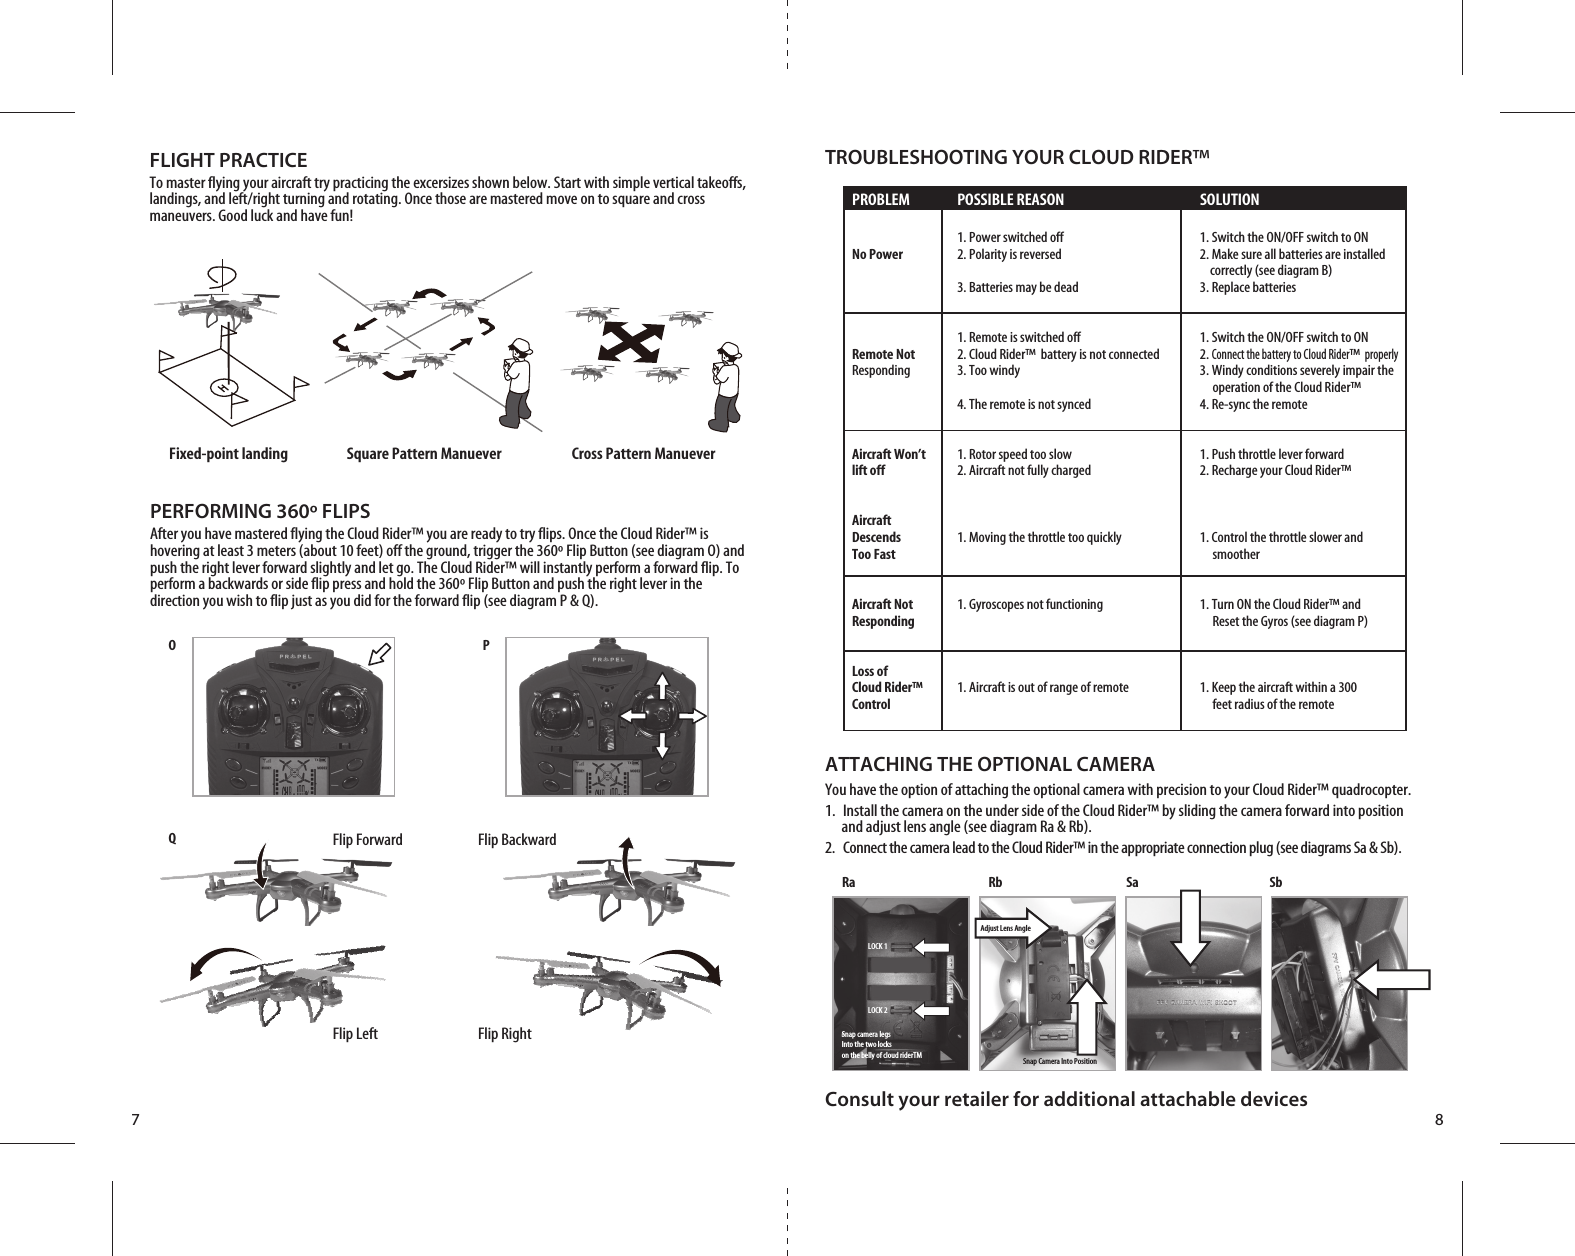
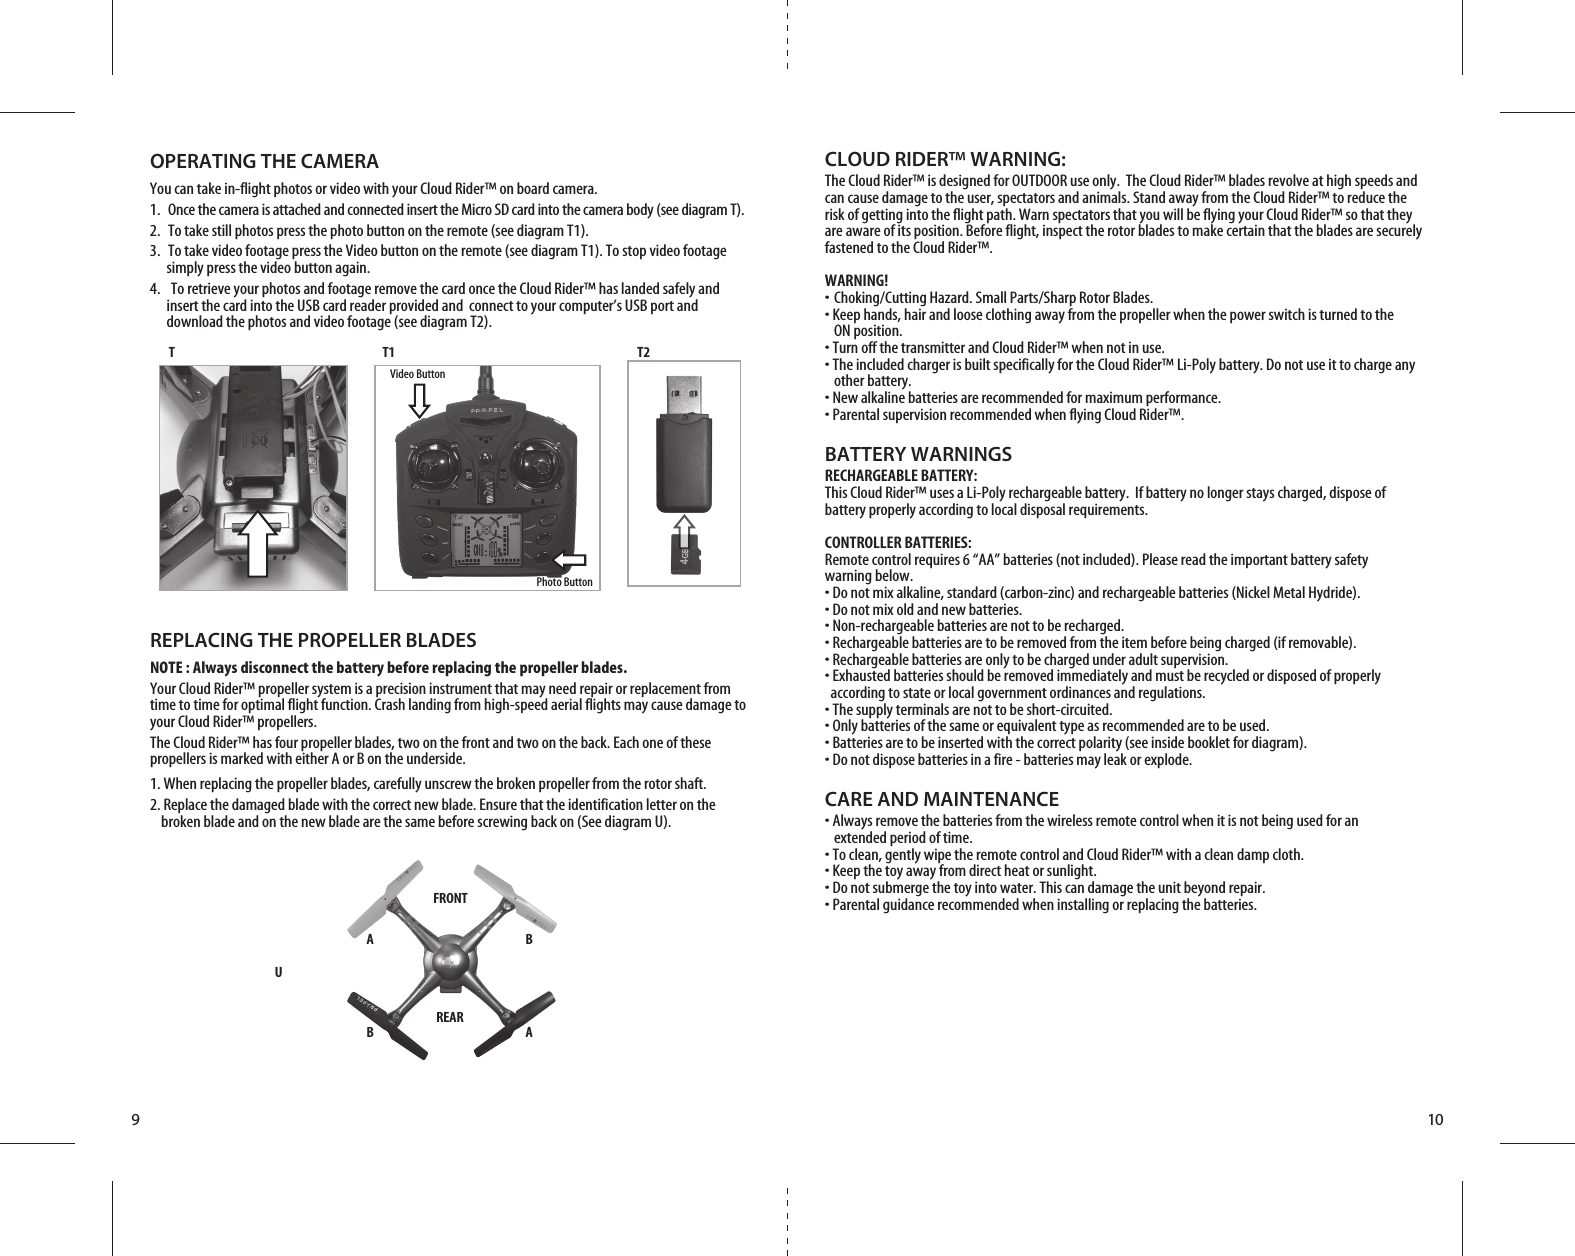
User manual