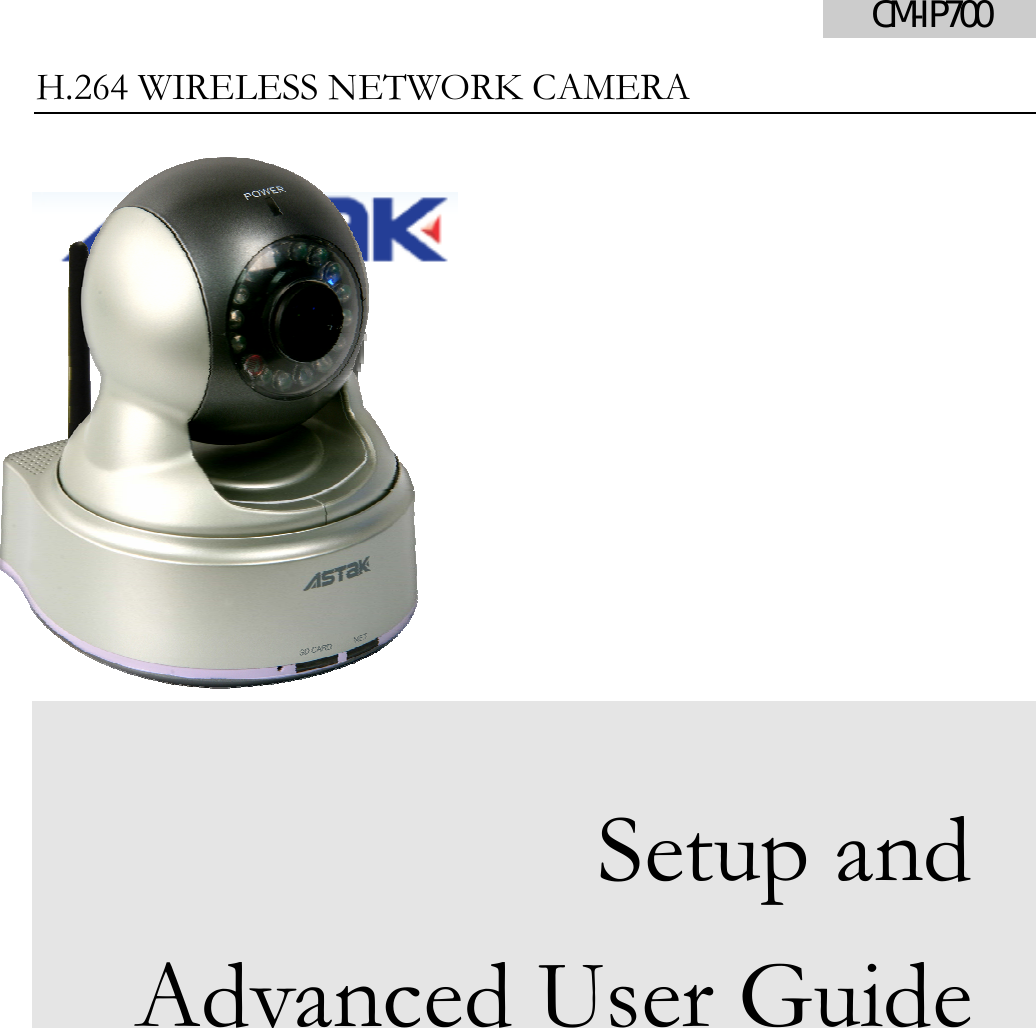
Astak CM-IP700 WIRELESS NETWORK CAMERA User Manual CM IP700 user s manual
Astak, Inc. WIRELESS NETWORK CAMERA CM IP700 user s manual
UserManual.wiki
>
Astak
>
CM IP700 User Manual
Users Manual
Navigation menu
Upload a User Manual
Namespaces
Wiki Guide
HTML
PDF
Info
Views
User Manual
Discussion / Help
Navigation


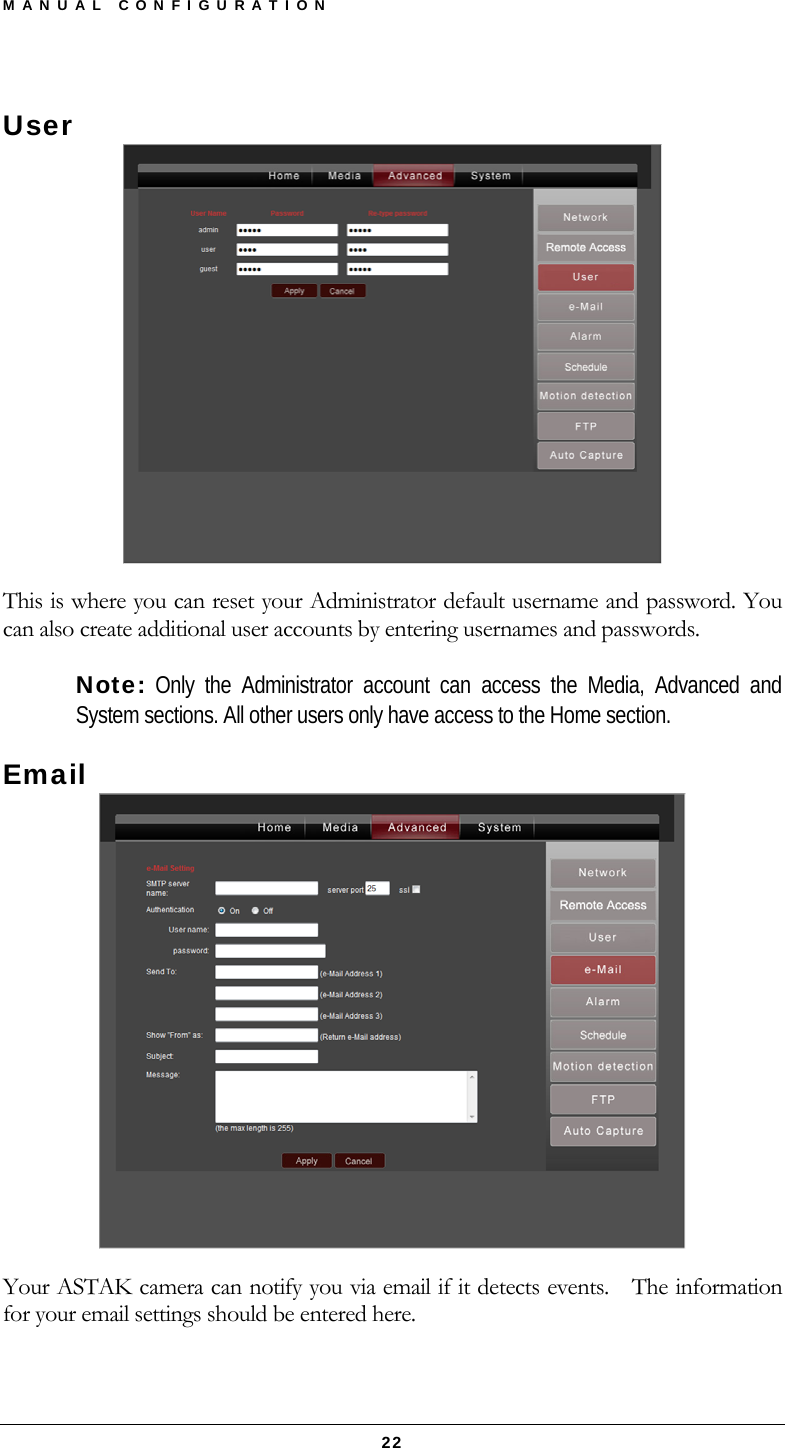
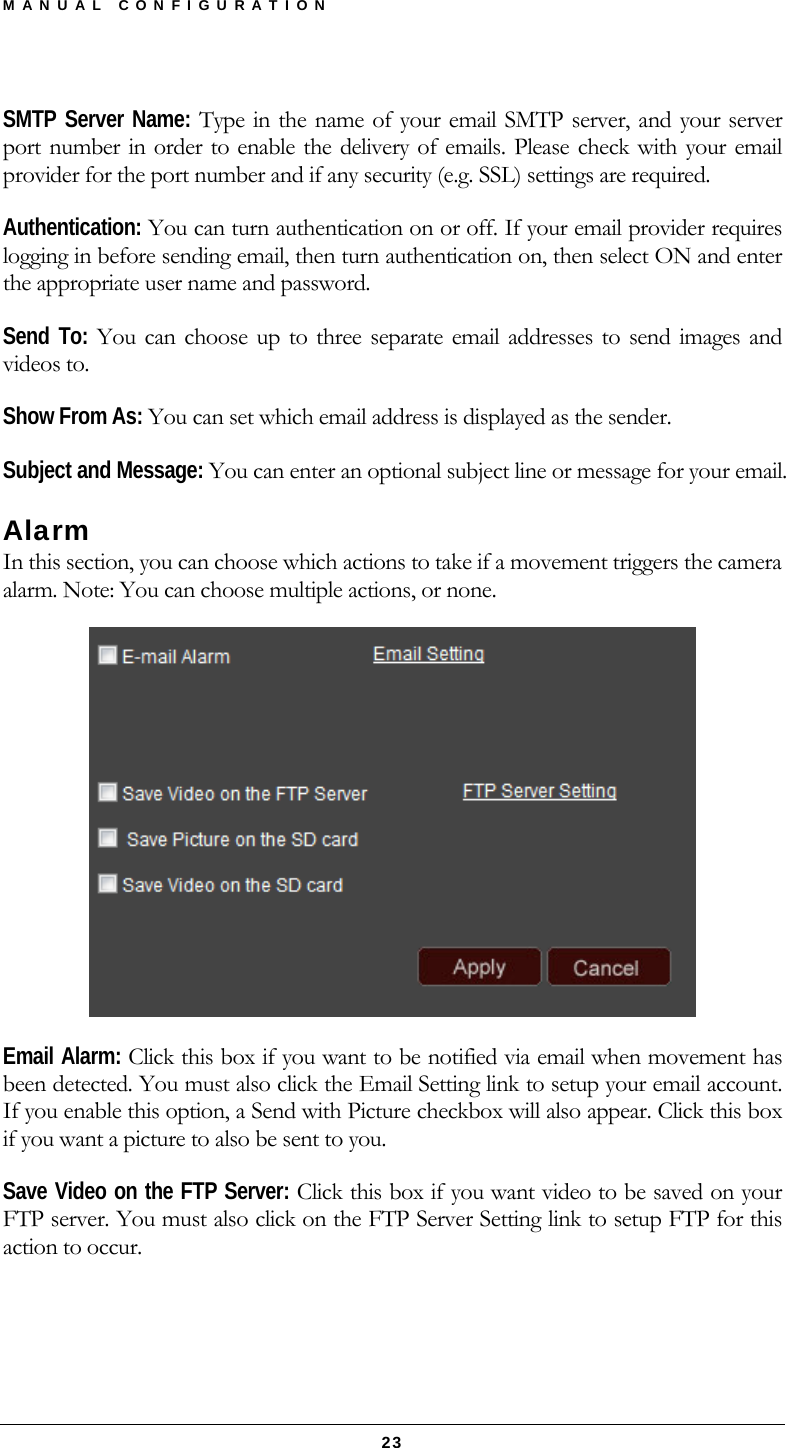
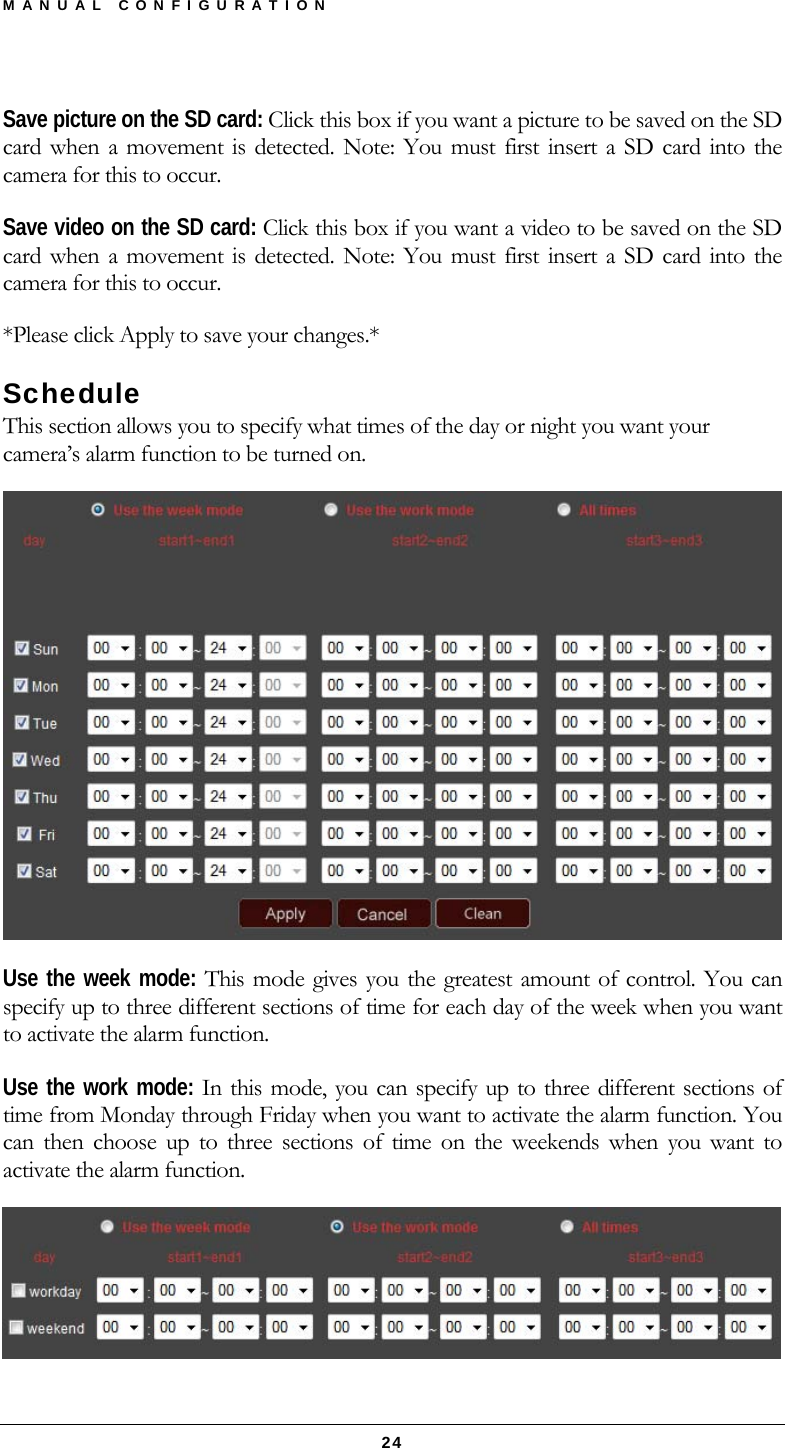
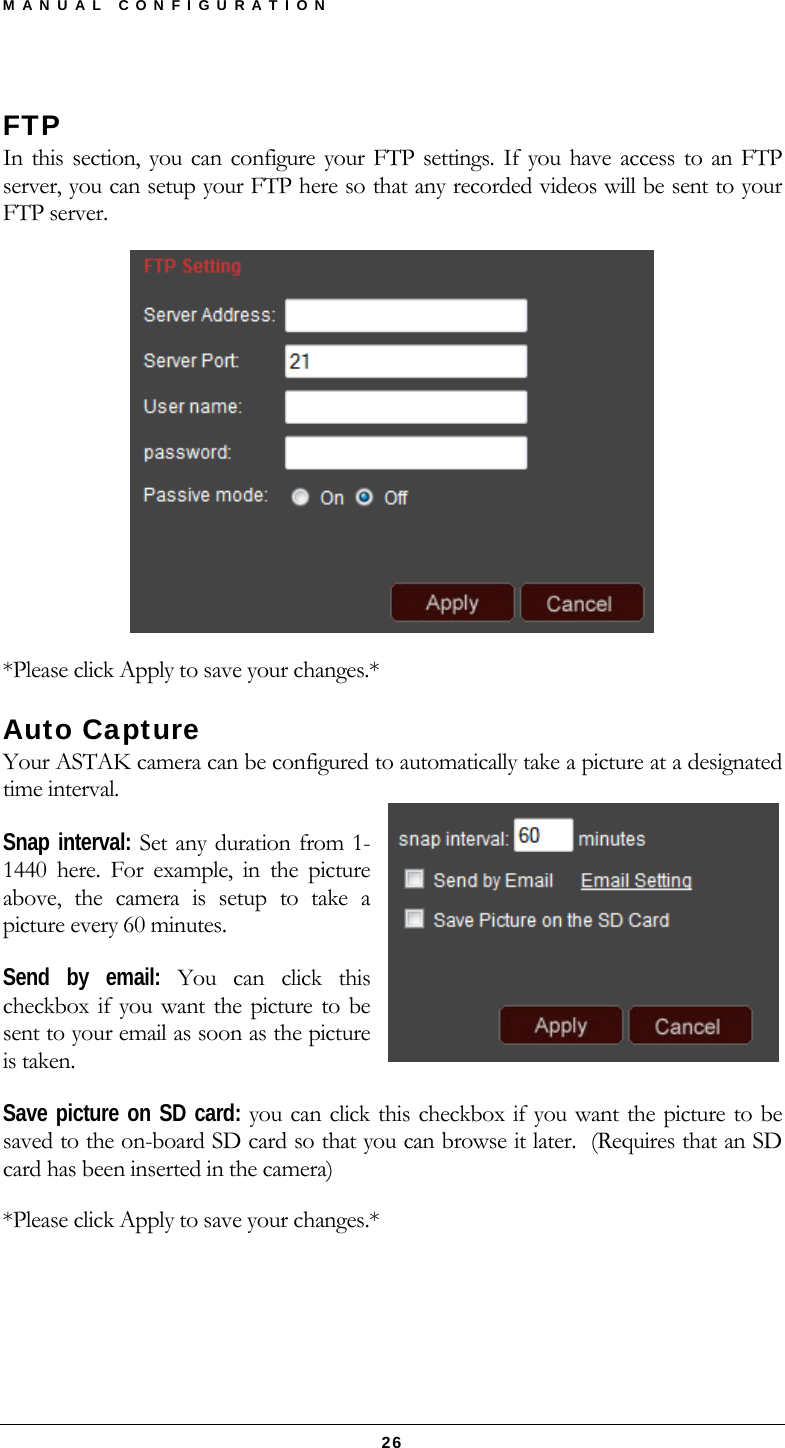
![MANUAL CONFIGURATION 21 DDNS Settings Most internet service providers do not provide a static (dedicated) IP address. Accordingly it can be difficult to remote access your camera. Dynamic DNS (DDNS) is a free service that keeps track of your IP address, through these changes. These instructions detail how to configure DDNS for your camera. Note: DDNS is NOT required if you are using Yoics to remote access your camera. How to use www.dyndns.com for DDNS setting: o This service is free. Please allow 24-48 hours for the server to activate your account. o Please go to http://www.dyndns.com/ and click on [create account]. o Enter information required at Create Your DynDNS Account page and click [create account] o You should receive a confirmation email within a few minutes. Please make sure that your spam filter allows messages from support@dyndns.com to be received. o Login to your account by using the username and password you created. o Click on [my service] on the upper right corner. o Click [add host name] under Host Services. o Create your own host name such as xxx.dyndns.org o Select Service type: Host with IP address. o Click [Use auto-detected IP address] and click [create host] o Review your host service information. o Go to your DVR or IP cam’s webpage and select DDNS setting. o Enter hostname, username, and password you created for DynDNS service.. o Click [save] to enable this service for your DVR or IP cam. o Note that after you create an account, DynDNS might need 24-48 hours to process and activate your service. o To access your DVR or IP cam, instead of using your IP address, please go to your host service: http://xxx.dyndns.org:100 (replace xxx with your host name, and replace 100 with your port number) o If you have questions about this service please contact DynDNS at Dynamic Network Services, Inc. 1230 Elm Street, Fifth Floor Manchester, NH 03101 USA support@dyndns.com Phone: +1-603-668-4998 Fax: +1-603-668-6474](https://usermanual.wiki/Astak/CM-IP700/User-Guide-1090859-Page-25.png)