Audio Technica R700 RECEIVER User Manual 700 Series Manual v2 Draft
Audio-Technica Corporation RECEIVER 700 Series Manual v2 Draft
UserManual.wiki
>
Audio Technica
>
R700 User Manual
USERS MANUAL
Navigation menu
Upload a User Manual
Namespaces
Wiki Guide
HTML
PDF
Info
Views
User Manual
Discussion / Help
Navigation
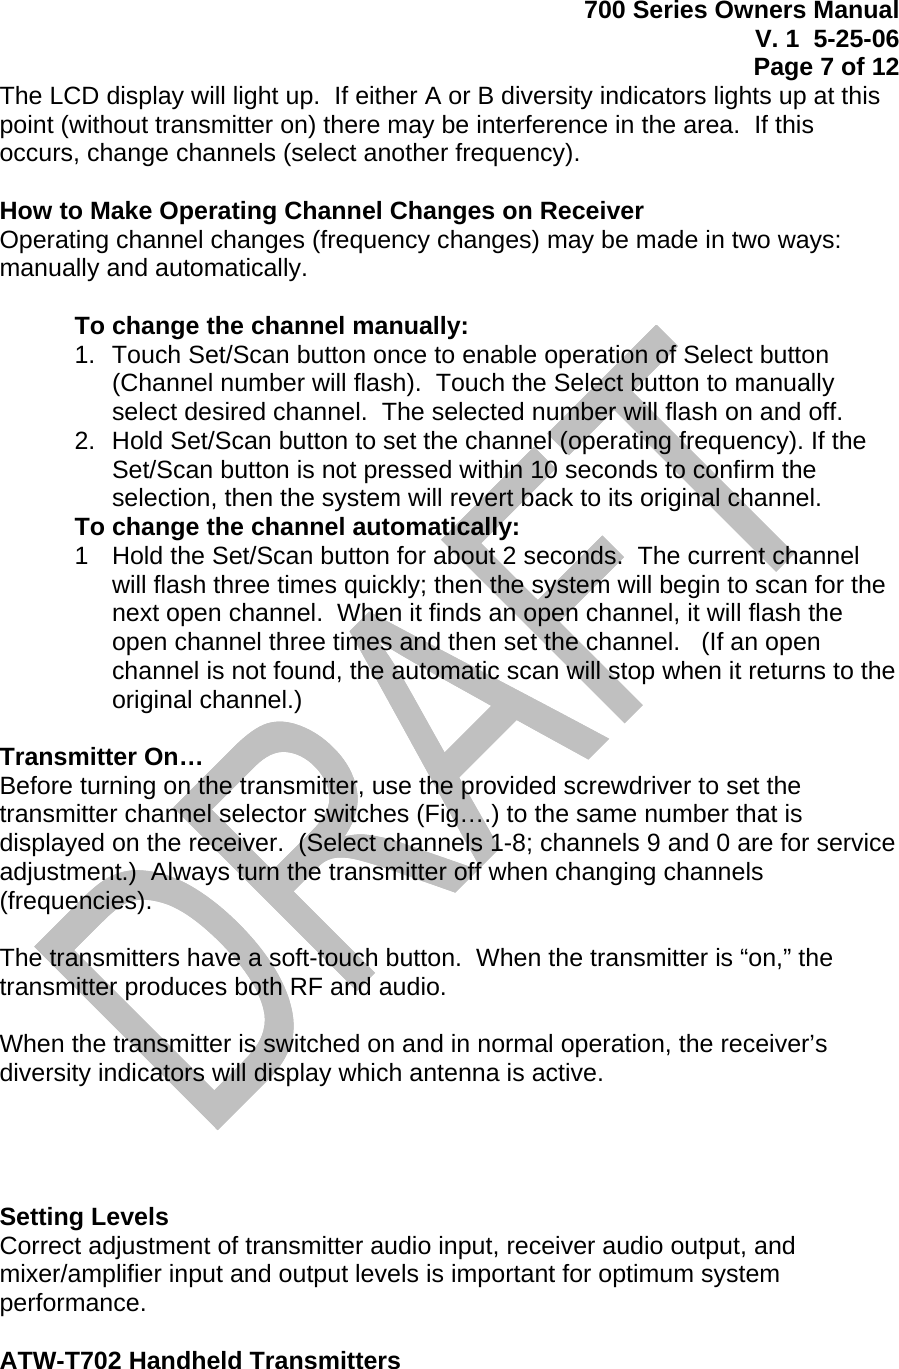
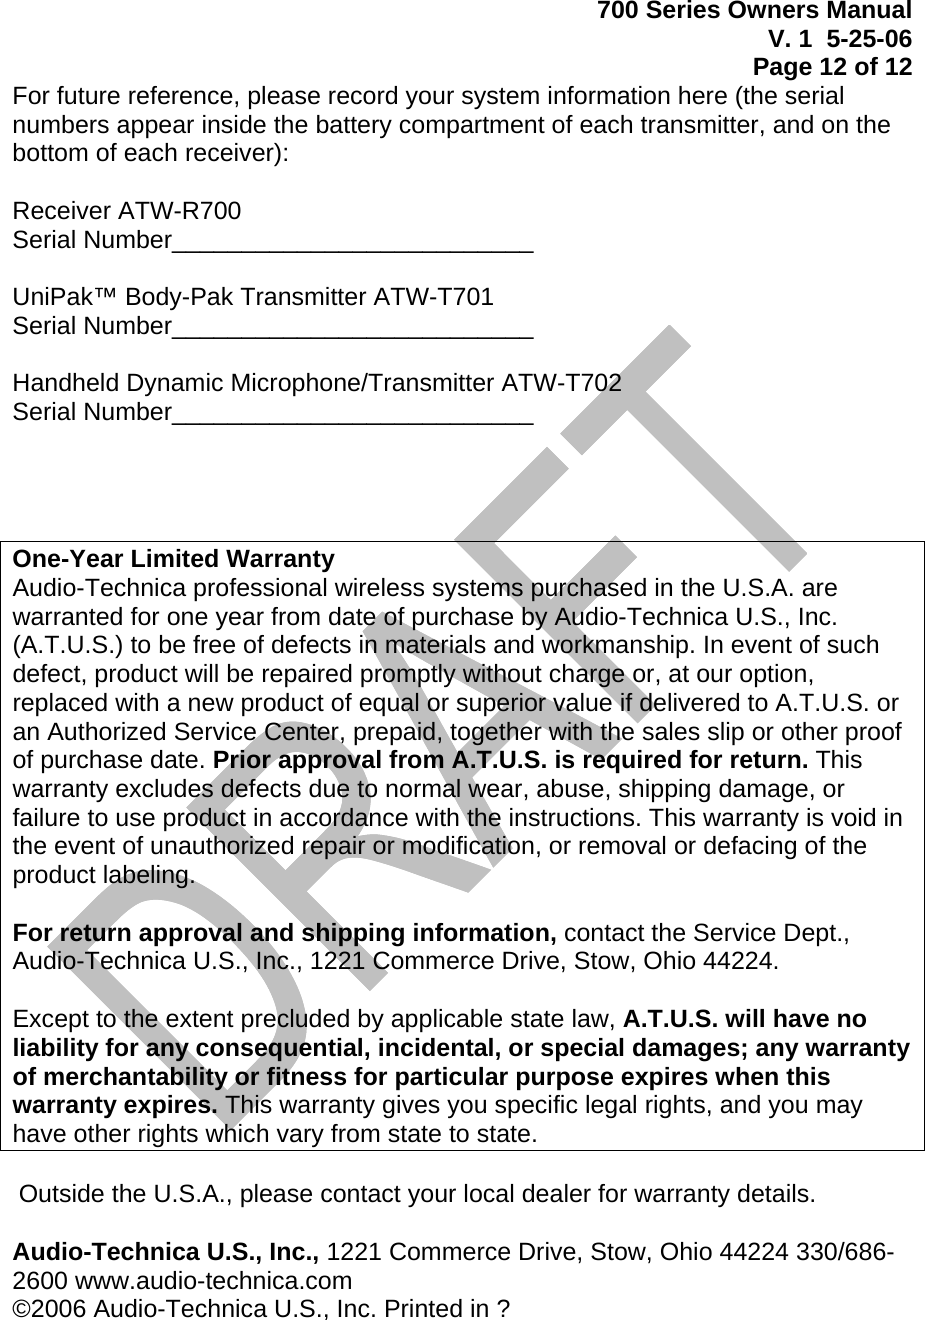
![700 Series Owners Manual V. 1 5-25-06 Page 1 of 12 [Cover] 700 Series Professional UHF Wireless Systems ATW-701 UniPak™ Transmitter System ATW-701G Guitar System ATW-701H Headworn Microphone System ATW-701L Lavalier Microphone System ATW-702 Handheld Dynamic Microphone System Installation and Operation [inside] Professional UHF Wireless Systems Installation and Operation This device complies with part 15 of the FCC Rules. Operation is subject to the condition that this device does not cause harmful interference. This device complies with INDUSTRY CANADA R.S.S. 210, en conformité avec IC: RSS-210/CNR210. Operation is subject to the following conditions: 1) This device may not cause harmful interference and 2) this device must accept any interference received, including interference which may cause undesired operation. Changes or modifications not expressly approved by Audio-Technica could void your authority to operate this equipment. CAUTION! Electrical shock can result from removal of the receiver cover. Refer servicing to qualified service personnel. No user-serviceable parts inside. Do not expose to rain or moisture. The circuits inside the receiver and transmitter have been precisely adjusted for optimum performance and compliance with federal regulations. Do not attempt to open the receiver or transmitter. To do so will void the warranty, and may cause improper operation. Notice to individuals with implanted cardiac pacemakers or AICD devices: Any source of RF (radio frequency) energy may interfere with normal functioning of the implanted device. All wireless microphones have low-power transmitters (less than 0.05 watts output) which are unlikely to cause difficulty, especially if they are at least a few inches away. However, since a “body-pack” mic transmitter typically is placed against the body, we suggest attaching it at the belt, rather than in a shirt pocket where it may be immediately adjacent to the medical device. Note also that any medical-device disruption will cease when the RF transmitting source is turned off. Please contact your physician or medical-device provider if you have any questions, or experience any problems with the use of this or any other RF equipment.](https://usermanual.wiki/Audio-Technica/R700/User-Guide-685930-Page-1.png)
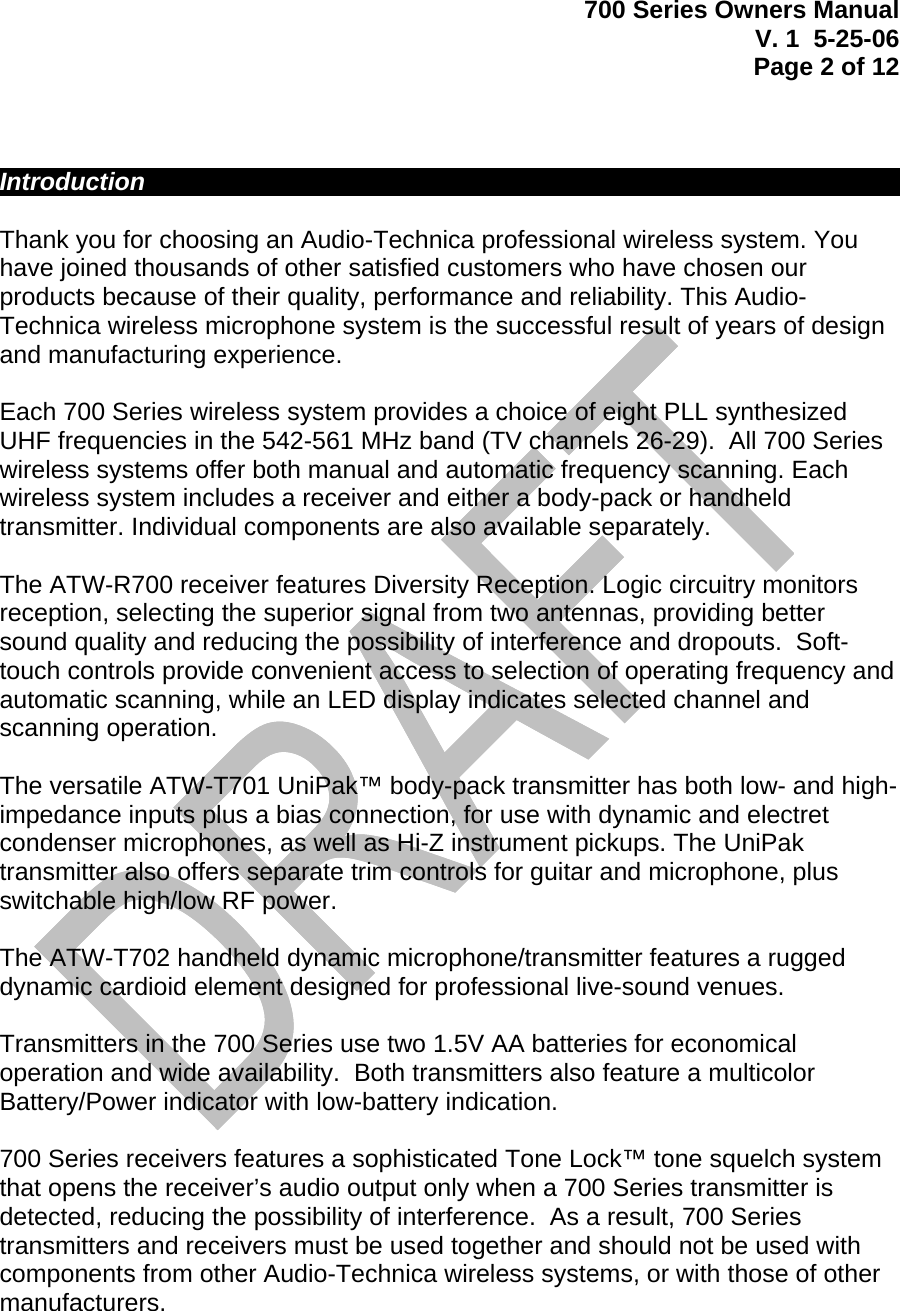
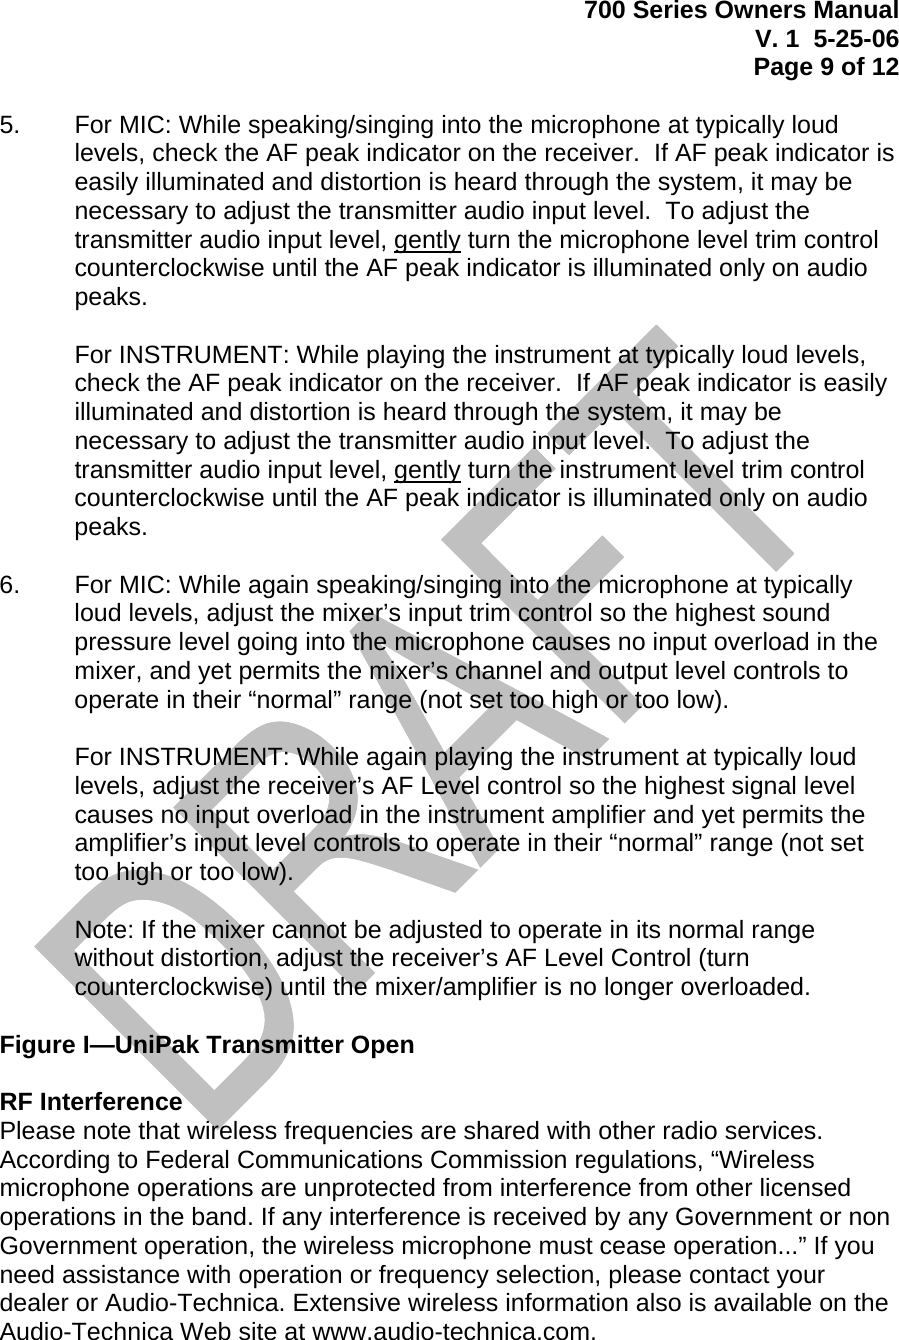
![700 Series Owners Manual V. 1 5-25-06 Page 5 of 12 channel has been set, a touch of the Set/Scan button will revert the channel to its previous setting. Automatic Set Mode: Hold the Set/Scan button. The Automatic Scan/Set Mode will automatically scan for and set the next open channel. Rear Panel Controls and Functions (Fig. C) 8. AF LEVEL CONTROL: Adjusts audio output level of both AF Output jacks; maximum output is fully clockwise. 9. BALANCED AUDIO OUTPUT JACK: XLRM-type connector. A standard 2-conductor shielded cable can be used to connect the receiver output to a balanced microphone-level input on a mixer or integrated amplifier. 10. UNBALANCED AUDIO OUTPUT JACK: 1/4" phone jack. Can be connected to an unbalanced aux-level input of a mixer, guitar amp or tape recorder. 11. POWER INPUT JACK: Connect the DC plug from the included in-line AC adapter. 12. CORD HOOK: Loop the cord around the cord hook to keep the DC plug from pulling out accidentally. Transmitter Controls and Functions Battery Selection Two 1.5V AA alkaline batteries are recommended. UniPak™ Transmitter Battery Installation 1. Slide the transmitter door open by first pulling the catch down. (Fig. D) 2. Observe correct polarity as marked and carefully insert two fresh 1.5V AA alkaline batteries (Figure D). 3. Slide the door closed, making certain it clicks securely in Figure D—UniPak™ Transmitter Open [Note: After Channel Selector Switch use the following copy: Select channels 1-8; channels 9 and 0 are for service adjustment.] Handheld Transmitter Battery Installation 4. Unscrew the lower body cover, slide it downward, and remove it to expose the battery compartment. (Fig. D)](https://usermanual.wiki/Audio-Technica/R700/User-Guide-685930-Page-5.png)
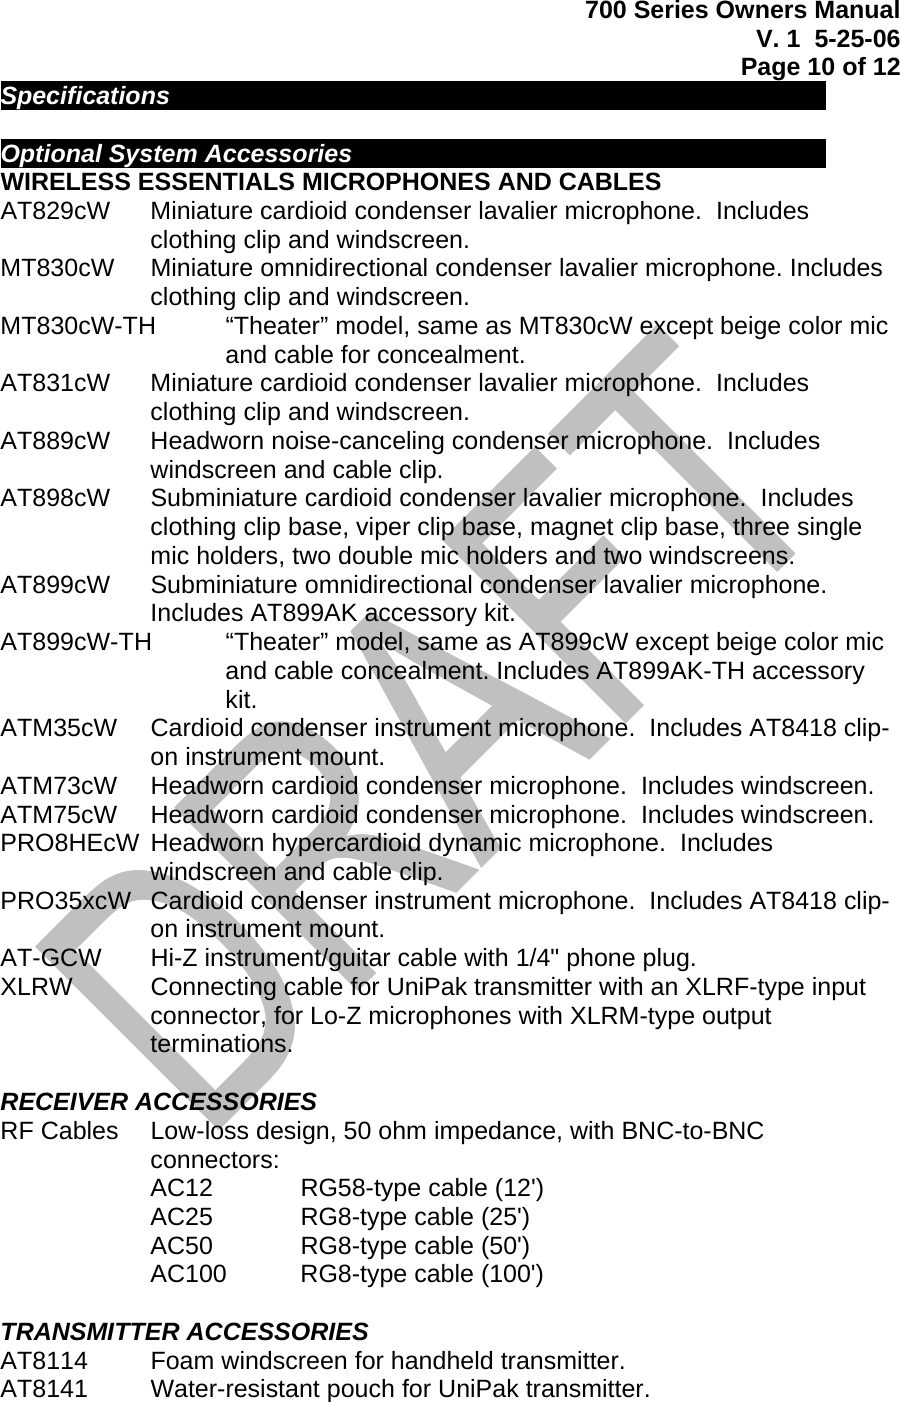
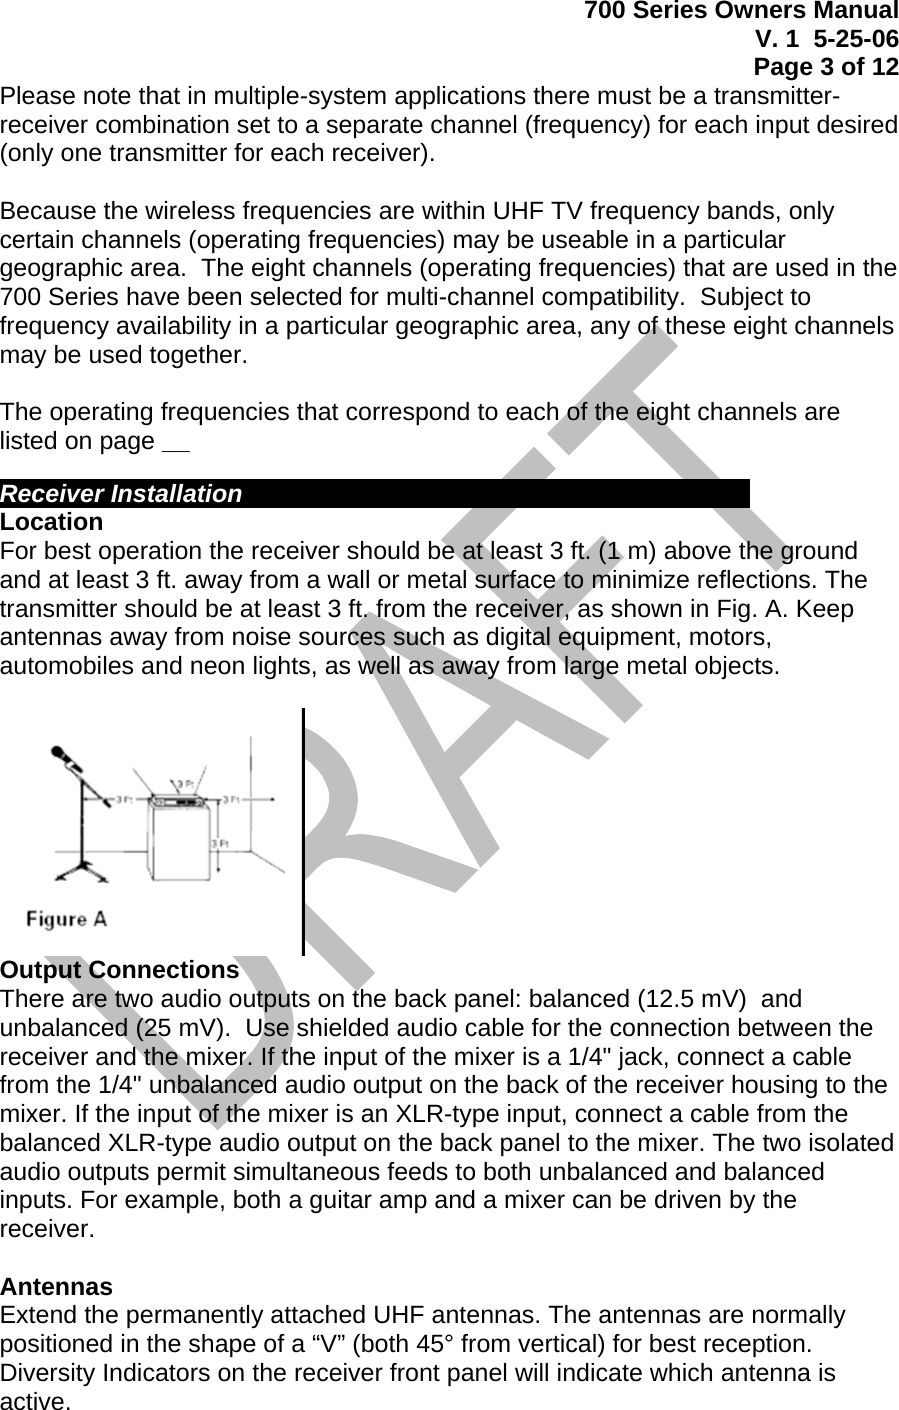
![700 Series Owners Manual V. 1 5-25-06 Page 6 of 12 5. Observe correct polarity as marked inside the battery compartment and carefully insert two fresh 1.5V AA alkaline batteries. Insert the first battery and slide it down. Then insert the second battery into the space remaining. Make certain the batteries are fully seated in the battery compartment. (Fig. E) 6. Slide the lower body cover back and up body, the screw the housing together. Do not overtighten. Note: Remove batteries from the handheld transmitter starting at the bottom end, where finger indents in the battery housing are provided for easy grip. Figure E—Handheld Transmitter Battery Compartment Battery Indicator After the battery is installed, press and hold the power button until the battery indicator LED turns green. (It will turn red first; keep holding until it turns green). If the battery indicator LED does not turn green, the batteries are installed incorrectly or they are dead Figure F—UniPak Transmitter Top View Figure G—Handheld Transmitter Bottom View UniPak Transmitter Input Connection Connect an audio input device (microphone or guitar cable) to the audio input connector on the top of the transmitter. A number of Audio-Technica professional microphones and cables are available separately, pre-terminated with a UniPak input connector (see “Optional System Accessories” on page [NEED PAGE NUMBER]). Transmitting Antenna The UniPak transmitter includes a permanently-attached flexible antenna. For best results, allow the antenna to hang freely and full length from the bottom of the transmitter. If the received signal is marginal, experiment with different transmitter positions on your body or instrument; or try repositioning the receiver. Do not attempt to remove, replace or change the length of the transmitting antenna. System Operation Plug in receiver. Receiver On…](https://usermanual.wiki/Audio-Technica/R700/User-Guide-685930-Page-6.png)