Audiovox aar Systems D189070 Rear Seat Entertainment System - BCU User Manual rse
Audiovox Incaar Systems GmbH Rear Seat Entertainment System - BCU rse
UserManual.wiki
>
Audiovox aar Systems
>
D189070 User Manual
>
Users Manual 1
Contents
1.
Users Manual 1
2.
Users Manual 2
3.
Installation Guide
4.
User Manual 1
5.
User Manual 2
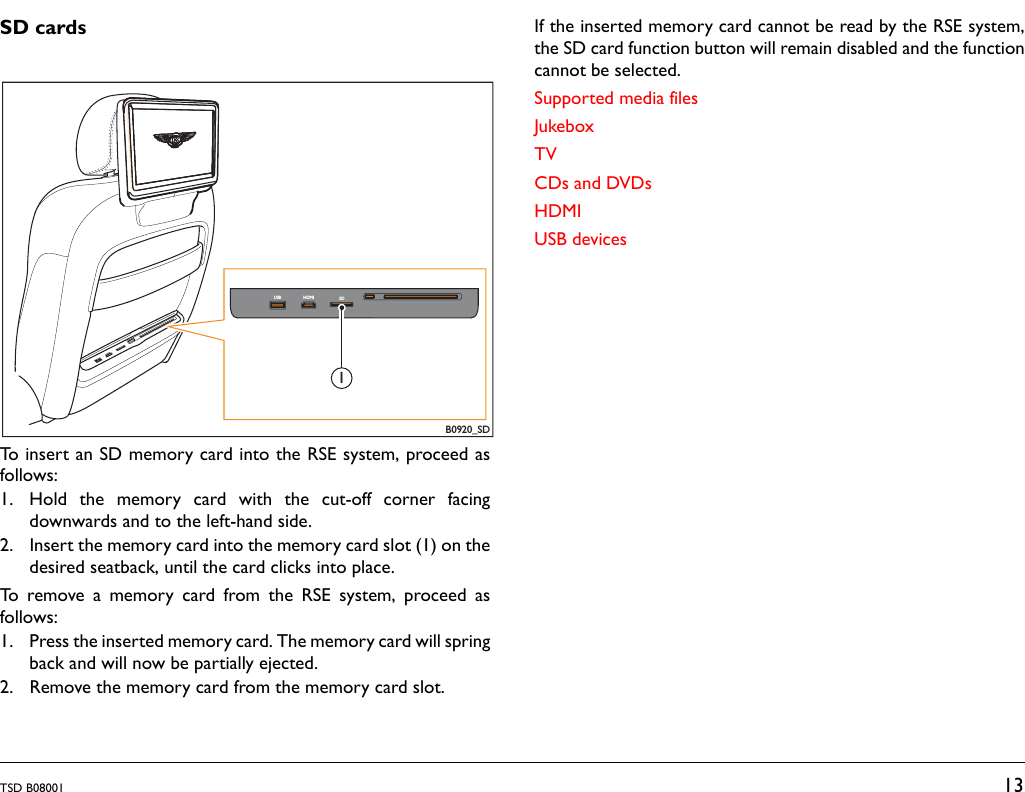
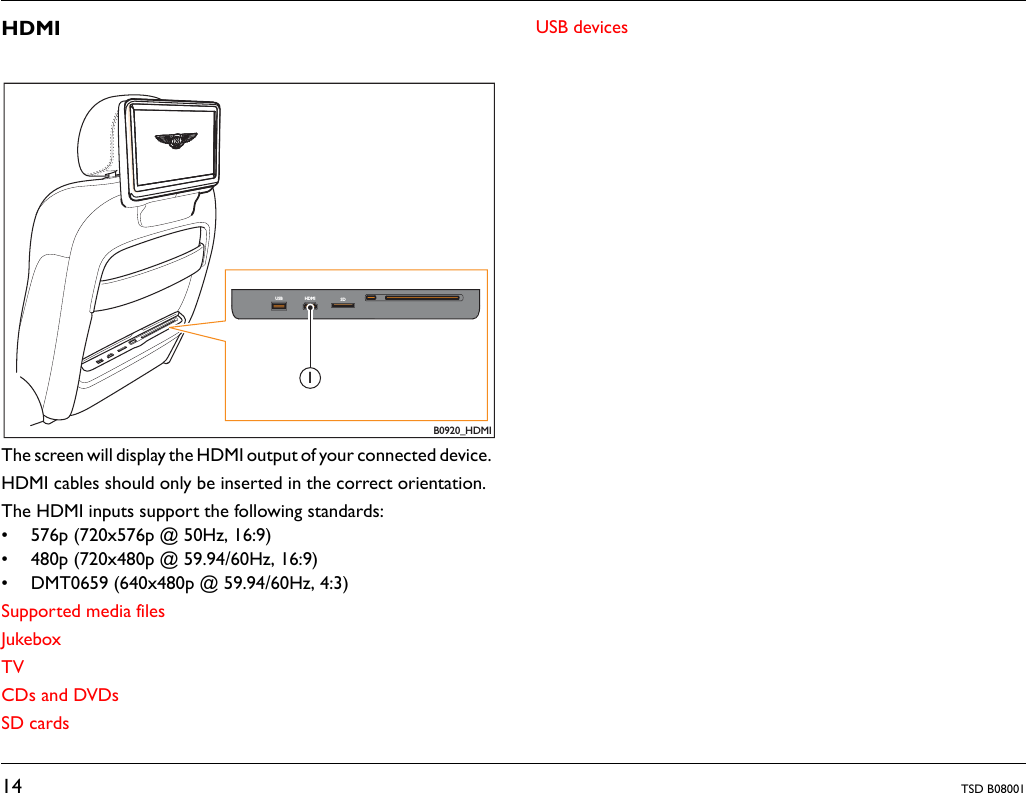
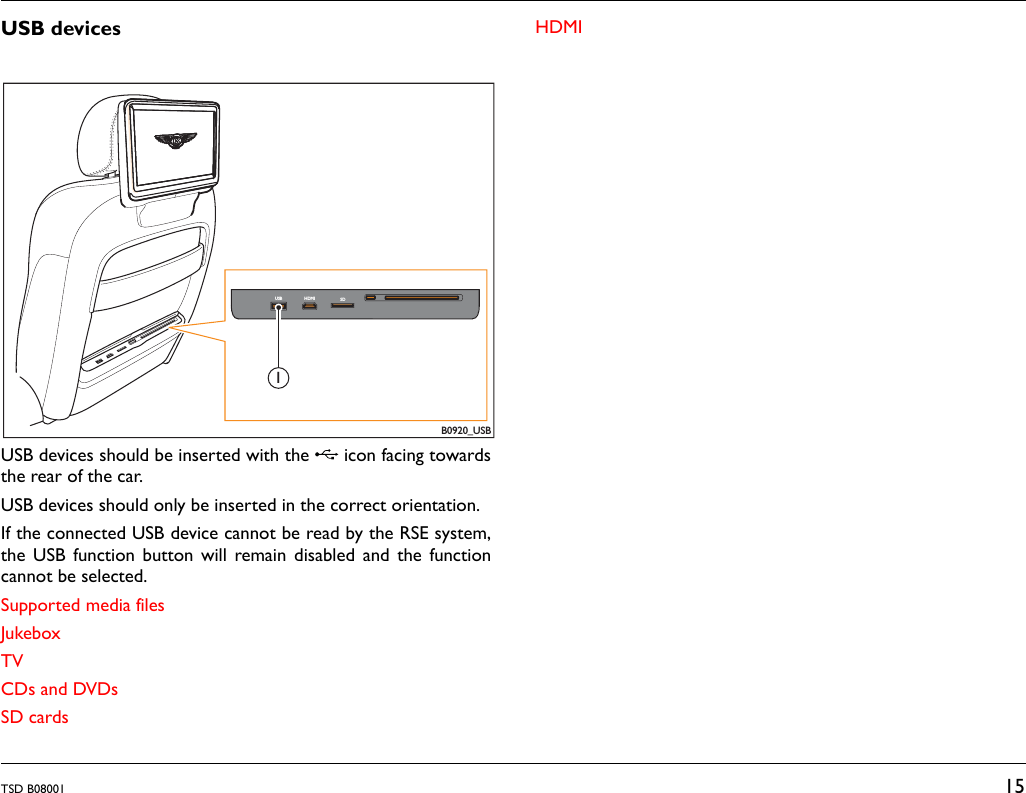
Users Manual 1
Navigation menu
Upload a User Manual
Namespaces
Wiki Guide
HTML
PDF
Info
Views
User Manual
Discussion / Help
Navigation