Audiovox XMXP04 XM Satellite RX with FM Transmitter User Manual Xpress Rcvr128 7454C 8 01 06
Audiovox Corporation XM Satellite RX with FM Transmitter Xpress Rcvr128 7454C 8 01 06
Audiovox >
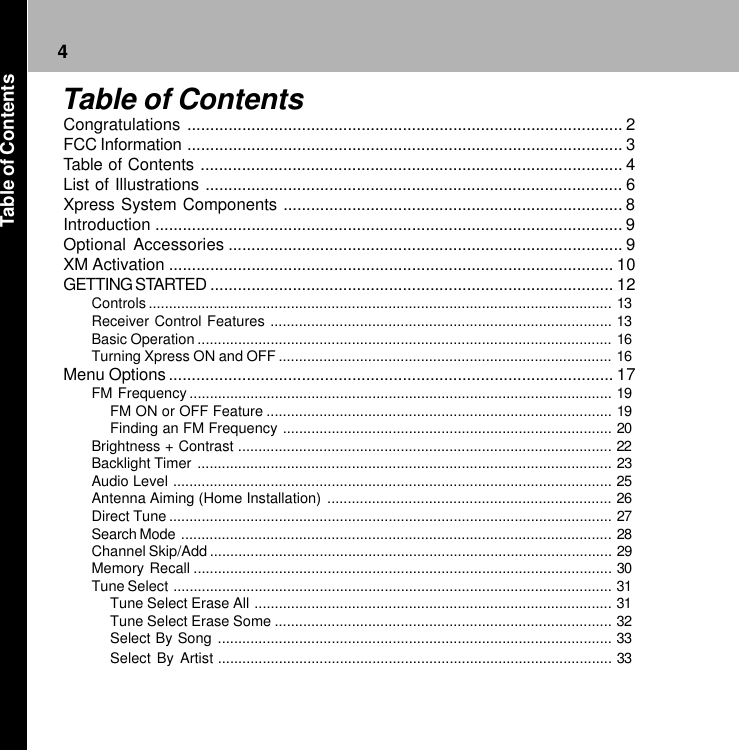
Contents
- 1. Sure Connect Users Guide
- 2. Vehcicle Guide
- 3. Users Guide
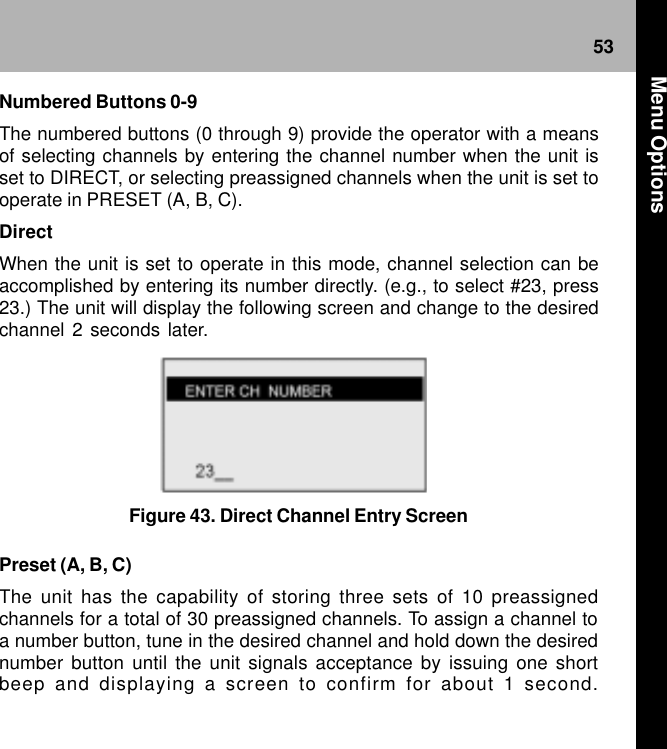
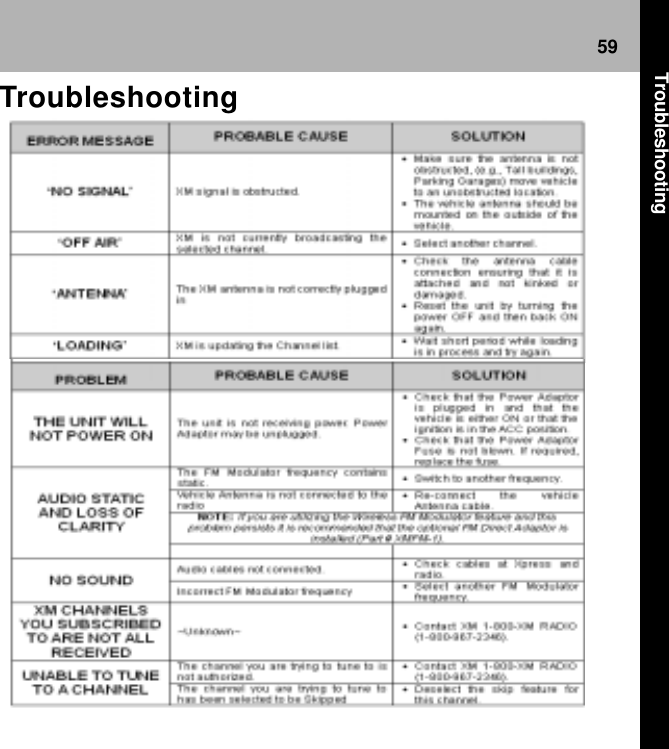
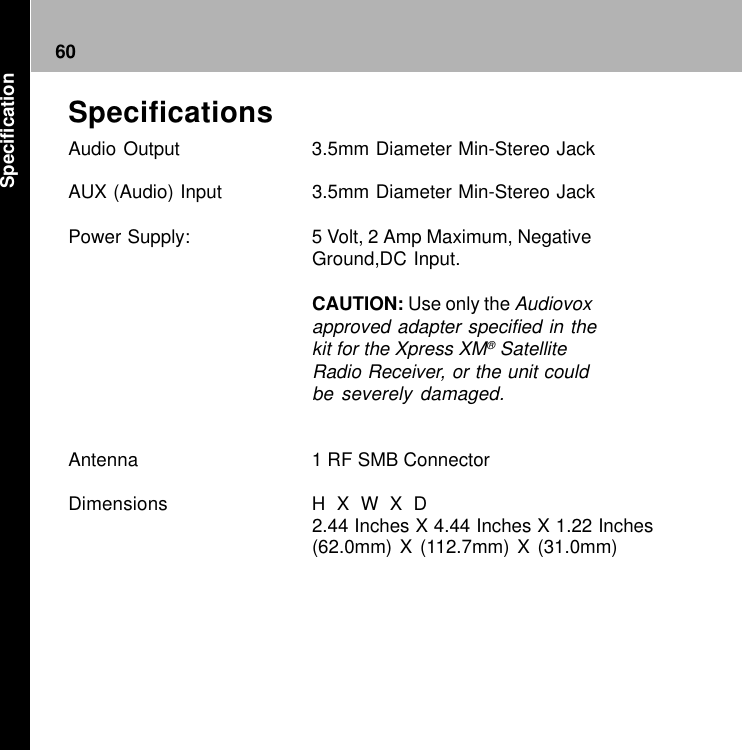
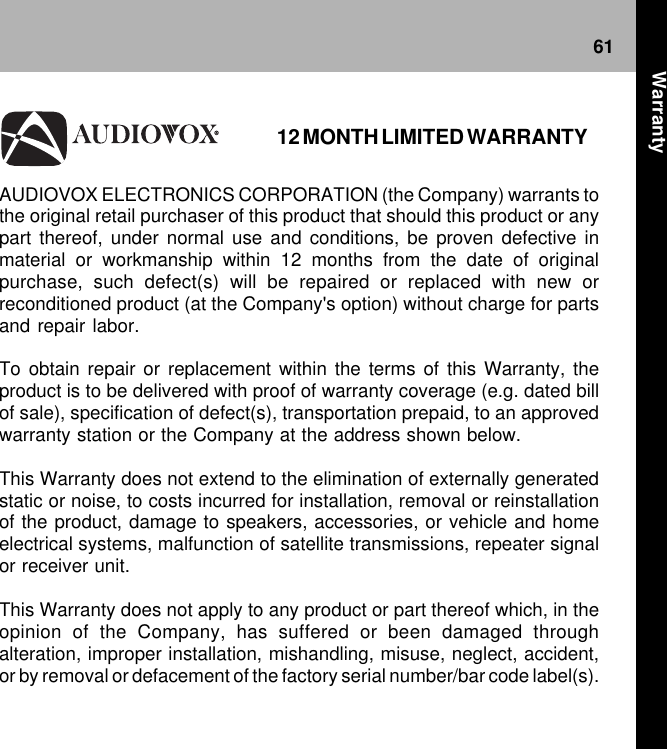
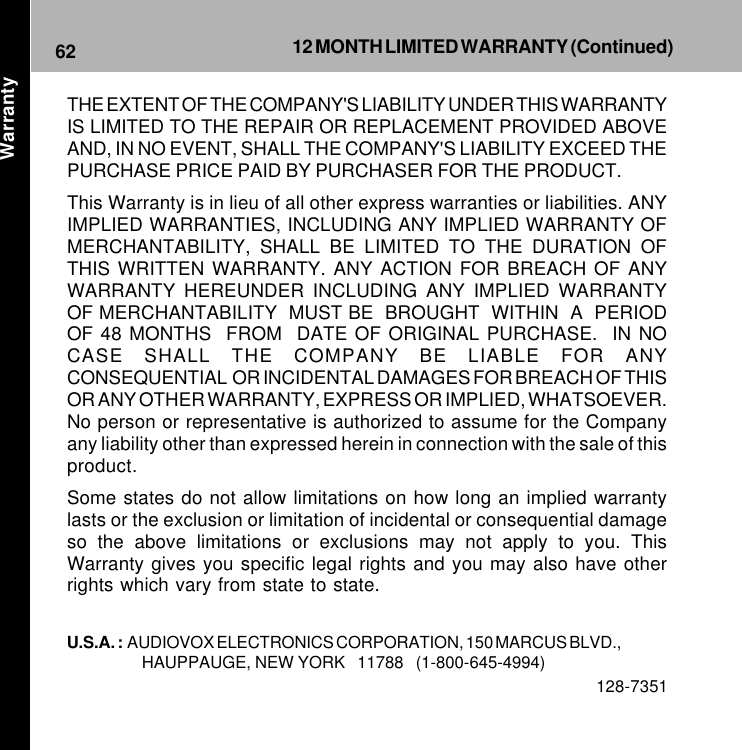
Users Guide