Audisoft Technologie TX01 Audio and video transmitter for hearing impaired User Manual User guide
Audisoft Technologie Audio and video transmitter for hearing impaired User guide
UserManual.wiki
>
Audisoft Technologie
>
TX01 User Manual
>
User guide
Contents
1.
Marketing flyer
2.
User guide
3.
User guide with photos p13 to 22
4.
User guide with photos p1 to 12
5.
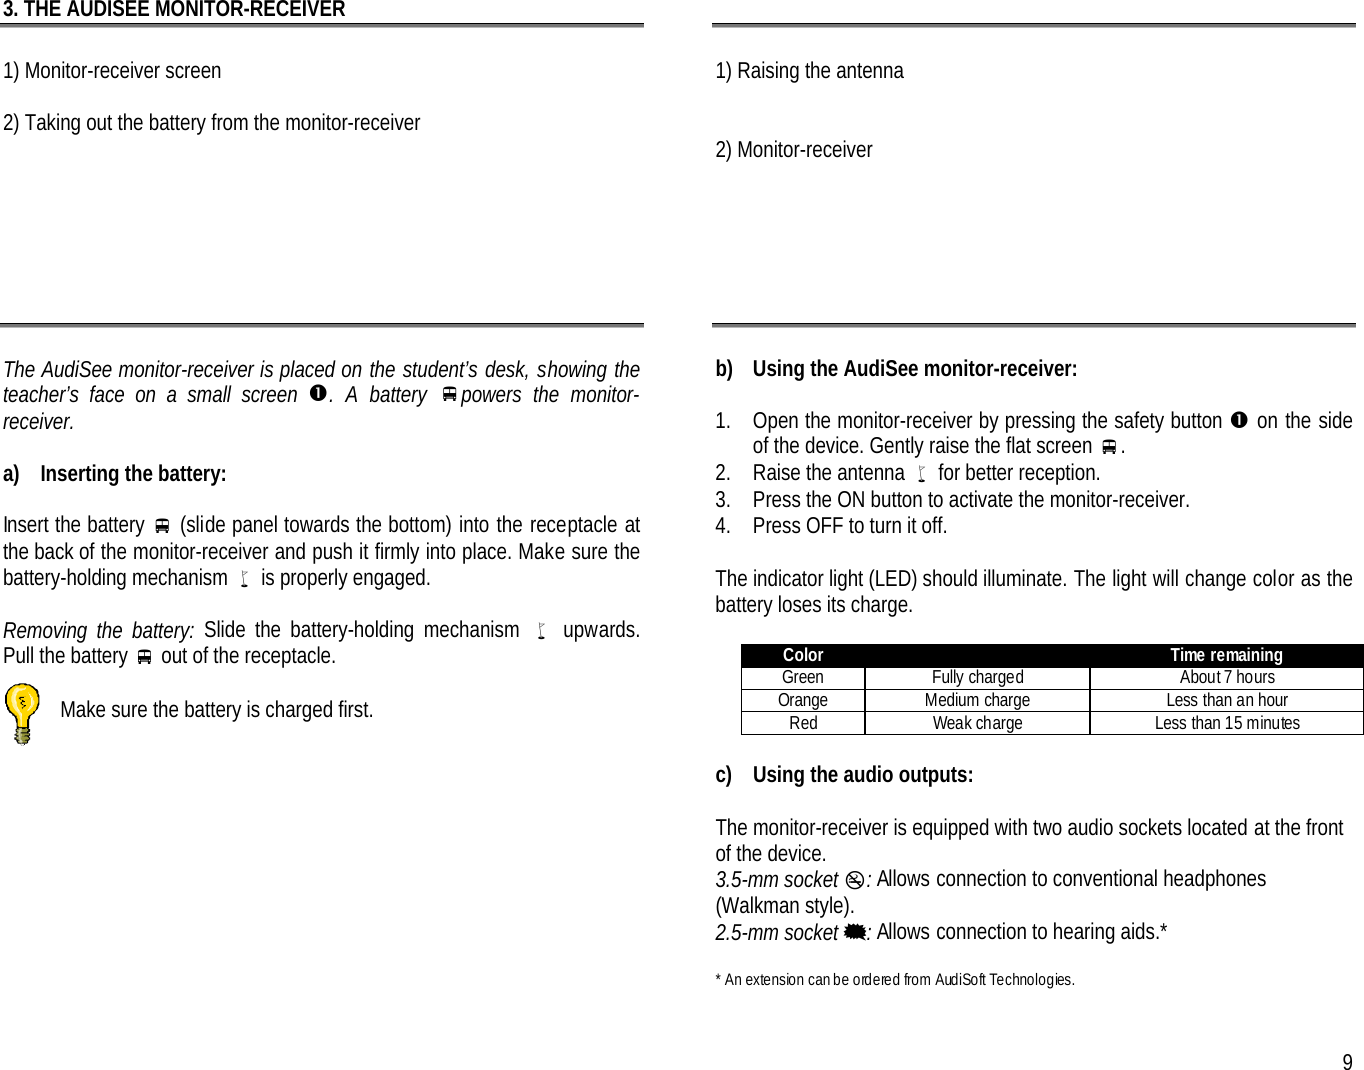
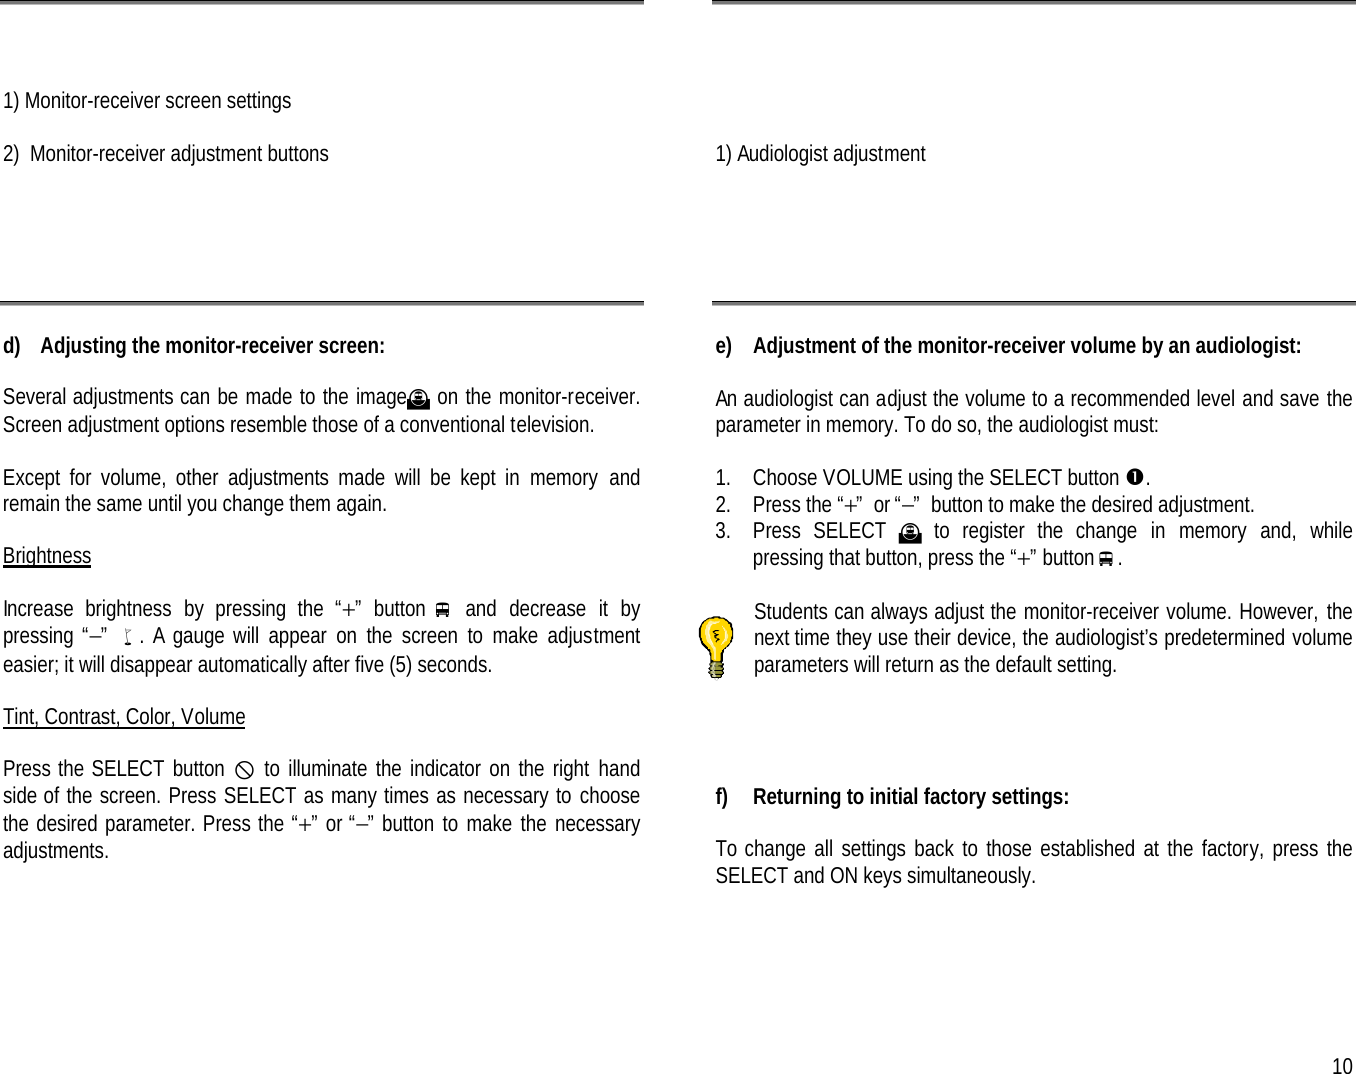
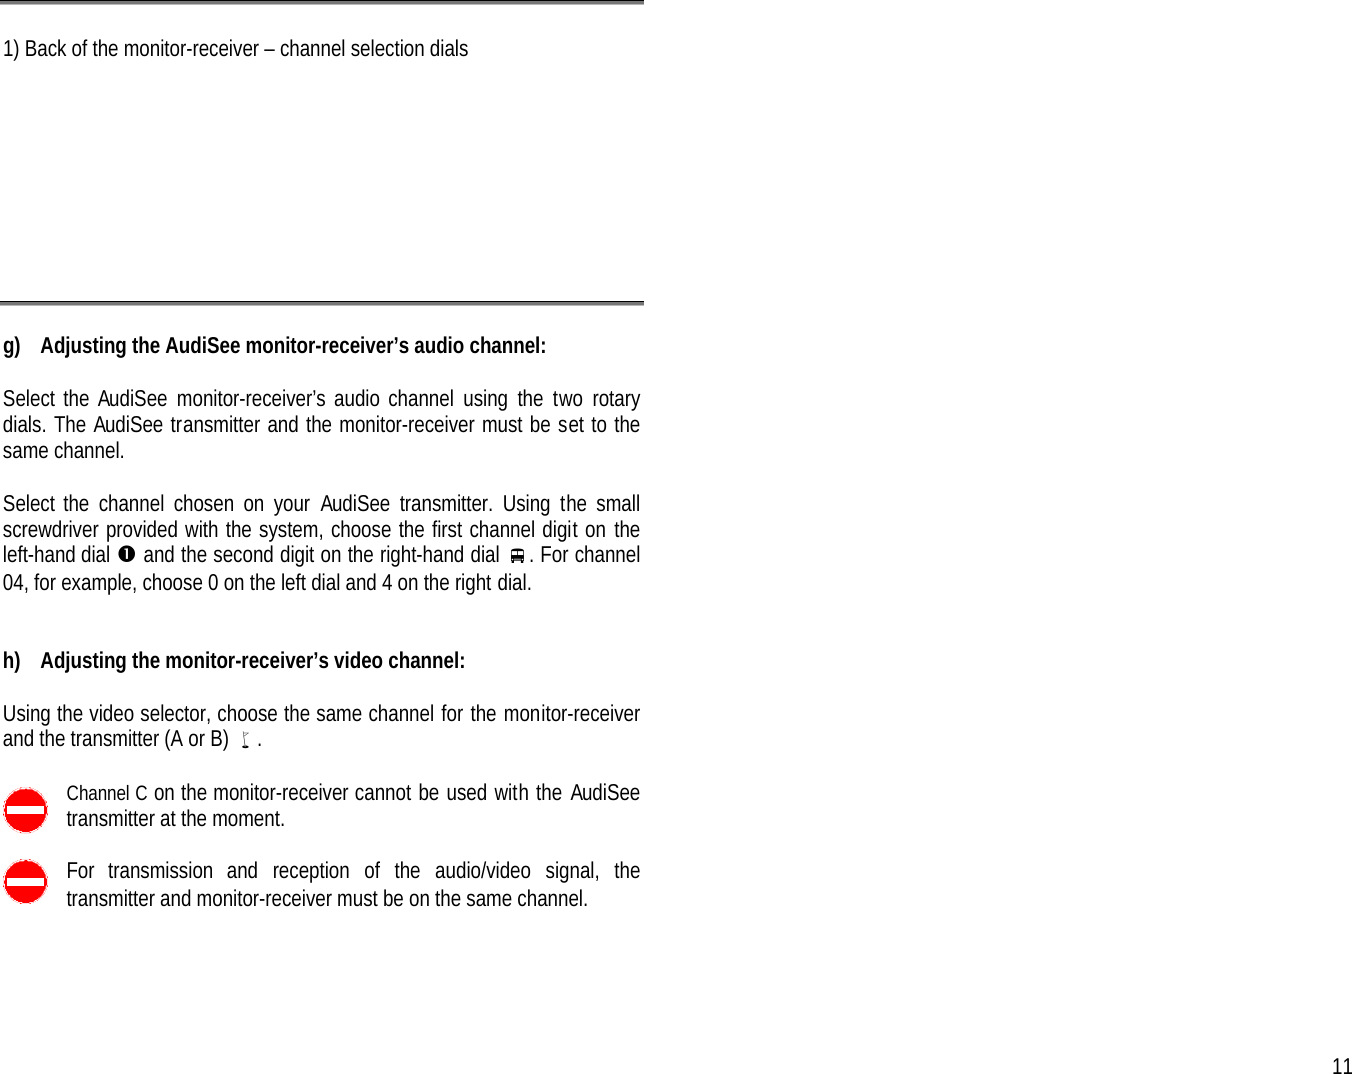
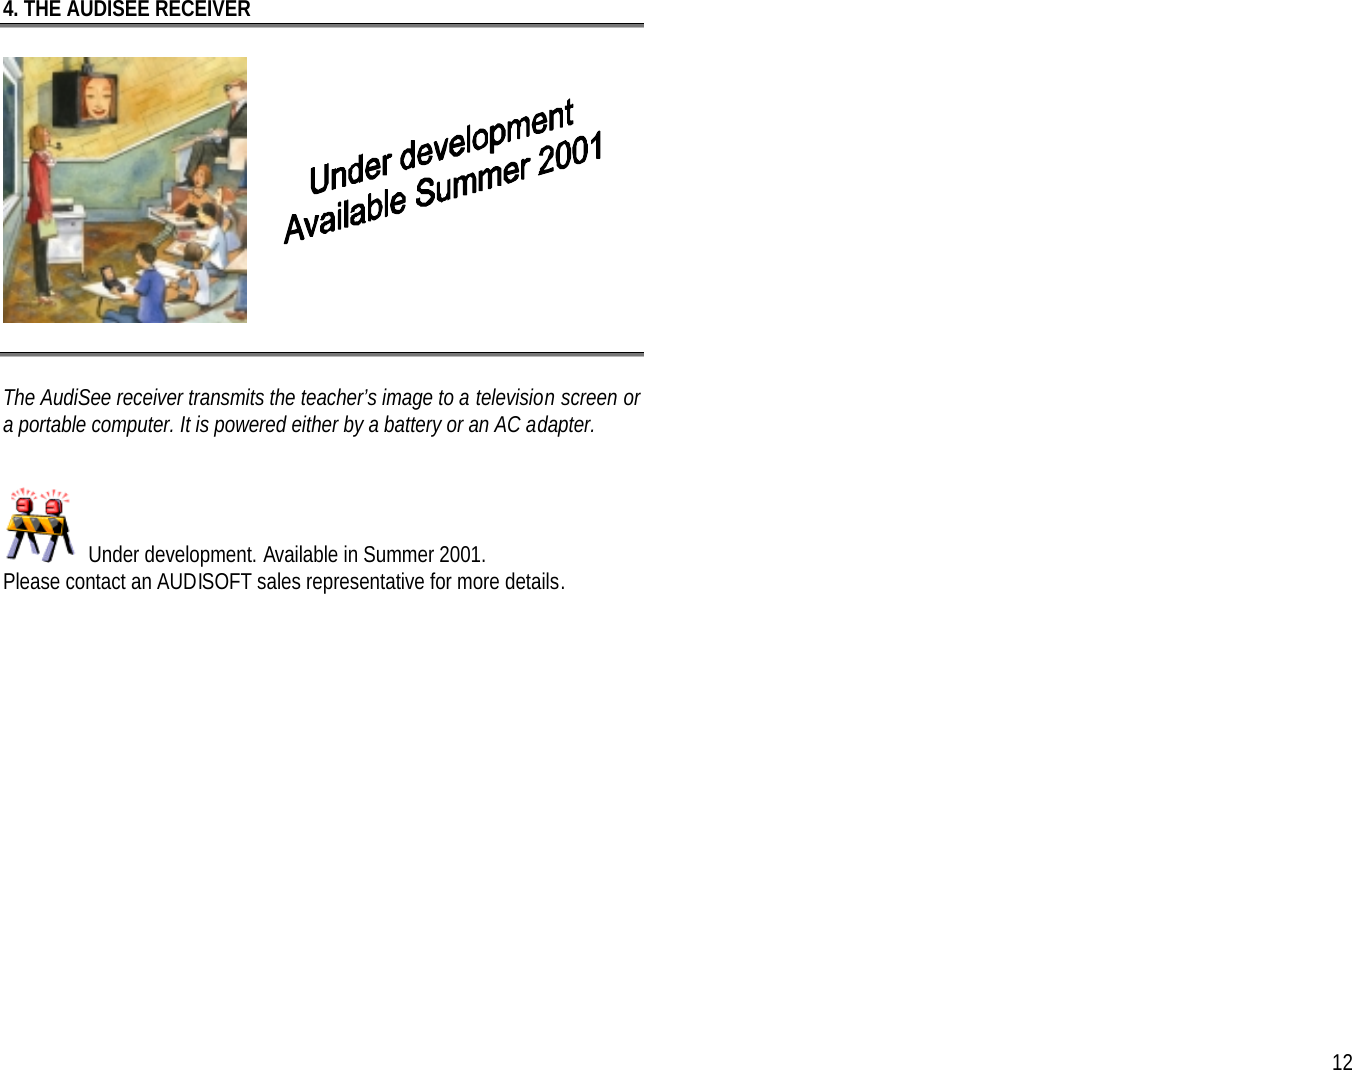
User Manual p1 to 12
6.
User manual p13 to 22
7.
Product specifications
User guide
Navigation menu
Upload a User Manual
Namespaces
Wiki Guide
HTML
PDF
Info
Views
User Manual
Discussion / Help
Navigation