Avaya Canada IP1150E Bluetooth IP Phone User Manual Nortel IP Phone 1140E User Guide CS 1000
Avaya Canada Corporation Bluetooth IP Phone Nortel IP Phone 1140E User Guide CS 1000
UserManual.wiki
>
Avaya Canada
>
IP1150E User Manual
>
Manual
Contents
1.
Manual
2.
Manual Attestation
Manual
Navigation menu
Upload a User Manual
Namespaces
Wiki Guide
HTML
PDF
Info
Views
User Manual
Discussion / Help
Navigation


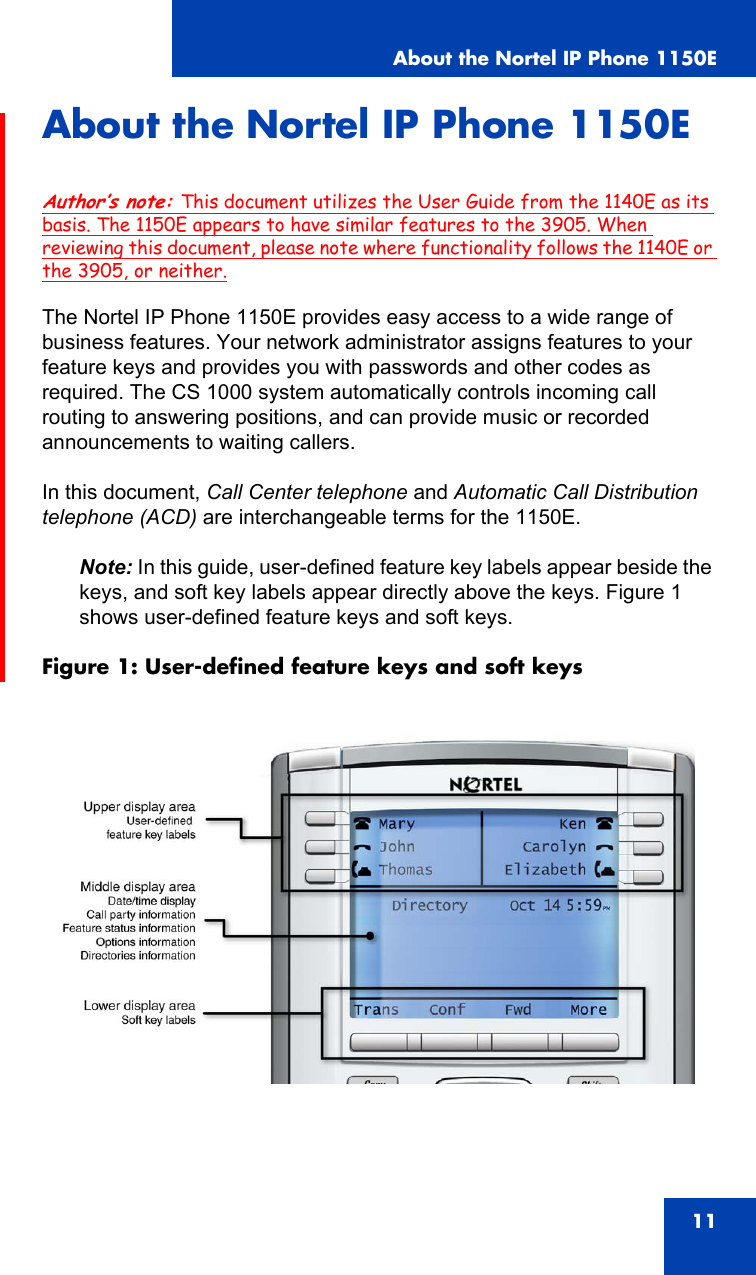


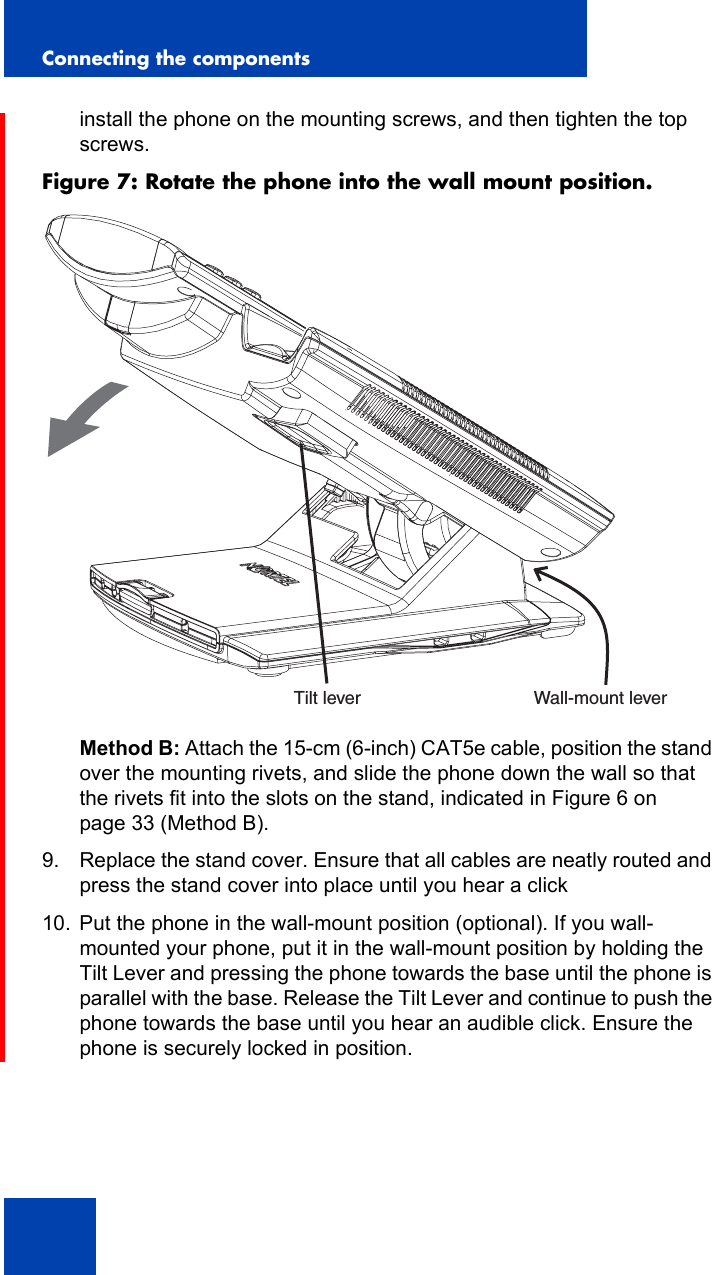


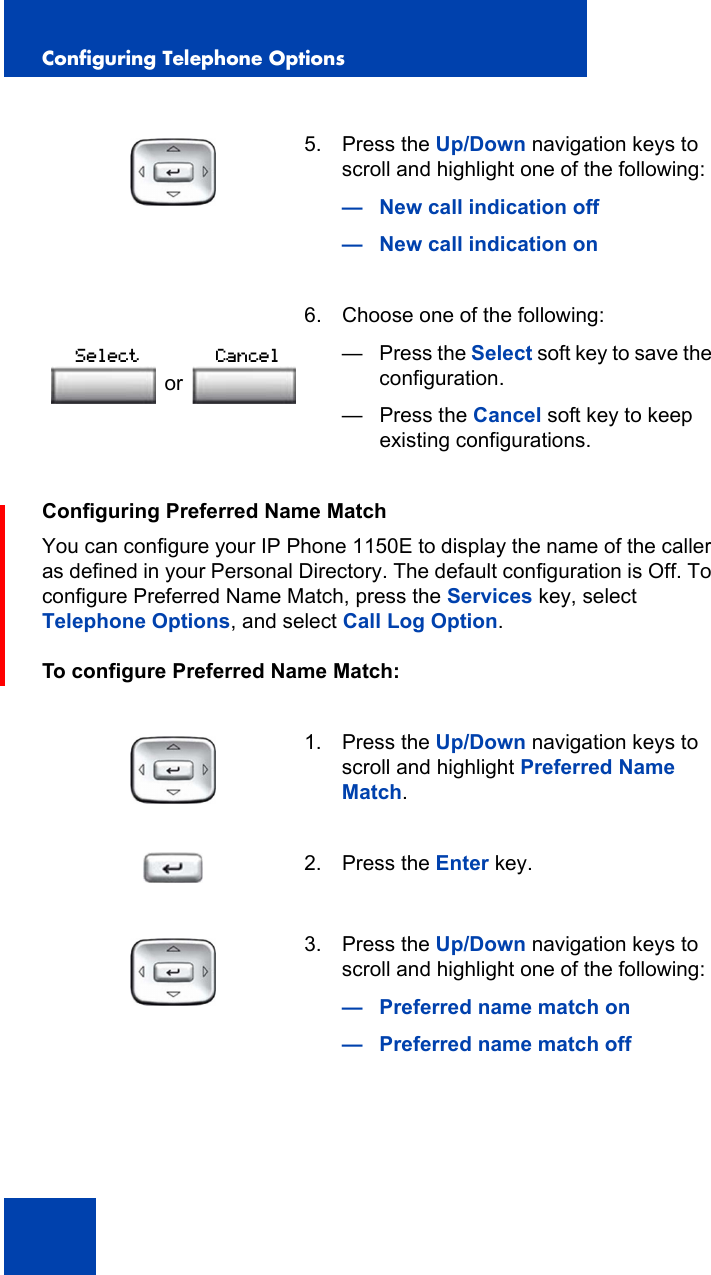
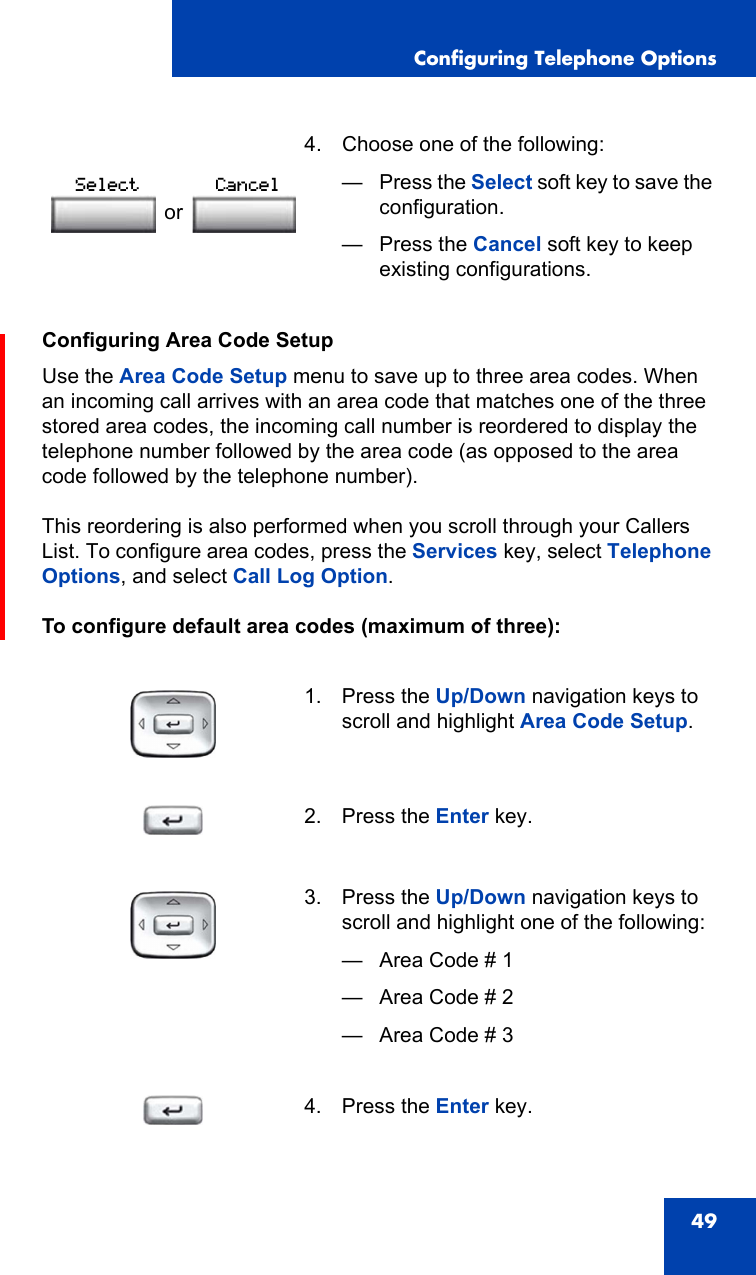
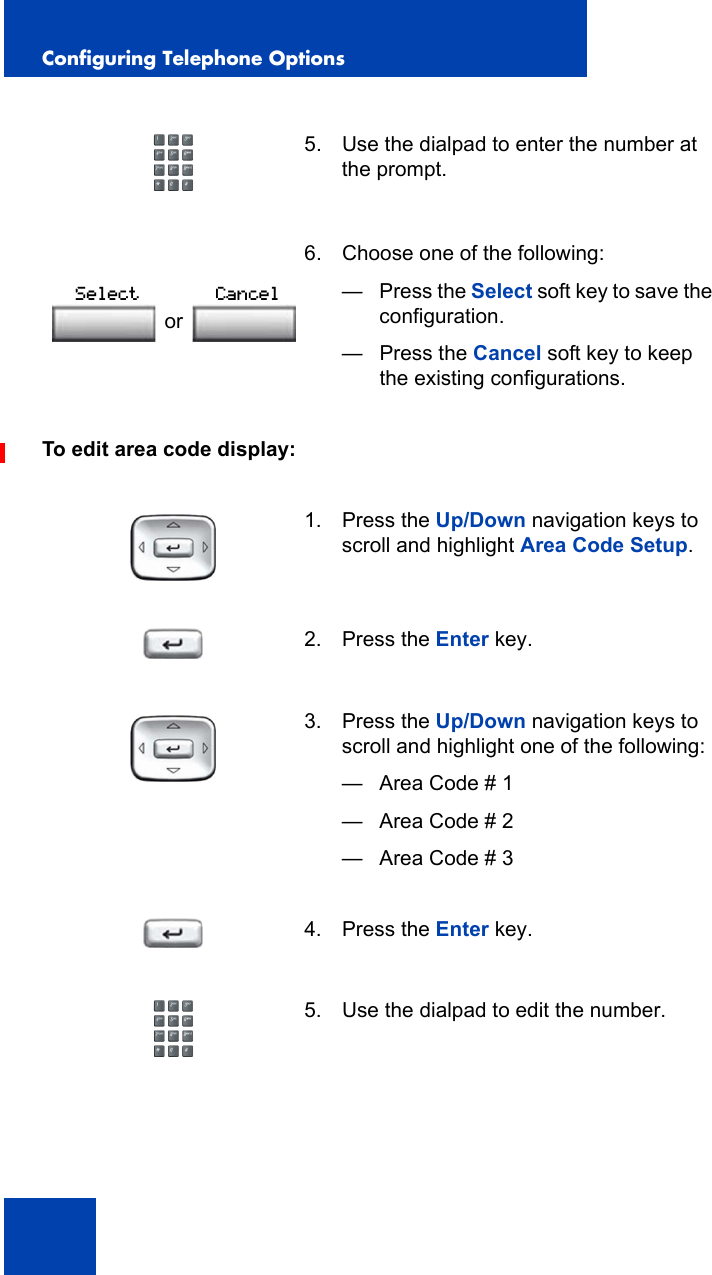
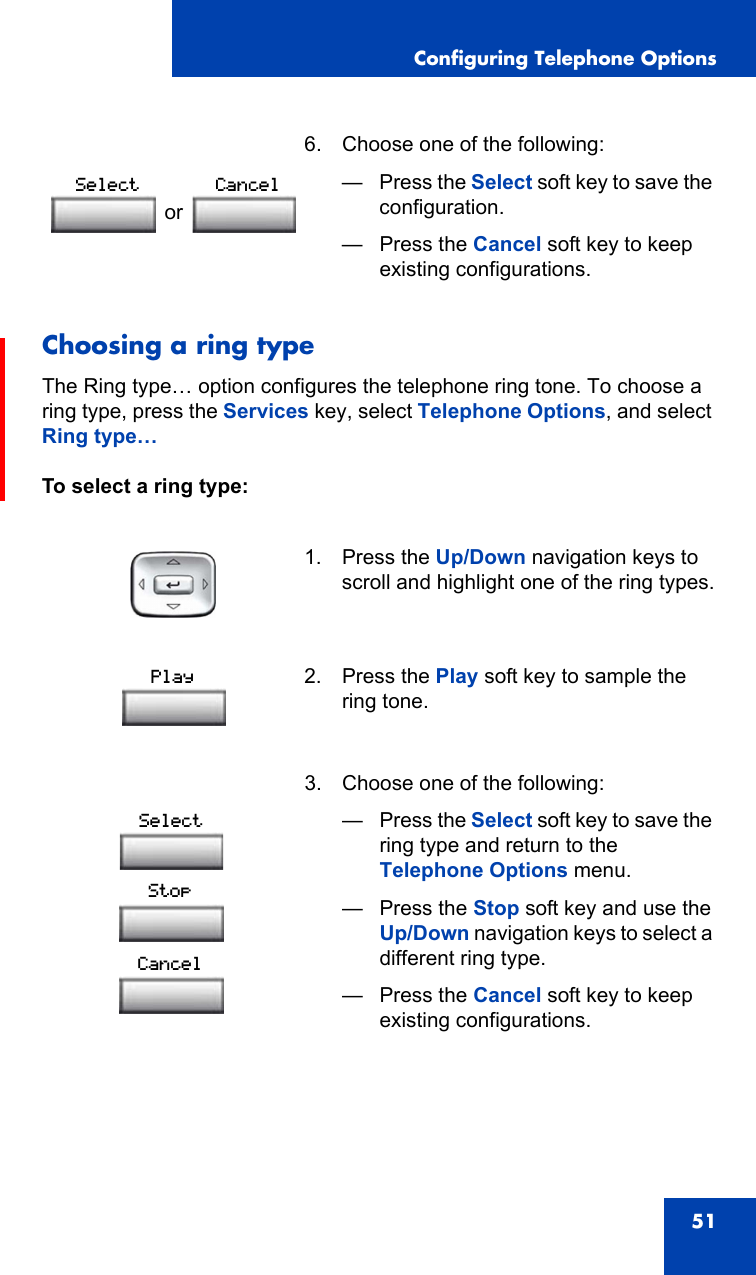
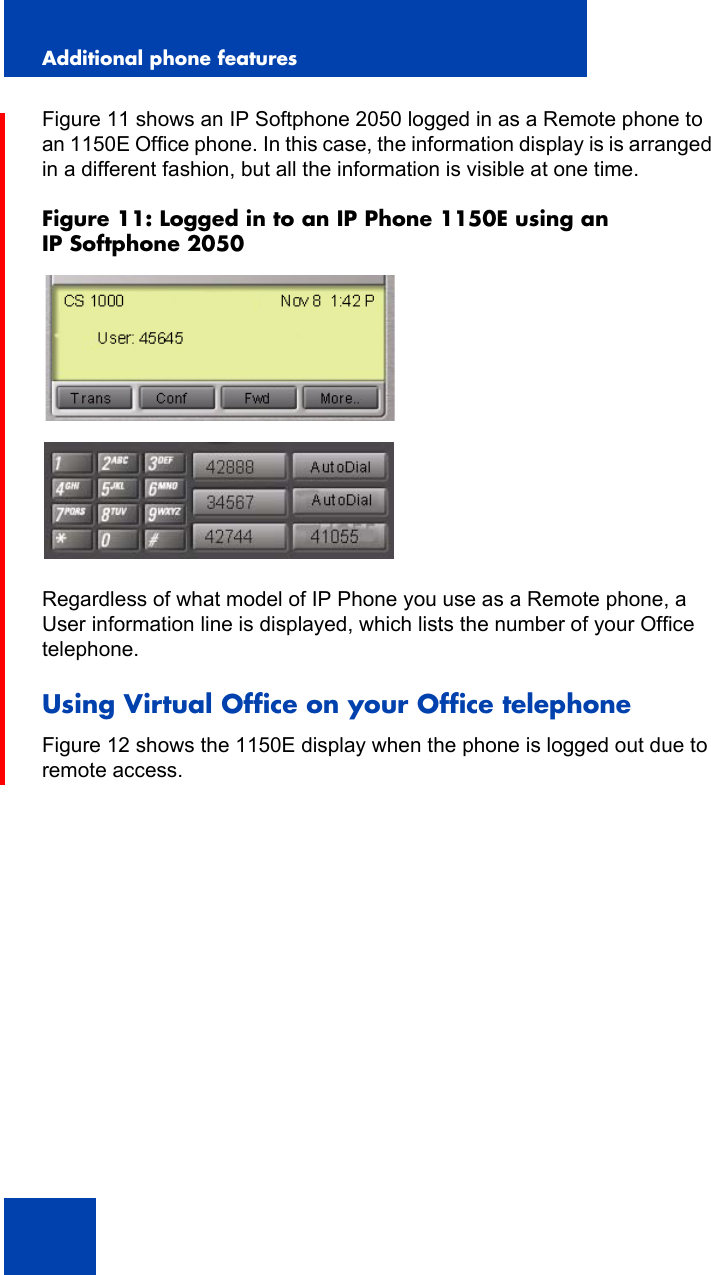
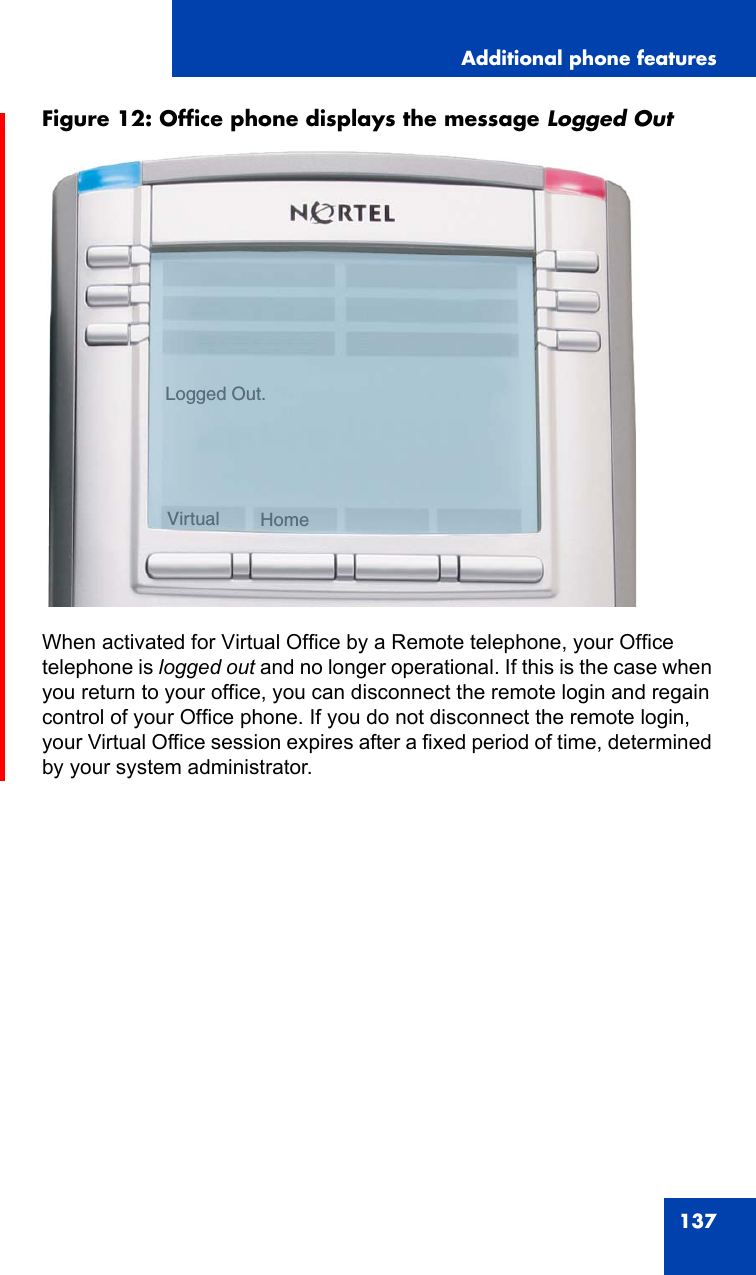
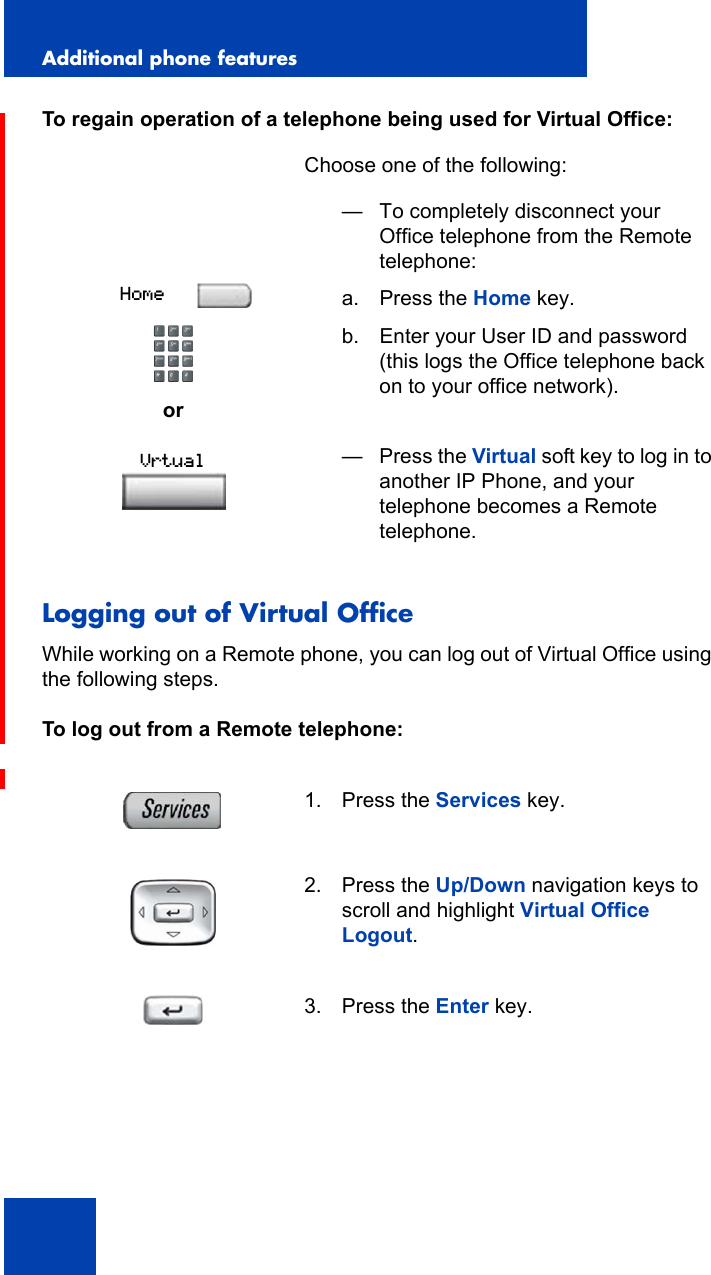
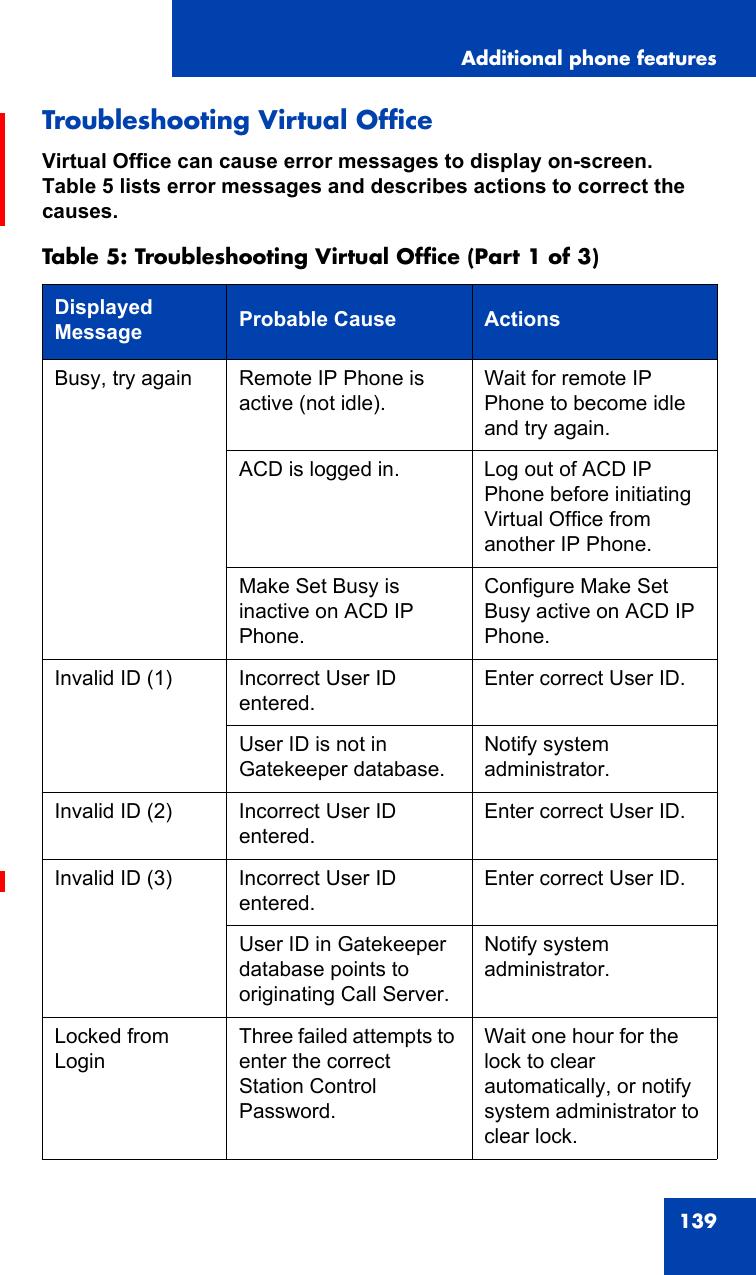
![Configuring Telephone Options43To select a language:Selecting date and time formatSeveral date and time formats are available. Formats are based on the12-hour and 24-hour clocks. To select the date and time format, press the Services key, select Telephone Options, and select Date/Time…To select a date and time format:1. Press the Up/Down navigation keys to scroll and highlight the desired language (for example, German [Deutsche]). 2. Choose one of the following:—Press the Select soft key to save the desired language and return to the Telephone Options menu.— Press the Cancel soft key to keep existing configurations.1. Press the Up/Down navigation keys to scroll and highlight the desired format. Sample formats appear on the upper-right side of the display area. 2. Choose one of the following:—Press the Select soft key to save the format and return to the Telephone Options menu.— Press the Cancel soft key to keep existing configurations.orSelect CancelorSelect Cancel](https://usermanual.wiki/Avaya-Canada/IP1150E.Manual/User-Guide-702670-Page-43.png)