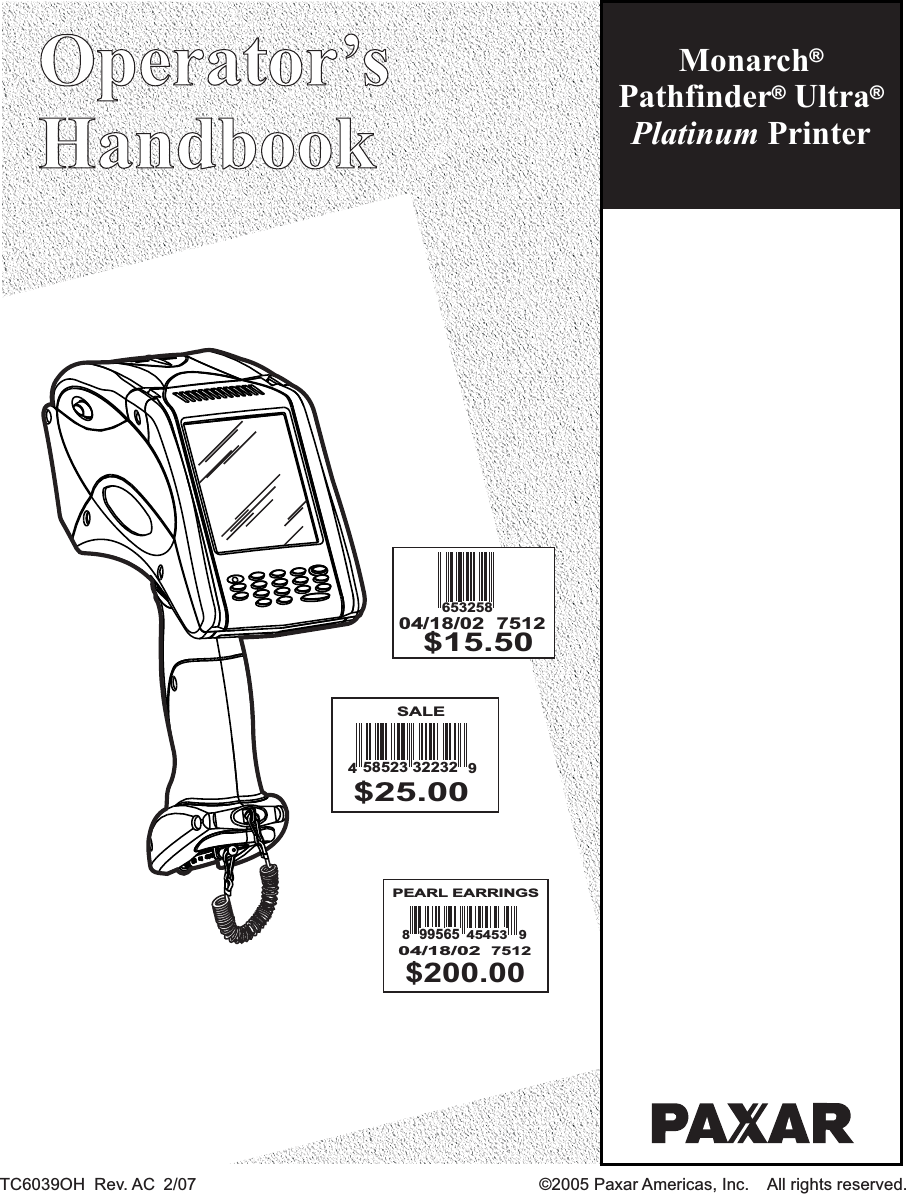
Avery Dennison Retail Information Services 6039LA5127 PRINTER WITH SYMBOL LA5127 802.11b/g MODULE User Manual 6039oh cov
Avery Dennison Retail Information Services, LLC PRINTER WITH SYMBOL LA5127 802.11b/g MODULE 6039oh cov
Contents
- 1. User manual
- 2. User manual regulation information
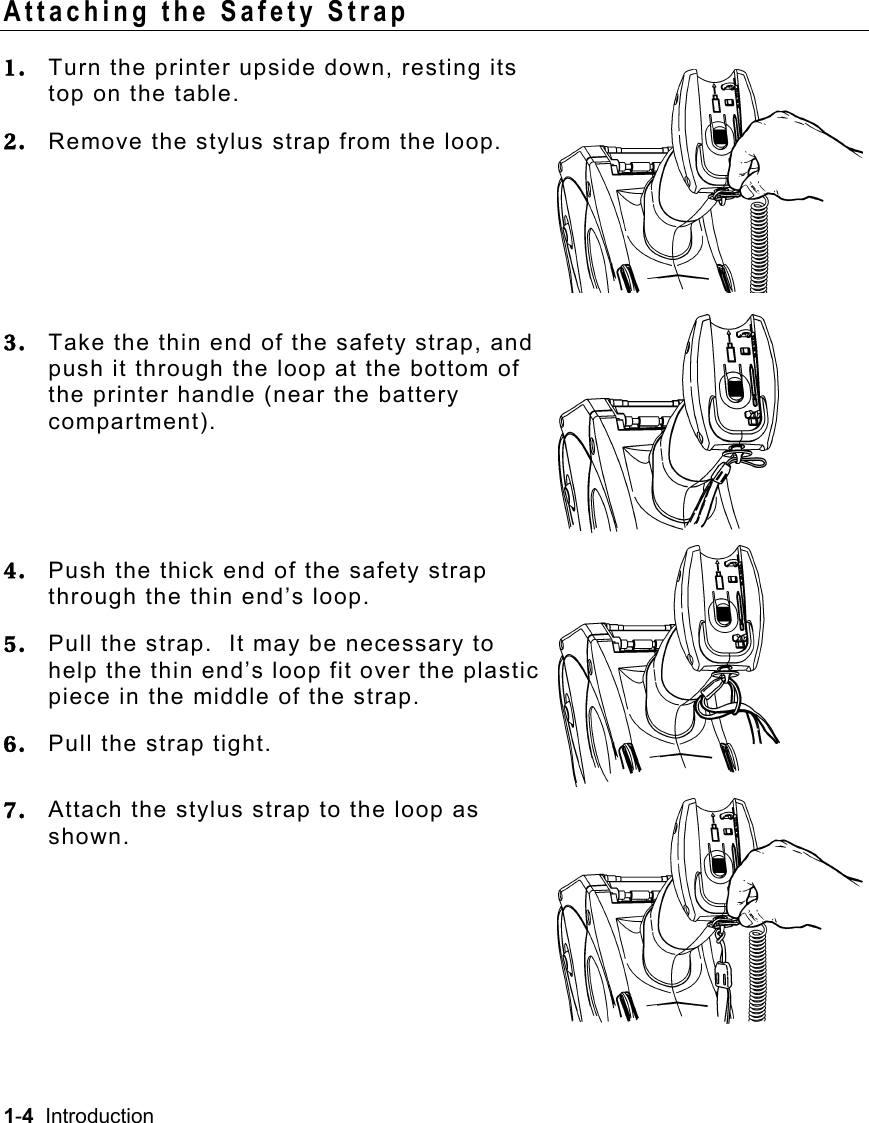
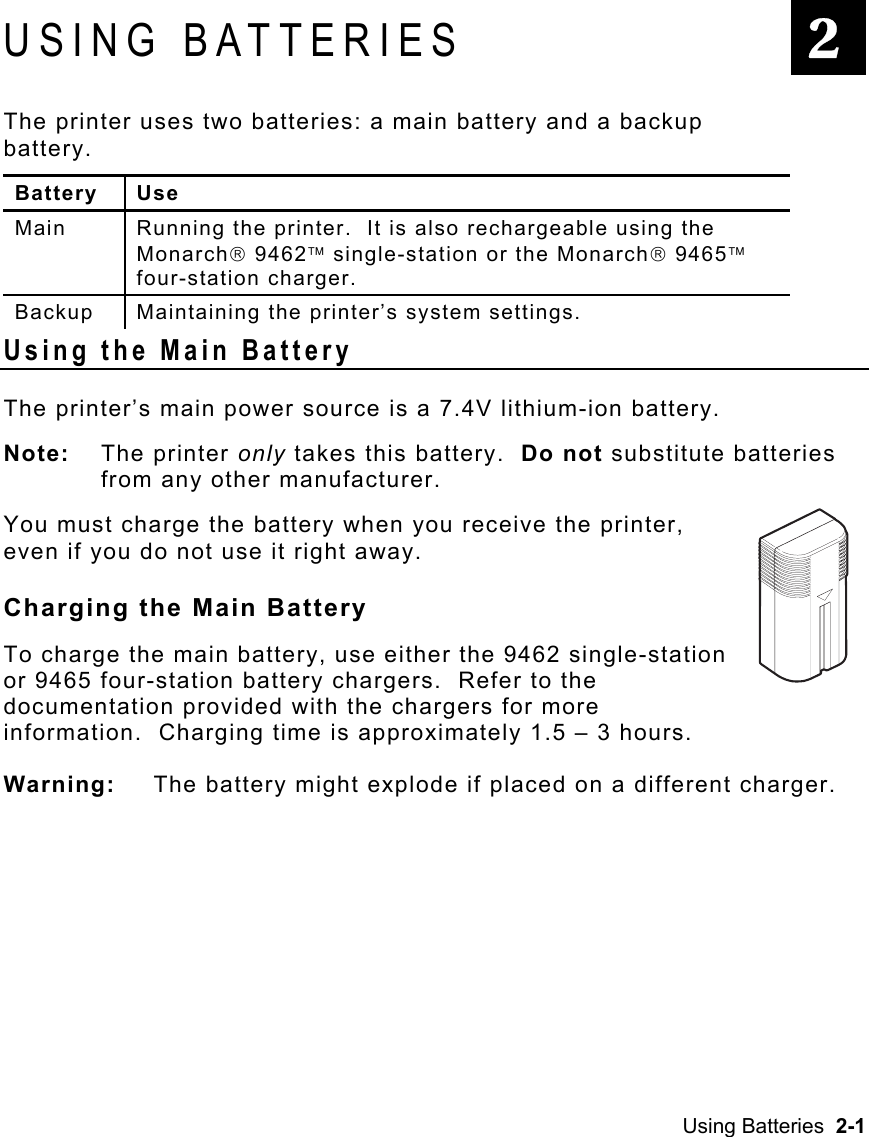
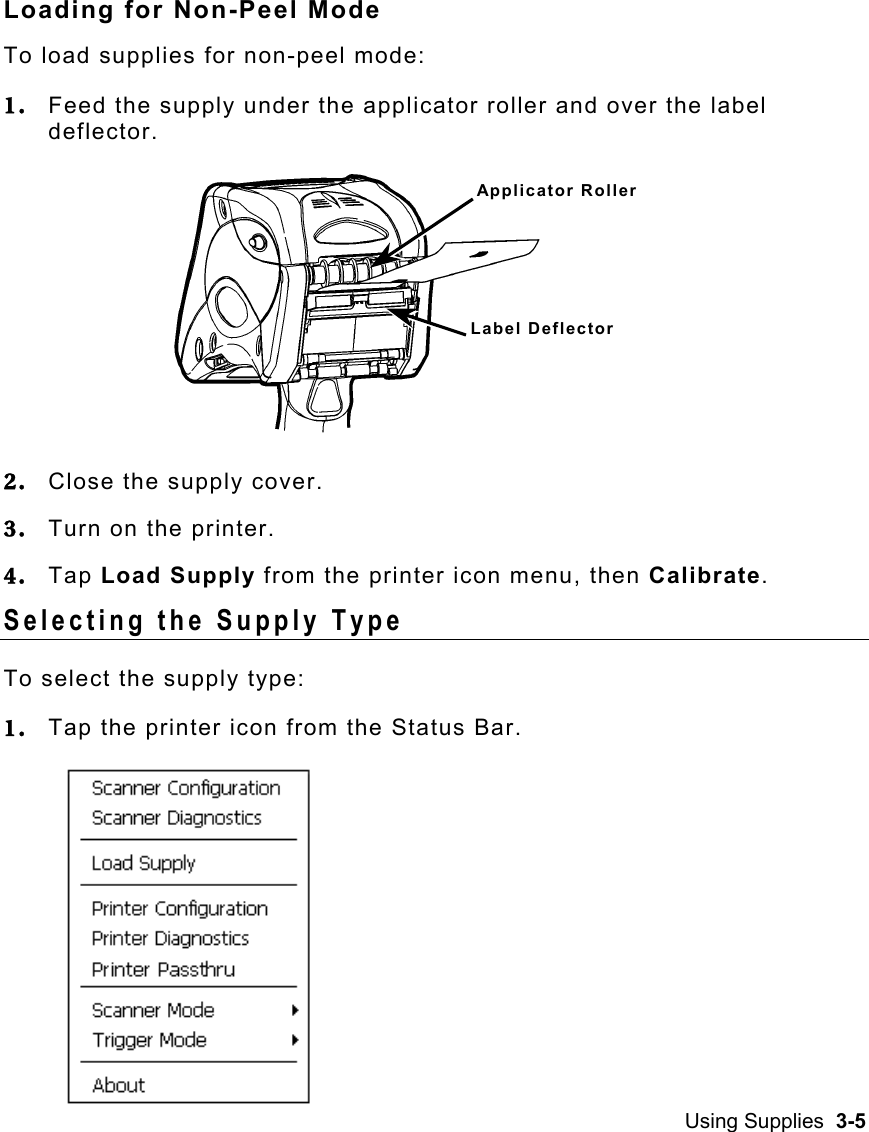
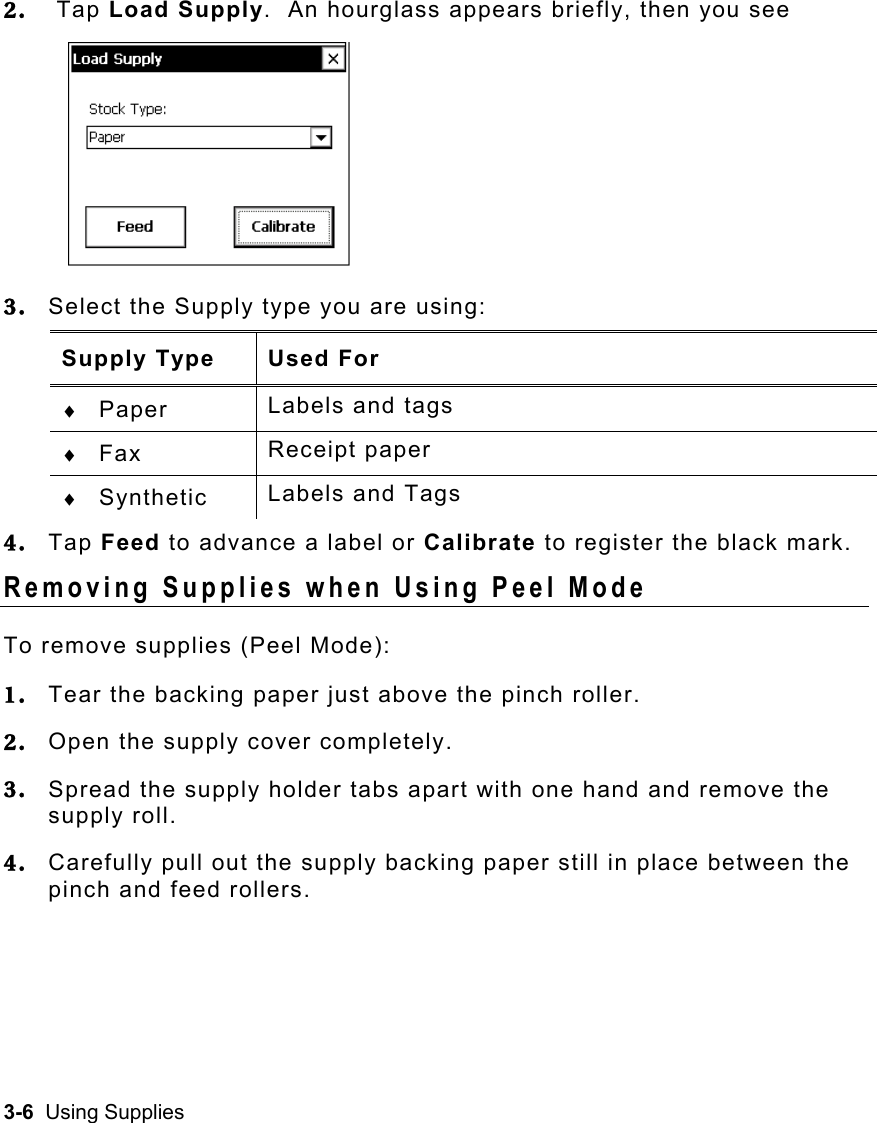
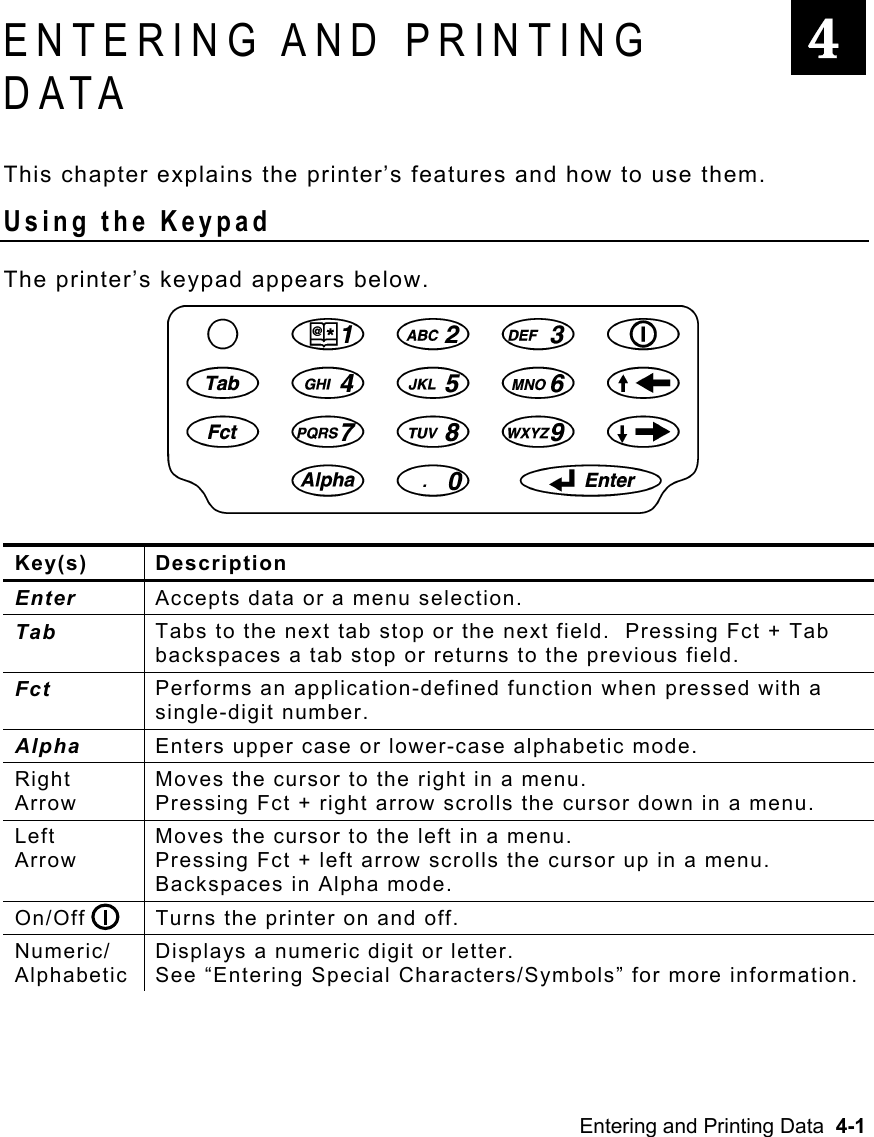
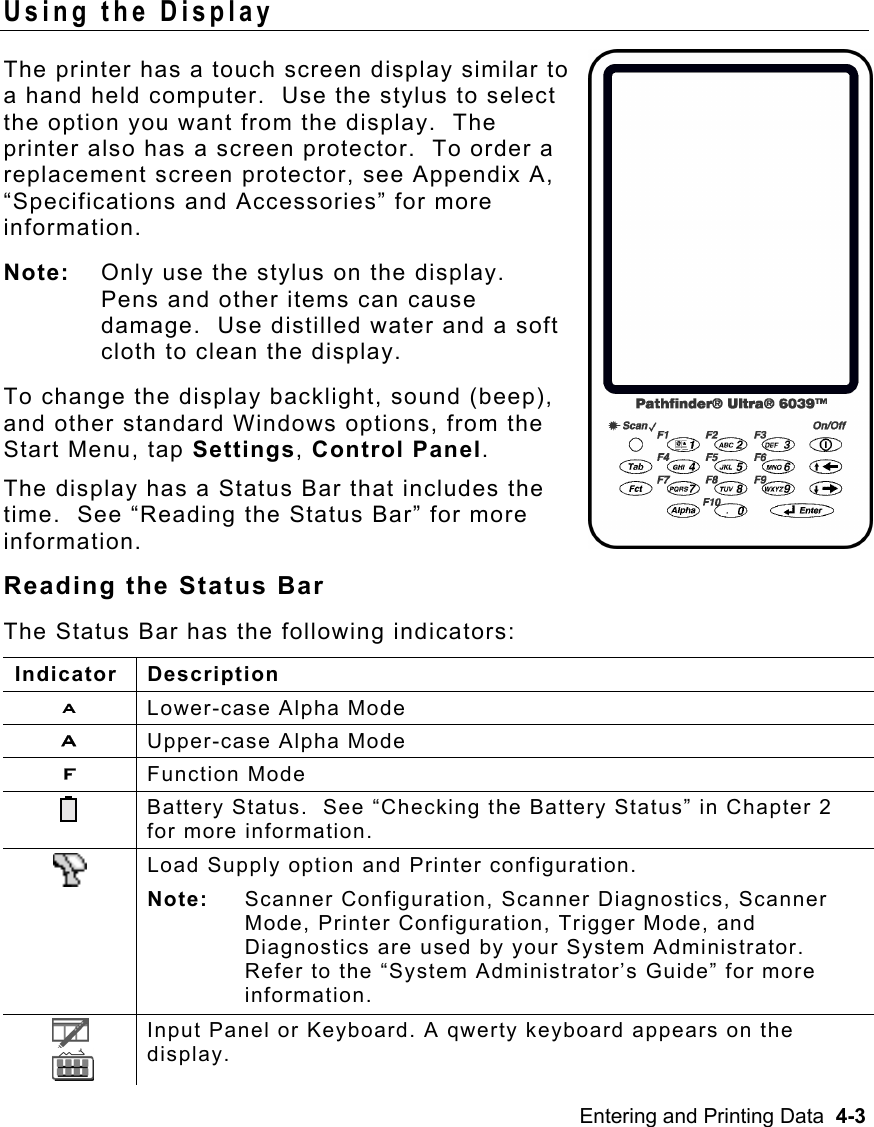
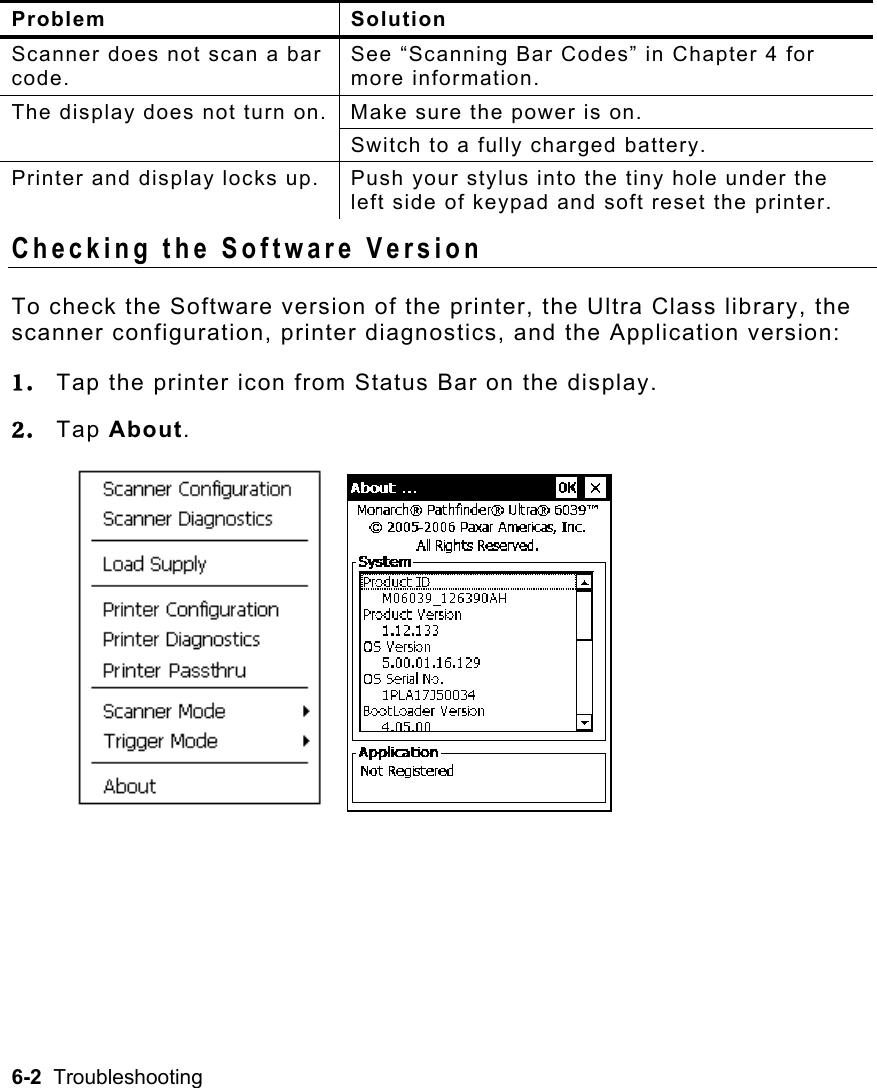
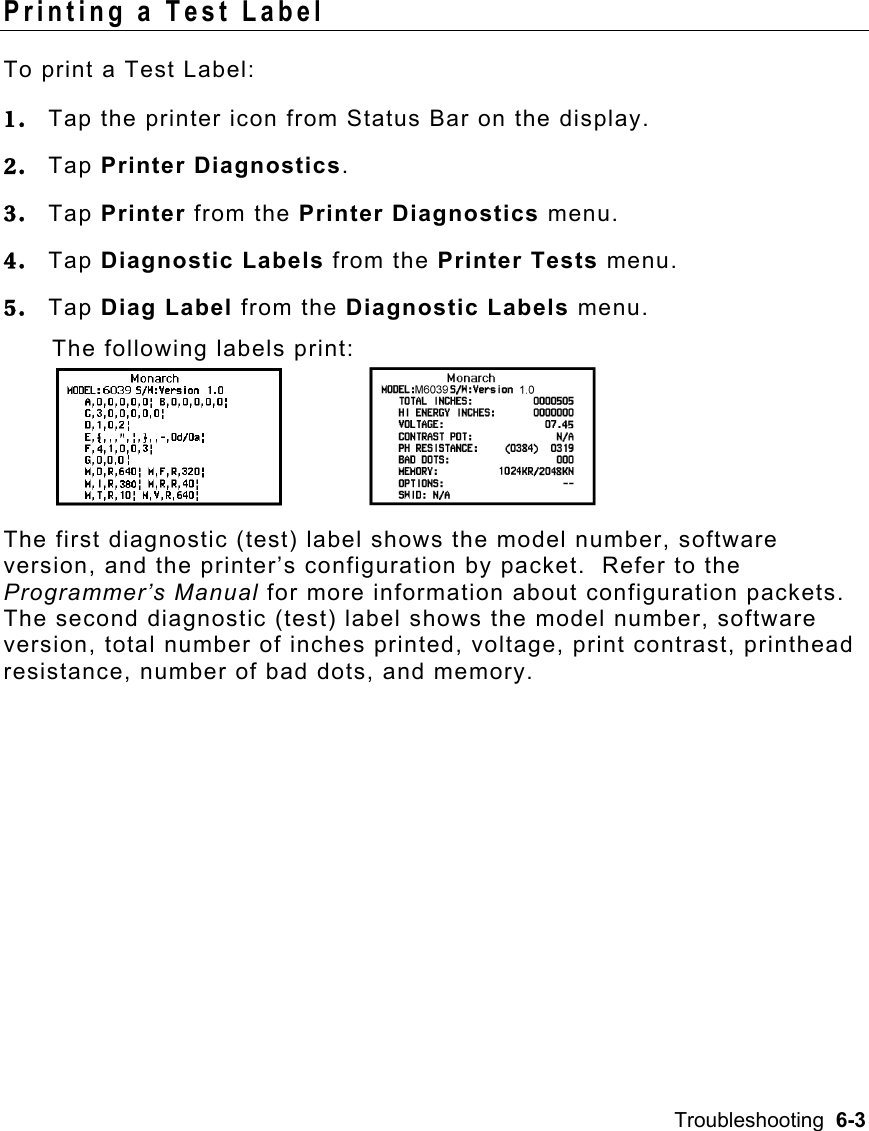
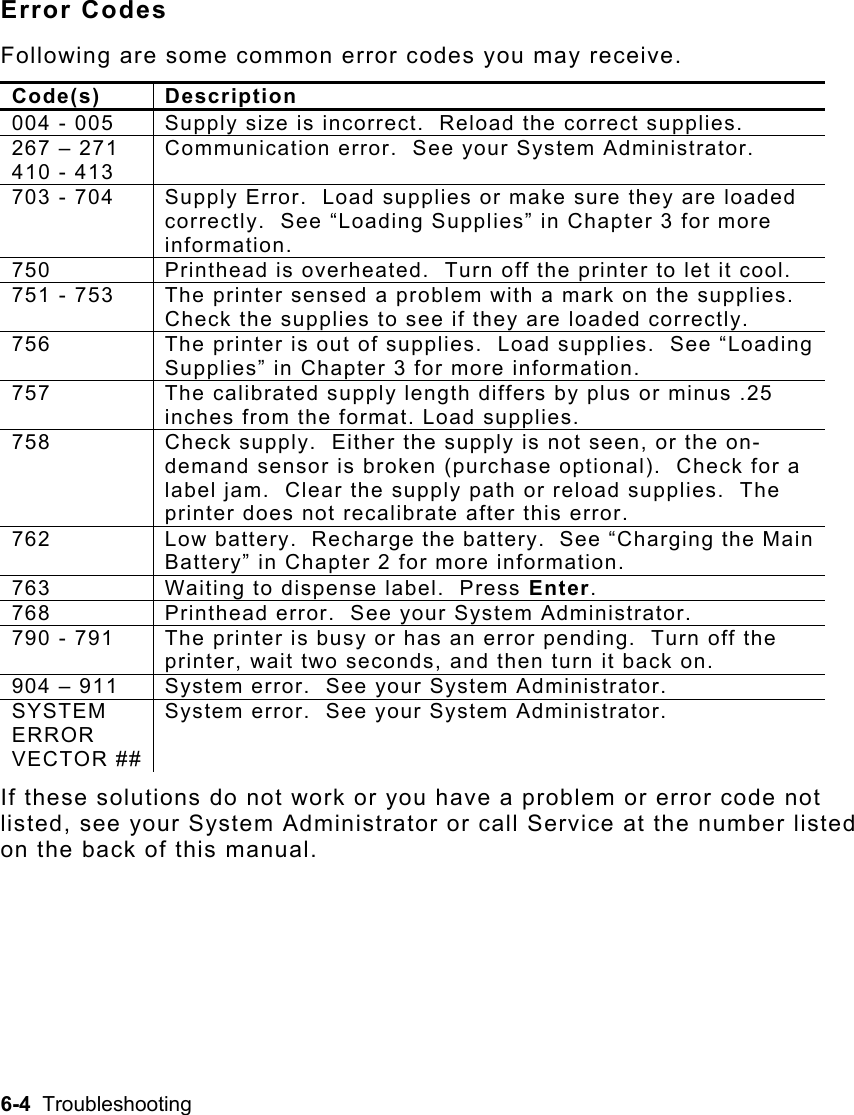
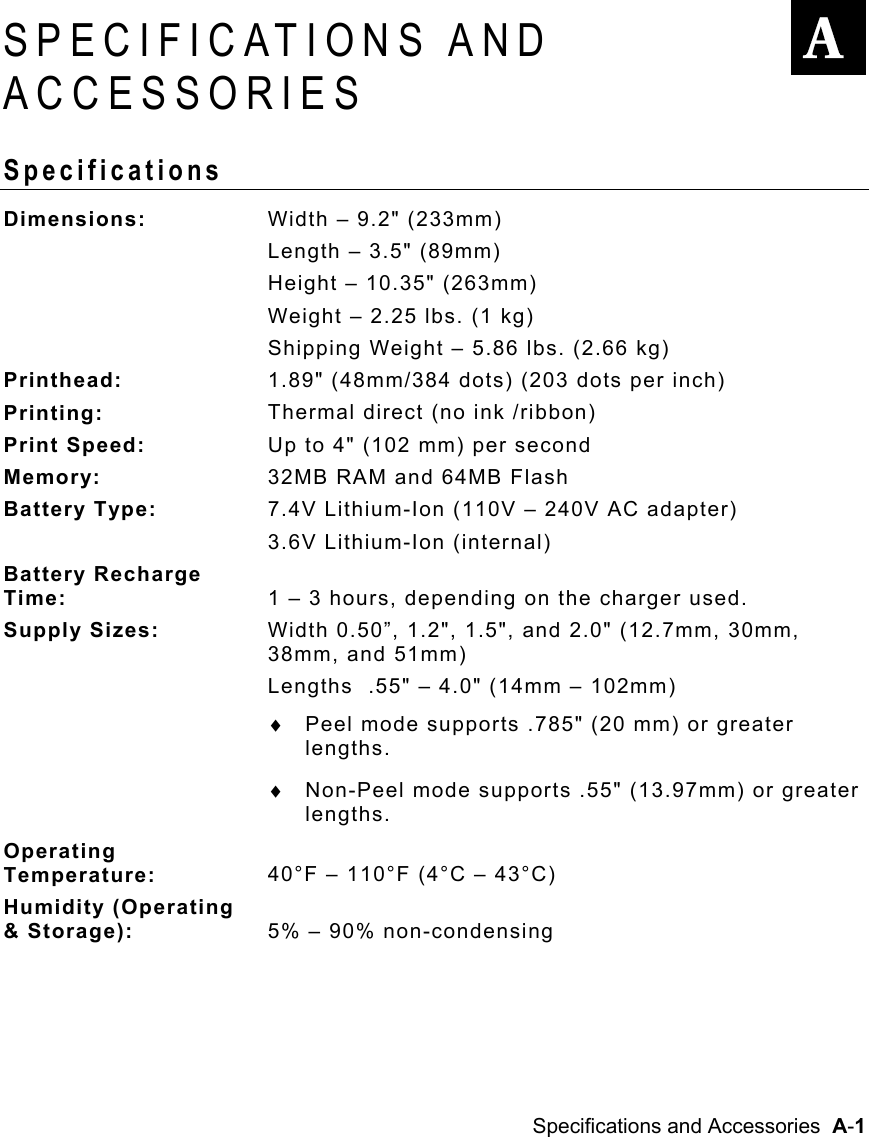
User manual