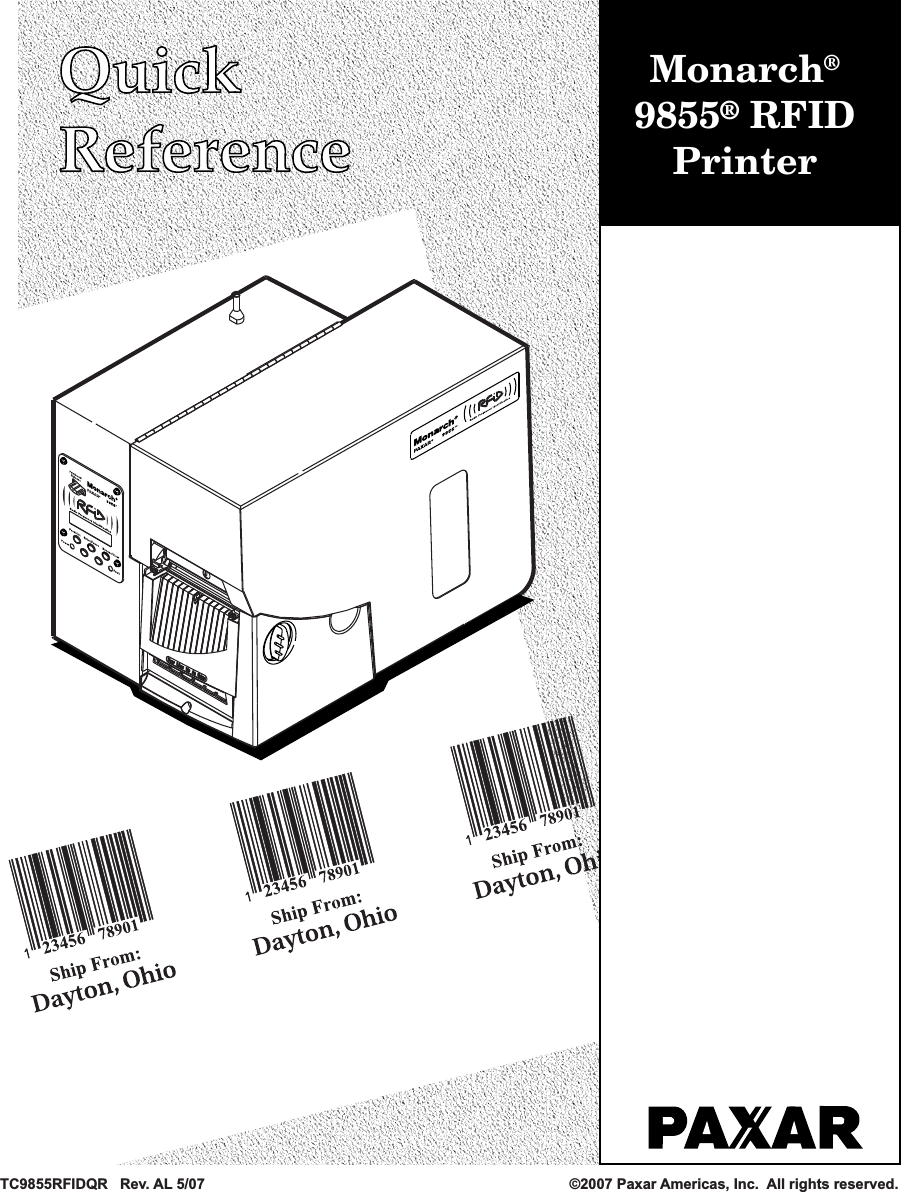
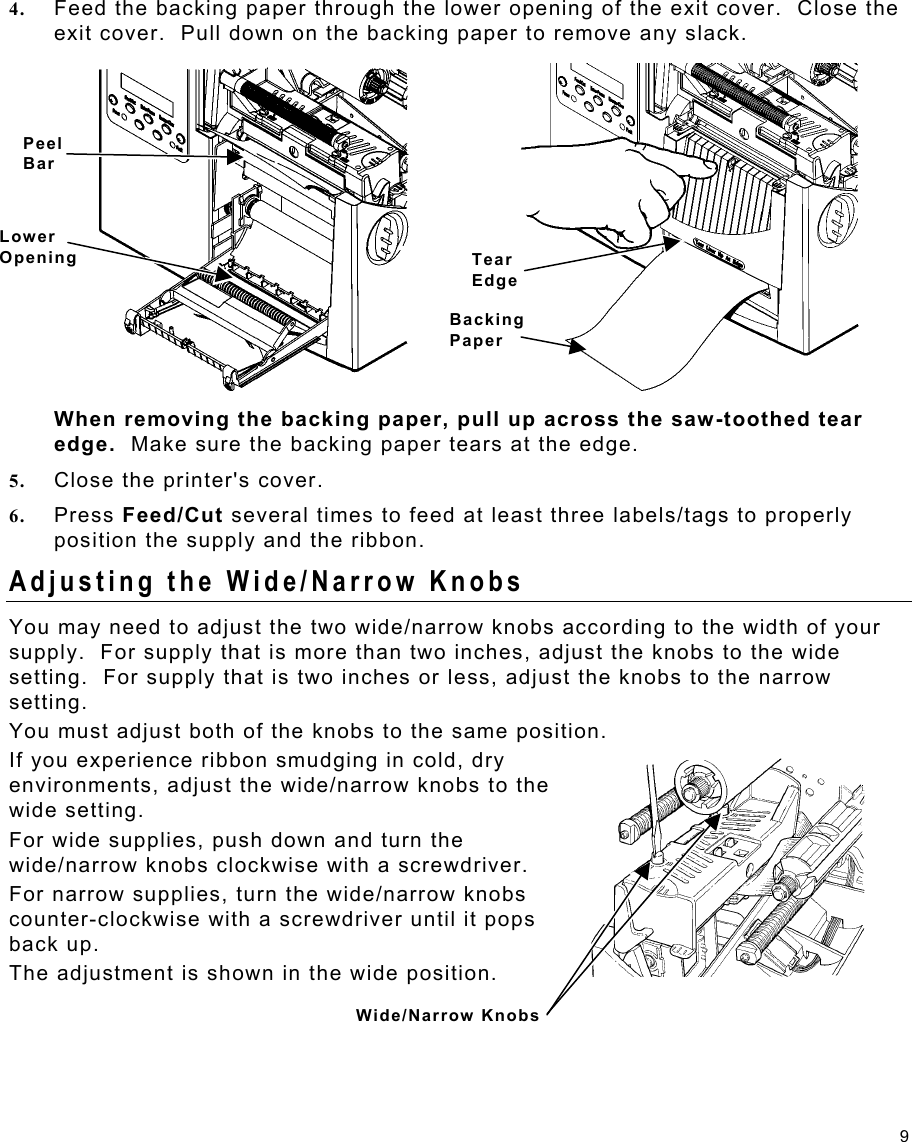
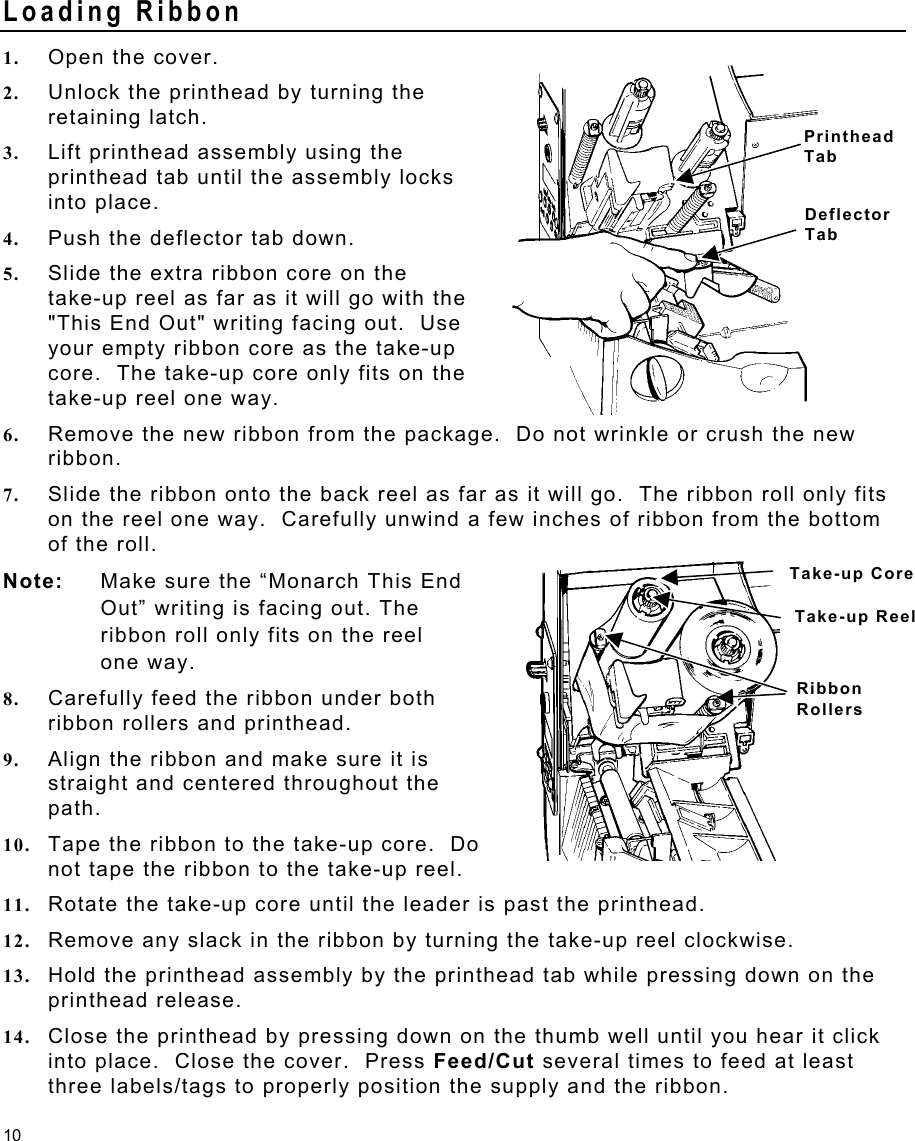
Avery Dennison Retail Information Services RFID-HF HF RFID LABEL PRINTER User Manual 9855rfidqr coval
Avery Dennison Retail Information Services, LLC HF RFID LABEL PRINTER 9855rfidqr coval
UserManual.wiki
>
Avery Dennison Retail Information Services
>
RFID HF User Manual
User guide
Navigation menu
Upload a User Manual
Namespaces
Wiki Guide
HTML
PDF
Info
Views
User Manual
Discussion / Help
Navigation
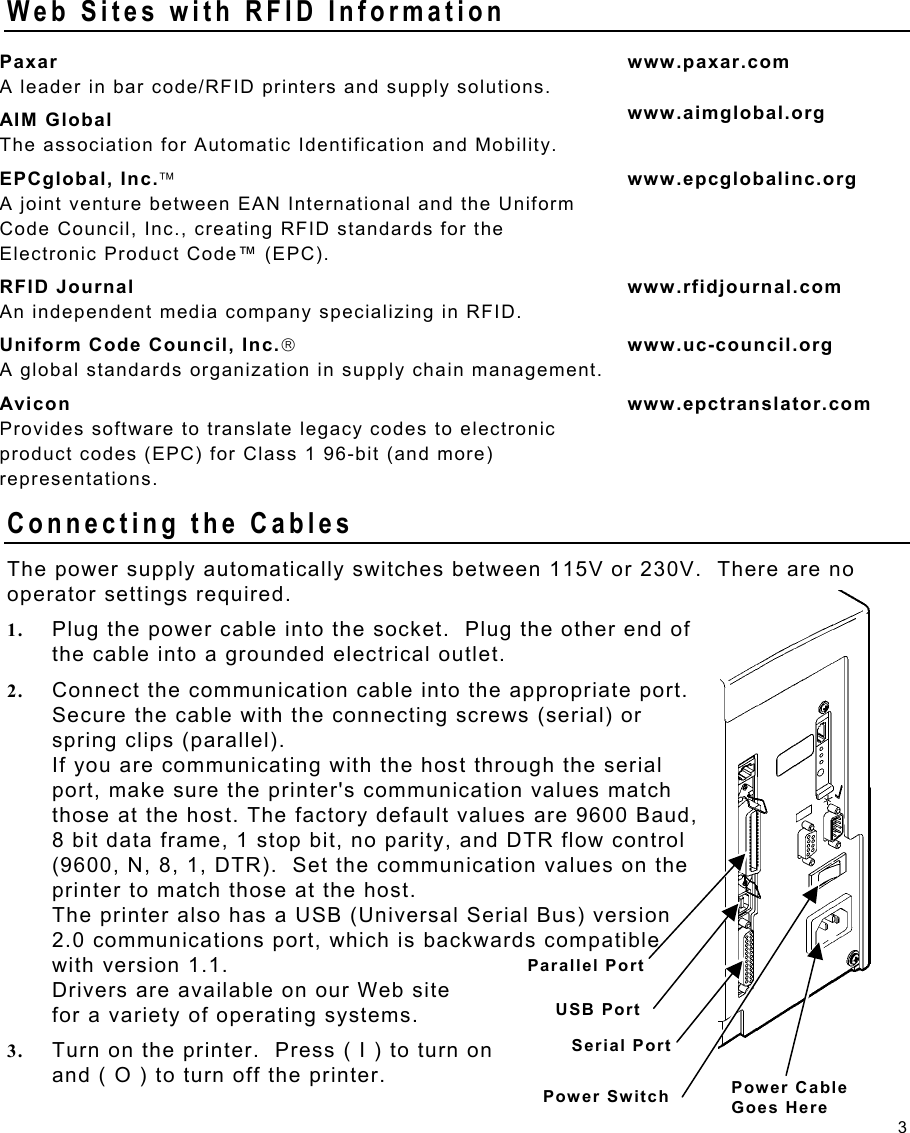

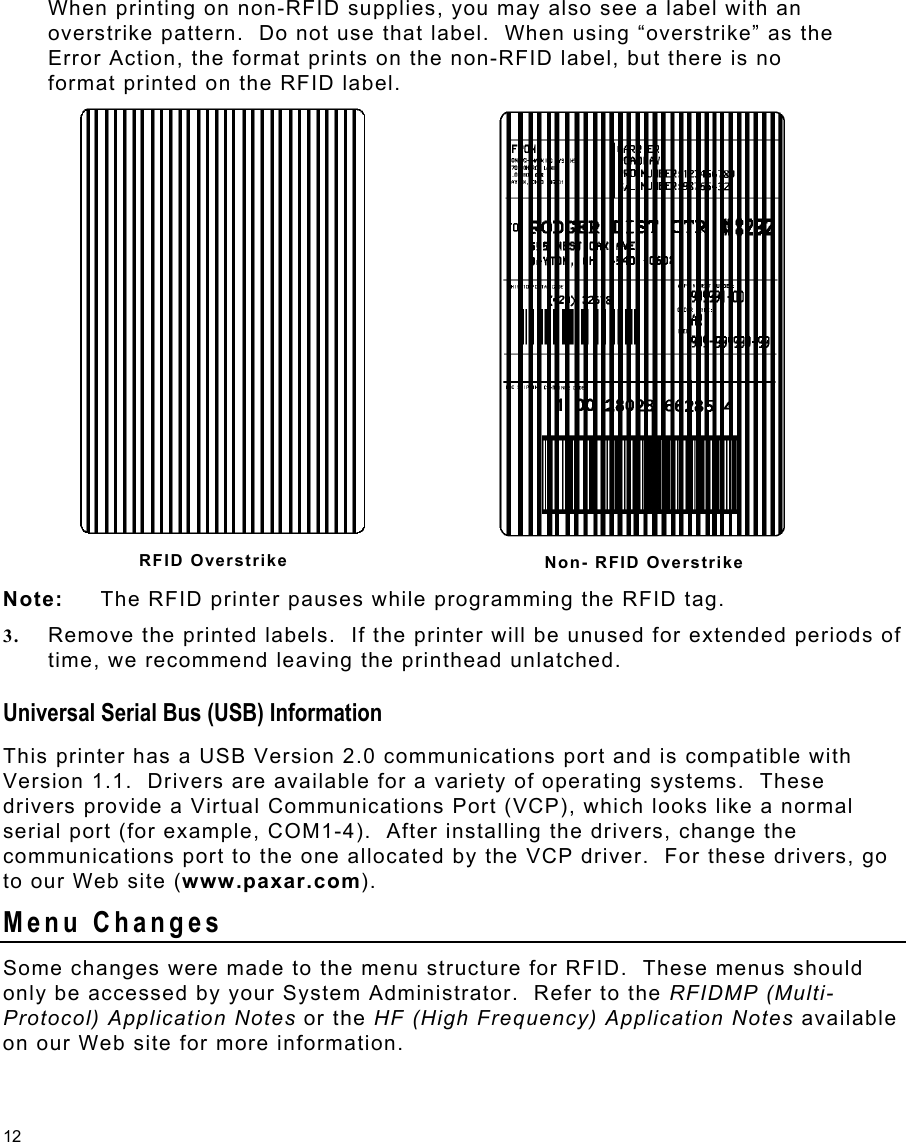
![11 Adjusting the Print Contrast The print contrast controls the darkness of the printing on your supply. 1. From the Main Menu, select Setup, then Contrast. You see the current setting, for example: Enter contrast [-699/699]: +0 2. Press Å or Æ to change the contrast. Pressing Æ darkens the print; Å lightens the print. Feed/Cut acts as a toggle switch to change the value by 10 or 1. For example, to make the contrast 50 (from the default 0), press Feed/Cut, then press Æ five times (50). Press Enter/Pause to select the displayed value. Test Label? No Æ 3. Press Å or Æ to select either “Yes” or “No” to print a test label and check the print contrast. Press Enter/Pause. 4. Press Escape/Clear until you see the Main Menu. Printing Before you print, make sure the printer is connected and ready to receive data. When you turn on the RFID printer, “Monarch Initializing” flashes briefly and then you see “Print Mode Ready.” If an error occurs while the printer is initializing, the error message flashes briefly on the display and then you see “Print Mode Ready.” The printer displays “Not available” when you try to select the RFID menus if the module is inoperative. The printer accepts RFID and non-RFID batches once you see “Print Mode Ready.” 1. Download a format and a batch. Refer to the optional Packet Reference Manual for information on downloading print jobs. 2. The printer prints a strip of labels or labels in on-demand mode. If printing RFID supplies, you see RFID Printing… 1 of 10 If the RFID tag is not programmable for any reason, the label may print with an overstrike pattern, indicating that it should not be used. Your System Administrator should set the desired Error Action accordingly.](https://usermanual.wiki/Avery-Dennison-Retail-Information-Services/RFID-HF/User-Guide-803578-Page-12.png)