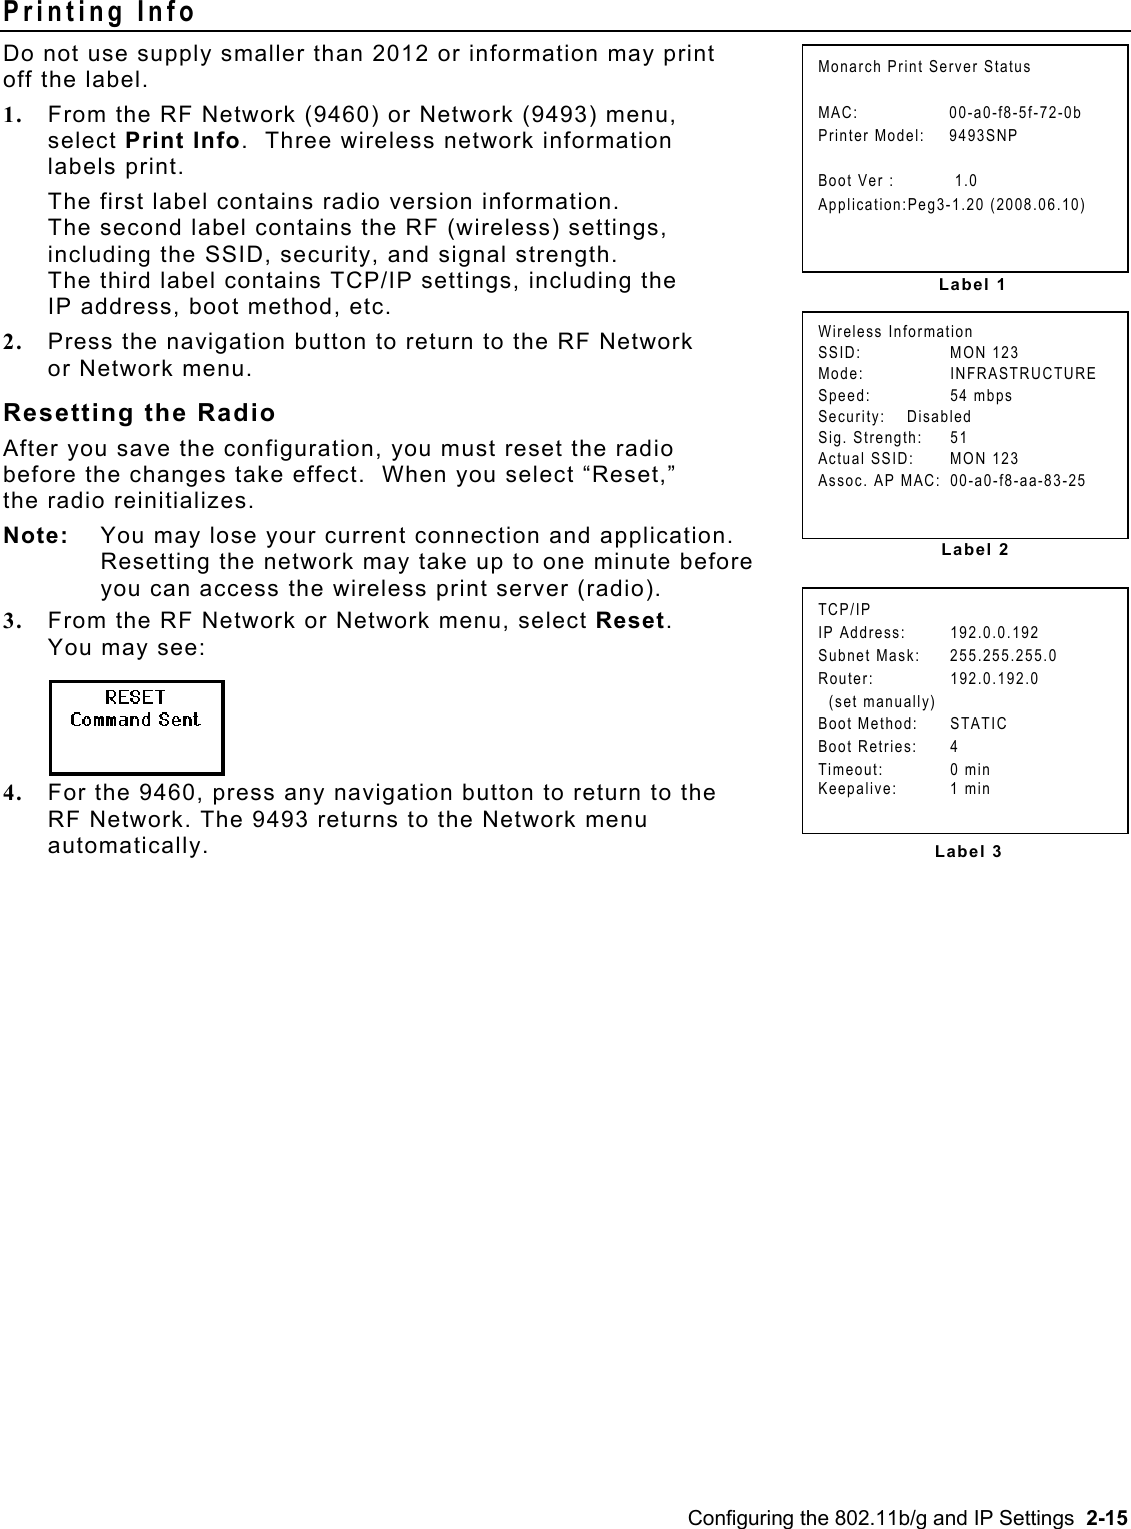
Avery Dennison Retail Information Services SX10WGPM 802.11b/g Module User Manual 9460snpsacv af
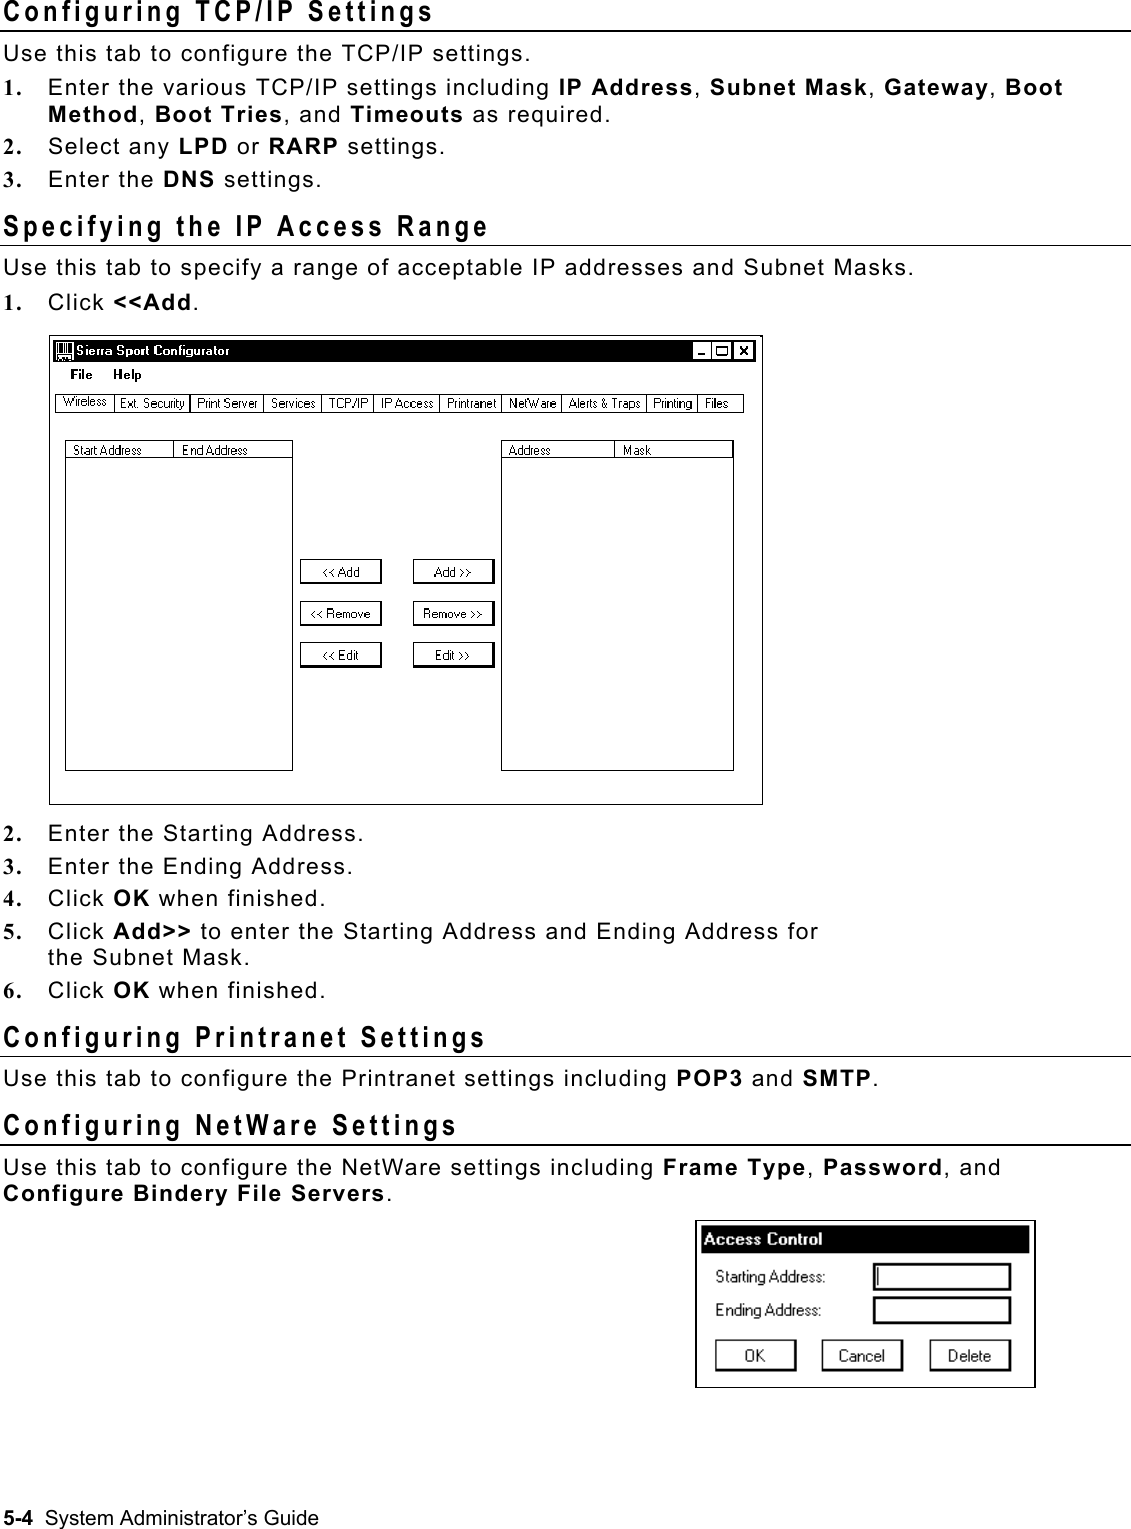
Avery Dennison Retail Information Services, LLC 802.11b/g Module 9460snpsacv af
Contents
- 1. Users Manual - 1
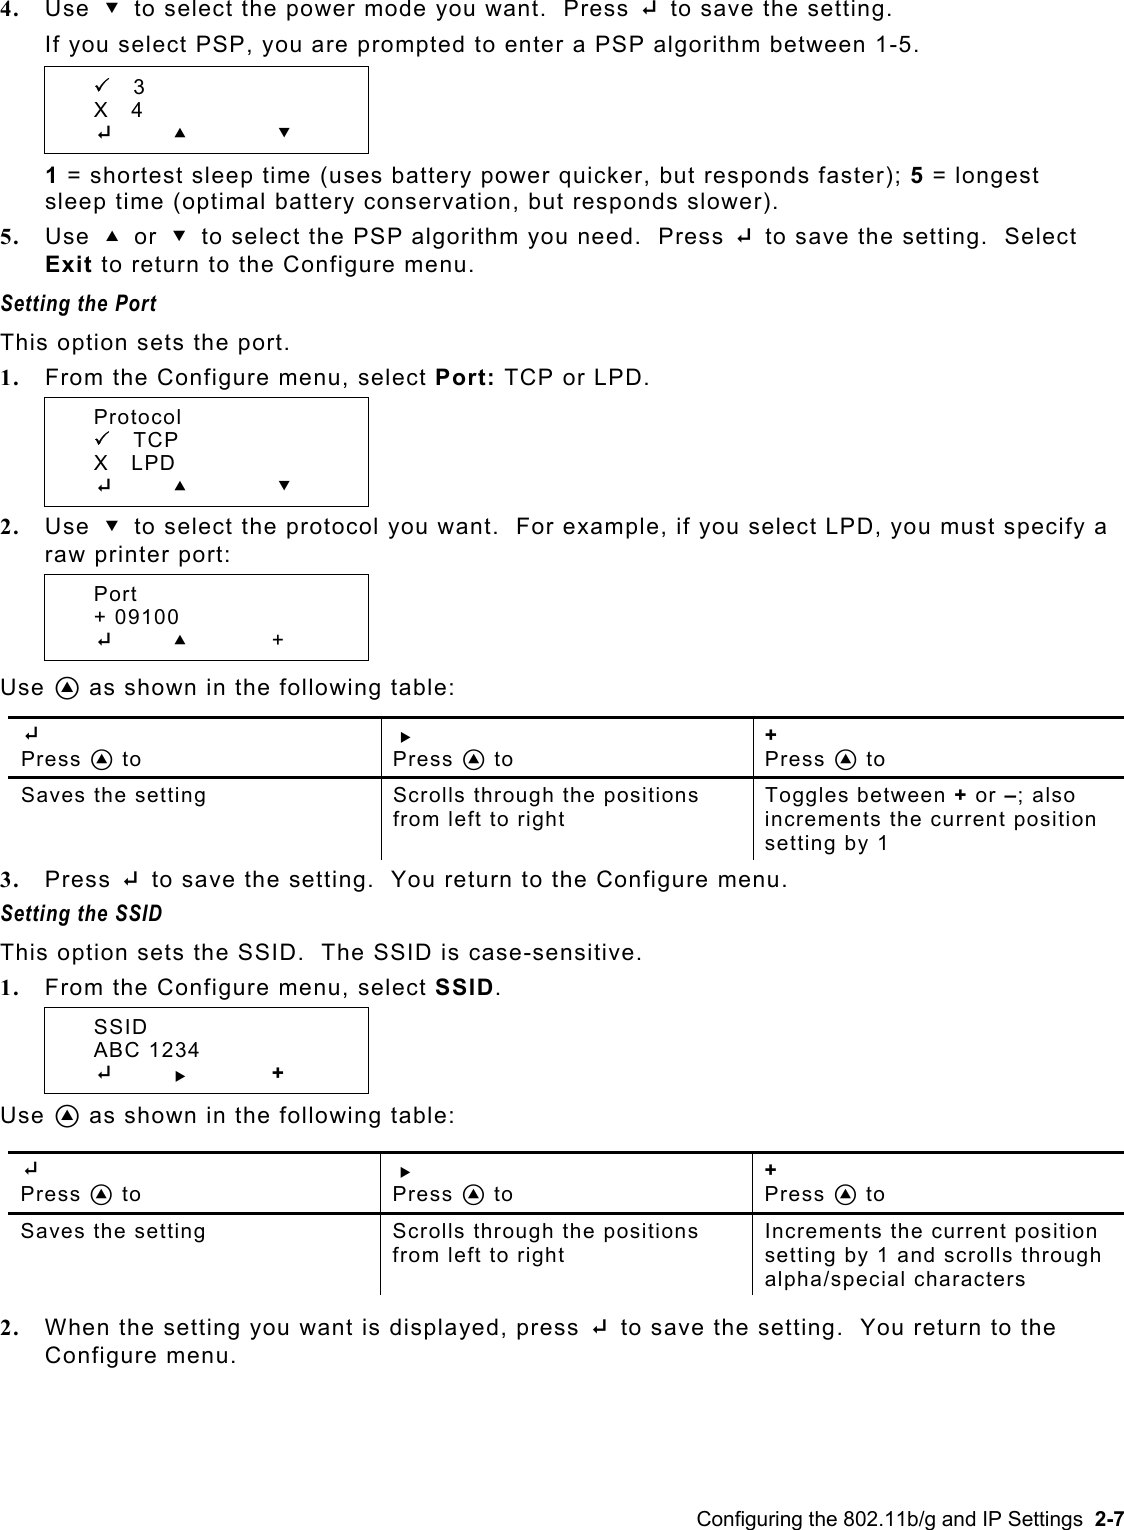
- 2. Users Manual - 2
- 3. User Manual 1 of 2
- 4. user manual 2 of 2
Users Manual - 1
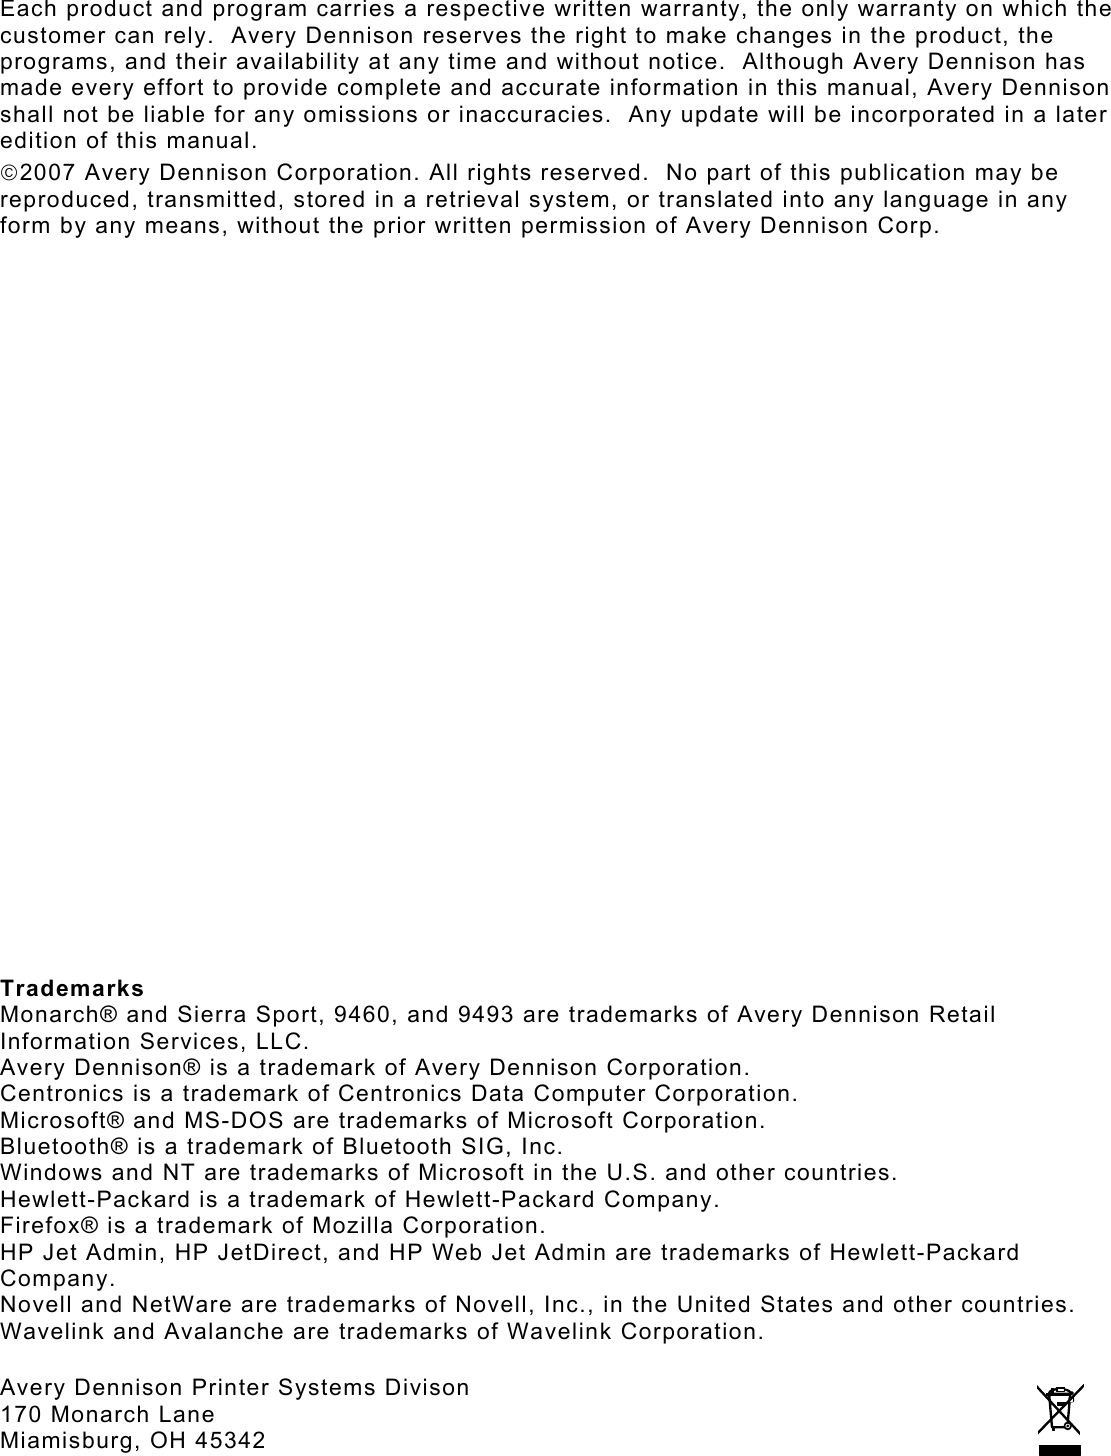

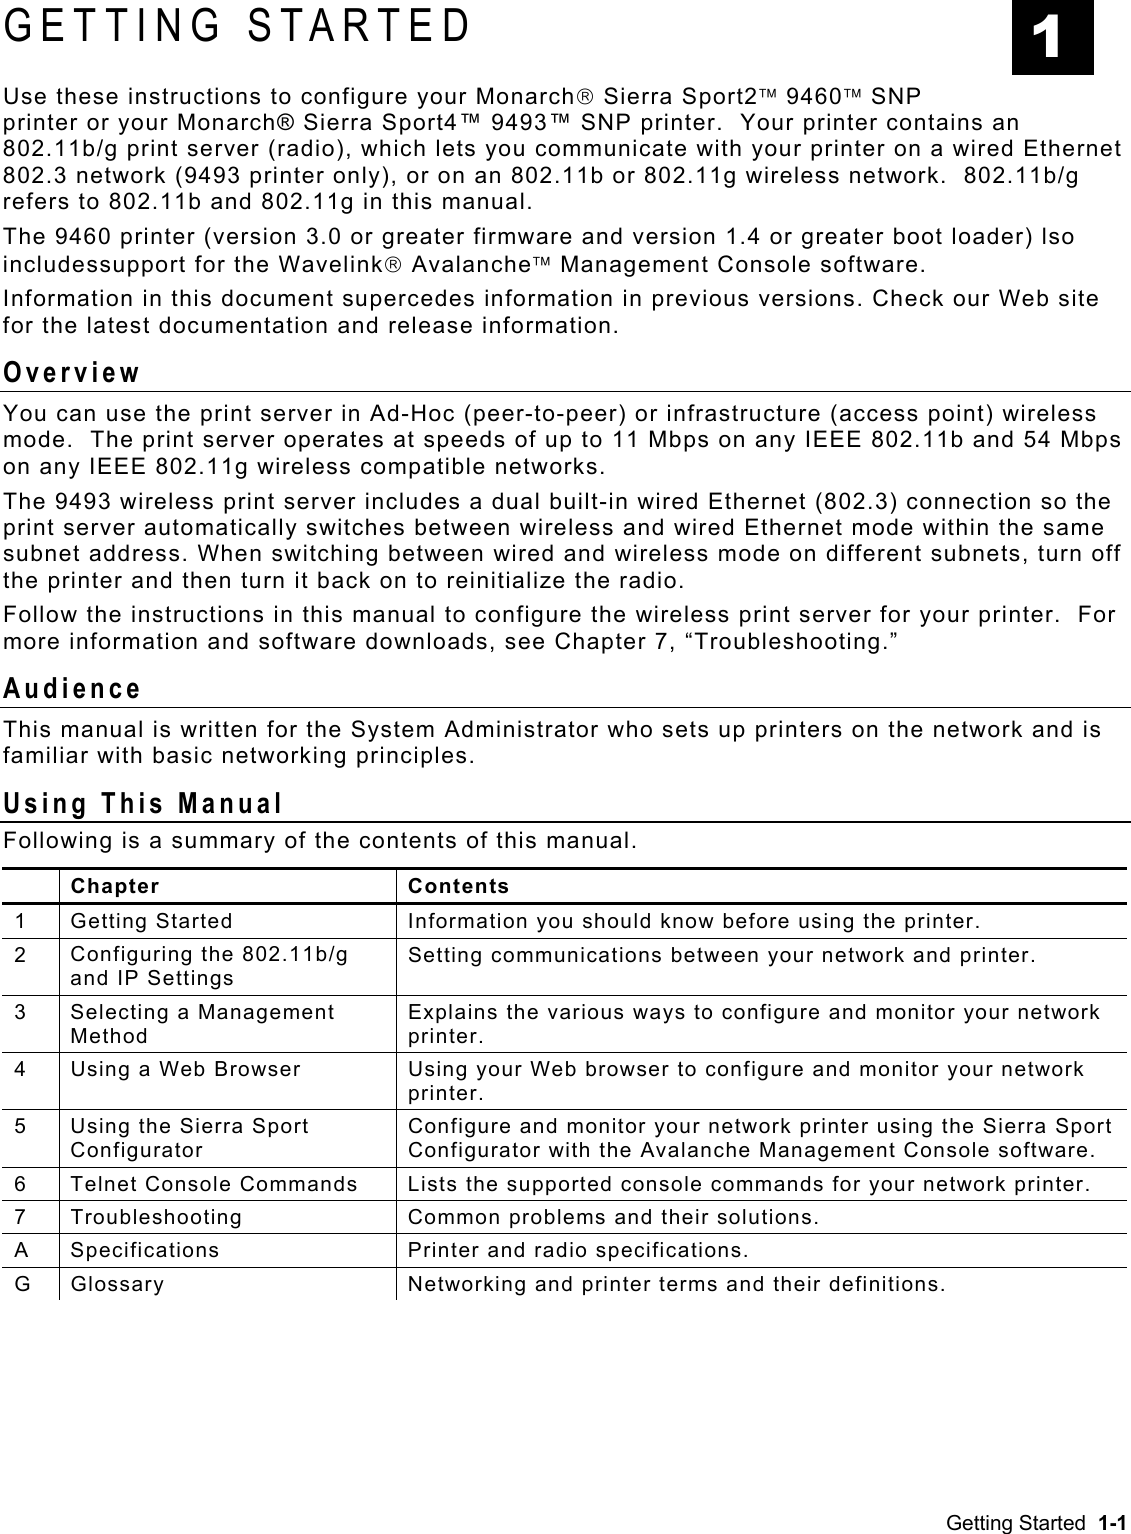
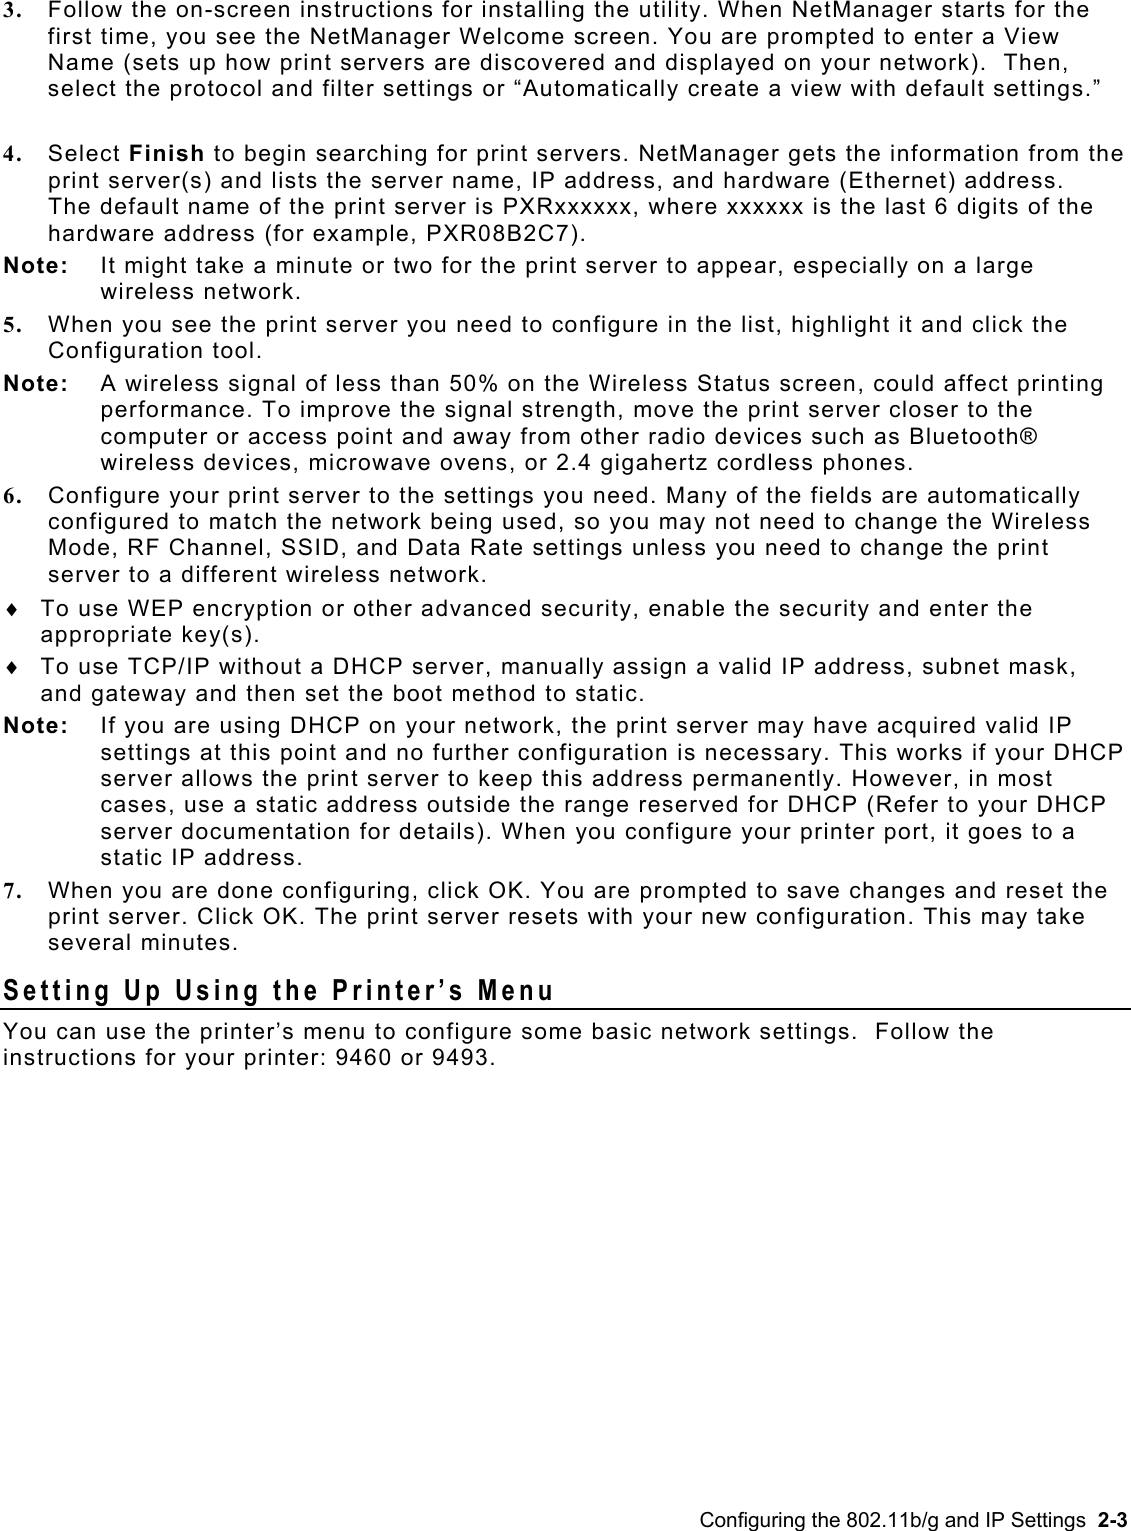

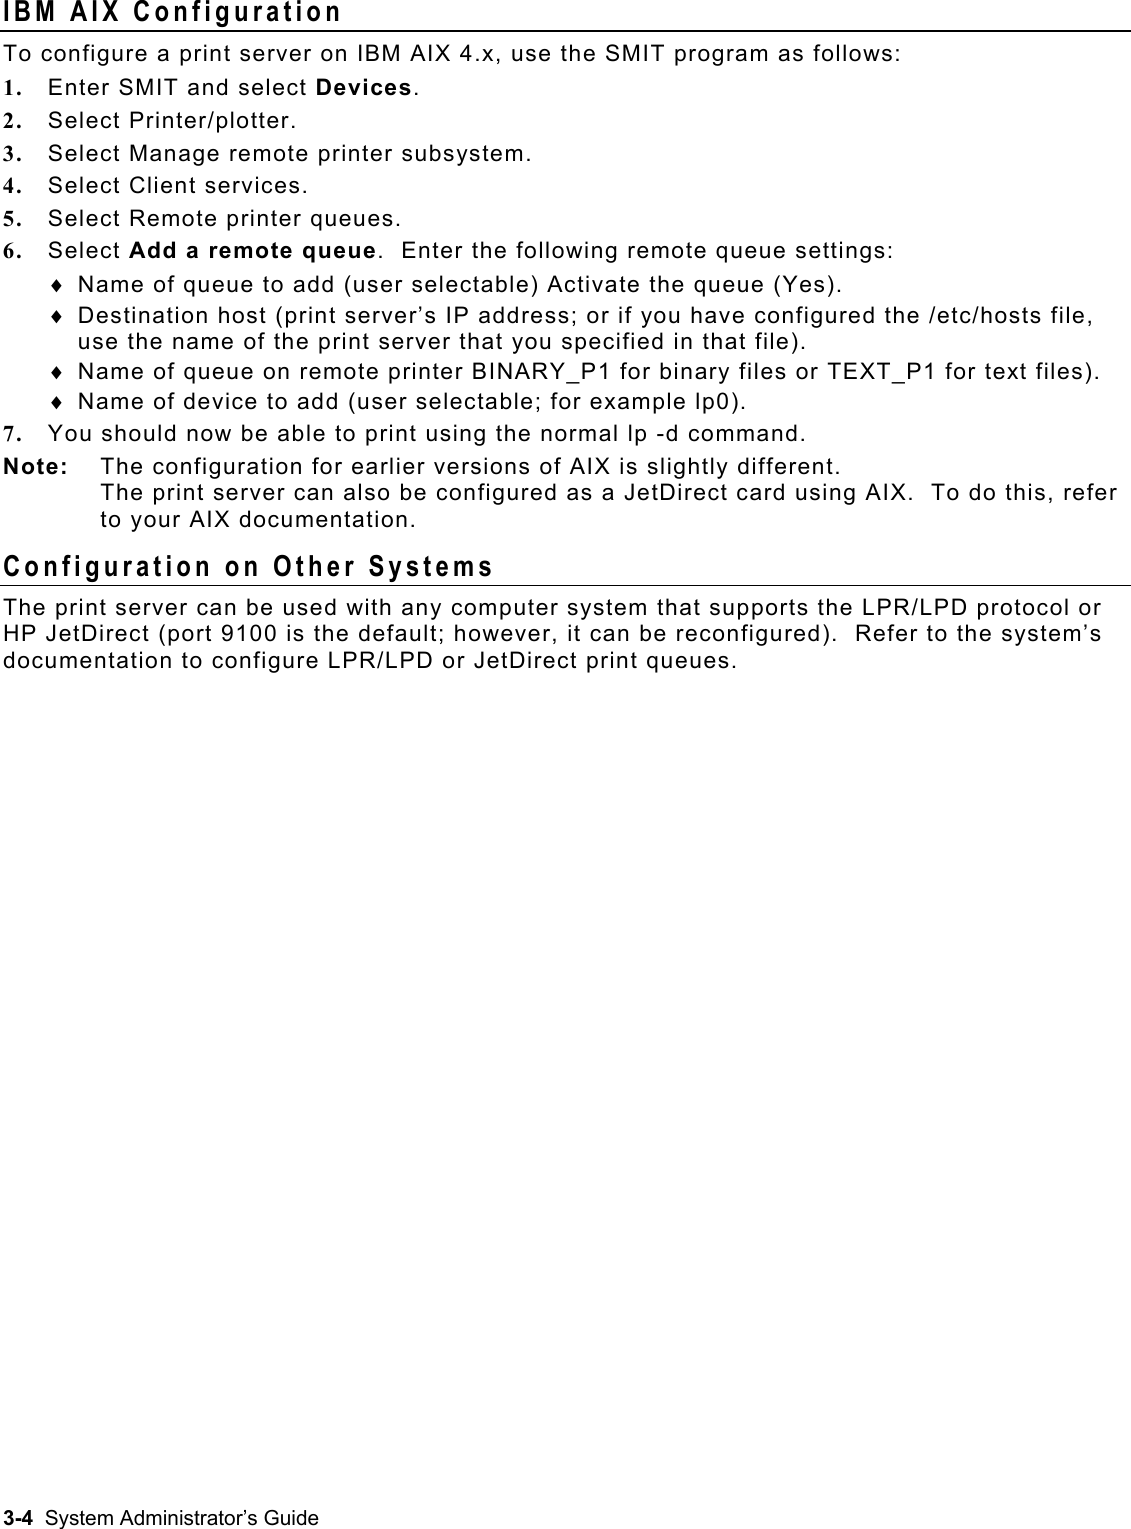

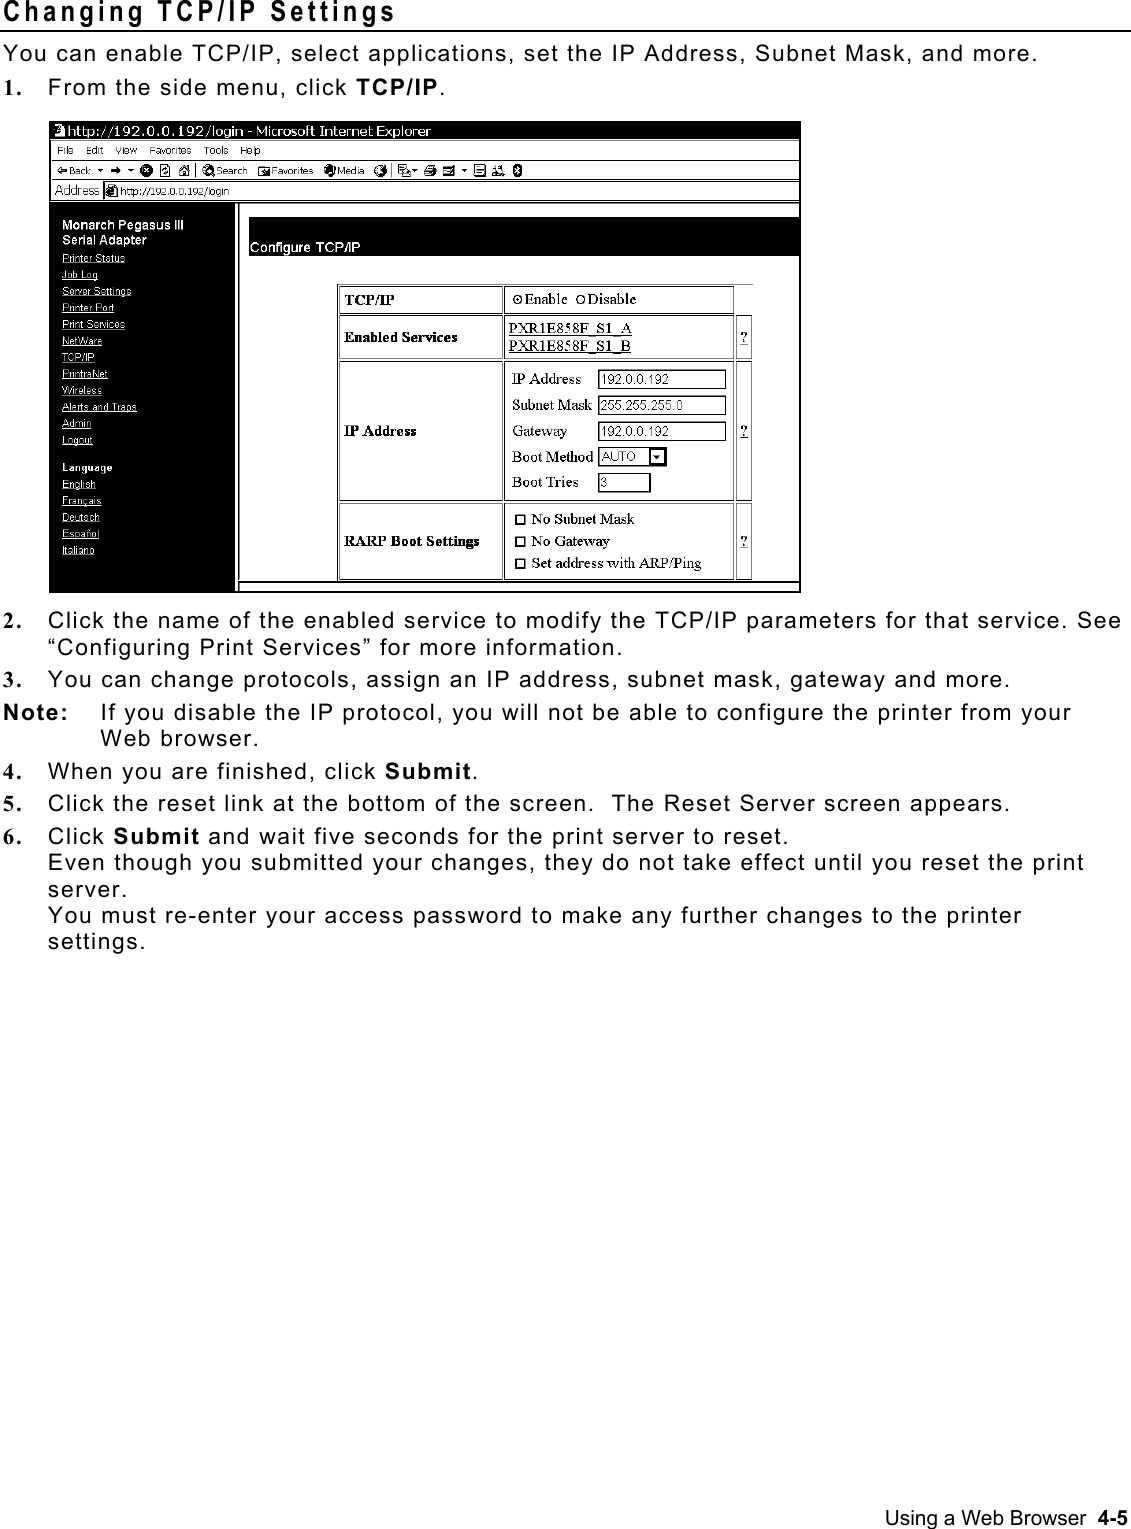

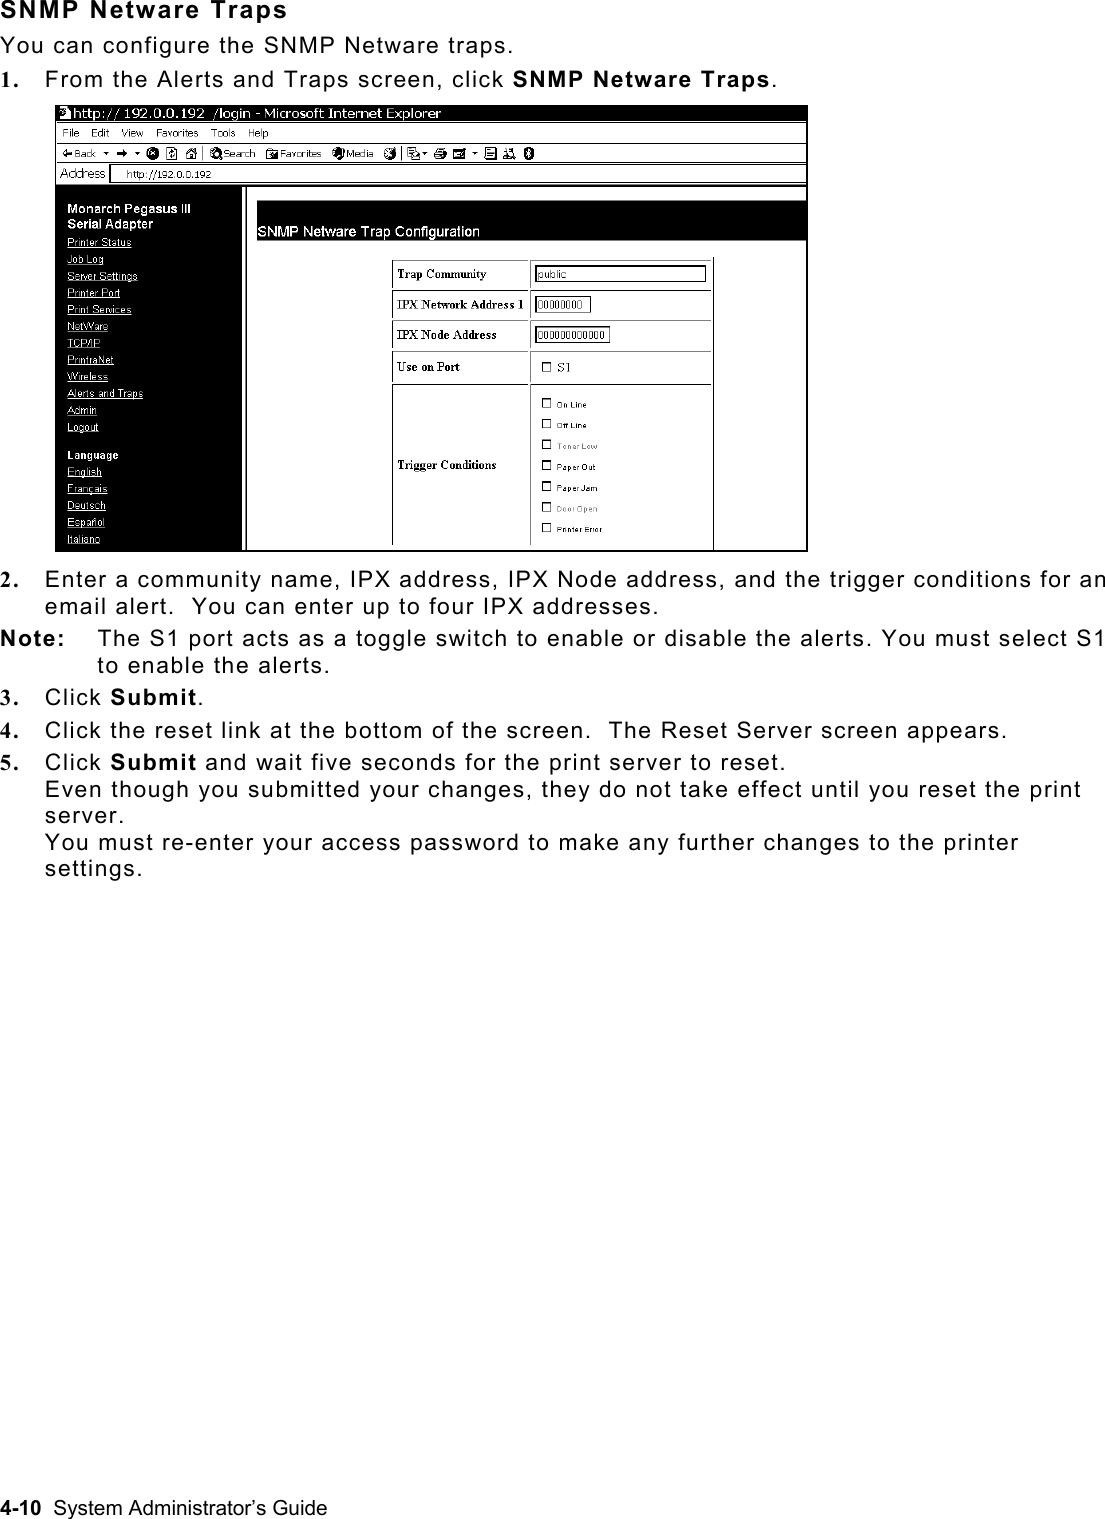
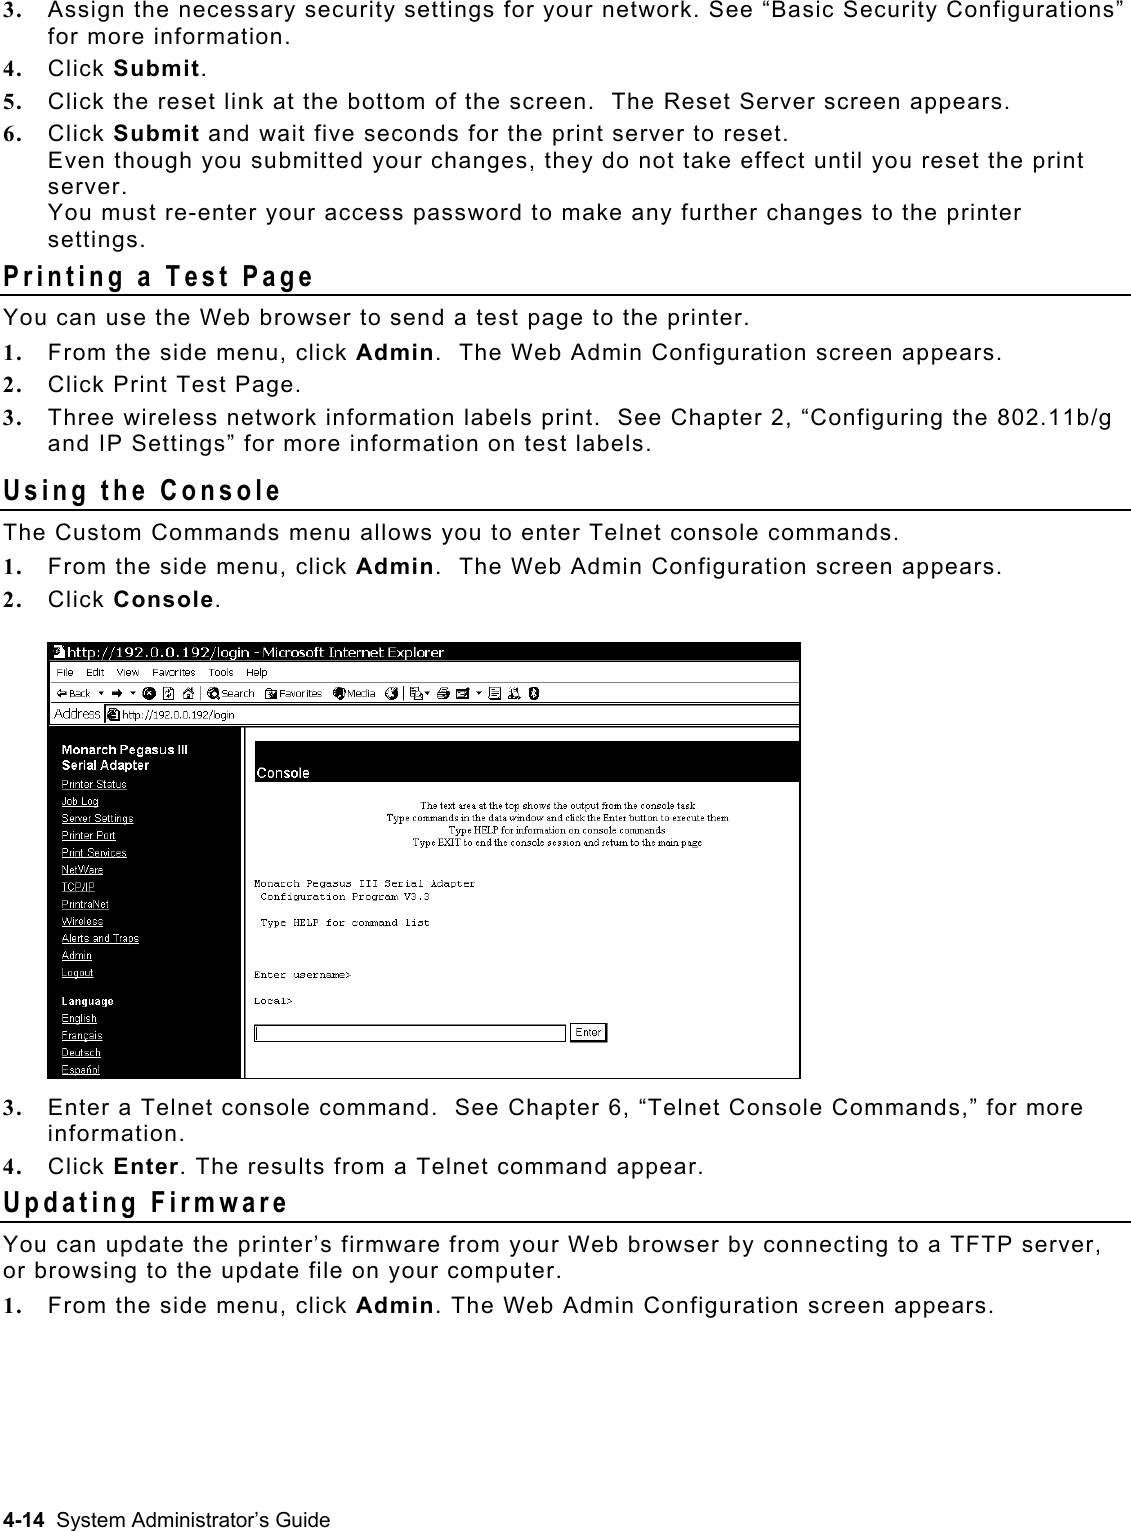
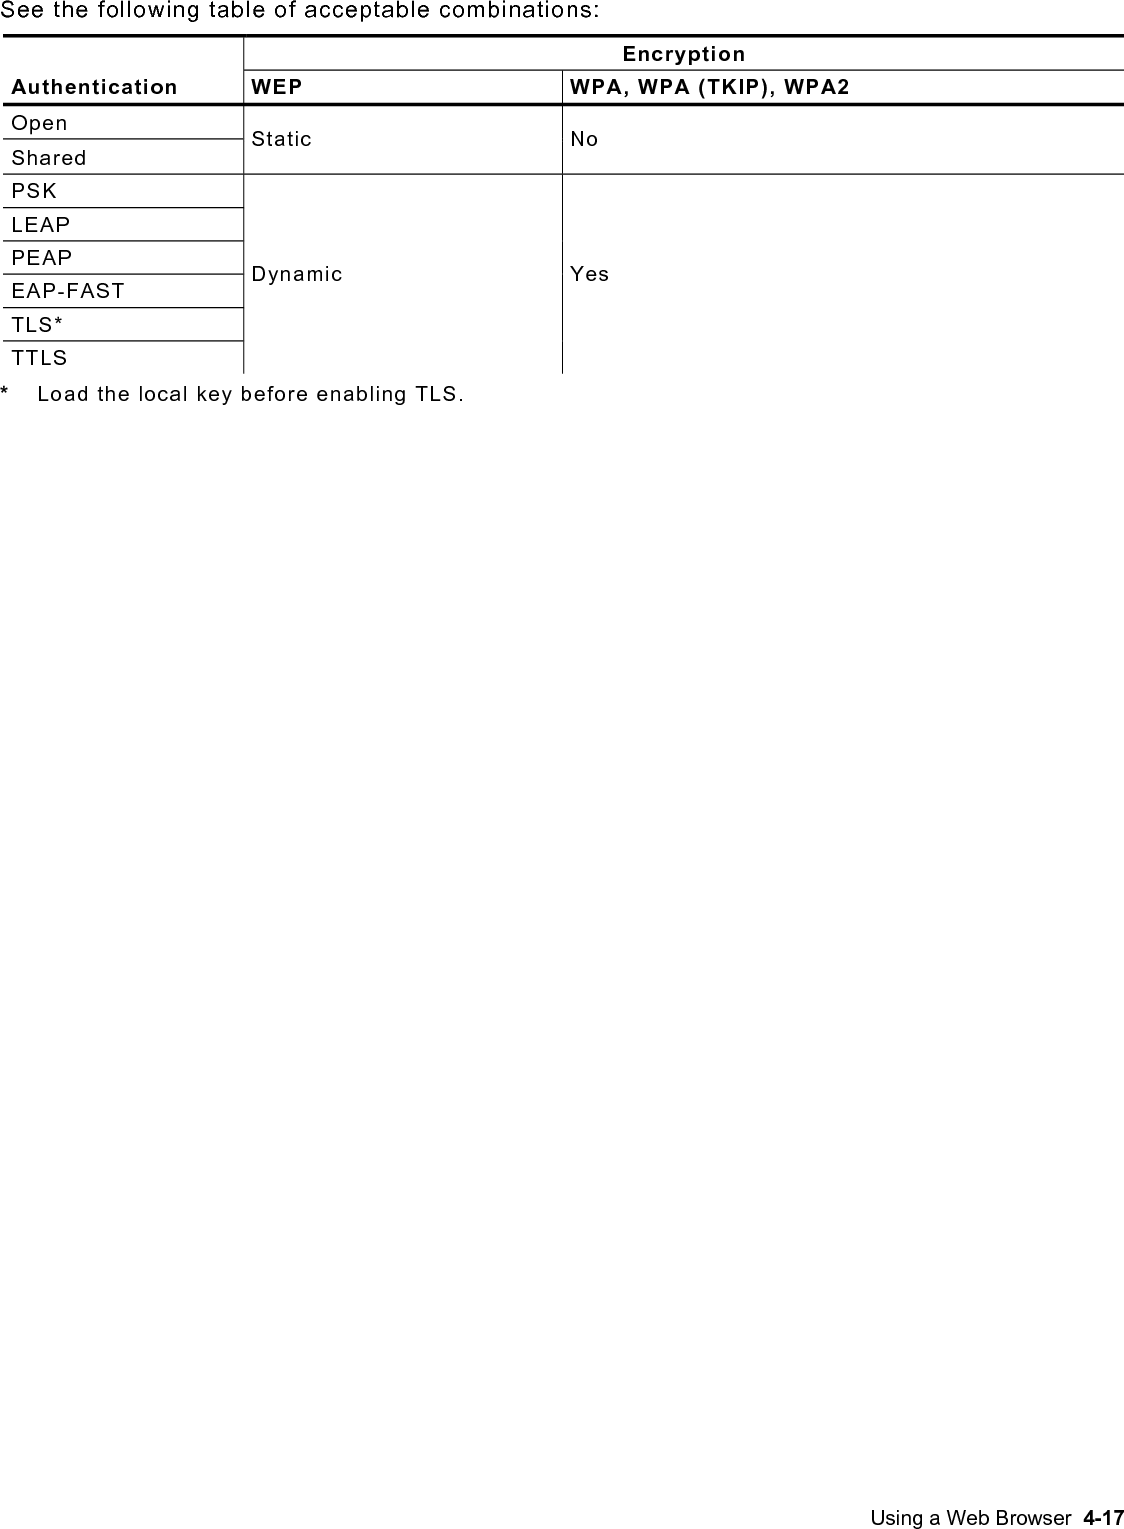

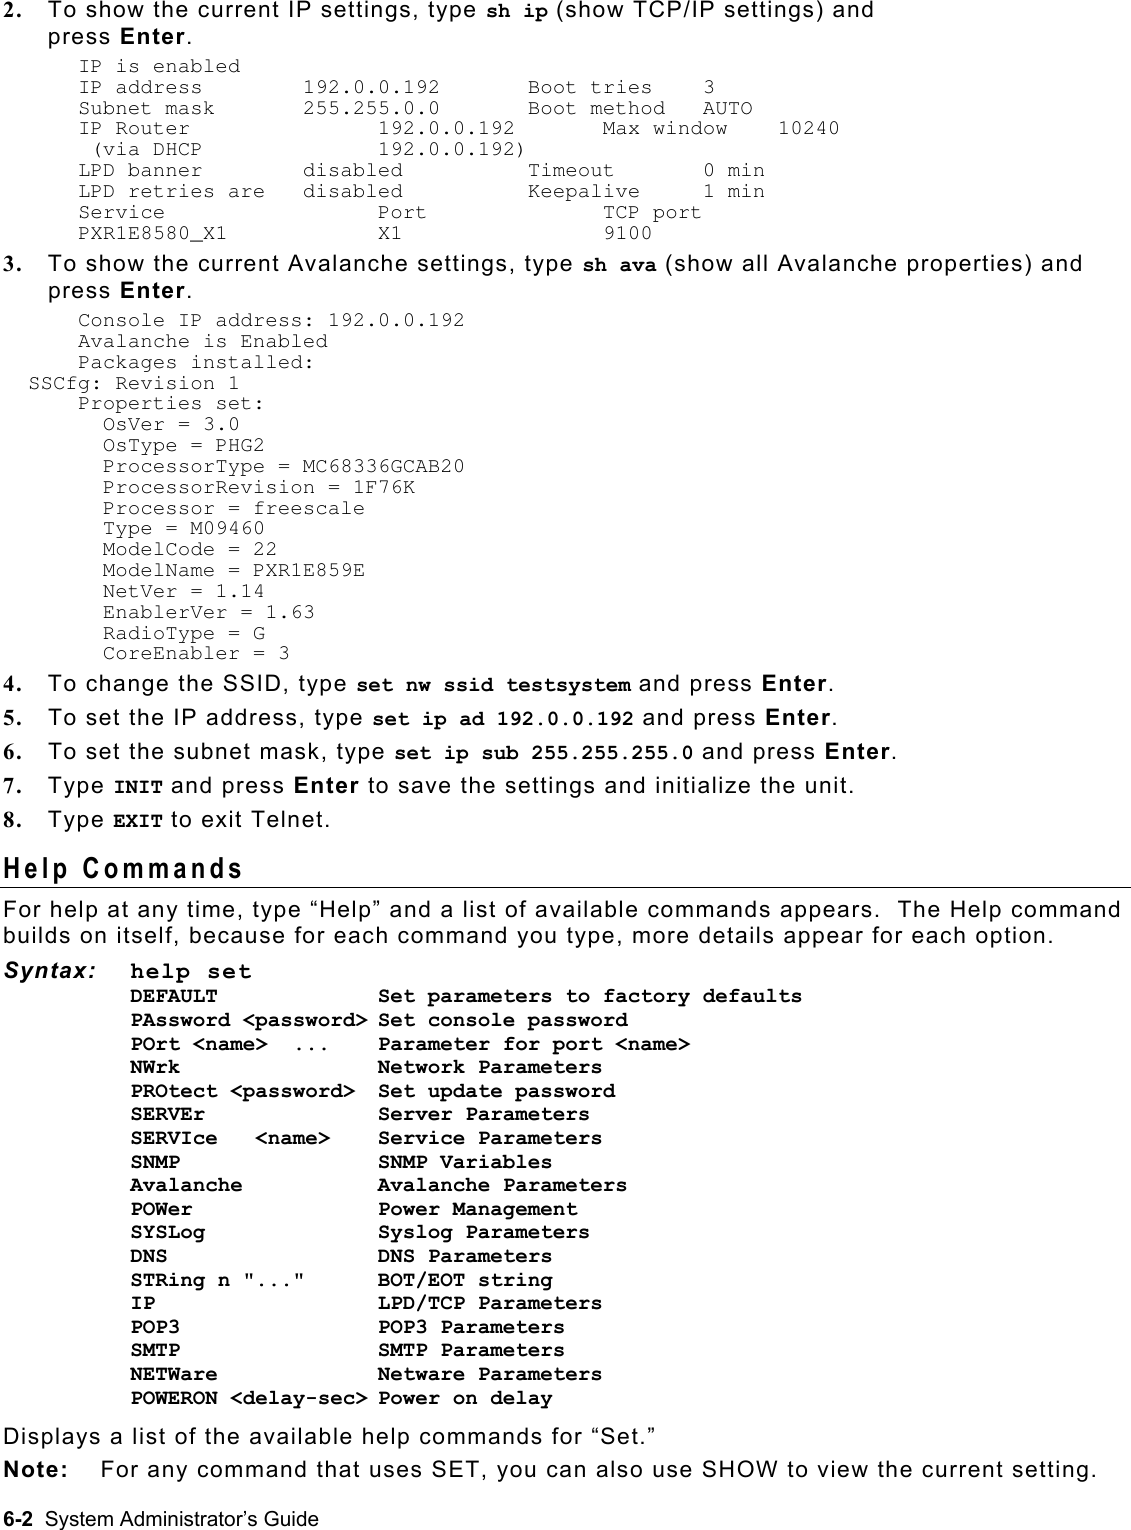
![TELNET CONSOLE COMMANDS 6 Use this chapter to configure the print server using Telnet. You must have a basic understanding of Telnet commands. For initial setup, do not use Telnet. Use auto-discover mode. Once you have the IP address, you can use Telnet or a Web browser. You can use Telnet if you do not have access to the NetManager software. Note: The default port is Port 23. To access Telnet console mode: 1. Start Telnet. 2. Press Enter (on your host) until you see the “#” prompt. 3. Type access as the password and press Enter. (access is the default password.) 4. Press Enter to by-pass the user name. You do not need to enter a username. Note: The Telnet session times out after 10 minutes of inactivity. Conventions This section uses the following conventions: KEYwords Type the capitalized letters of each keyword instead of the whole keyword. Some keywords require more capitalized letters than others. For example, SEt KEYVAL RAdio [options] Mutually-exclusive options are included within square brackets and separated by a forward slash. Select only ONE of the options. For example, [DISable/STRICT/FLEXible] <values> Values are included within brackets. Values that contain spaces (multiple words) must be enclosed within quotation marks (""). For example, SEt NW PW <value> SEt NW PW "Store 876" n Numeric digits are indicated by the letter (n). For example, SEt IP BOot n SEt IP BOot 5 SEt NW CHannel nn SEt NW CHannel 11 Settings 1. To view the current wireless settings, type sh nw (show network settings) and press Enter: WiFi Mode = INFRASTRUCTURE WiFi SSID: ABC1234 Speed = 54 International Roaming: Flexible Dynamic Frequency Selection: Unsupported Regulatory Domain = USI WiFi FW Ver = 2.13.10.0 LMAC, 2.12.18.0 UMAC AP density = LOW Authentication type= OPEN SYSTEM Encryption is Disabled Local certificate loaded AP MAC Address = 00 A0 F8 51 B4 FC Signal Quality = Excellent (100%) Connected to SSID ENG4121 on channel 11 Telnet Console Commands 6-1](https://usermanual.wiki/Avery-Dennison-Retail-Information-Services/SX10WGPM.Users-Manual-1/User-Guide-1200989-Page-55.png)
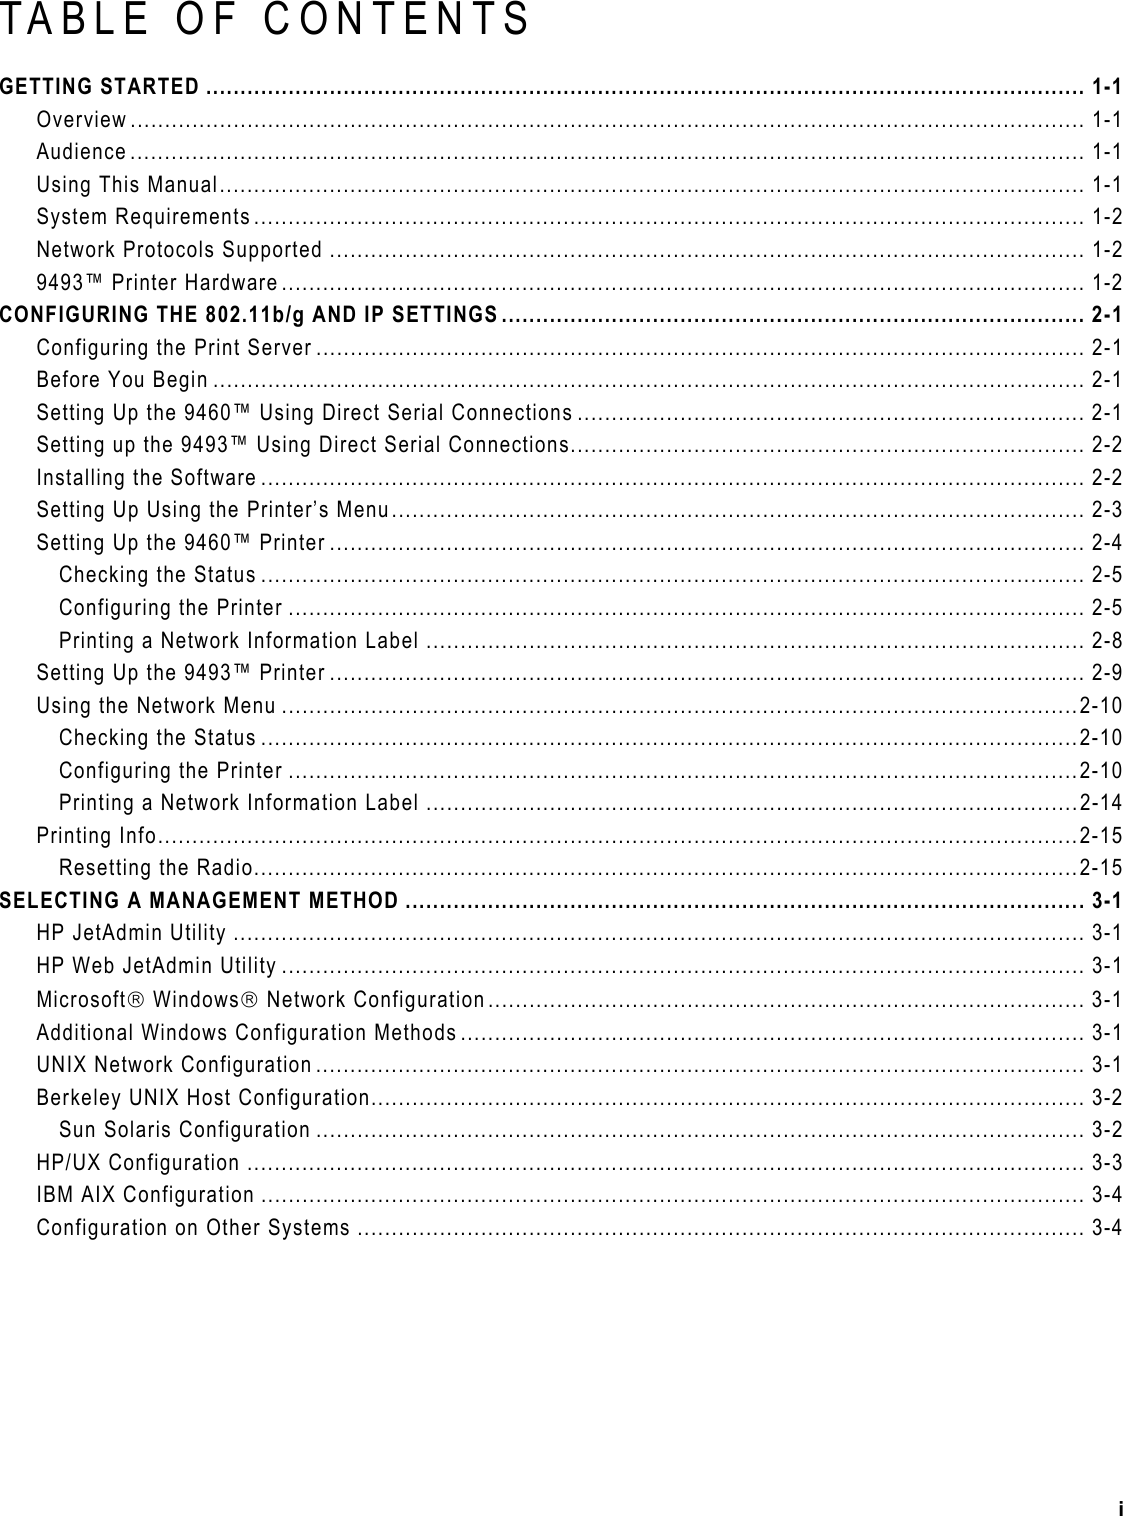
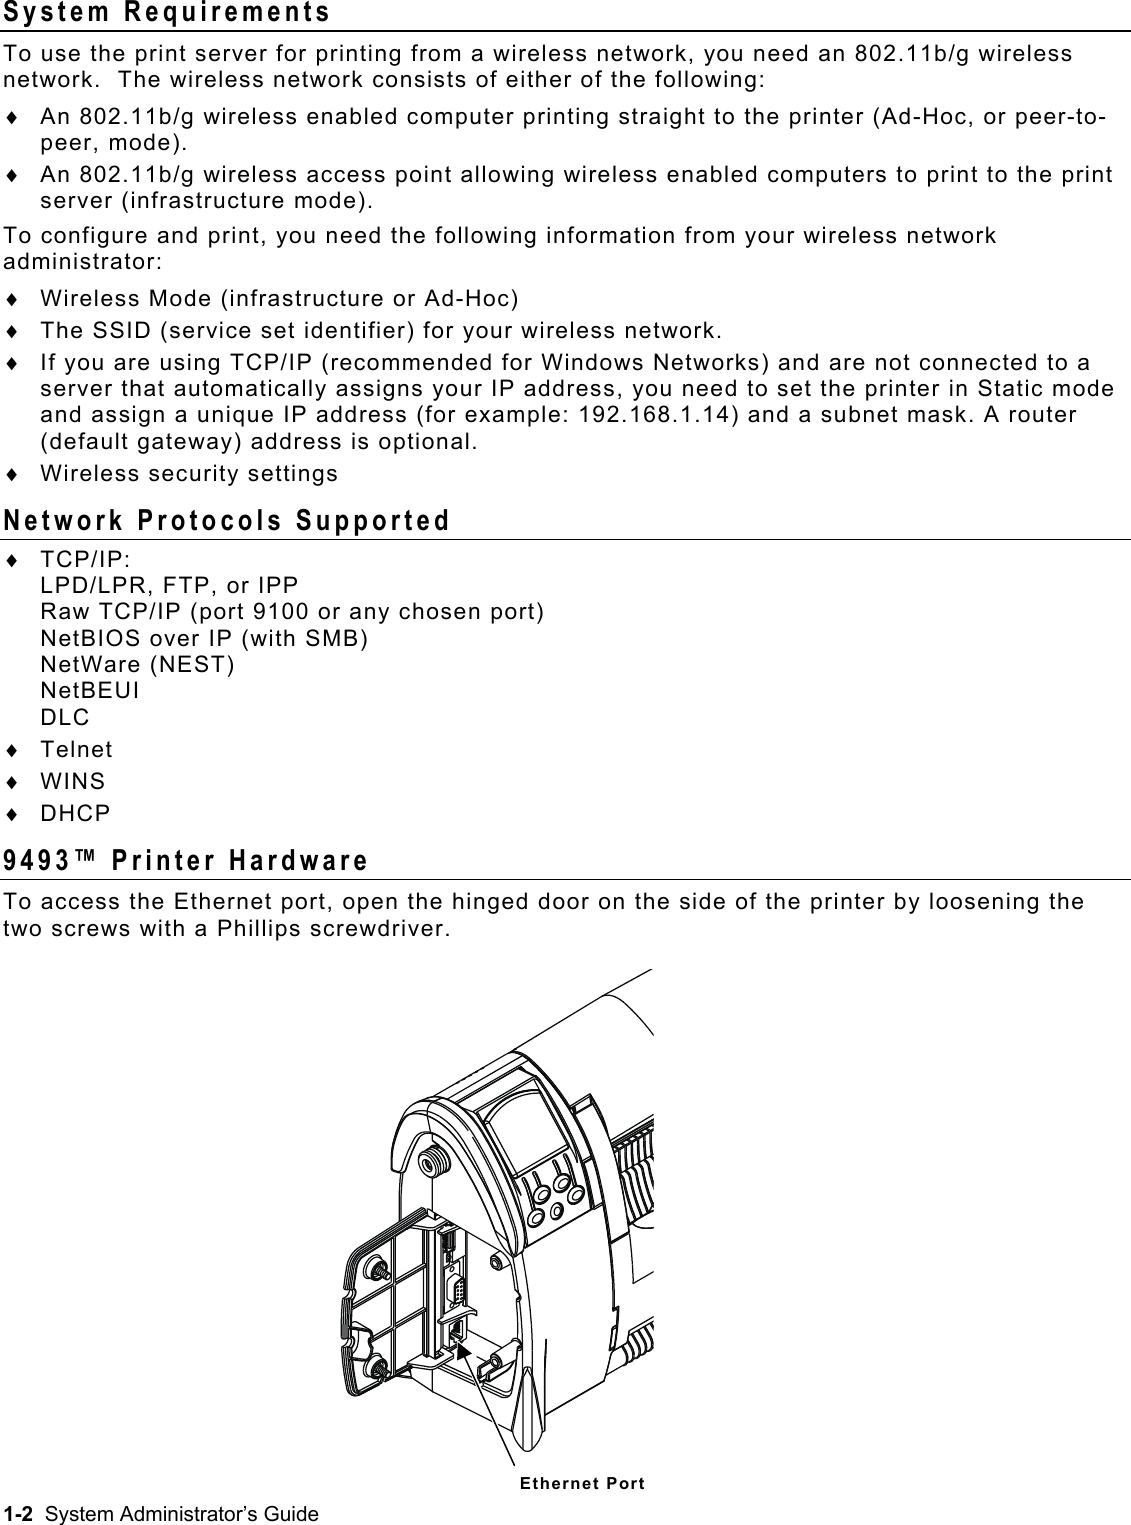
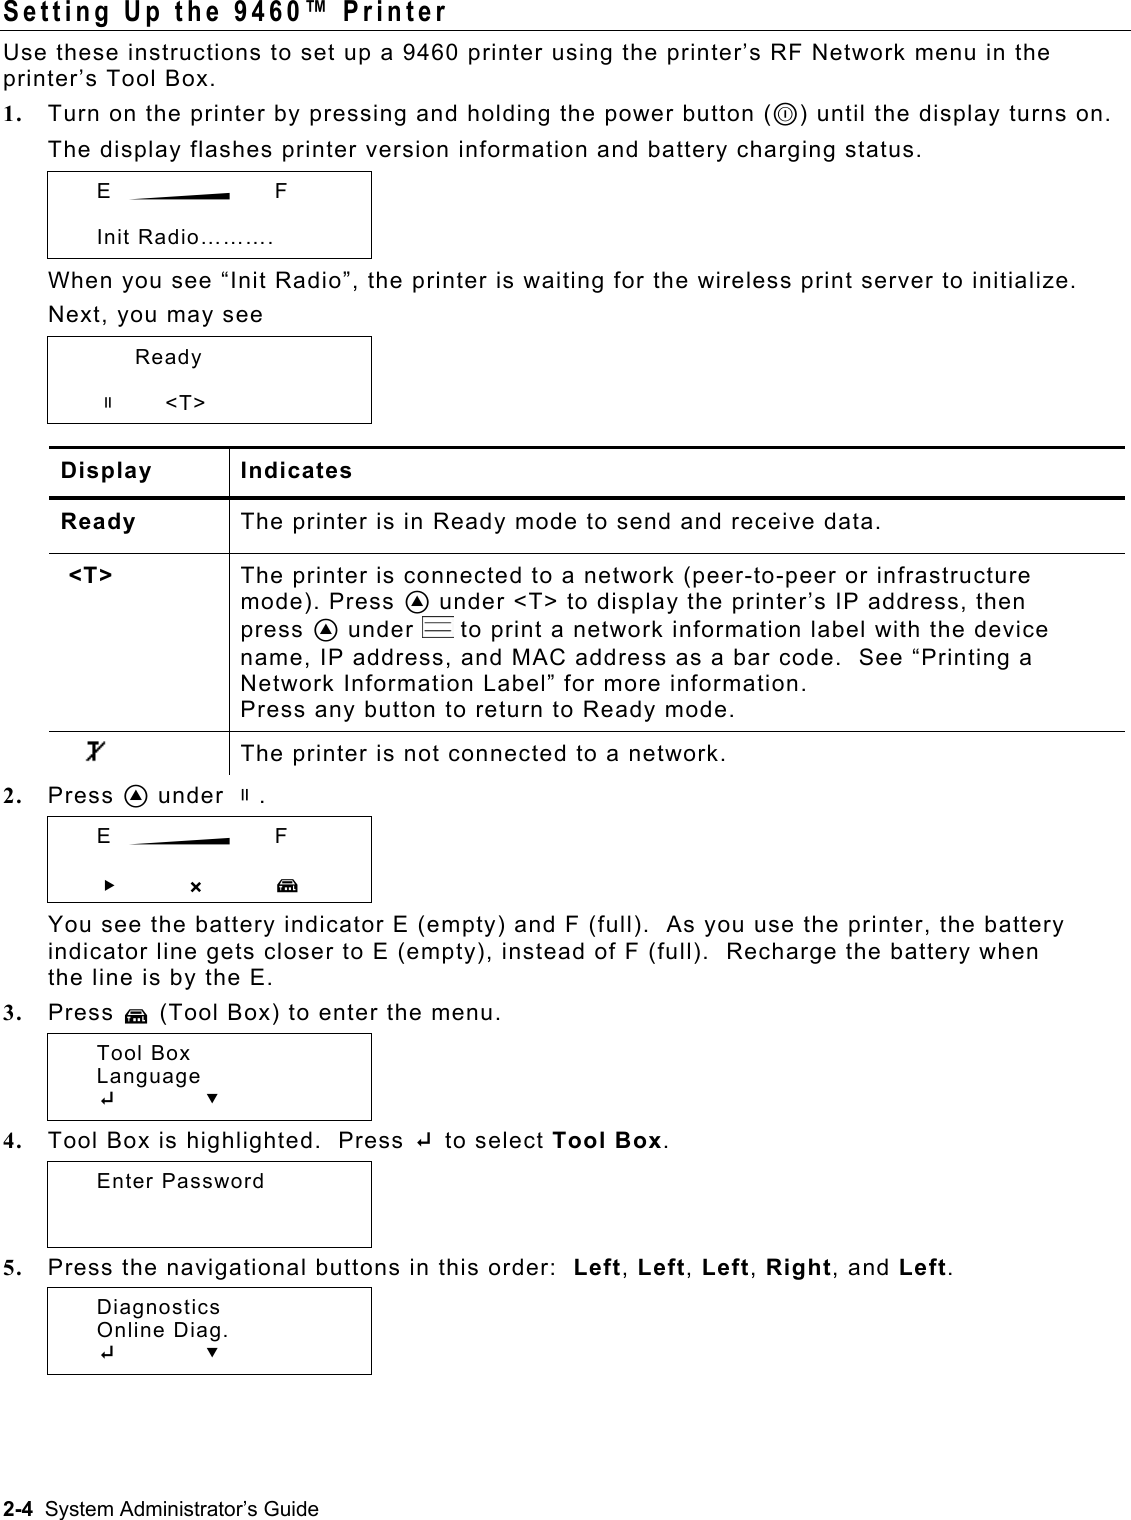
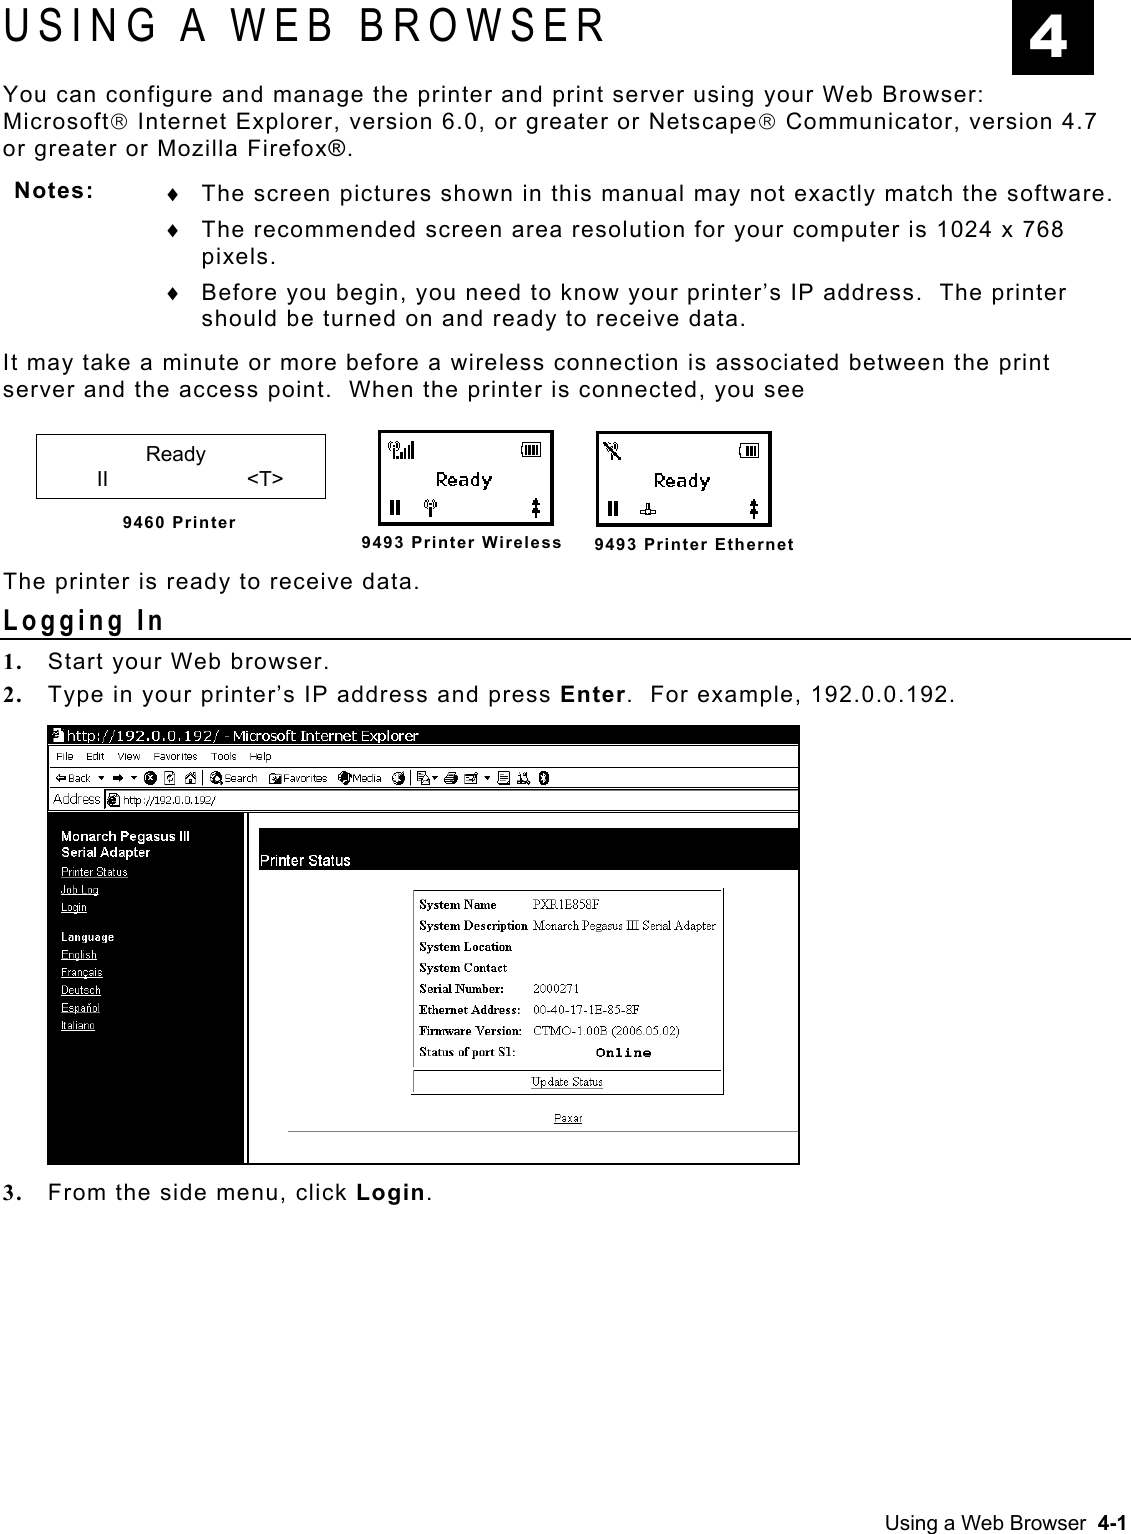
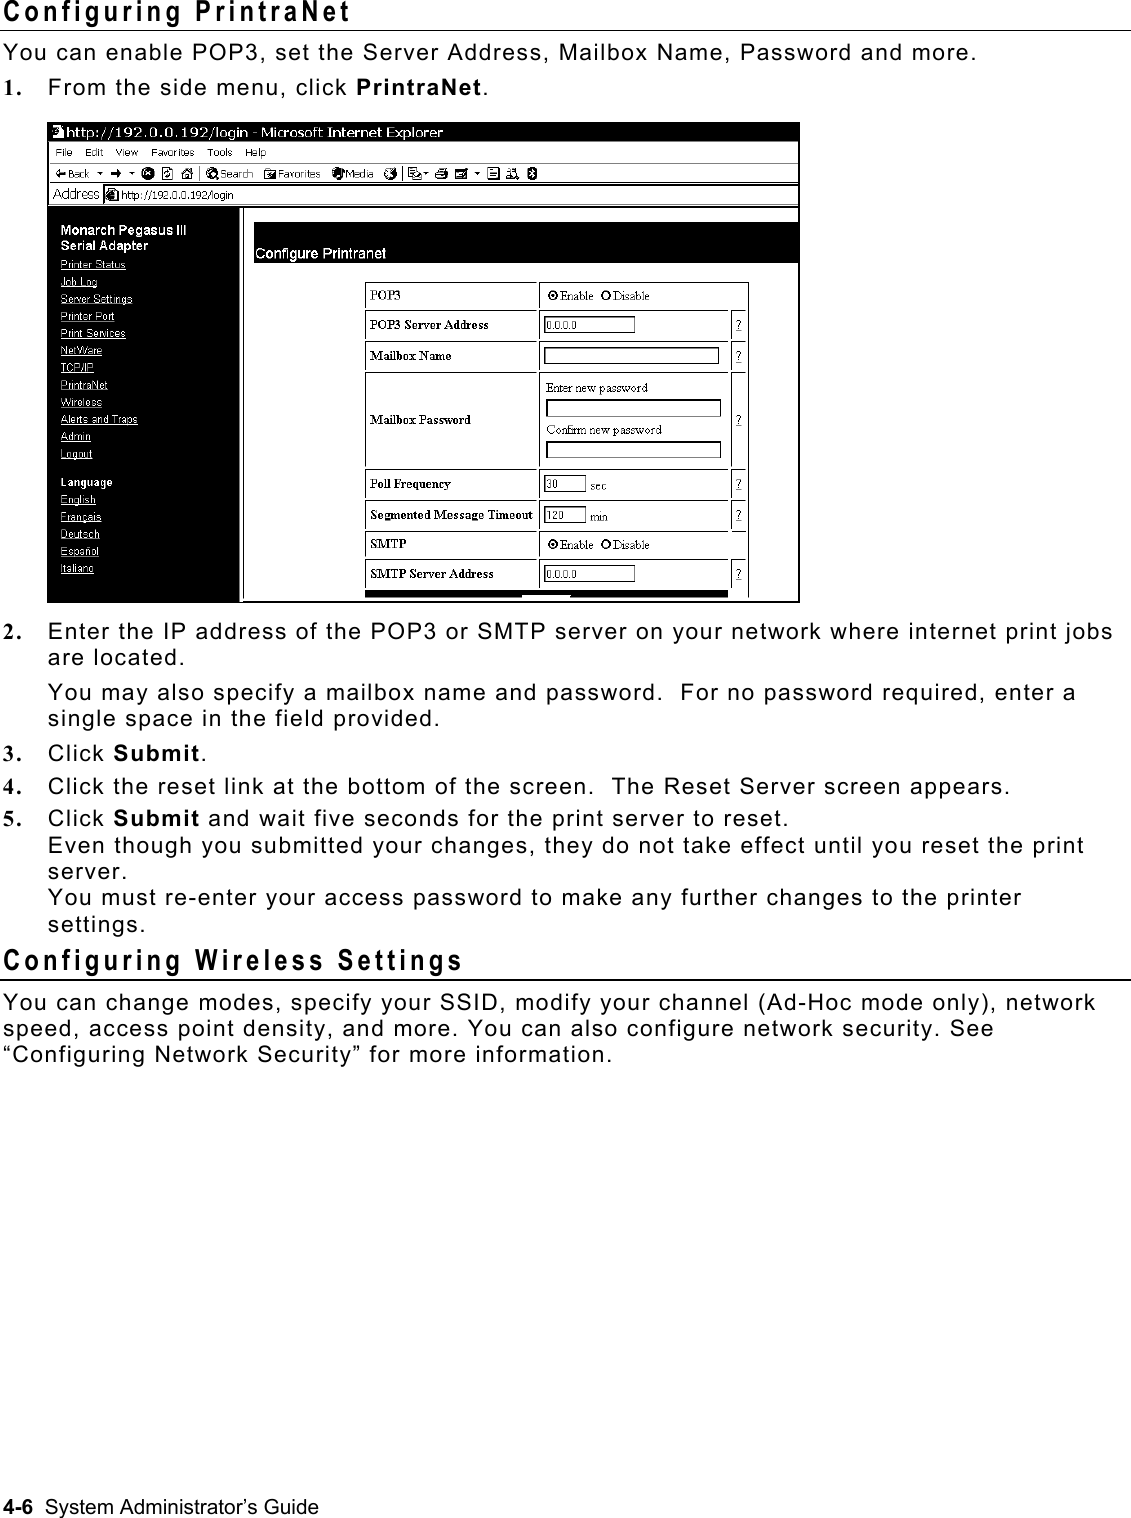
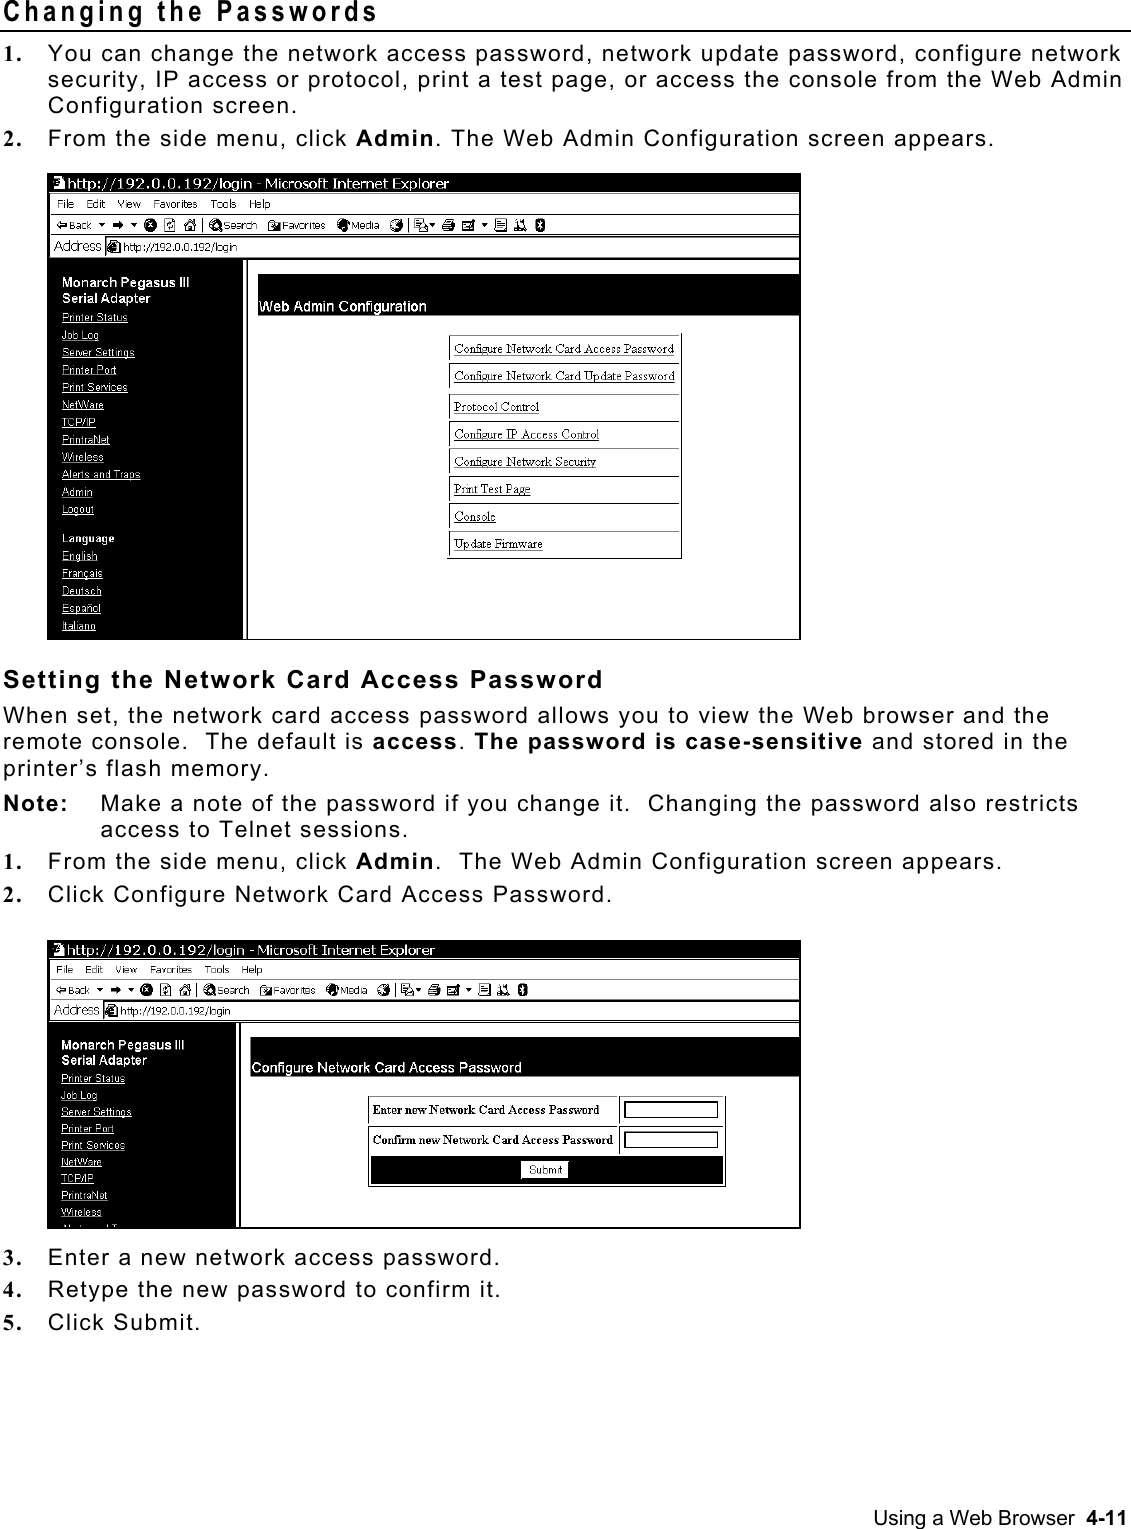
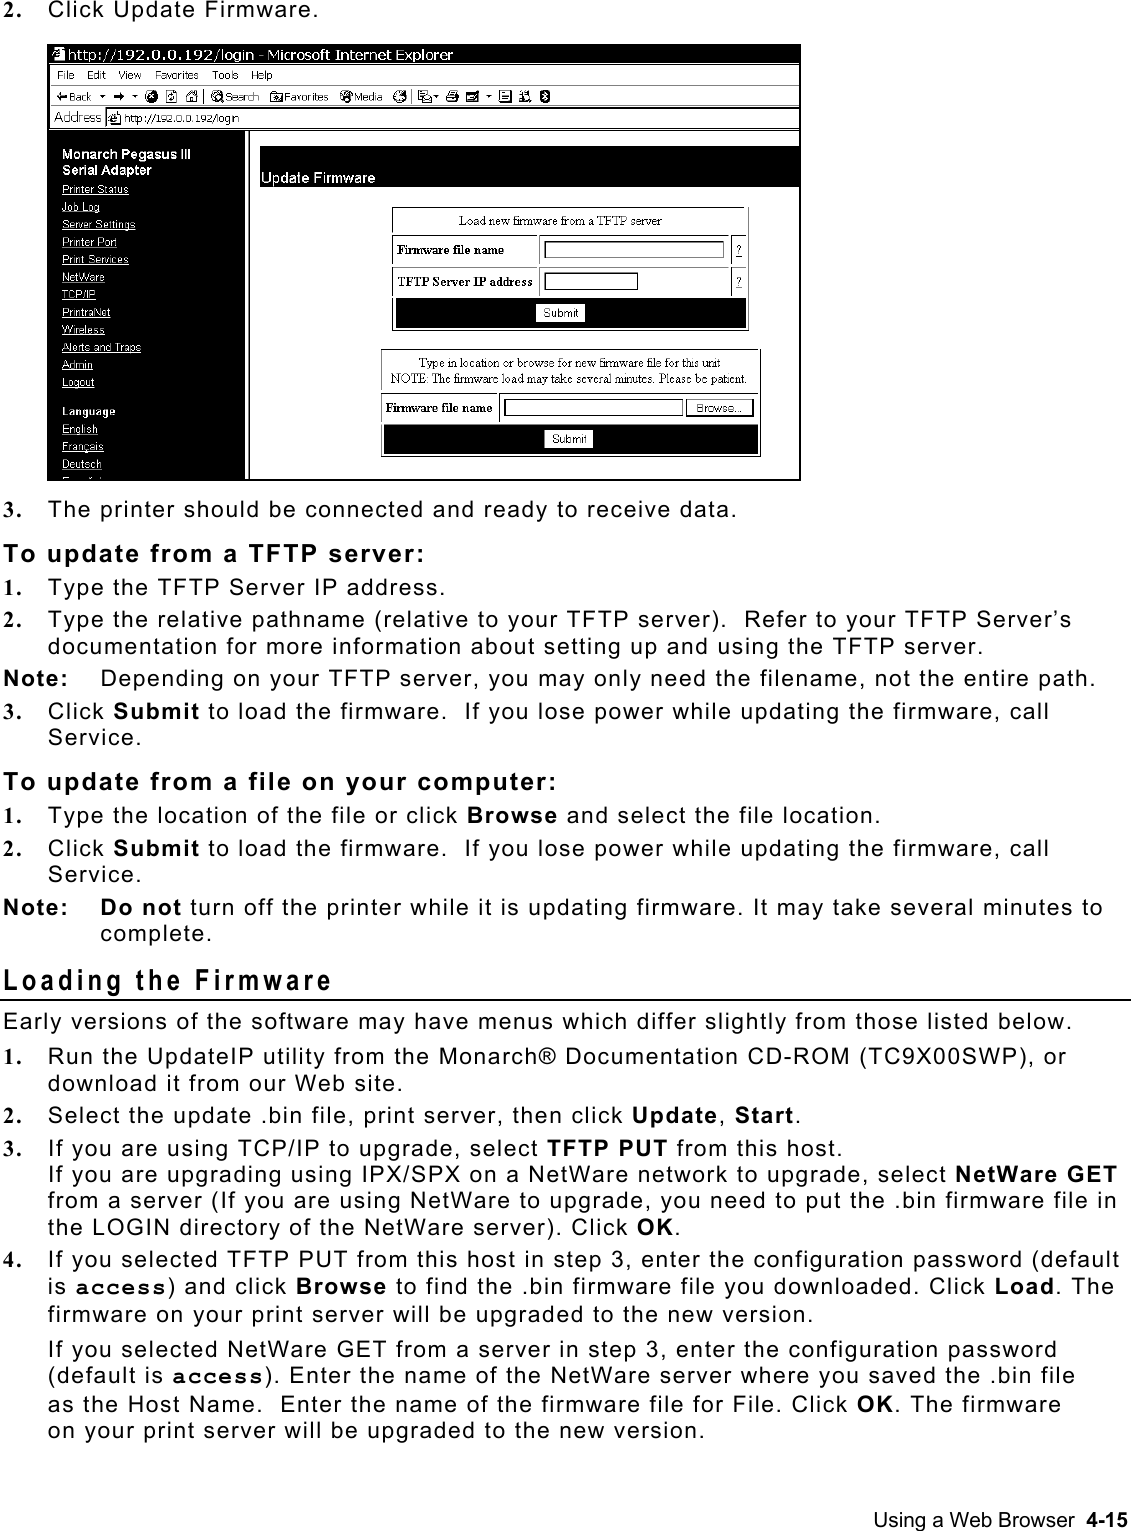
![Syntax: help set ip IP LPD/TCP Parameters Access [EN/DIS] aa.bb.cc.dd {Mask ee.ff.gg.hh} ADdress aa.bb.cc.dd IP node address ARP [EN/DIS] IP set via ARP BAnner [EN/DIS] LPD banner printing CHKSUM [EN/DIS] IP receive checksum BOot n Number of DHCP/BOOTP tries ECHO [EN/DIS] TCP echo protocol ENable/DISable Enable or Disable IP Processing FTIme [EN/DIS] Timeout in seconds if enabled FTP [EN/DIS] FTP protocol HTTP [EN/DIS] HTTP protocol HTTPS [EN/DIS] HTTPS protocol KEepalive n Keepalive interval (min) LPD [EN/DIS] LPD protocol MEthod <type> Set method of getting IP address PIng aa.bb.cc.dd Test connection to IP host PRObe [EN/DIS] TCP connection probes RANge [EN/ALL] aa.bb.cc.dd [MAx ee.ff.gg.hh] RARp flags nn 1=no subnet, 2=no router, 3=neither REtry [EN/DIS] LPD retry continuation ROuter aa.bb.cc.dd Default router address SUbnet aa.bb.cc.dd Subnet mask STELnet [EN/DIS] S-TELNET protocol TCP [EN/DIS] Raw TCP (9100) protocol TELnet [EN/DIS] TELNET protocol TFTP [EN/DIS] TFTP protocol TImeout n Inactivity timeout TRAP n [ADDR/PORT/TRIG] TRAP configuration WIndow nn LPD/TCP maximum window size Displays a list of the available help commands for “Set IP.” General Commands From the list of commands, the brackets - [] indicate to pick one of the options listed. CLear/DELete/PUrge Removes a specified parameter or configuration item. CLear FATal Deletes fatal error log. CLear POrt <portname> JOB Clears current entry in the print server's internal queue for the specified portname (P1 for the first parallel port). CLear PROTECT Sets the update password to “null.” CLear SERVEr STRing n Removes BOT/EOT string. EXIT/^D Exits console mode. HElp Displays the list of available commands. INitialize Saves settings and resets unit. Telnet Console Commands 6-3](https://usermanual.wiki/Avery-Dennison-Retail-Information-Services/SX10WGPM.Users-Manual-1/User-Guide-1200989-Page-57.png)
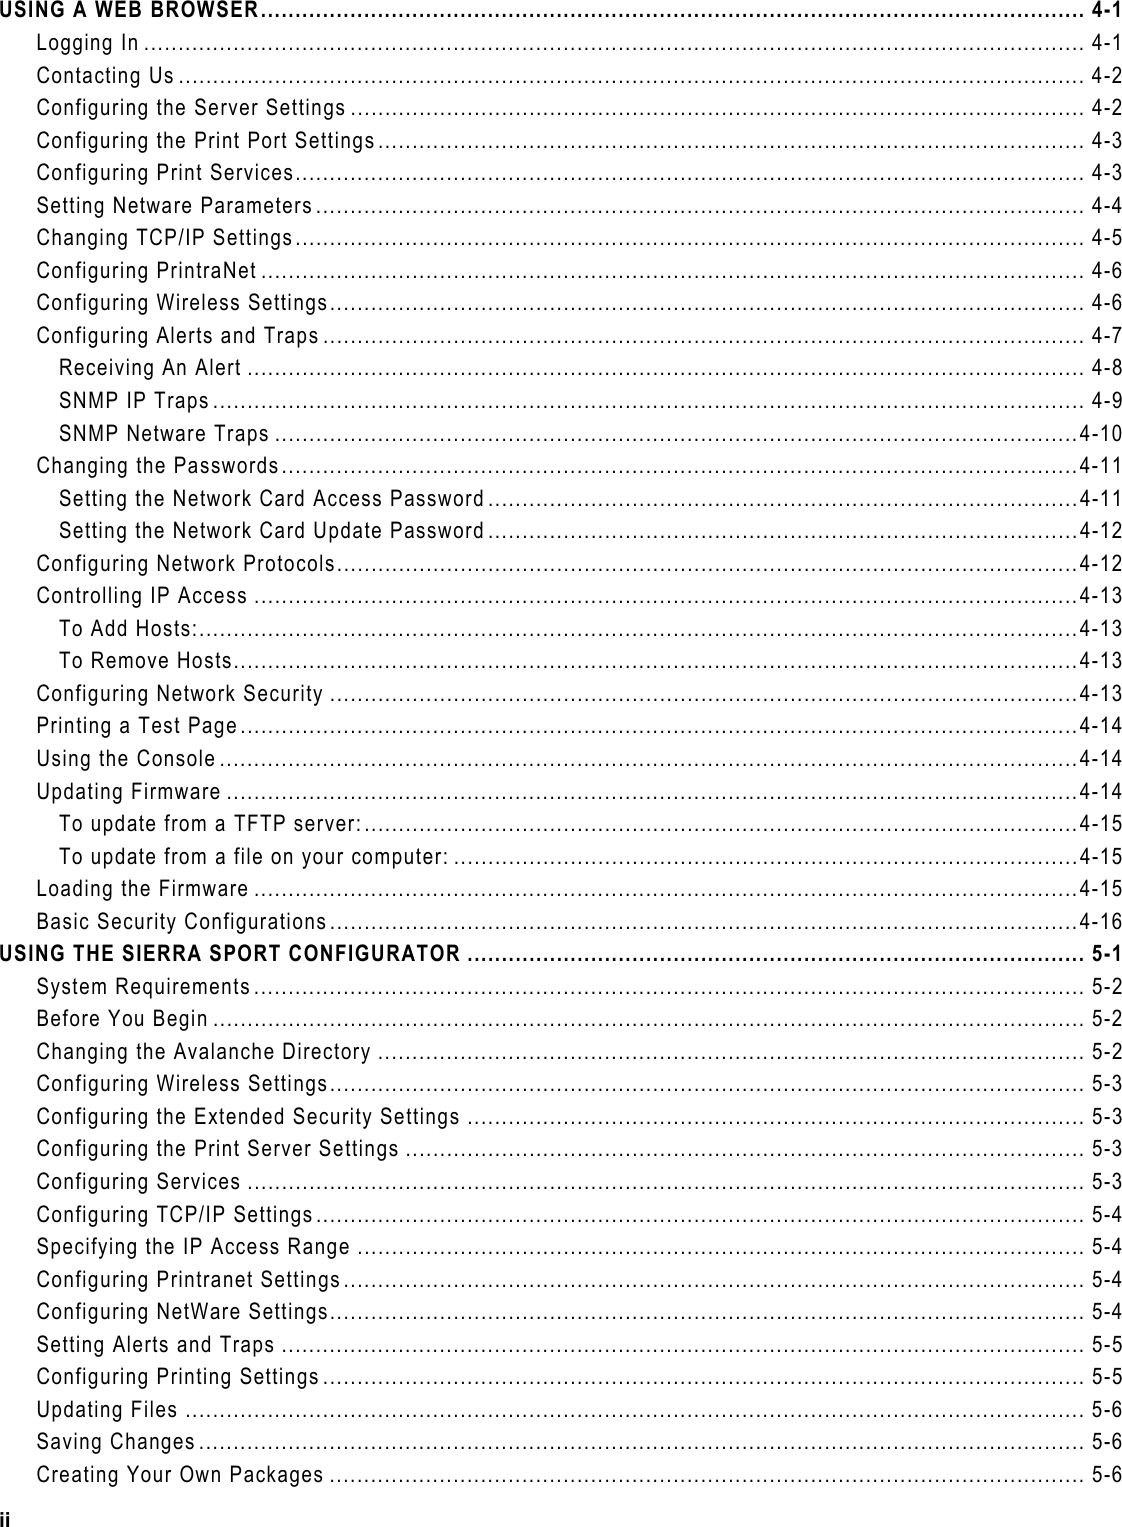
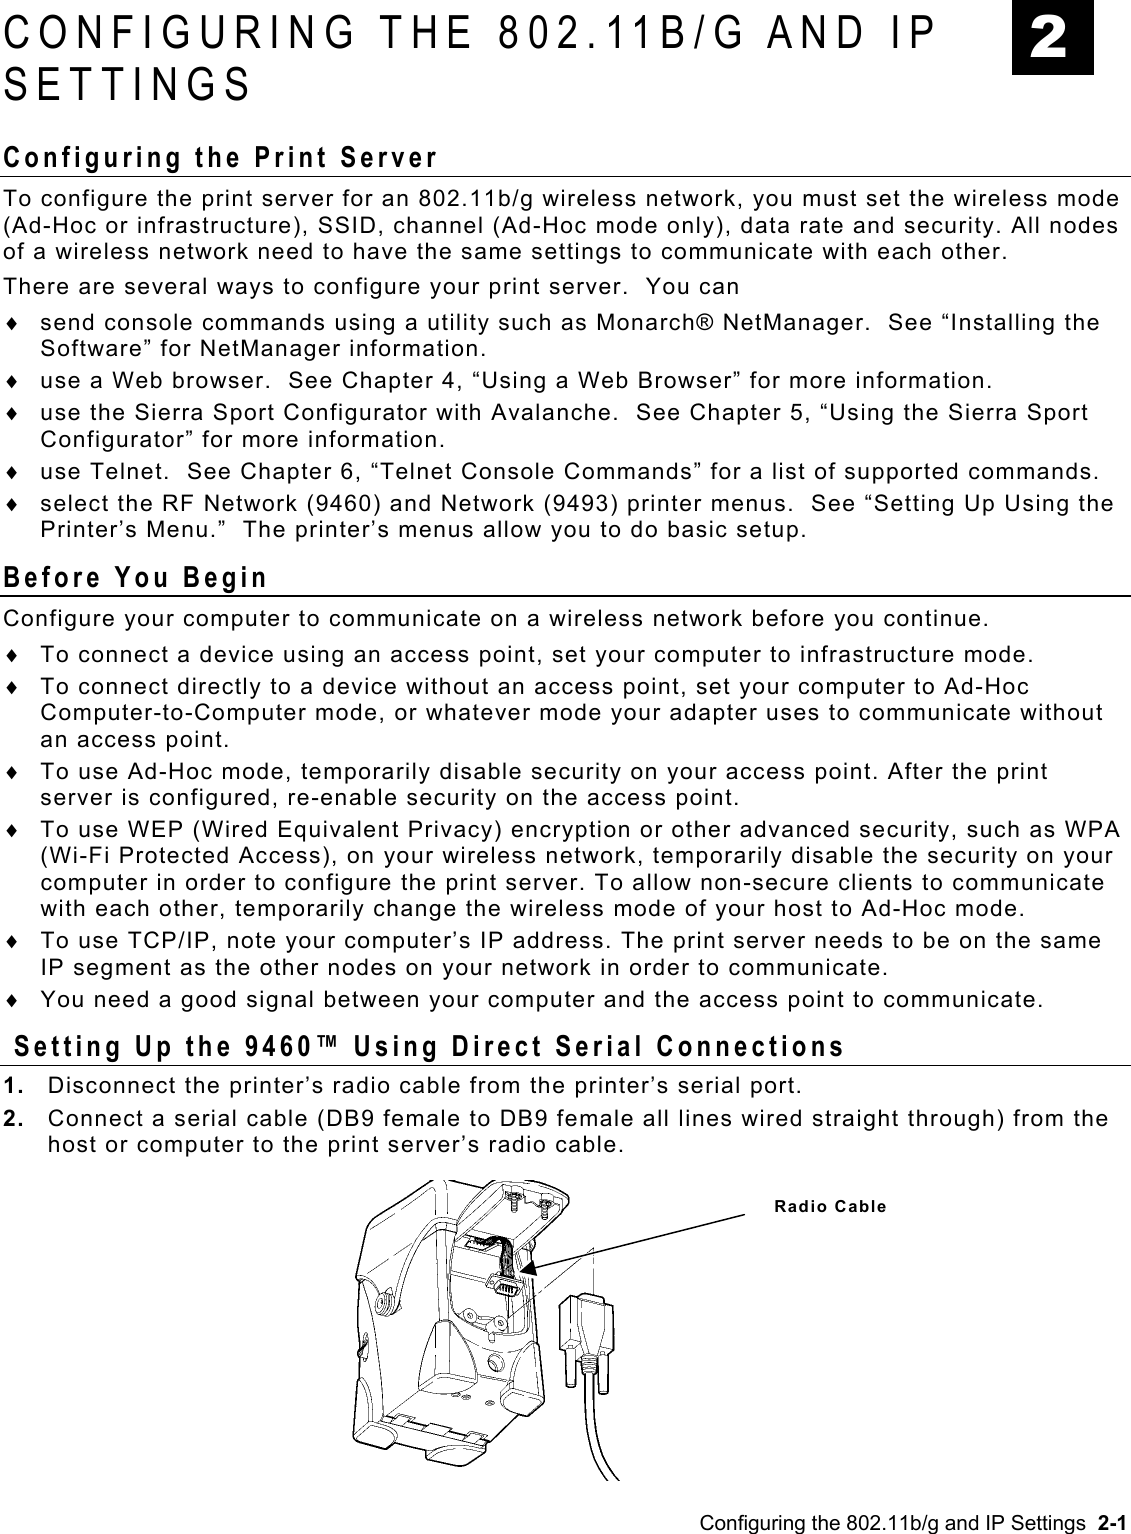
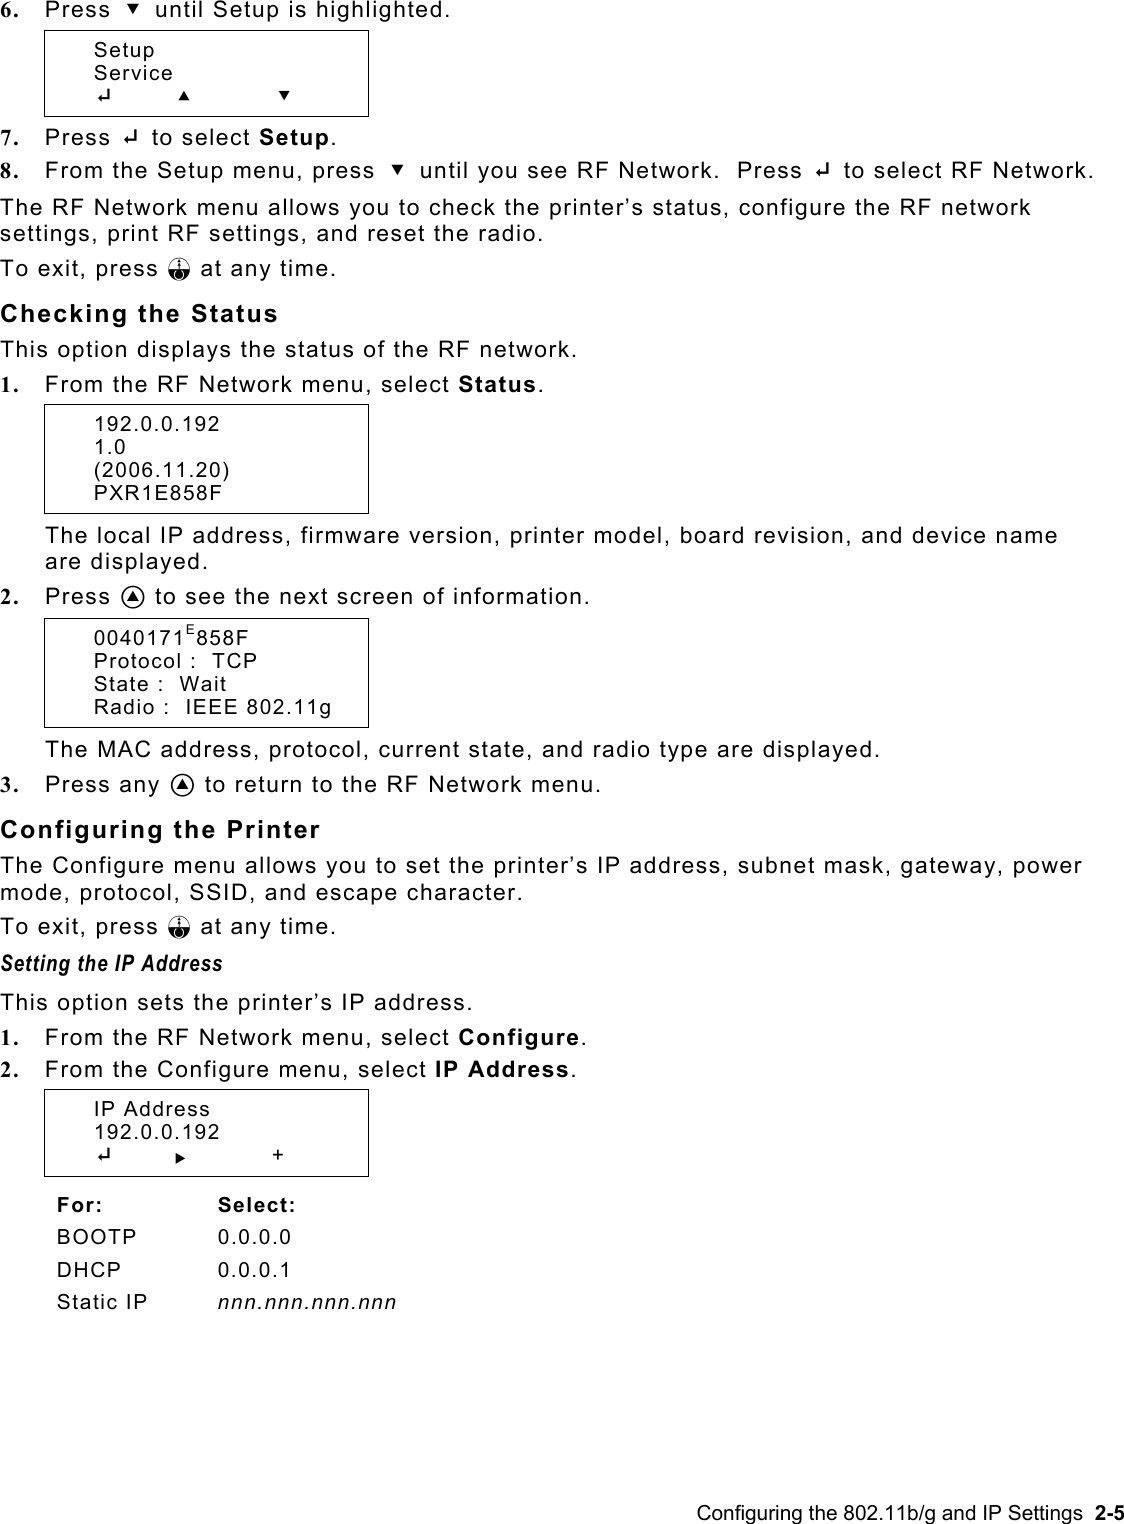
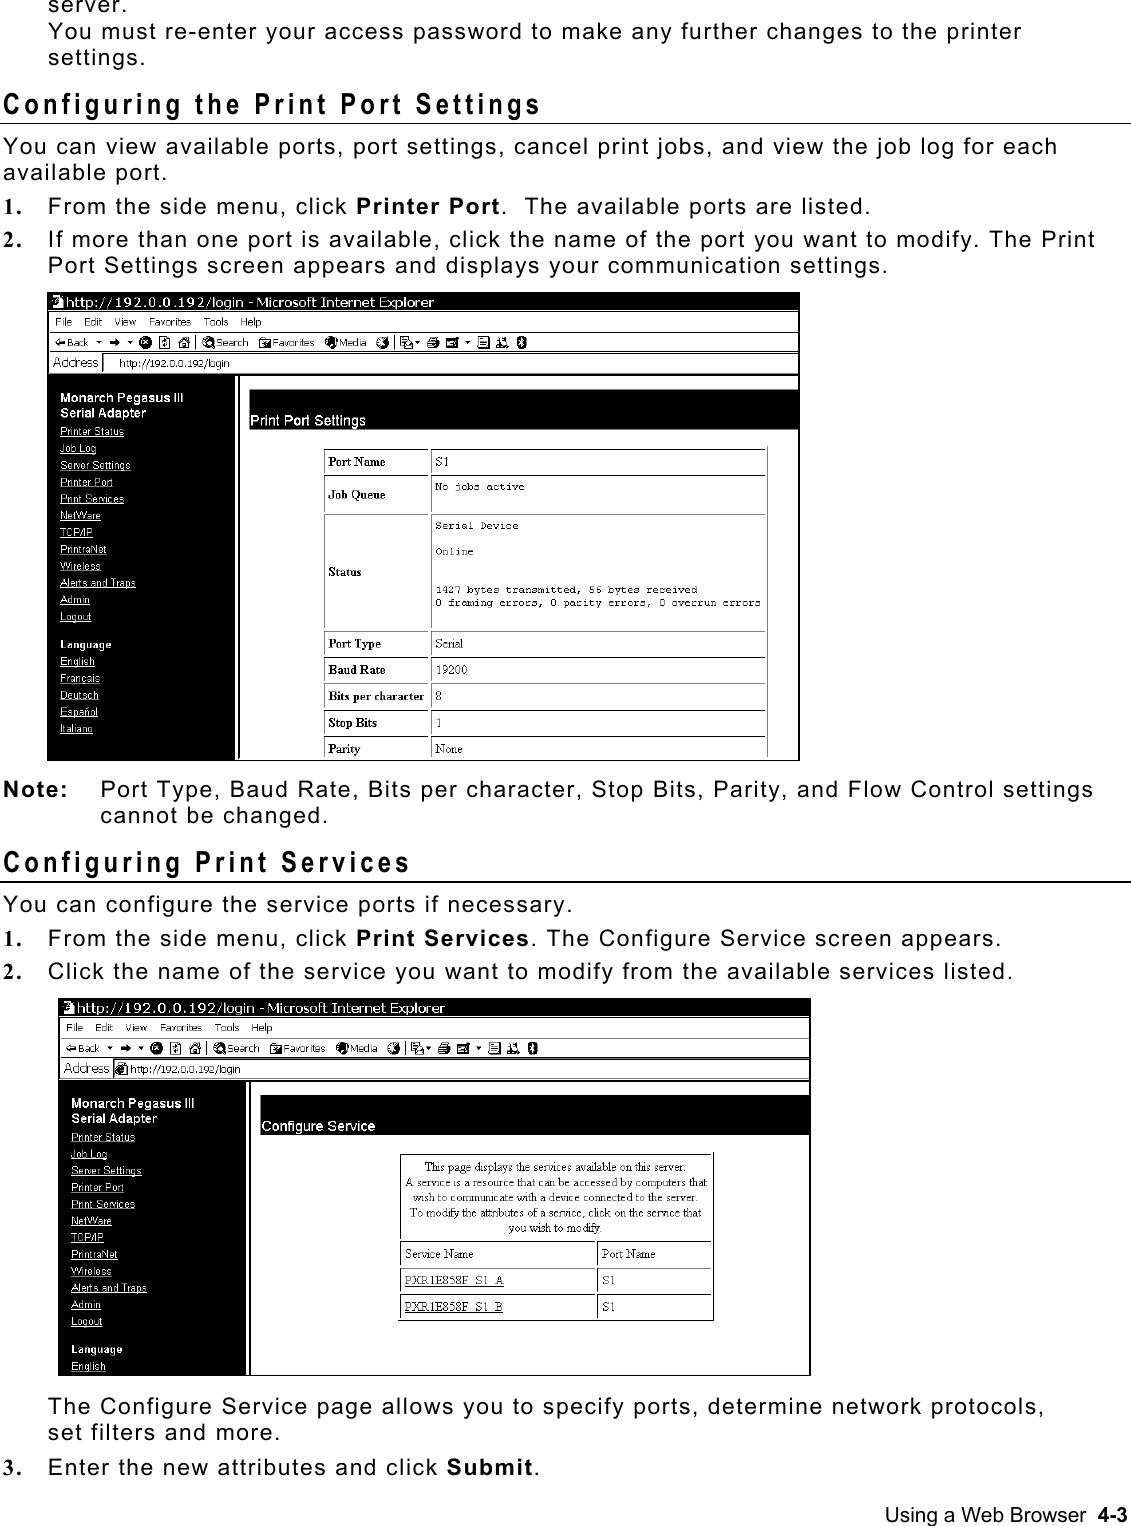
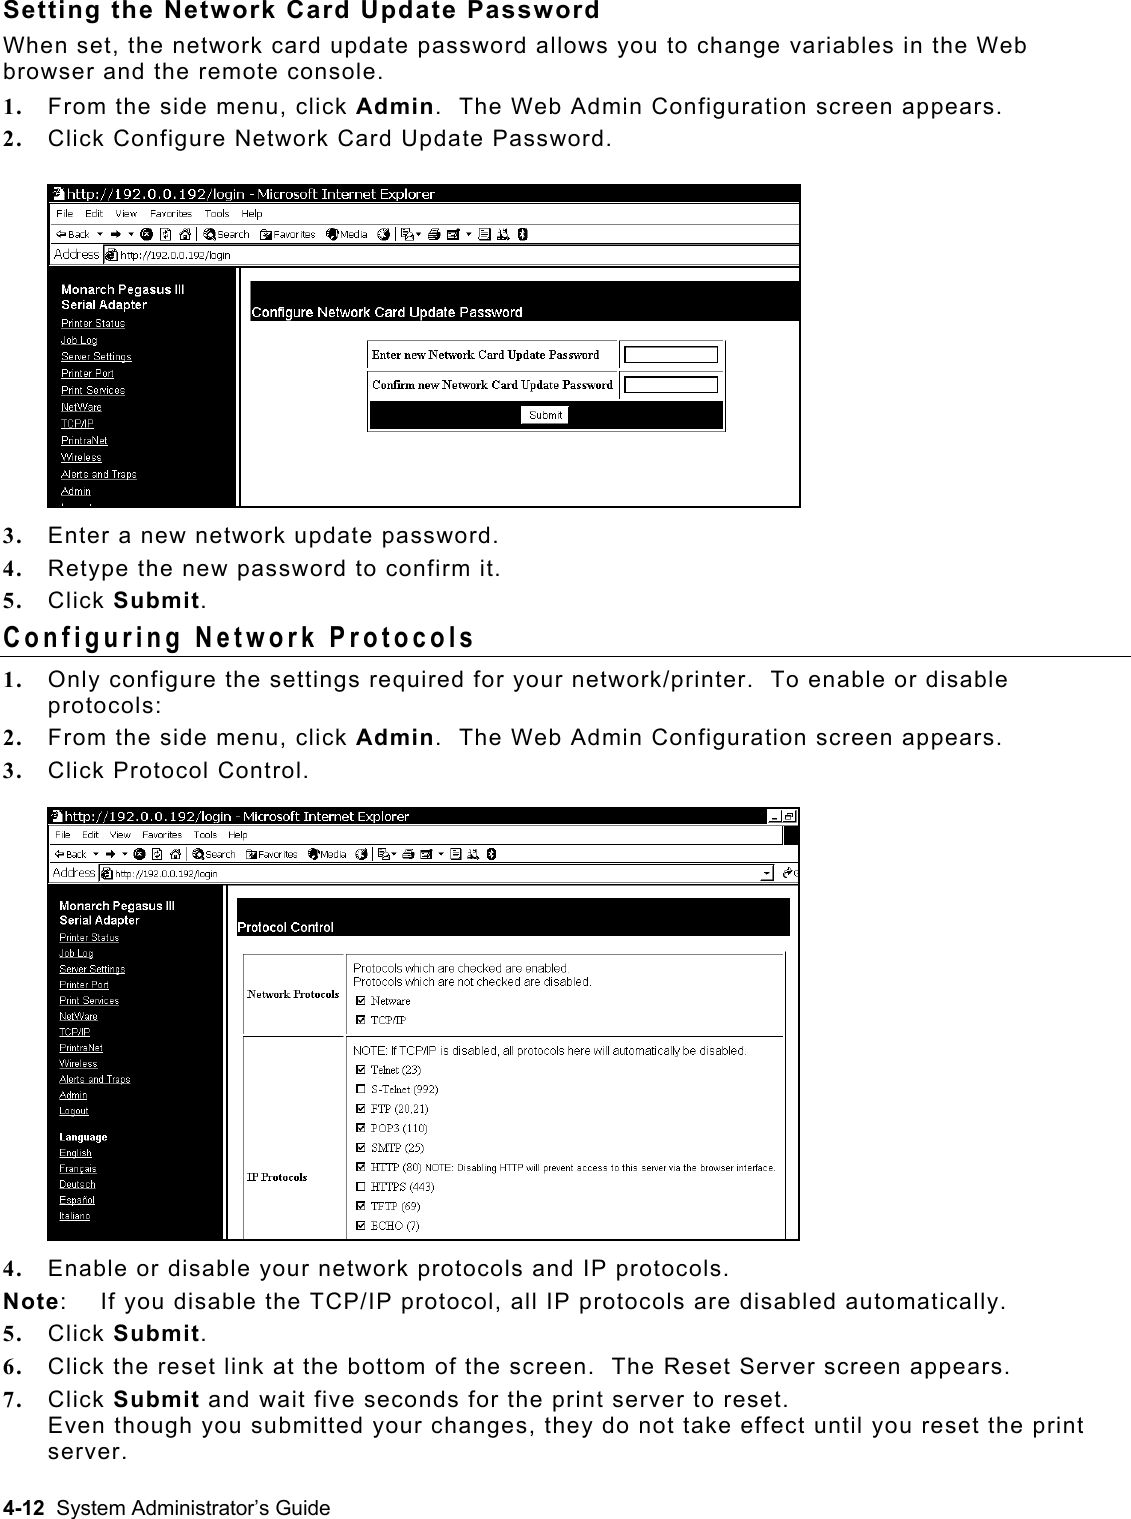
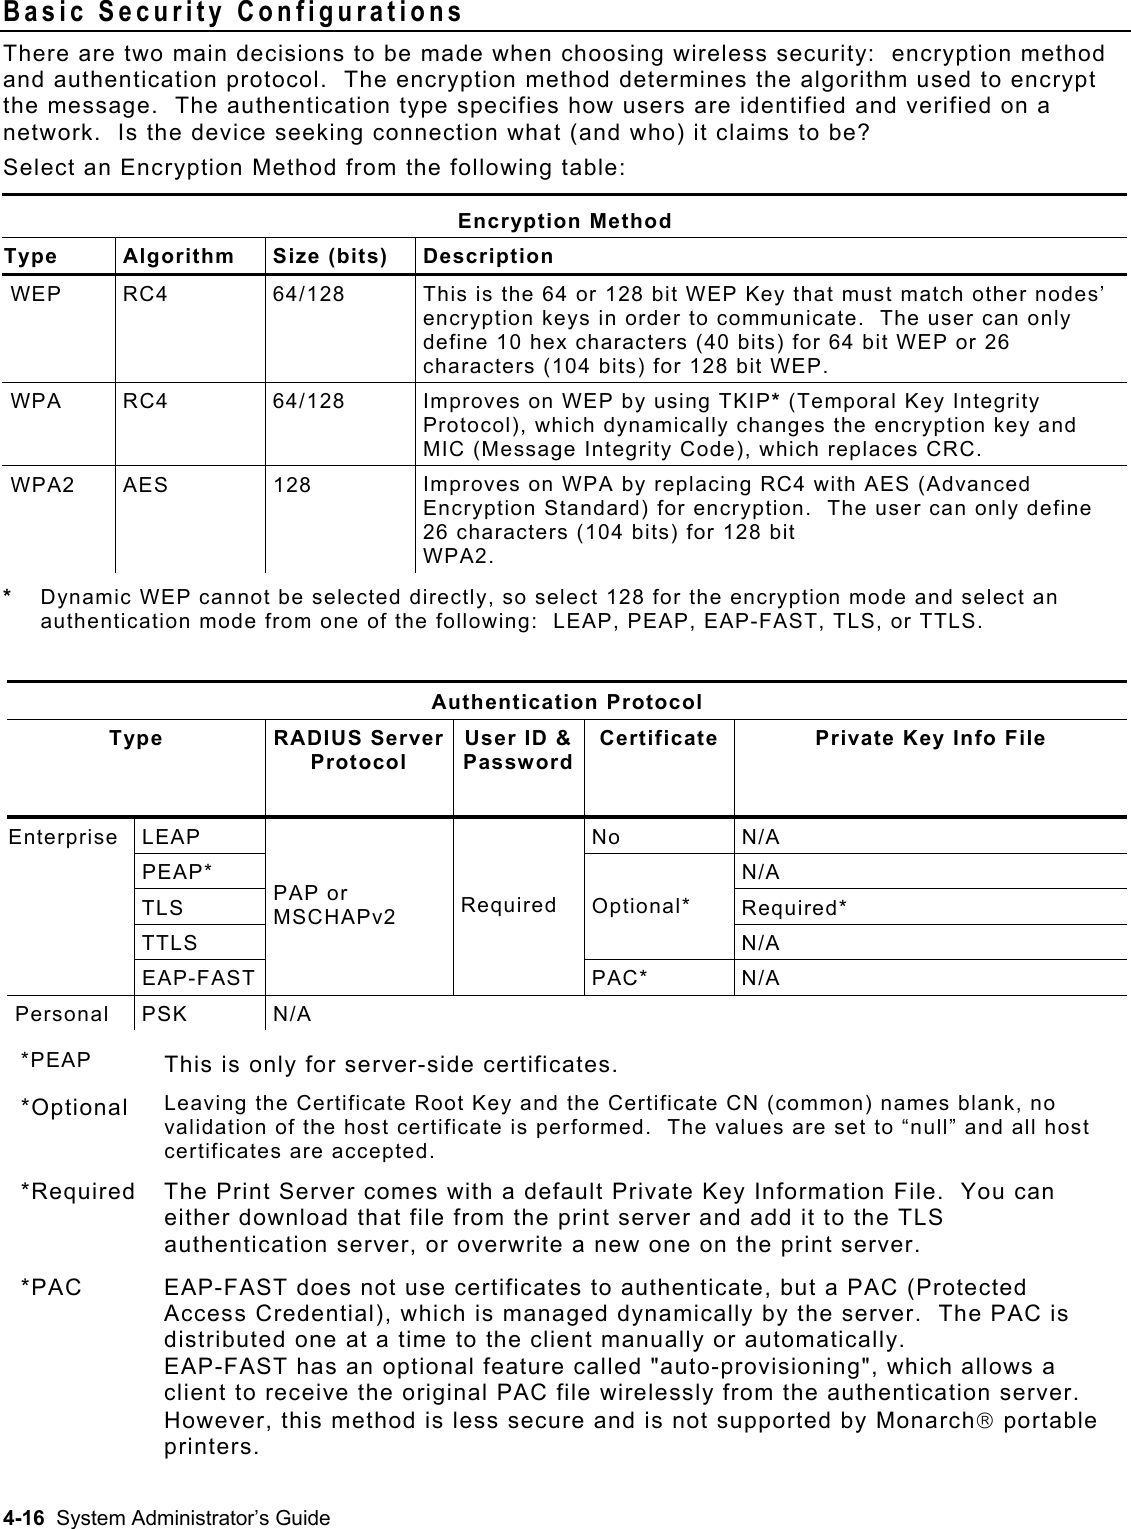
![SAVE Saves configuration settings. CHange/SEt/DEFine Sets configuration items. SEt DEFAULT Sets print server to factory defaults. SEt LOAd [EN/DIS] Enables or disables firmware reload after exit. SEt LOAd HOst <name> Sets node name of boot host (NetWare firmware load). SEt LOAd IP aa.bb.cc.dd Sets IP address of load host (TCP/IP firmware load). SEt LOAd SOftware <filename> Sets print server’s firmware filename to load. SEt PAssword Sets console password. The default password is access. Note: The password is case-sensitive. SEt PROtect <password> Sets the update password. SEt SERVEr DEScription Sets mode description to string displayed with SHOW SERVER command. SEt SERVEr NAme <name> Sets server node name. SEt SERVEr SYSLog [EN/DIS] Enables or disables access to the system log. SHow FATal Shows the fatal error log. SHow FREE Shows the amount of available memory. SHow LOAd Shows the print server’s firmware update parameters. SHow SERVEr Shows the server parameters. SHow SERVEr COunters Shows the server statistics. SHow SERVEr QUeue Shows the print server internal queue. SHow SERVEr SYSLog Shows the system log, if access is enabled. SHow TEstpage Prints a test page. SHow VErsion Shows the server firmware version. 6-4 System Administrator’s Guide](https://usermanual.wiki/Avery-Dennison-Retail-Information-Services/SX10WGPM.Users-Manual-1/User-Guide-1200989-Page-58.png)
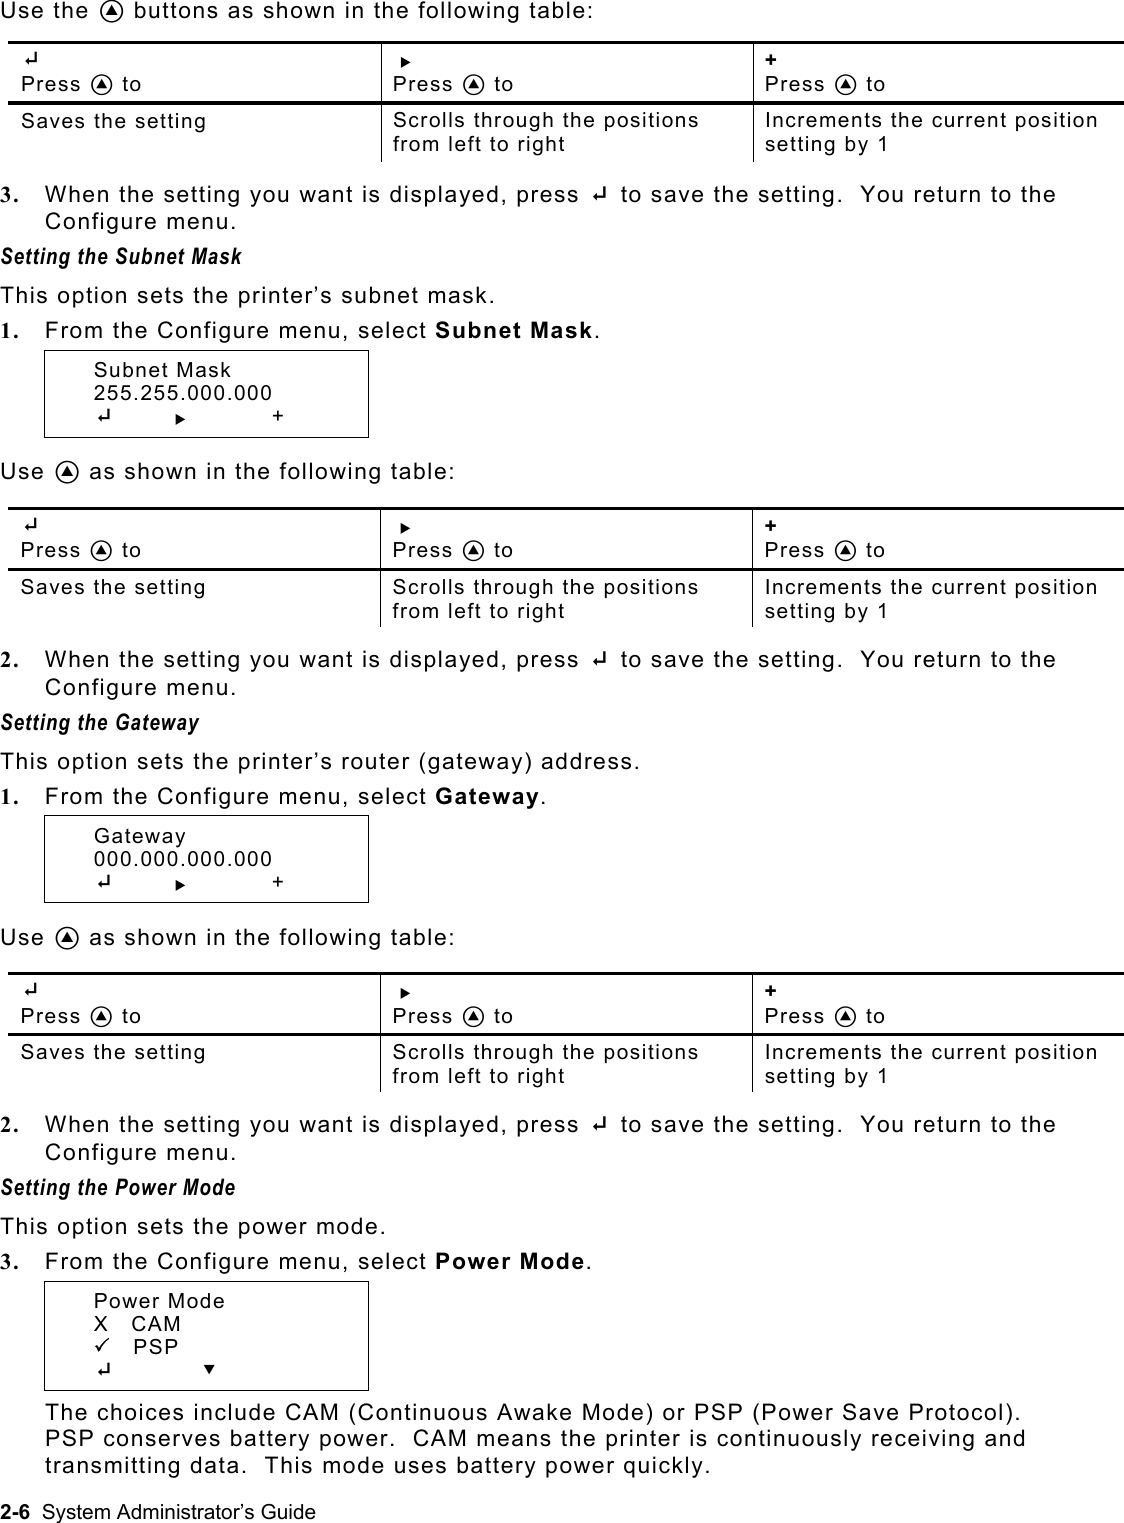
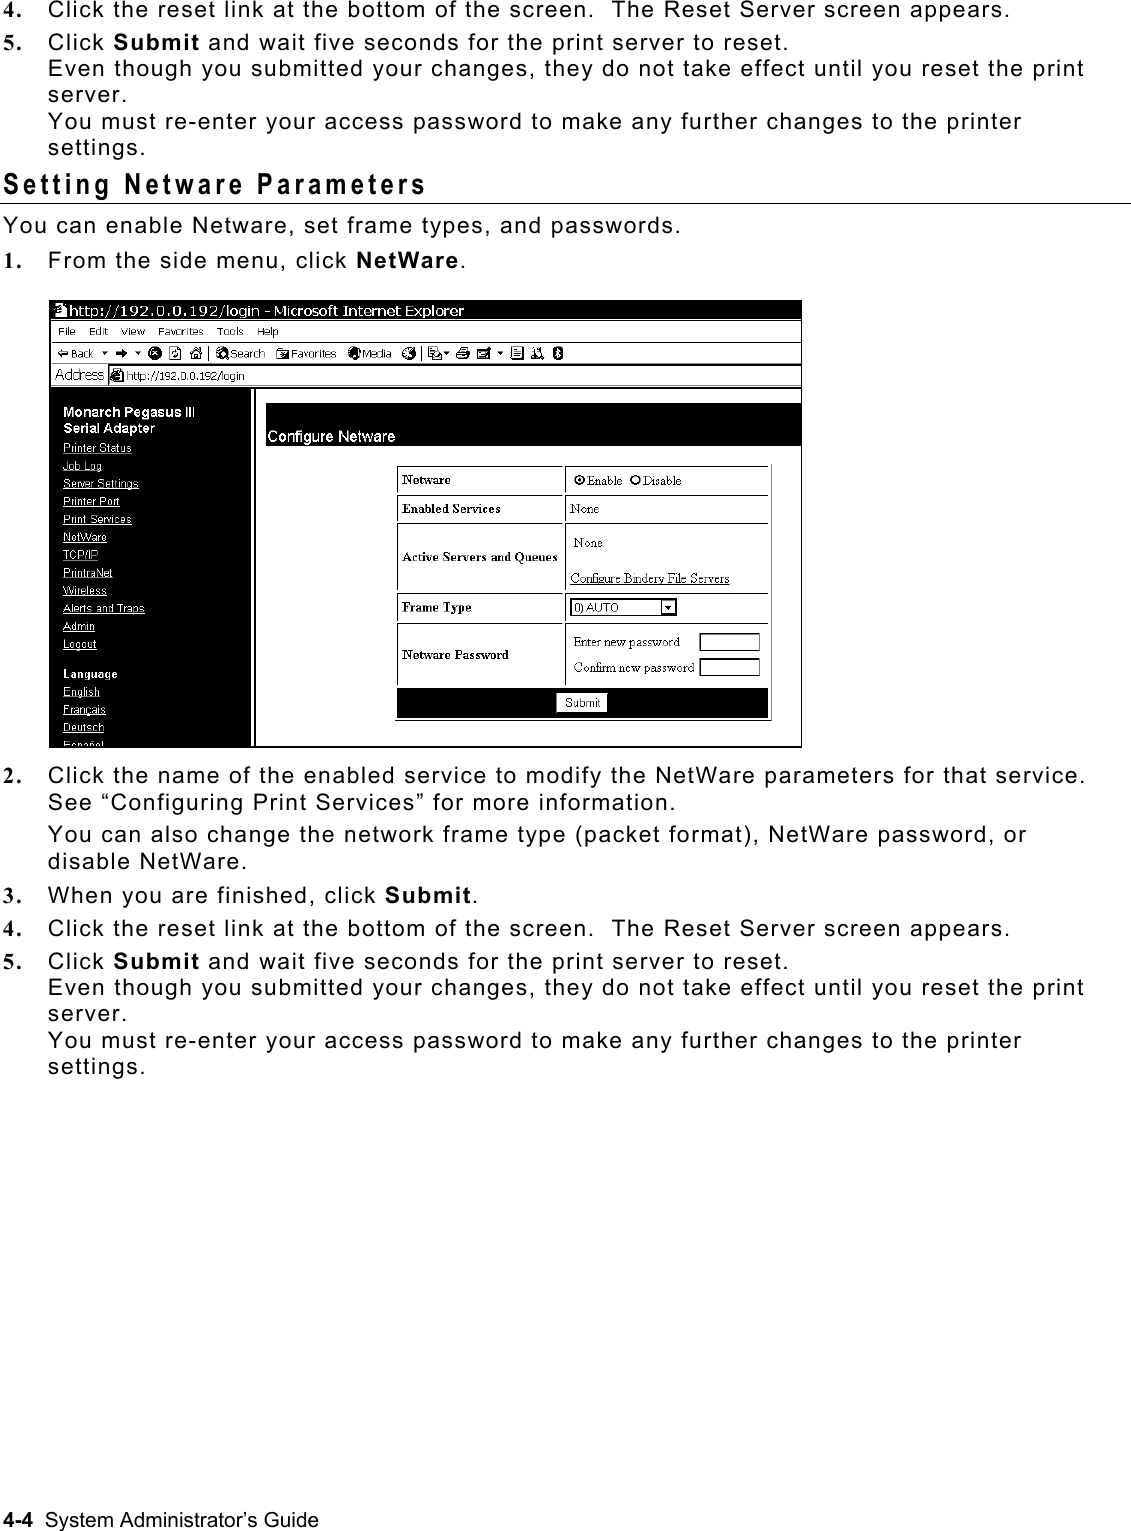
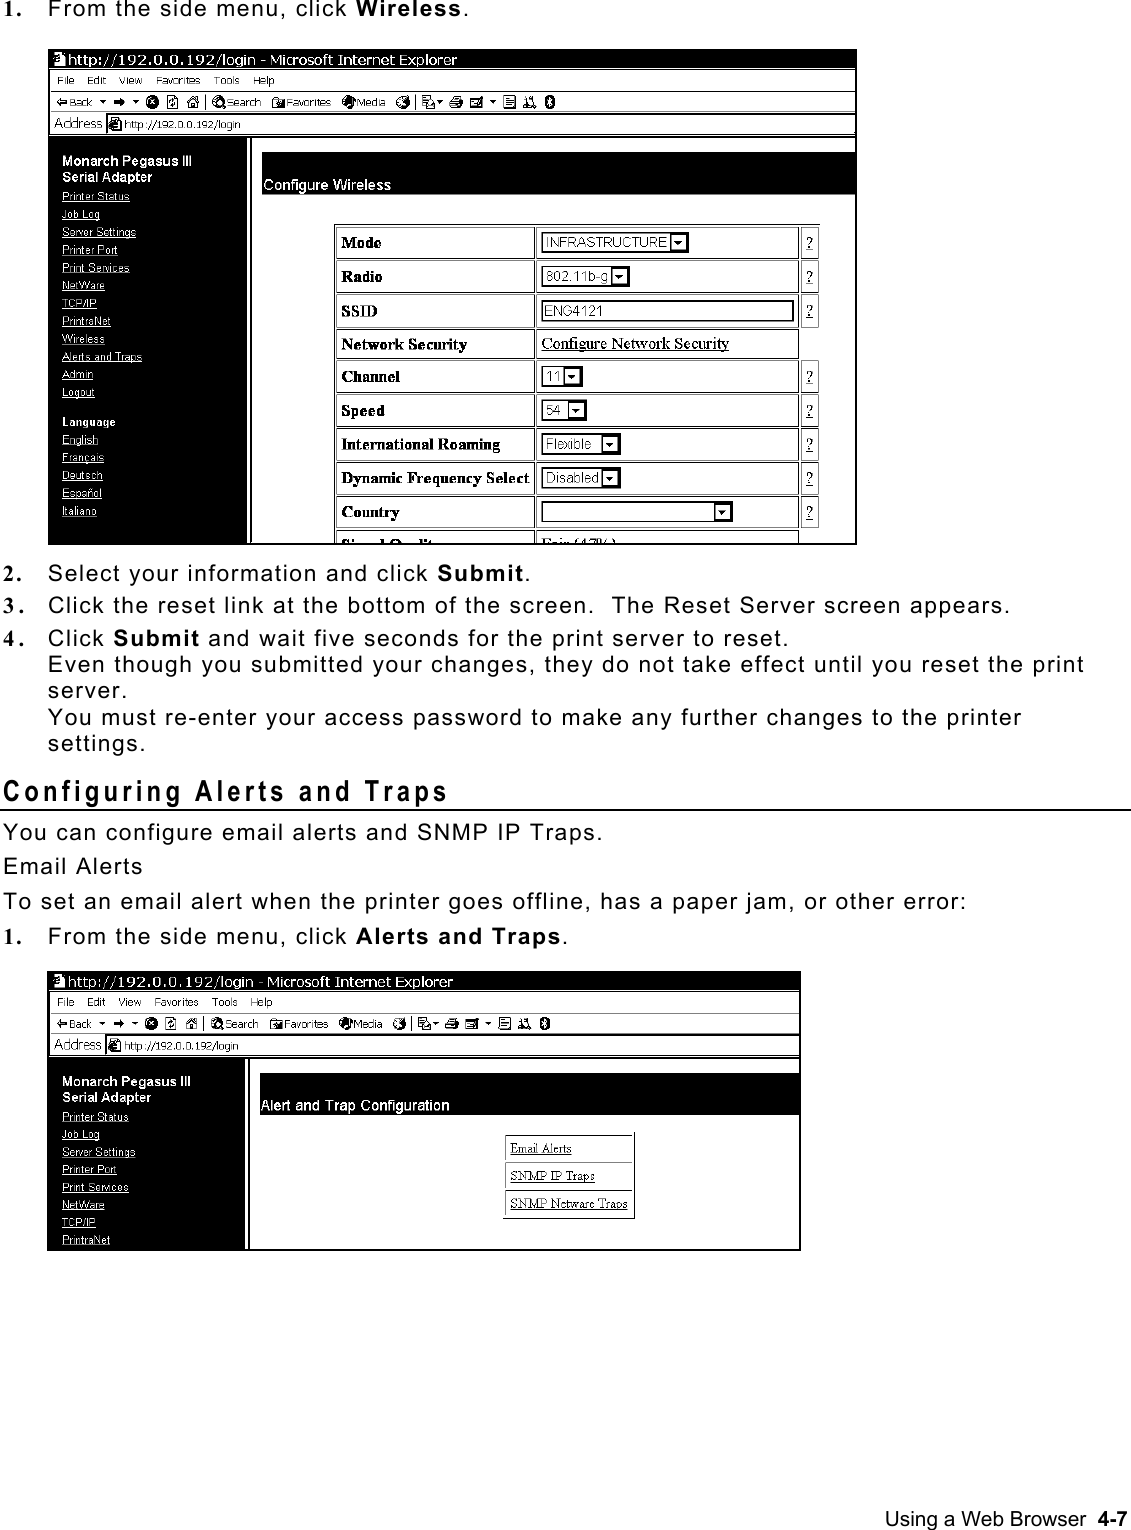
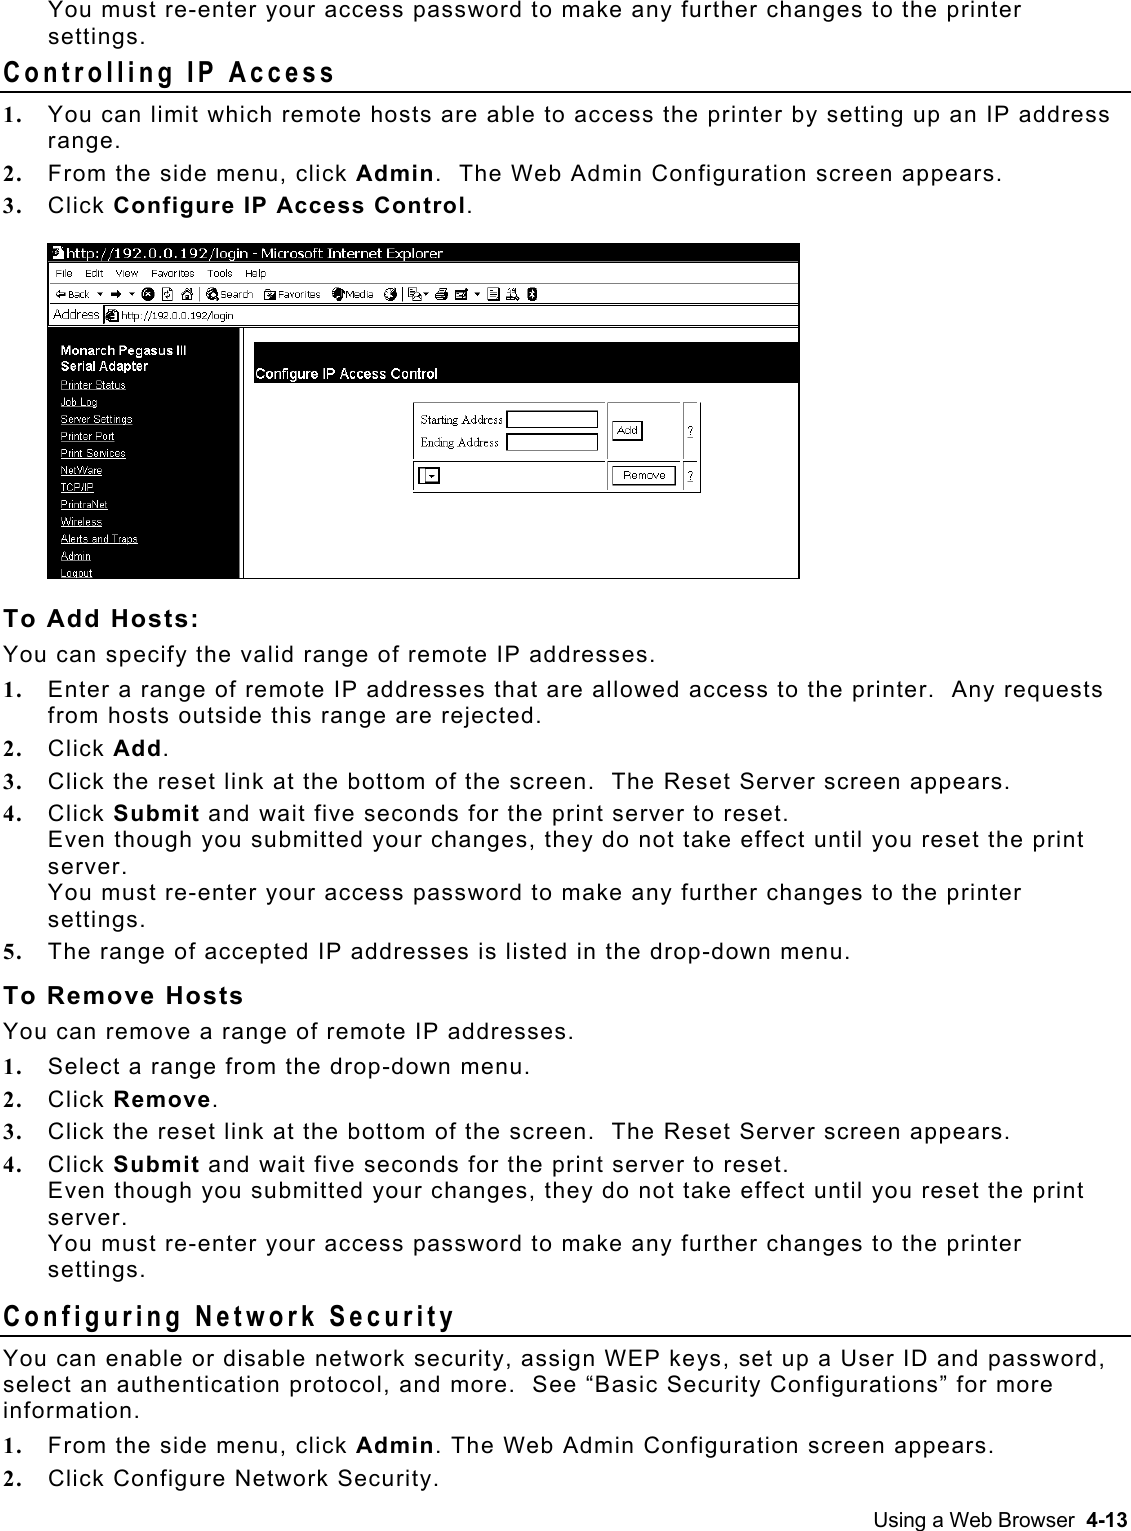
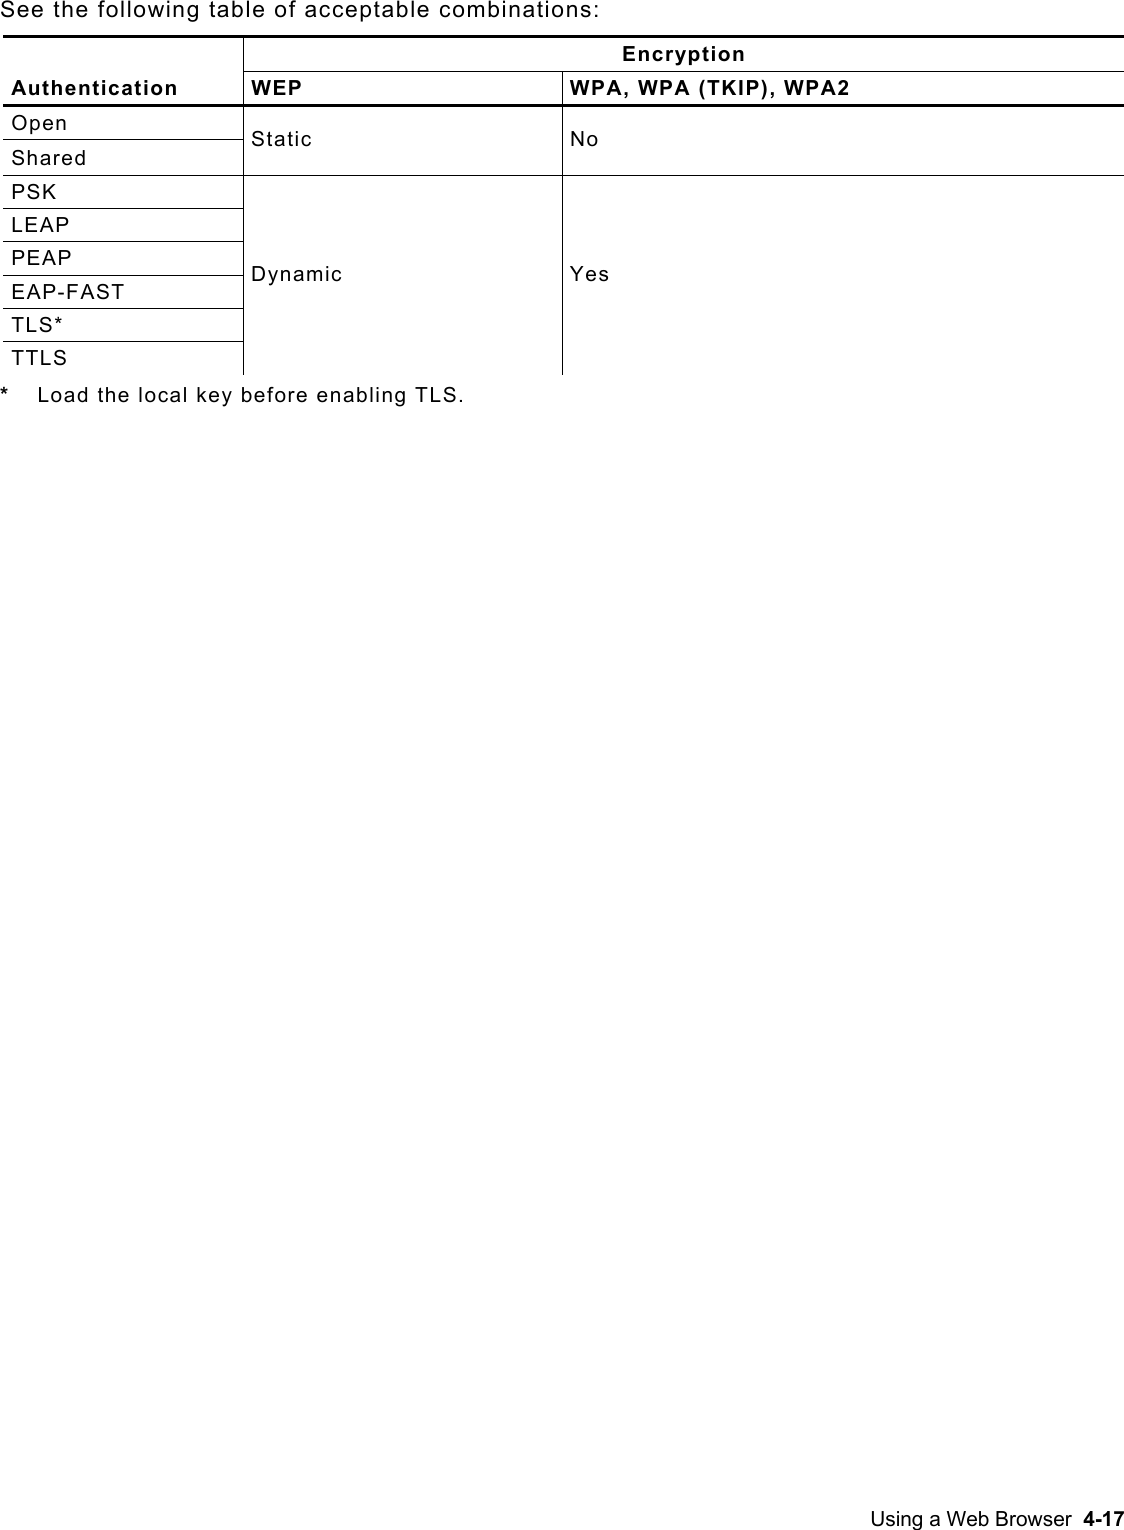
![UNPROTect Allows the user to enter the update password (if one has been defined). Once the update password is entered correctly, SET commands can be used to modify the configuration until the console session is closed with EXIT. ZEro Zeros statistical counts. Avalanche Console Commands DELete AVAlanche PROPerty <name> Removes an Avalanche property. Note: This allows the user to delete system-defined properties. However, they are recreated on a restart. SEt AVAlanche IP <ip address> Sets the address of the Avalanche Agent. SEt AVAlanche <EN/DIS> Enables or disables the Avalanche Enabler. SEt AVAlanche PROPerty <name> <property value> Adds an Avalanche property. Port Commands SEt POrt <name> Sets the name of the communications port. SHow POrt <name> STA Shows the current port status. 802.11b/g Wireless Commands CLear NW SSid Clears the SSID, so the server connects to any access point. SEt NW APDEN [LOW/MED/HI] Sets 802.11b/g access point density. SEt NW AUTHTRY n Specifies the number of authentication tries the user is given. SEt NW AUTHtype [OPEN/SHARED/TLS/TTLS/LEAP/PEAP/ EAP-FAST/PSK] Sets the authentication type. See Chapter 4, “Using a Web Browser” for more information. SEt NW CERTCN <name> Sets the EAP common name. If no value is set (null), all host certificates are accepted. SEt NW CERTCN2 <name> Sets the second EAP common name. If no value is set (null), all host certificates are accepted. SEt NW CERTEXP <value> Sets the EAP certificate exponent value. SEt NW CERTKEY <keyvalue> Sets the EAP root key value. SEt NW CHannel nn Sets 802.11b/g wireless channel. SEt NW ENC [DIsable/64/128/WPA/WPA2/WPA2-WPA] Sets the encryption mode. See Chapter 4, “Using a Web Browser” for more information. Telnet Console Commands 6-5](https://usermanual.wiki/Avery-Dennison-Retail-Information-Services/SX10WGPM.Users-Manual-1/User-Guide-1200989-Page-59.png)
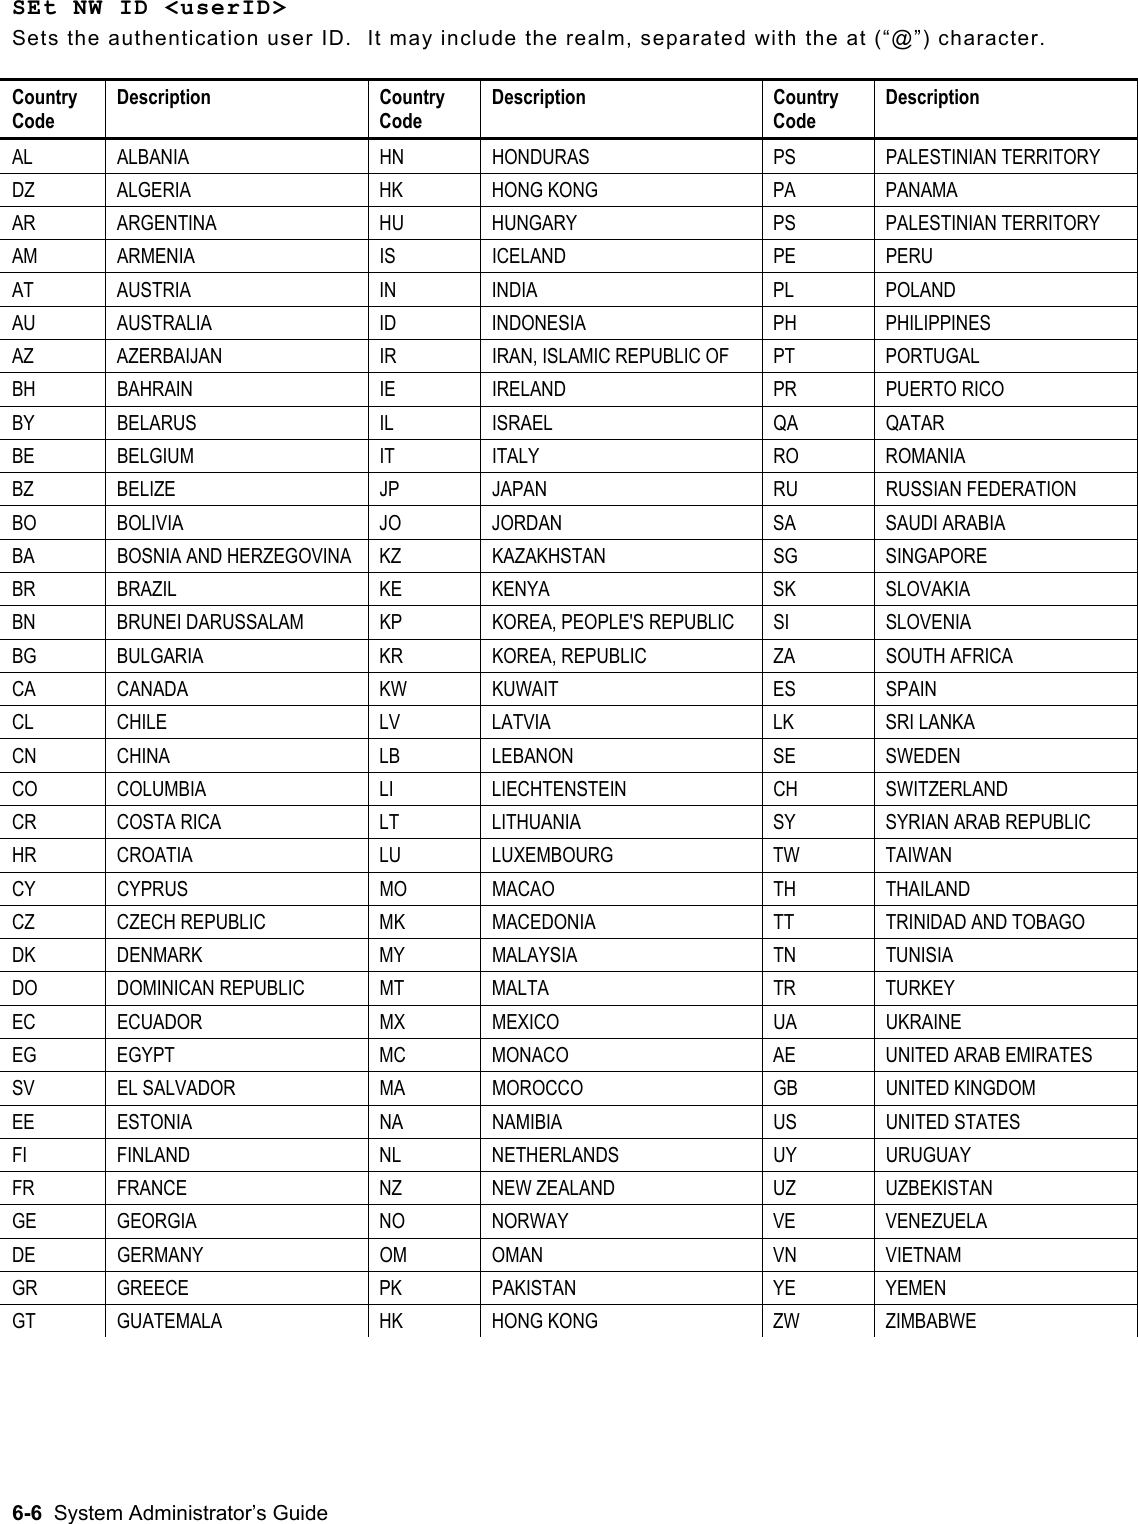
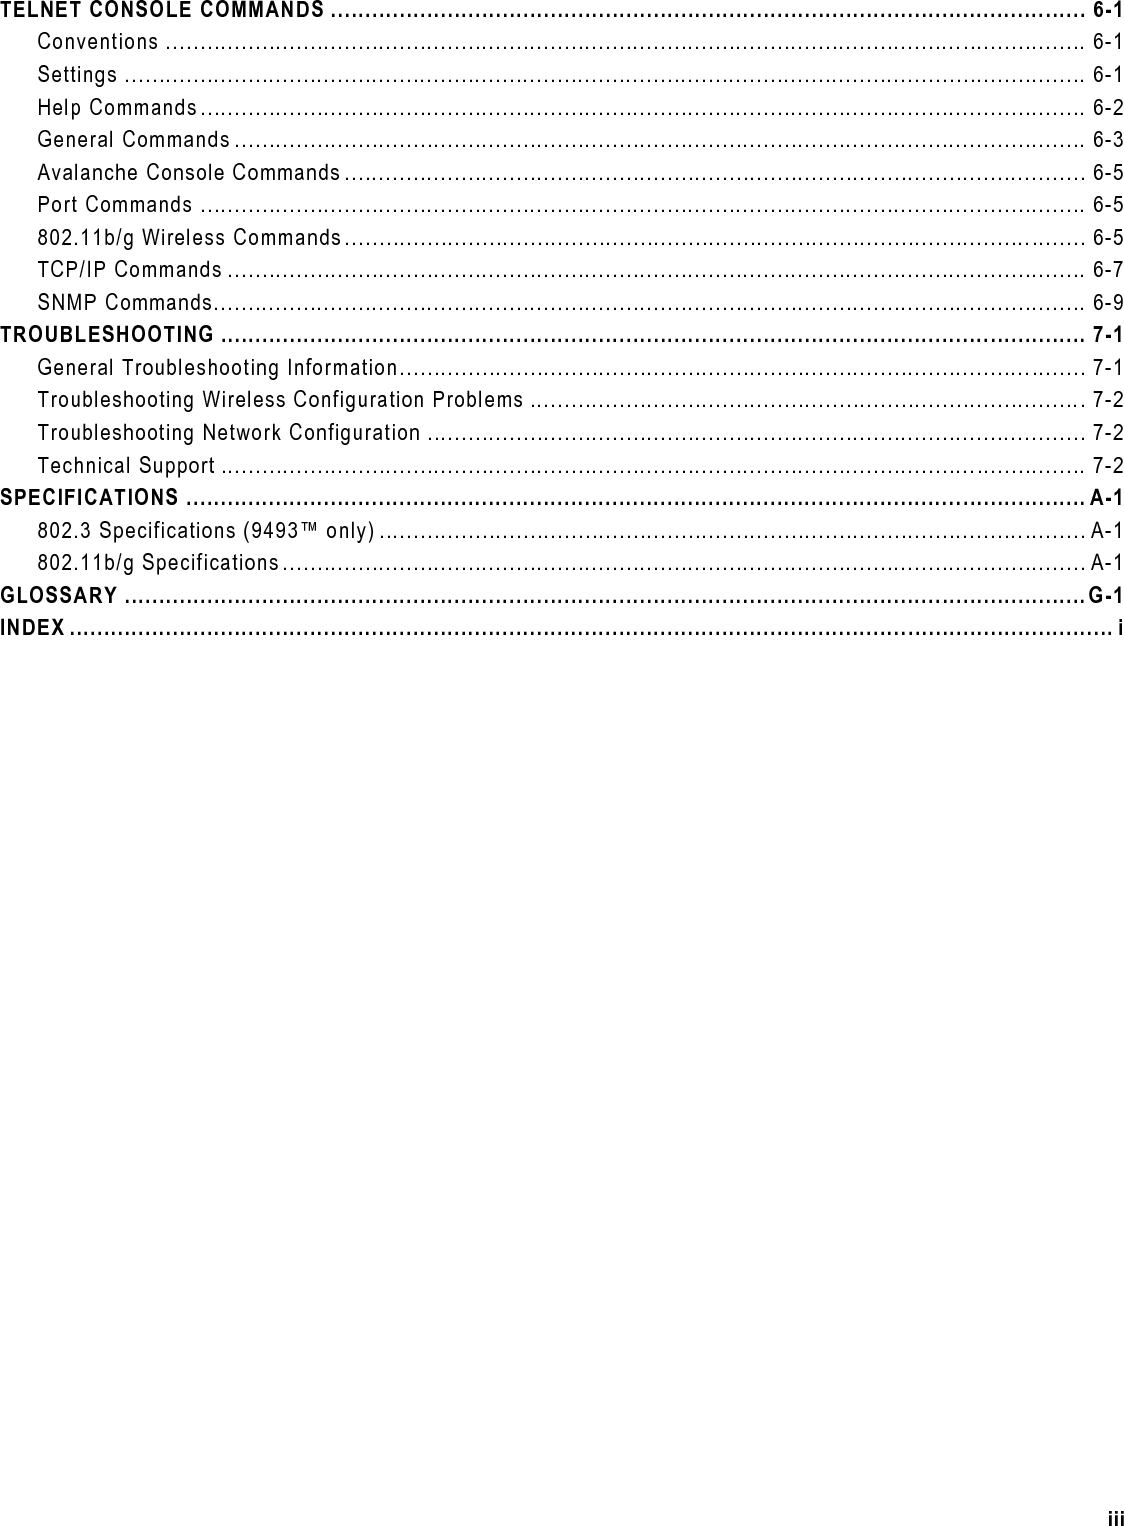
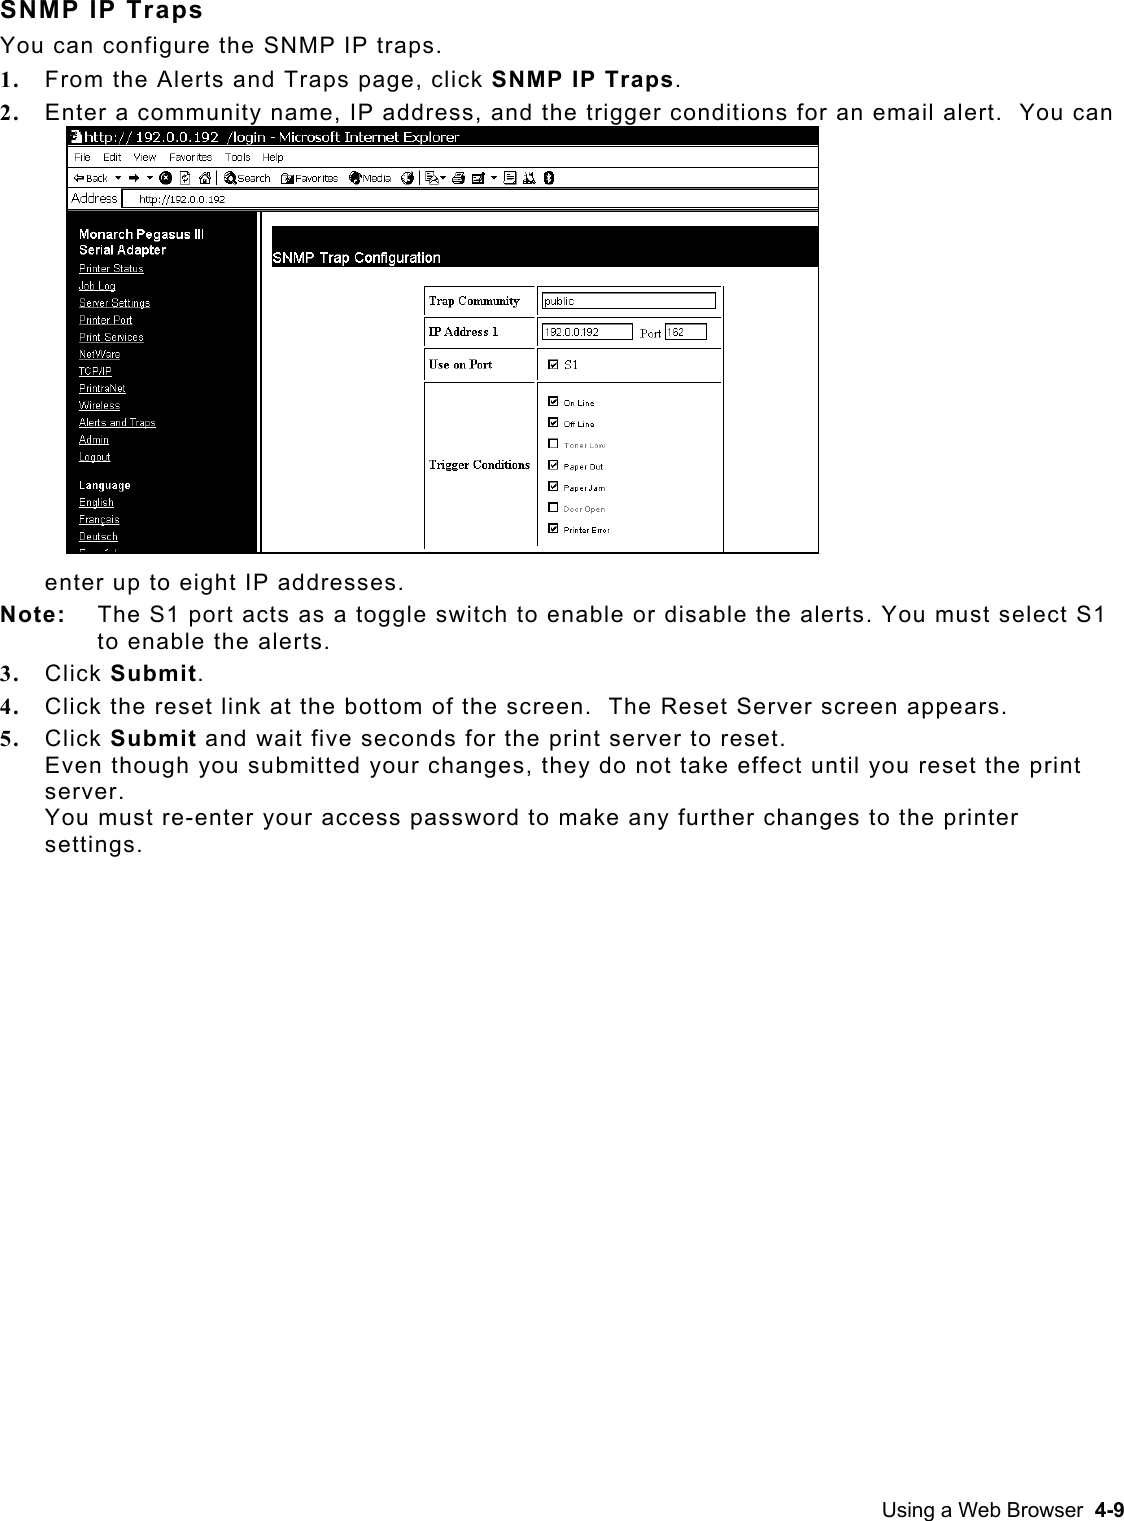
![SEt NW INAP [PAP/MSCHAP_V2] Sets the EAP inner authentication protocol. SEt NW IROAM [DISable/STRICT/FLEXible] Controls whether the radio frequencies are set based on the radio configuration or from its access point. Disabled uses the radio defaults. Flexible uses access point settings if present, otherwise the radio defaults are used. Strict uses access point regulatory frequency information. SEt NW KEY# <1/2/3/4> Sets which WEP key number to use (default is 1). SEt NW KEYVAL <WEPkey> Sets WEP key value. Must be hexadecimal. SEt NW MOde [INfra/ADhoc] Sets 802.11b/g wireless mode to infrastructure or Ad-Hoc mode. SEt NW PW <password> Sets the password for 802.11b/g EAP authentication. SEt NW REALM <realm> Sets the realm portion of the 802.11b/g EAP authentication ID. SEt NW RTS n Sets the network RTS threshold. Range is 1-3000. SEt NW REGDOMain <countrycode> Sets the region of operation for the print server using the following table. The list of supported countries varies based on the radio type (802.11b or 802.11b/g). SEt NW SPeed <1/2/5.5/6/9/11/12/18/24/36/48/54> Sets 802.11b/g wireless speed in megabits per second (Mpbs). SEt NW SSid “<ssid>” Sets 802.11b/g wireless SSID. Use quotes if there is a space in SSID. This is case sensitive. SH NW STATS Shows the network I/O statistics. SEt NW WEP [DIS/64/128] Sets wired equivalent privacy encryption level to disabled, 64-bit, or 128-bit. SEt NW WPAGROUP [ENABLE/DISABLE] Selects whether to use the WPA group key mode. When enabled, group keys are used for data link encryption. SEt NW WPAPSK <psk-str> Sets the WPA pre-shared key or pass-phrase. Use 64 hex characters for the PSK or 8-63 characters for the pass-phrase. This is only valid when authentication mode is WPA-PSK. TCP/IP Commands SEt IP [EN/DIS] Selects whether to use IP-based protocols. SEt IP ACcess [EN] aa.bb.cc.dd [Mask ee.ff.gg.hh] Allows or prevents specified IP address from accessing print server. SEt IP ADdress Sets IP address of print server. SEt IP ARP [EN/DIS] Selects whether to use an IP address with an ARP packet. Telnet Console Commands 6-7](https://usermanual.wiki/Avery-Dennison-Retail-Information-Services/SX10WGPM.Users-Manual-1/User-Guide-1200989-Page-61.png)
![SEt IP BAnner [EN/DIS] Sets printing of LPD job banners. SEt IP BOot n Sets number of retries (n) for DHCP, BOOTP, RARP SEt IP CHKSUM [EN/DIS] Enables or disables IP receive checksum. SEt IP FTIme [EN/DIS] Enables or disables fast timeout. SEt IP FTP [EN/DIS] Selects whether to use the FTP protocol. SEt IP HTTP [EN/DIS] Selects whether to use the HTTP protocol. SEt IP KEepalive n Sets keep alive interval (n) in minutes. SEt IP LPD [EN/DIS] Selects whether to use the LPD protocol. SEt IP MEthod [AUTO/BOOTP/RARP/DHCP/STATIC] Sets method of getting IP address. SEt IP PIng aa.bb.cc.dd Sends IP ping packets to test the host connection. SEt IP PRObe [EN/DIS] Enables or disables the TCP connection probe. SEt IP RARp flags nn 0 Both 1 no subnet 2 no router 3 neither Default (0) - IP address is set with subnet mask and router that is the same address as host. SEt IP RANge [EN/DIS/ALL] aa.bb.cc.dd [MAx ee.ff.gg.hh] Sets the valid range of IP addresses. SEt IP REtry [EN/DIS] Enables or disables LPD retry continuation SEt IP ROuter aa.bb.cc.dd Sets default Router/Gateway address (or access point). SEt IP SUbnet aa.bb.cc.dd Sets default subnet mask. SEt IP TCP [EN/DIS] Selects whether to use the raw TCP (port 9100) protocol. SEt IP TELNET [EN/DIS] Selects whether to use the Telnet protocol. SEt IP TFTP [EN/DIS] Selects whether to use the TFTP protocol. SEt IP TImeout n Sets timeout (n) in minutes. SEt IP TRAP n ADDR <a.b.c.d[:e]> Sets the destination IP address and optional port number to specify where to send the trap (n). If the port is not specified, it defaults to 162. 6-8 System Administrator’s Guide](https://usermanual.wiki/Avery-Dennison-Retail-Information-Services/SX10WGPM.Users-Manual-1/User-Guide-1200989-Page-62.png)
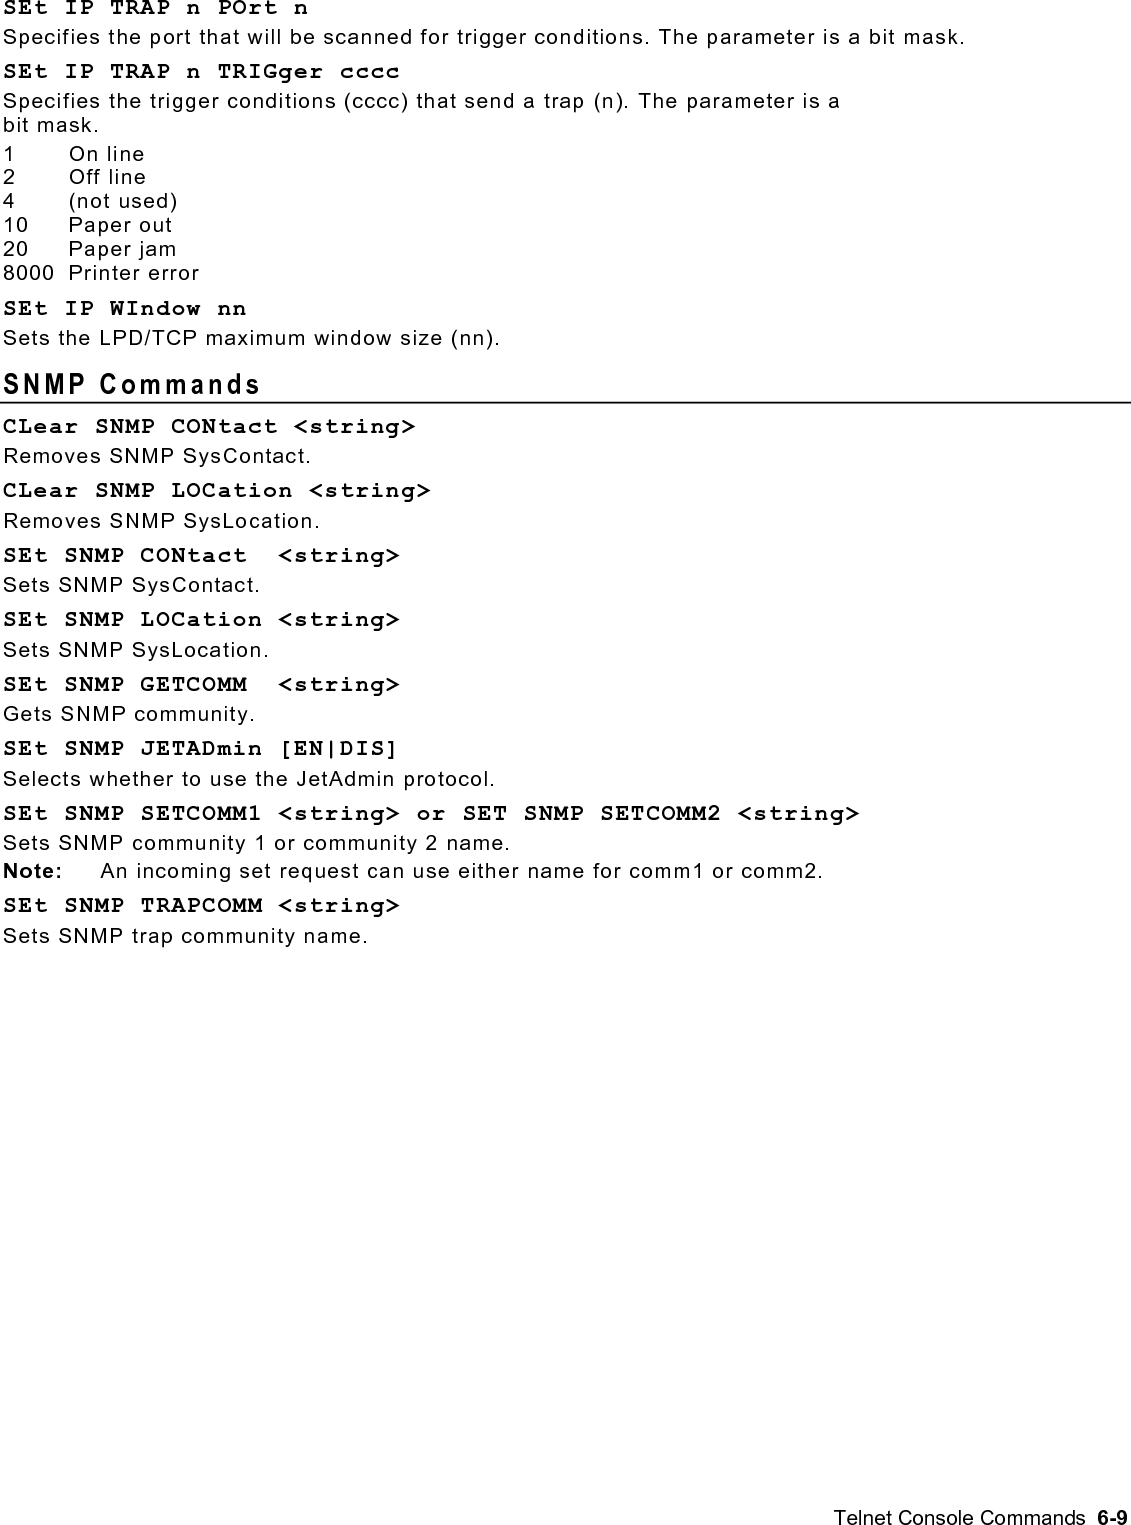
![SEt IP TRAP n POrt n Specifies the port that will be scanned for trigger conditions. The parameter is a bit mask. SEt IP TRAP n TRIGger cccc Specifies the trigger conditions (cccc) that send a trap (n). The parameter is a bit mask. 1 On line 2 Off line 4 (not used) 10 Paper out 20 Paper jam 8000 Printer error SEt IP WIndow nn Sets the LPD/TCP maximum window size (nn). SNMP Commands CLear SNMP CONtact <string> Removes SNMP SysContact. CLear SNMP LOCation <string> Removes SNMP SysLocation. SEt SNMP CONtact <string> Sets SNMP SysContact. SEt SNMP LOCation <string> Sets SNMP SysLocation. SEt SNMP GETCOMM <string> Gets SNMP community. SEt SNMP JETADmin [EN|DIS] Selects whether to use the JetAdmin protocol. SEt SNMP SETCOMM1 <string> or SET SNMP SETCOMM2 <string> Sets SNMP community 1 or community 2 name. Note: An incoming set request can use either name for comm1 or comm2. SEt SNMP TRAPCOMM <string> Sets SNMP trap community name. Telnet Console Commands 6-9](https://usermanual.wiki/Avery-Dennison-Retail-Information-Services/SX10WGPM.Users-Manual-1/User-Guide-1200989-Page-63.png)
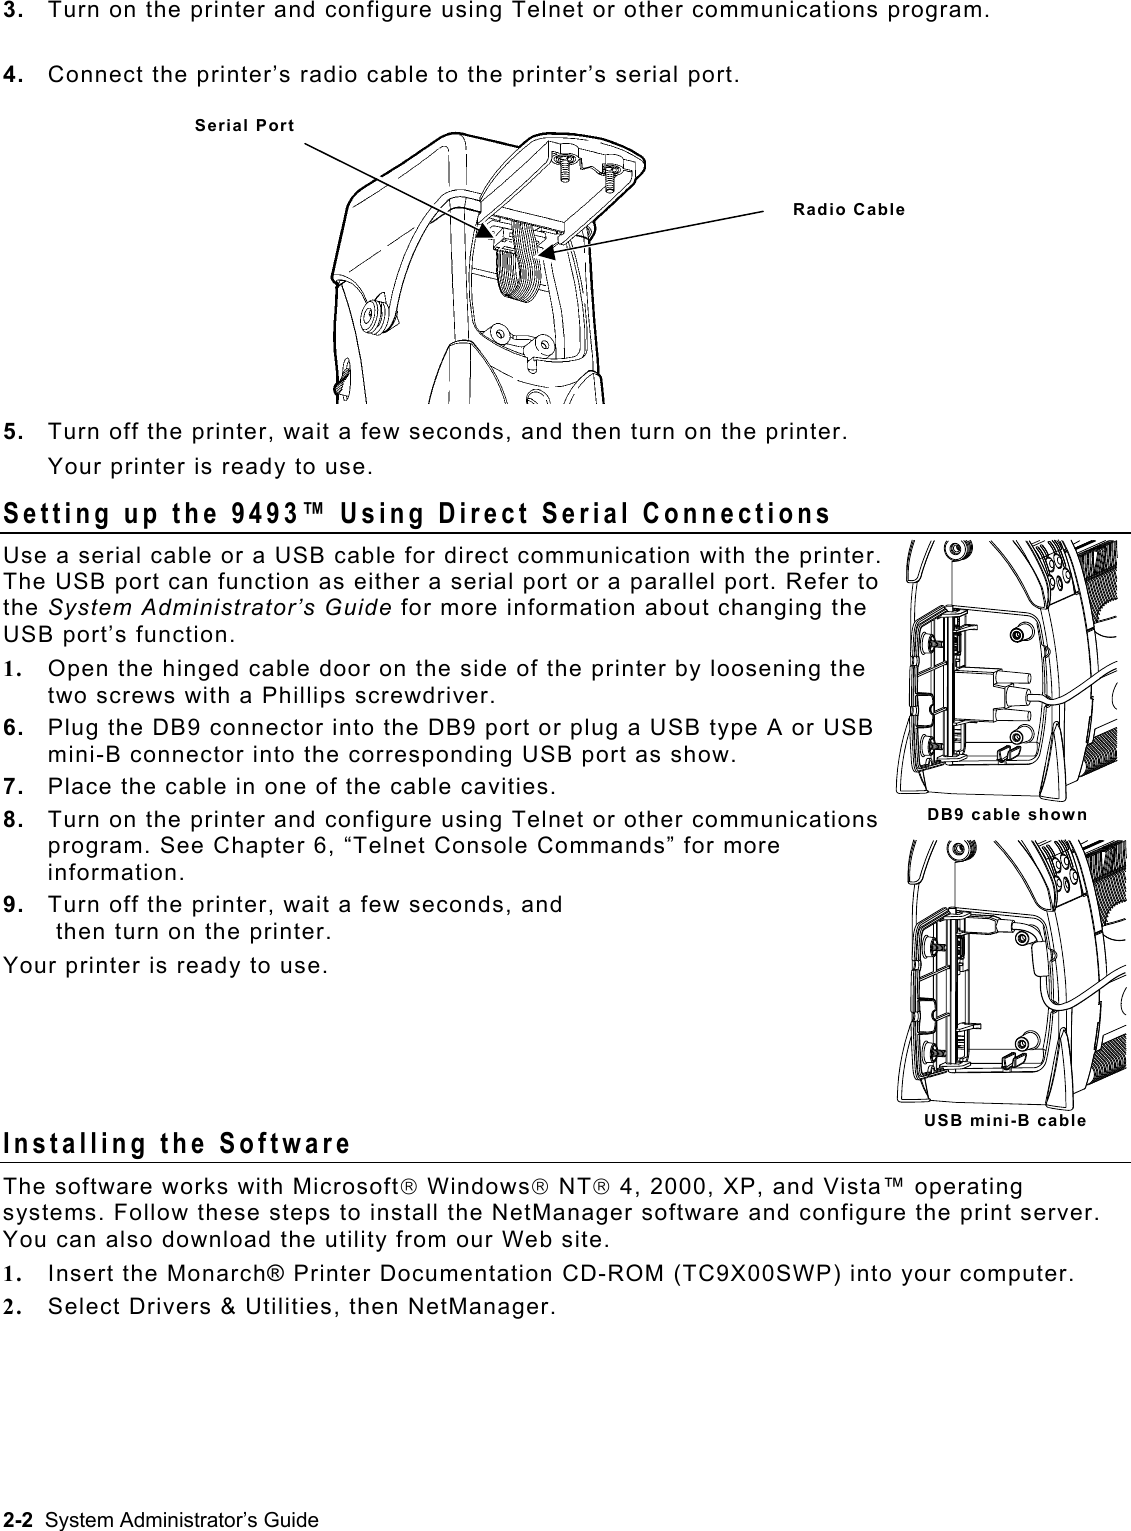
![TROUBLESHOOTING 7 Verify that the printer is operating properly, is online, and supplies are loaded correctly. General Troubleshooting Information Use the following information if your print server is not operating properly. 1. Verify that the printer is turned on. 2. Verify the print server is connected to the network. The 9460 printer’s display shows the <T> symbol when the printer is connected and ready to receive data. The 9493 printer’s display shows the M or the n symbol when the printer is connected and ready to receive data. 3. Print a test label. See Chapter 2, “Configuring the 802.11b/g and IP Settings” for more information. Use 2-inch supply or some information may print off the label. If a label does not print, check the printer's display to see if it shows a receiving status. Turn off the printer, wait fifteen seconds and then turn it back on. 4. On the test label, verify your IP and wireless settings. Check the “Actual SSID” and the “Sig Strength”. Is the actual SSID correct? Is the signal quality greater than zero? If the signal quality is 0, you lost connection with the access point. If it is very low, you may be experiencing interference or are very close to being out of range or an access point. A value of 100 is the best you can have for signal quality. You can probably operate at a minimum of 60, but the number of retries is likely to increase. 5. Telnet to the printer. Note: After the print server has been reset, you may need to re-enable Telnet, or connect serially. Once you have verified connectivity, Telnet to the printer. This gives you access to console operation of the printer. Press Enter (on your host) and enter access as the password. Press Enter to by-pass the user name. Once here, you have verified operation to the print server. 6. Ping the printer. Pinging the printer tells you if it is “seen” on the network. If you cannot ping the printer, turn the printer off and then on. Then ping every device in the path to the printer - access points, routers, etc. Any device you cannot ping needs attention. ping <ip address> (i.e. ping 192.0.0.192) 7. Verify connection to the data port by starting a Telnet session to the printer using port 9100 (i.e. Telnet aa.bb.cc.dd 9100). Press Ctrl-E on your keyboard. This sends an ENQ request. The printer responds with three characters. Depending upon the Telnet being used, you may not see the first character, as it is a hex 05 value. The other two characters are ASCII characters. You see A@ which means the printer is online and waiting. Alternatively, you can type [J,2] Note: The J must be capital. Troubleshooting 7-1](https://usermanual.wiki/Avery-Dennison-Retail-Information-Services/SX10WGPM.Users-Manual-1/User-Guide-1200989-Page-65.png)