Axesstel PX340G Fixed Wireless Phone on CDMA 800/1900/1575MHz User Manual 11 PX340G
Axesstel Inc Fixed Wireless Phone on CDMA 800/1900/1575MHz 11 PX340G
UserManual.wiki
>
Axesstel
>
PX340G User Manual
User Manual
Navigation menu
Upload a User Manual
Namespaces
Wiki Guide
HTML
PDF
Info
Views
User Manual
Discussion / Help
Navigation
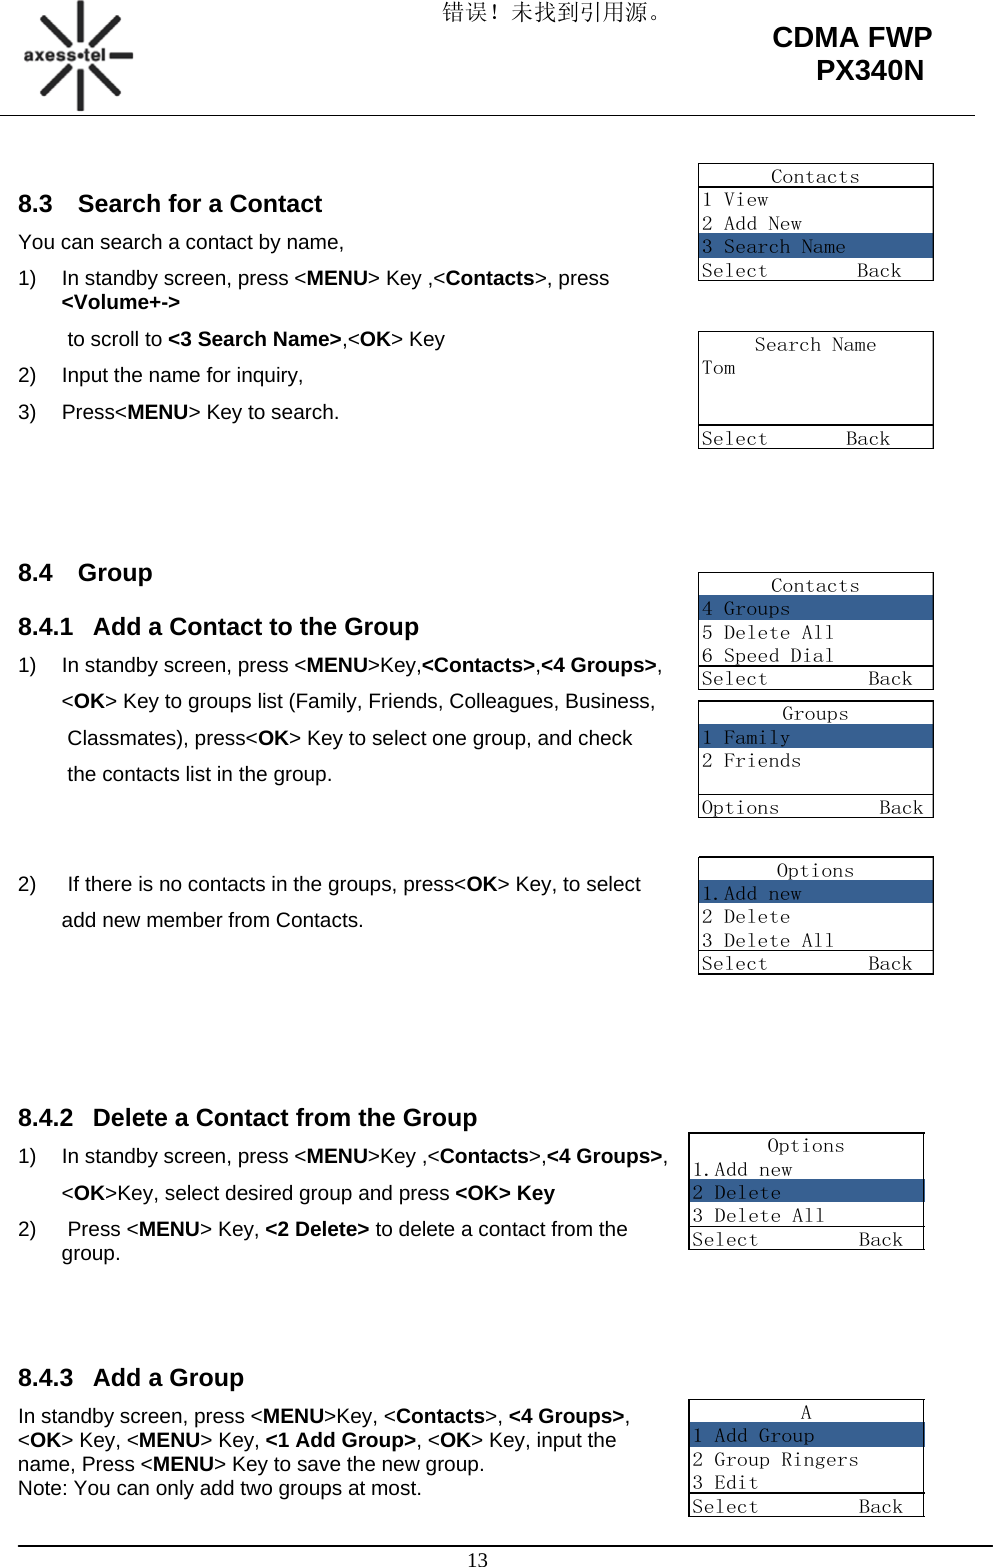
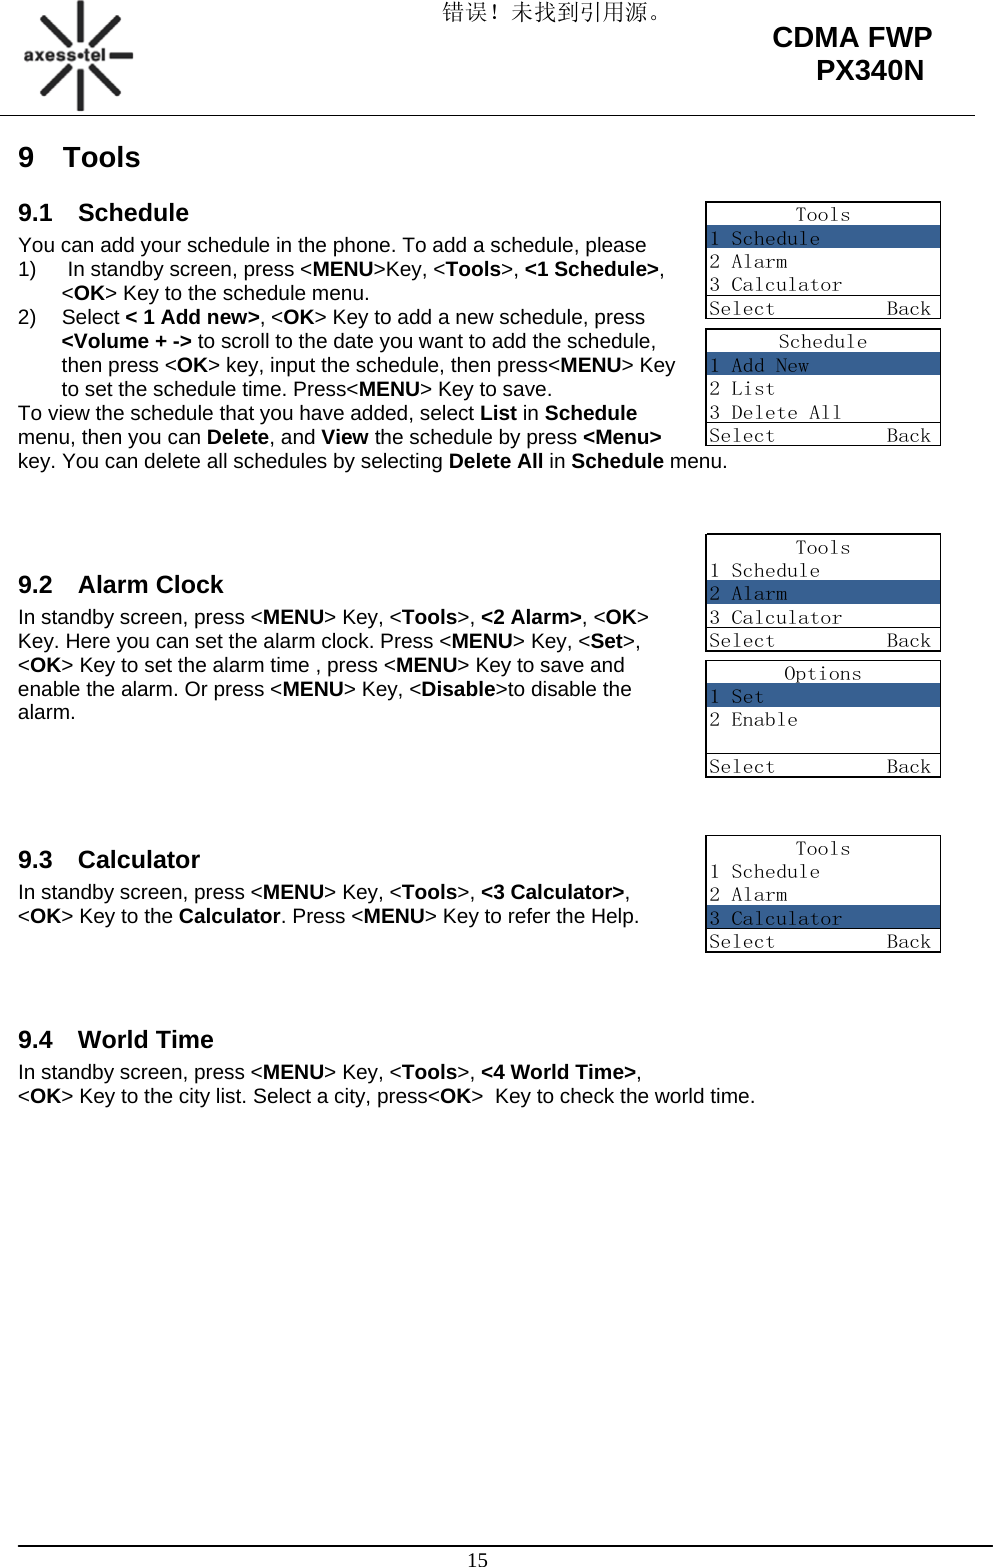
![错误!未找到引用源。 14 CDMA FWP PX340NA1 Add Group2 Group Ringers3 EditSelect BackOptions1 View2 Delete3 Send messageSelect BackContacts1 View2 Add New3 Search NameSelect BackEdit EntryTom[Friends]Edit BackContacts4 Groups5 Delete All6 Speed DialSelect BackSpeed Dial02:<empty>03:<empty>Options BackOptions1.Add new2 Delete3 Delete AllSelect BackContacts5 Delete All6 Speed Dial7 Memory StatusSelect Back8.4.4 Set a Ring tone to a Group In standby screen, press <MENU>Key, <Contacts>, <4 Groups>, <OK>Key, <MENU>Key, <2 Group Ringers>, <OK> Key, select a proper tone via <Volume+-> key. 8.5 Delete a Contact In standby screen, press <MENU>Key, <Contacts>, <1 View>, <OK> Key to the contacts list, press <Volume+-> to scroll to the desired contact, then press <MENU> Key,<2 Delete>,<OK>Key to delete the contact. 8.6 Edit a Contact In standby screen, press <MENU>Key, <Contacts>, <1 View>, <OK> Key to the contacts list, press <Volume+-> to scroll to the desired contact, then press <OK> Key, and press <Volume + -> key to select name, group or number, press<OK> Key to edit, then press <OK> Key to save. 8.7 Speed Dial 1) In standby screen, press <MENU>Key, <Contacts>, <6 Speed Dial>, <OK>Key to the speed dial number list (Location 02~09), press<OK> Key to insert a number from Contacts. Or you can press<MENU> Key to do Add New, Delete or Delete All operation. 2) Operation method: If there is a number in Location 02. The name is ABC and number is 123456, In standby screen, press <2>, <#>,<Redial> Key to dial the number 123456 quickly. 8.8 Memory Status In standby screen, press <MENU>Key, <Contacts>, <7 Memory Status>,<OK>Key, to check the memory status about the phone book.](https://usermanual.wiki/Axesstel/PX340G/User-Guide-1435476-Page-17.png)