BK Technologies KNGP500 UHF LAND MOBILE RADIO User Manual Wichita indd
RELM WIRELESS CORP. - BK RADIO UHF LAND MOBILE RADIO User Manual Wichita indd
UserManual.wiki
>
BK Technologies
>
KNGP500 User Manual
Users Manual
Navigation menu
Upload a User Manual
Namespaces
Wiki Guide
HTML
PDF
Info
Views
User Manual
Discussion / Help
Navigation


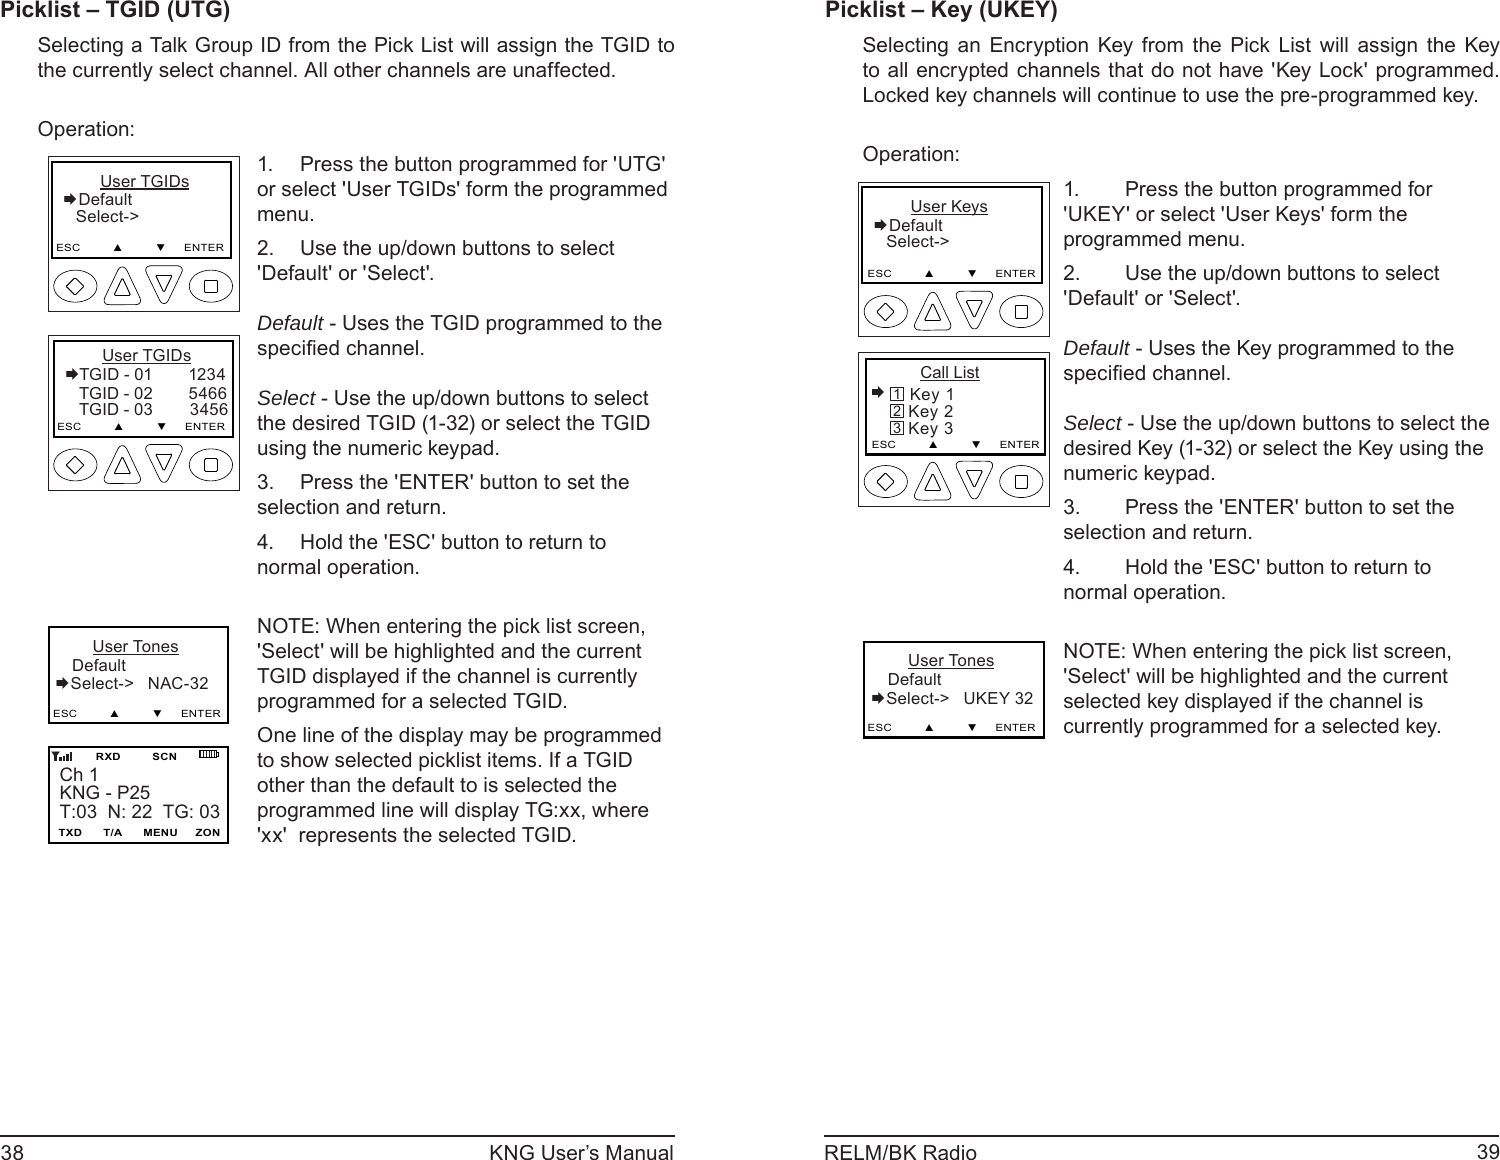
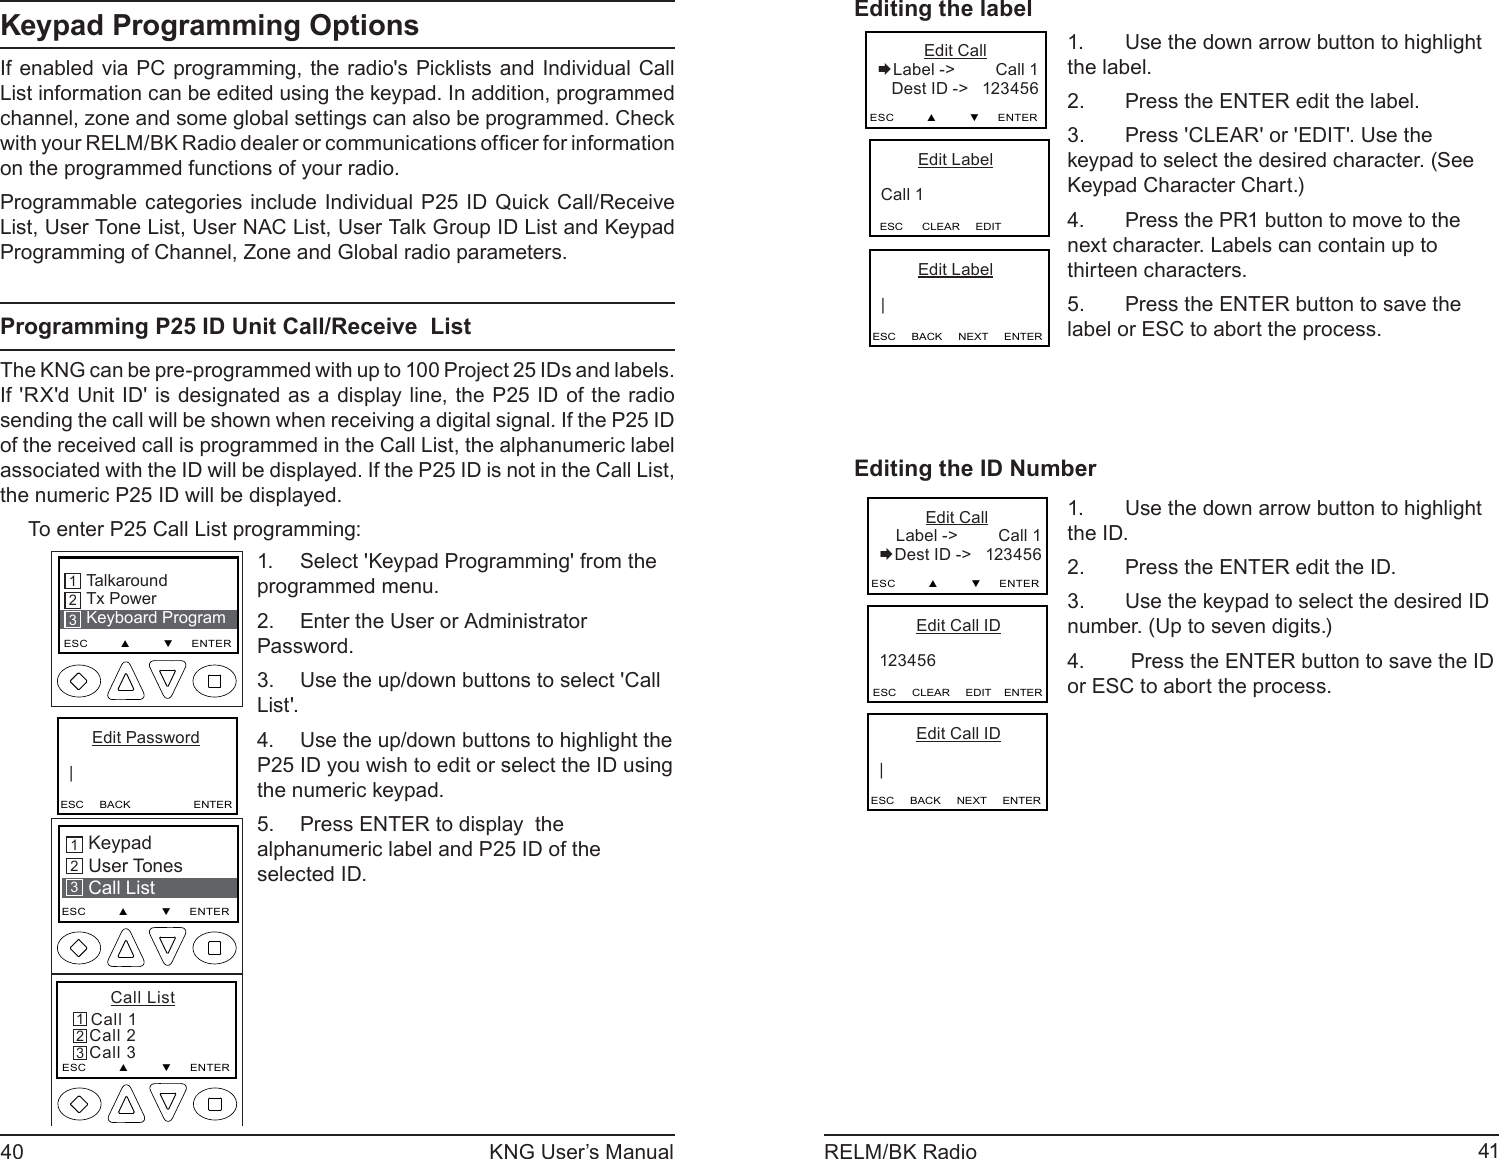
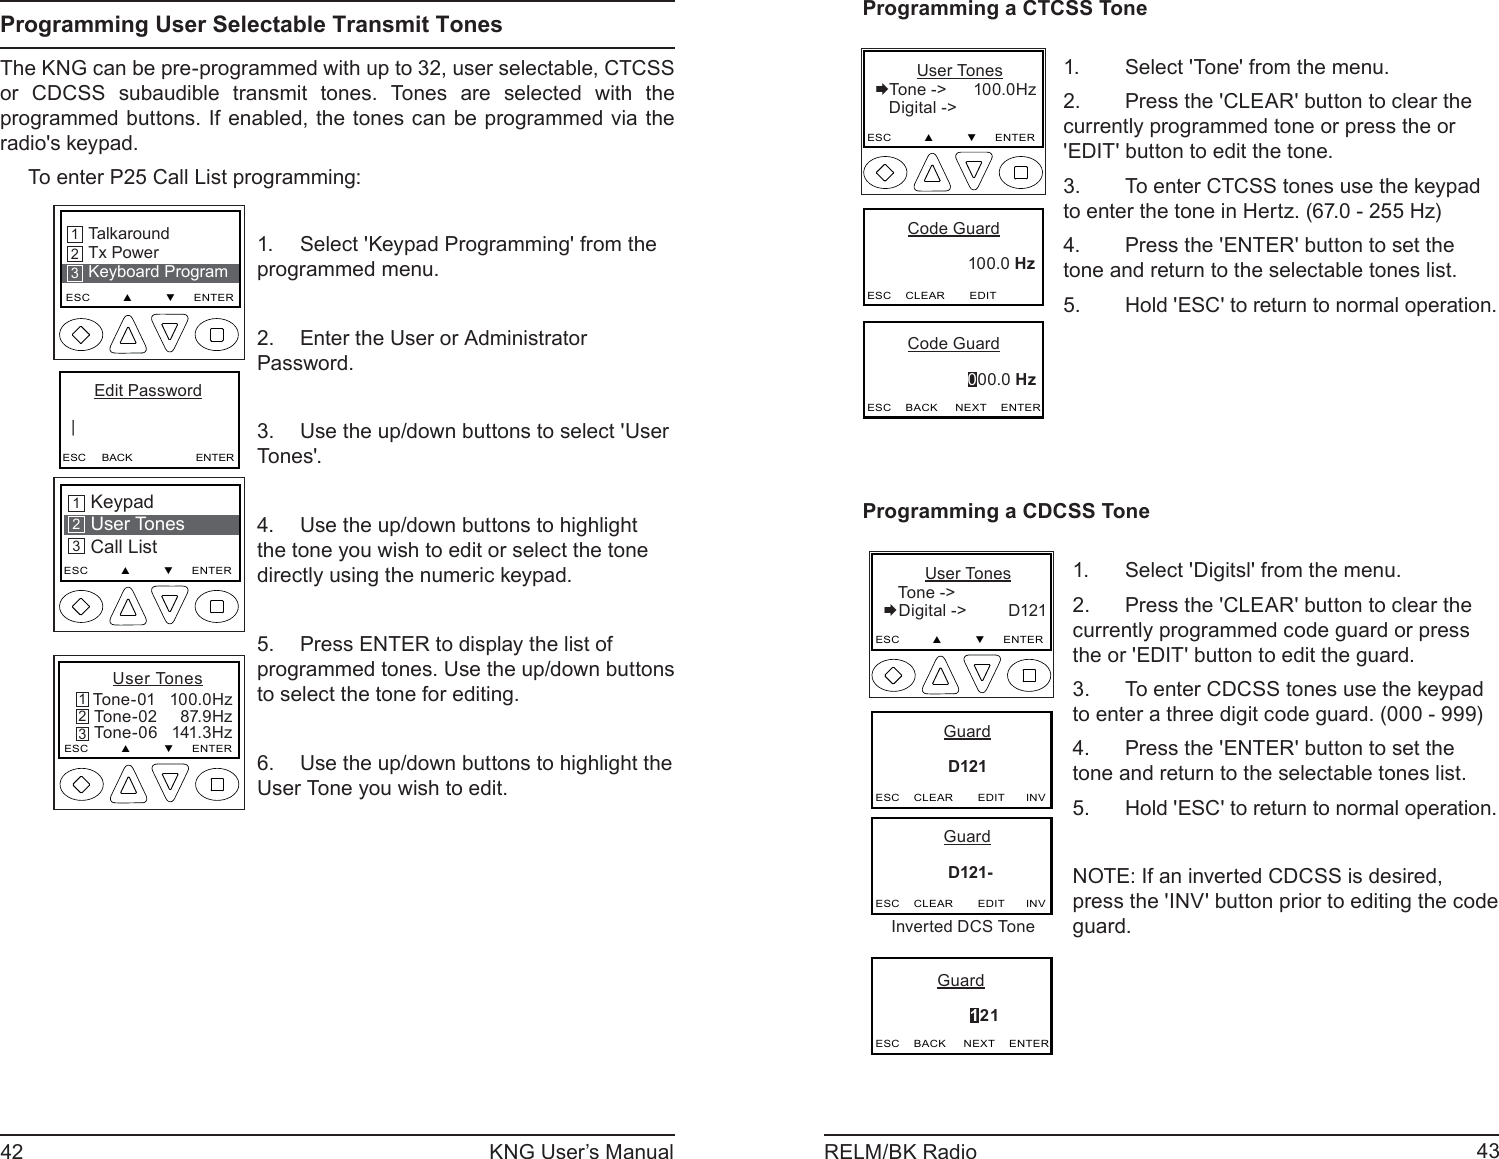
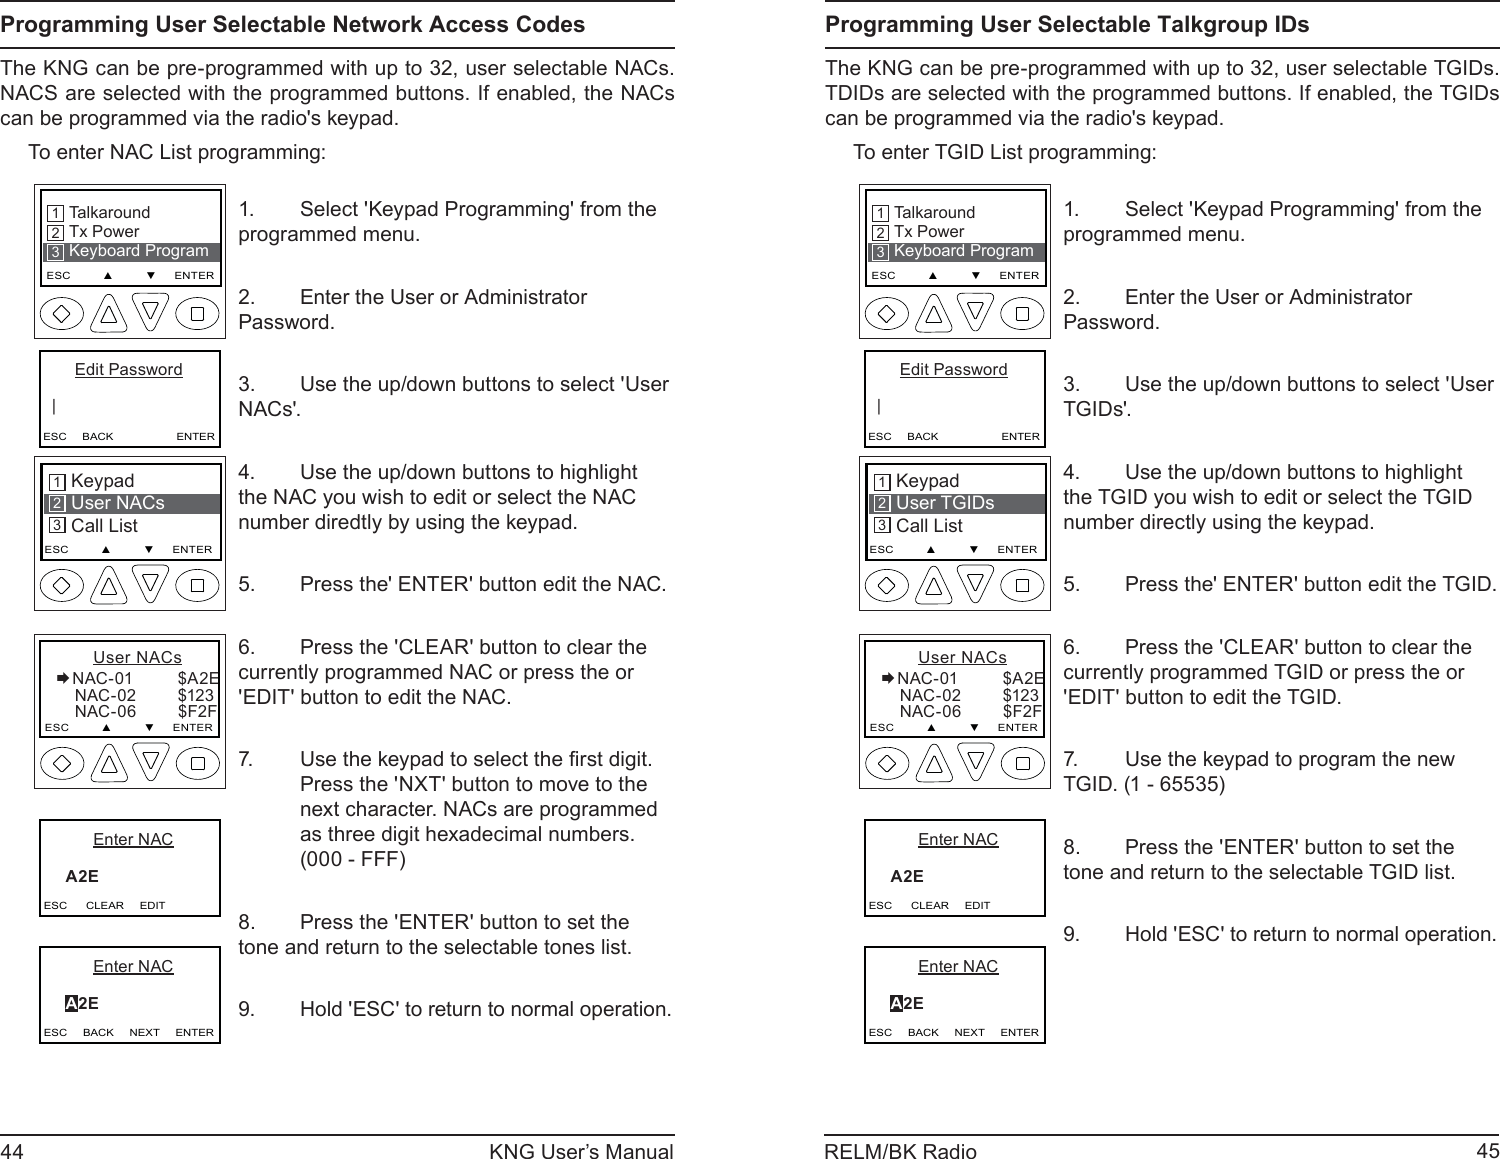
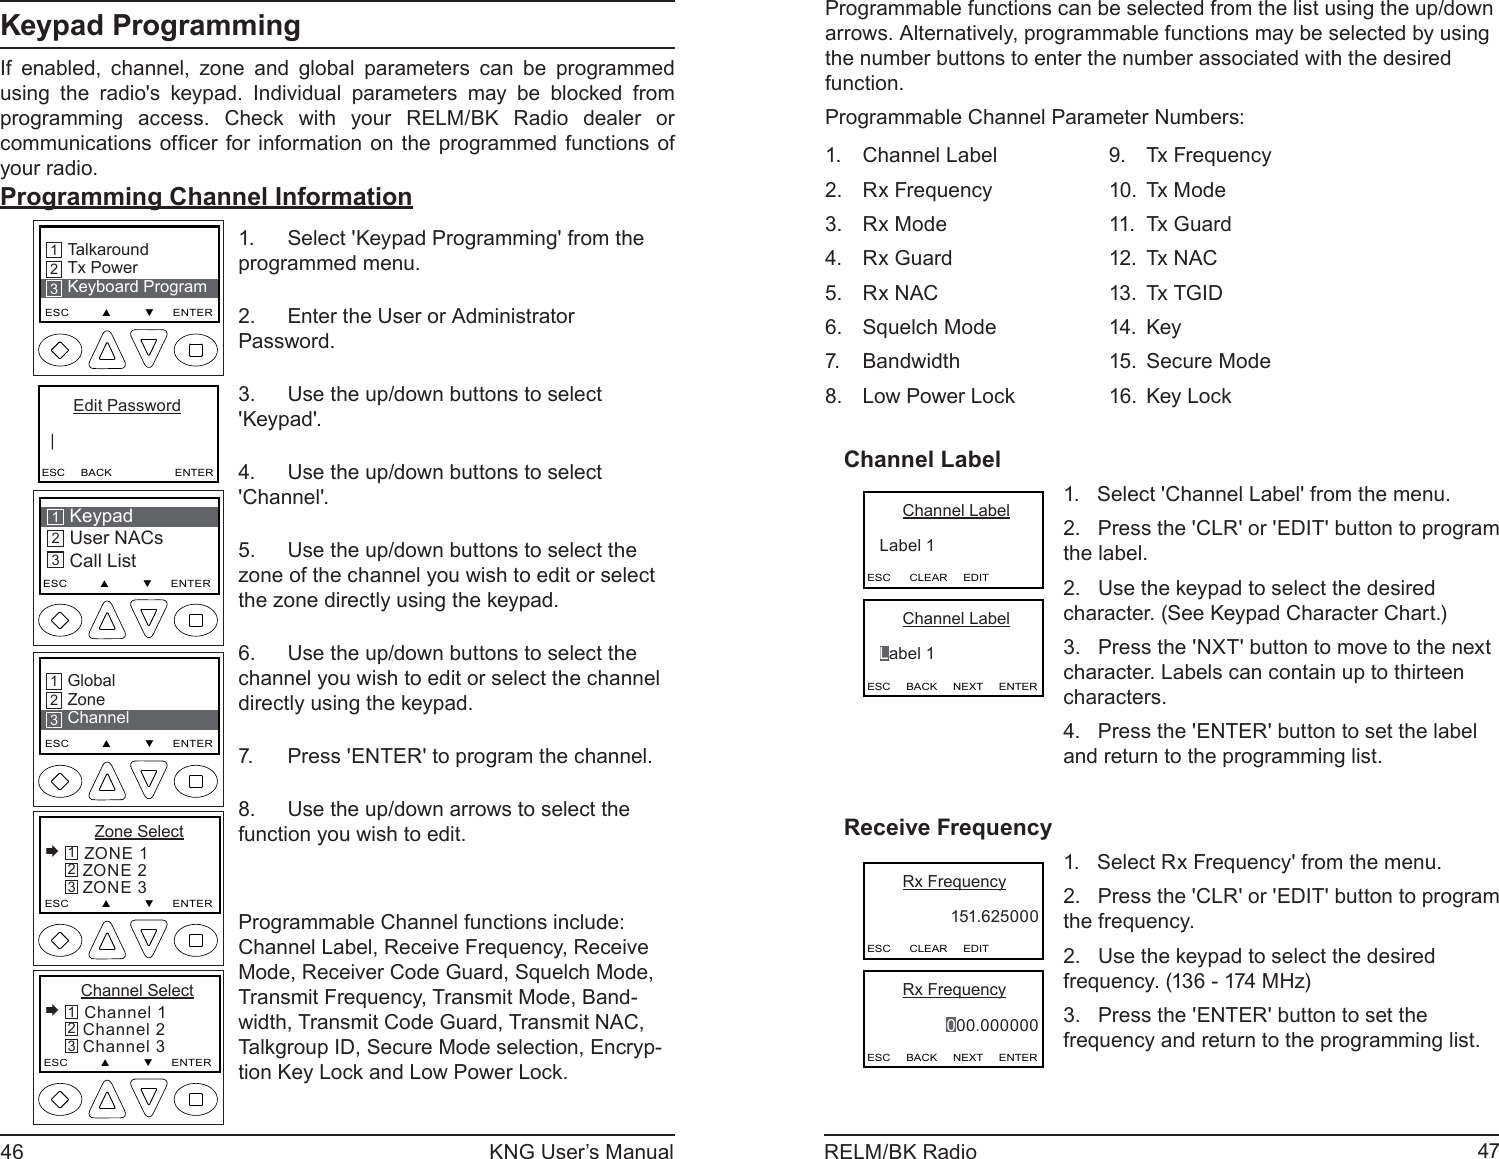
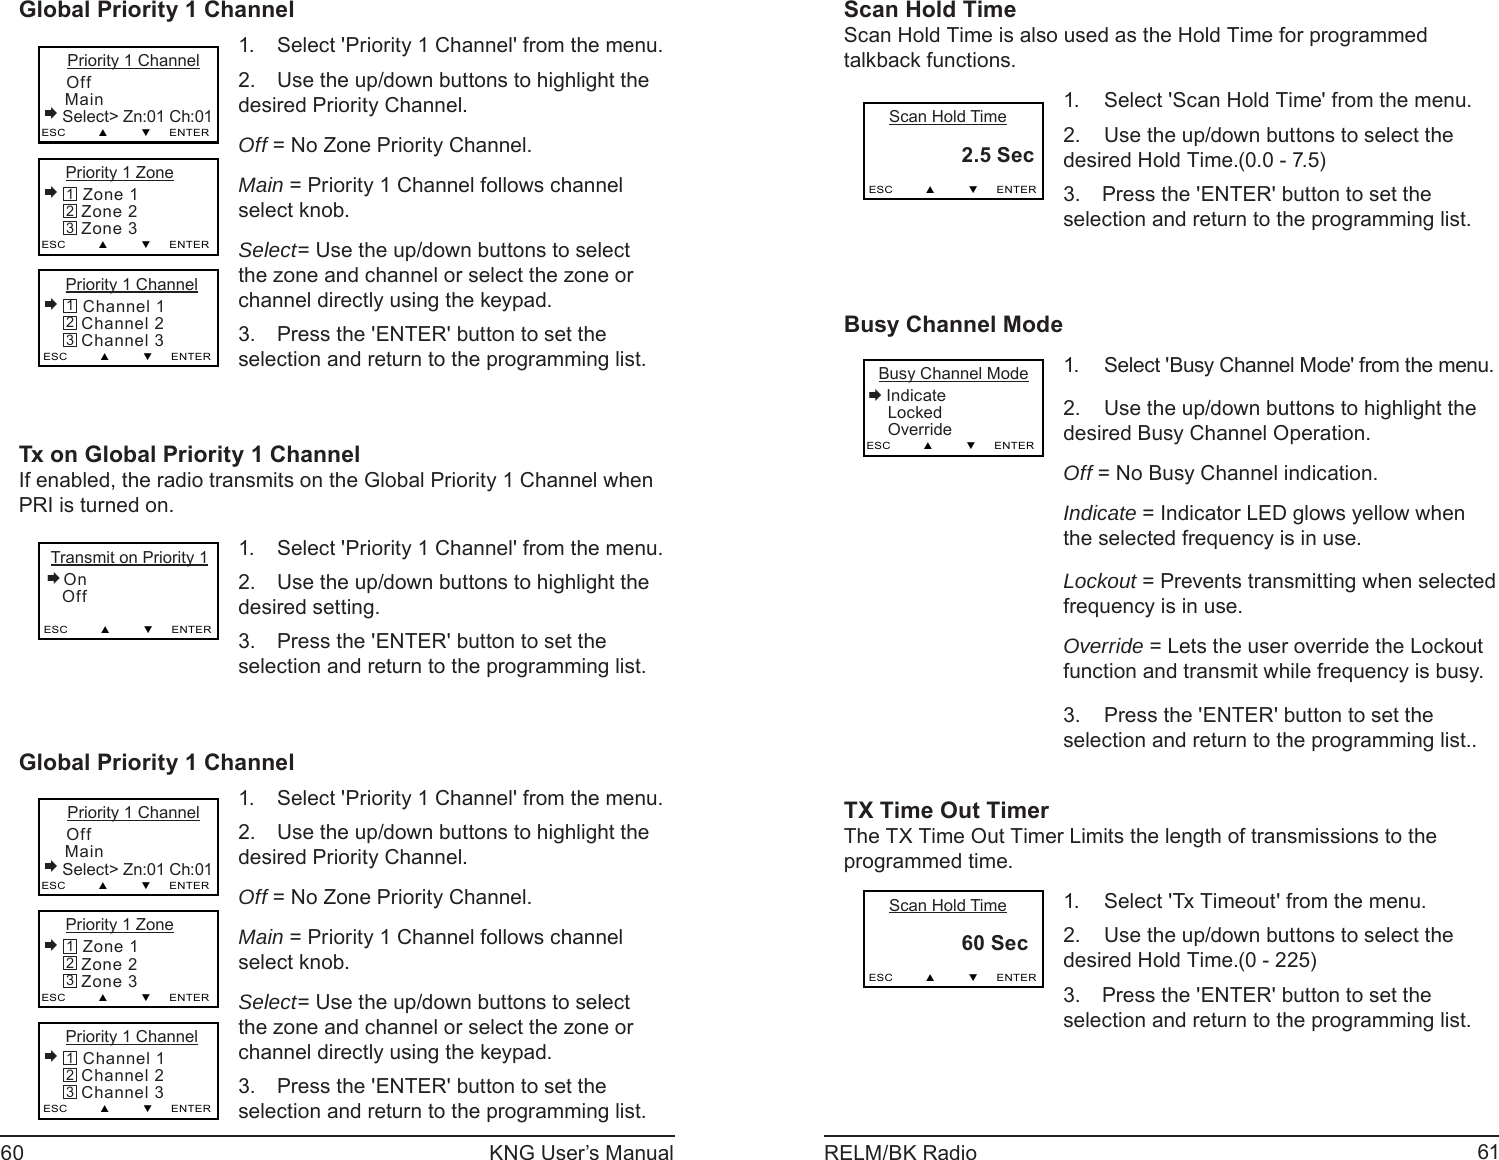
![62 KNG User’s Manual 63RELM/BK RadioBacklight Mode Backlight Mode Keypress Display Change Always OnESC ▲ ▼ ENTER331. Select 'Backlight Mode' from the menu.2. Use the up/down buttons to highlight the desired Backlight setting.Keypress = Display and keypad light whenever the keypad is used. Display Change = Display and keypad light whenever displayed information changesAlways On = Display and keypad light whenever displayed information changes or the keypad is used.3. Press the 'ENTER' button to set the selection.4. Press the 'ESC' button to return to the Global Programming menu.Backlight Duration Busy Channel Mode 2 seconds 5 seconds 10 secondsESC ▲ ▼ ENTER1. Select 'Backlight Duration' from the menu.2. Use the up/down buttons to select the desired Backlight Time Limit. (2 - 30 seconds) Press the 'ENTER' button to set the 4. selection and return to the programming list.Battery SaverIt is recommended that Battery Saver be used for normal radio operation. Battery Saver Off OnESC ▲ ▼ ENTER Select 'Battery Saver' from the menu.1. Use the up/down buttons to highlight the 2. desired setting. Press the 'ENTER' button to set the 3. selection and return to the programming list.User Password Password 000000 ESC CLEAR EDIT TGID 000000 ESC BACK NEXT ENTERSelect 'Password' from the menu.1. Press the 'CLEAR' button to clear the 2. currently programmed Password or press the or 'EDIT' button to edit the Password.Use the keypad to enter a new six digit 3. password.Press the 'ENTER' button to set the 4. password and return to the programming menu. Keypad Programming Characters11ABC2A, B, C, a, b, c, 2DEF3D, E, F, d, e, f, 3GHI4G, H, I, g, h, i, 4JKL5J, K, L, j, k, l, 5MNO6M, N, O, m, n, o, 6PQRS7P, Q, R, S, p, q, r, s, 7TUV8T, U, V, t, u, v, 8WXYZ9W, X, Y, Z, w, x, y, z, 900, Blank Space**, ., ,, ;, :, ", ', !, ?, %, &, ', ~, @, _##, $, +, -, =, ^, /, \, |, <, >, {, }, [, ]](https://usermanual.wiki/BK-Technologies/KNGP500/User-Guide-1100088-Page-32.png)