BLU ACECCSPR GSM Mobile Phone User Manual Caracas Pro UserMan
CT Asia GSM Mobile Phone Caracas Pro UserMan
UserManual.wiki
>
BLU
>
ACECCSPR User Manual
User Manual
Navigation menu
Upload a User Manual
Namespaces
Wiki Guide
HTML
PDF
Info
Views
User Manual
Discussion / Help
Navigation


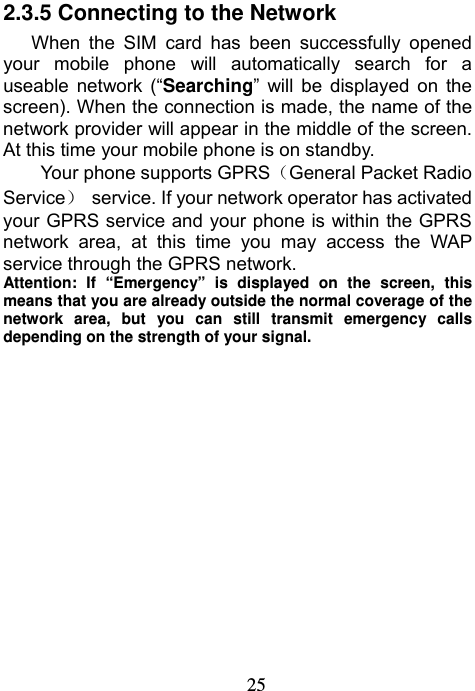


![59activate the current setting. Image Setting to set the Image Size and Image Quality. White Balance you can select from Auto, Daylight, Tungsten, Fluorescent, Cloud, and Incandescence. Scene Mode to can set Auto or Night. Storage to include Memory Card. Restore Default to parameter of camera revert default setting except self capture mode. 4.8.1.2 Taking a photo During the view-finding mode, adjust the lens to allow what is being photographed to appear in the viewfinder. After framing the picture you wish to take, keep the camera steady After taking photos, press Back to save it, then return view-finding mode. Or press the delete to clear the picture and return to the view-finding mode. When Cont Shot set the on, save and take a photo will finish at the same time. You can look over photos from the “Image Viewer” menu, or from the [Photos] document in the [File Manager] (Memory Card).](https://usermanual.wiki/BLU/ACECCSPR/User-Guide-1619099-Page-60.png)
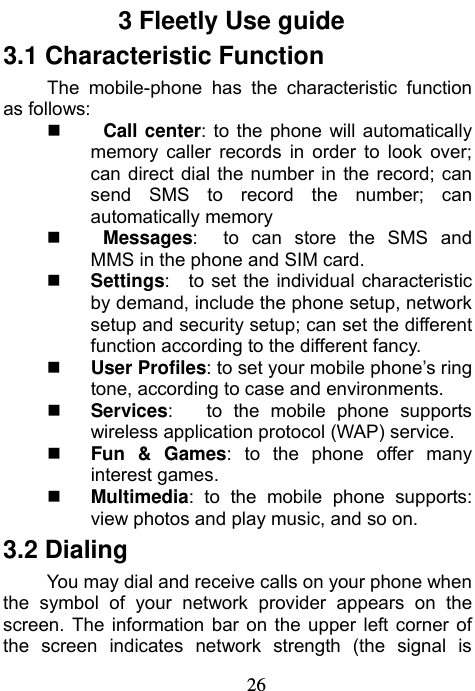
![61movies. Storage to include with Memory Card. Restore Default to parameter of video revert default setting. 4.8.3.1 Video During the view-finding mode, adjust the lens to allow what is being photographed to appear in the viewfinder. When the movies is recording, press the right soft key “Stop” to stop and save the movies, then return view-finding mode. You can look over the movies from the “Media Player” menu, or from the [Video] document in the [File Manager] (Memory Card). 4.8.4 Audio Player In the Audio Player menu interface, click the “All media files” to display the play list of music, click the “Option”, can Play the music, look over Detail message of music, use as Rings, and add to playlist and so on. Now playing to show the current song that is playing. All song to show the playlist of all musics. My Playlists to creat playlist by yourself. Settings to set some item as follow: Skin to change the theme of music player. Repeat to change the repeat mode, to set “Off” (not repeat), “One” (repeat one music) and “All” (circularly play all music).](https://usermanual.wiki/BLU/ACECCSPR/User-Guide-1619099-Page-62.png)
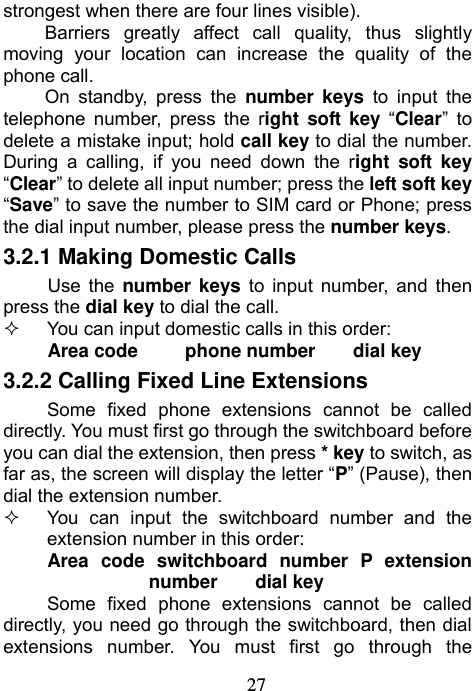
![62Shuffle to change the order of playing, can set “On” (random order) or “Off” (play according to order of the play list). Background Play to set “On” can play the music in other interface (except Sound operation, Camera operation, Video Recorder operation, and sound recorder operation). Sound effect to change sound effect: Normal Bass Dance Classical Treble Party Pop Rock Effect. Audio play speed to set play speed. Display style to display the style. Bluetooth settings to set BT stereo when the phone is connecting Bluetooth headset. 4.8.5 Recorder In this submenu, mobile-phone will record voice memos; suffixed name is amr or wav, and display time and date above the interface. If sound recorder is empty, it will register [Empty Folder]. Press the left soft key to select “Option” and access the following options: Record to record a new voice memo. In the record interface, press the left soft key to select “Pause” or “Cont.”, can pause or continue record, press the right](https://usermanual.wiki/BLU/ACECCSPR/User-Guide-1619099-Page-63.png)
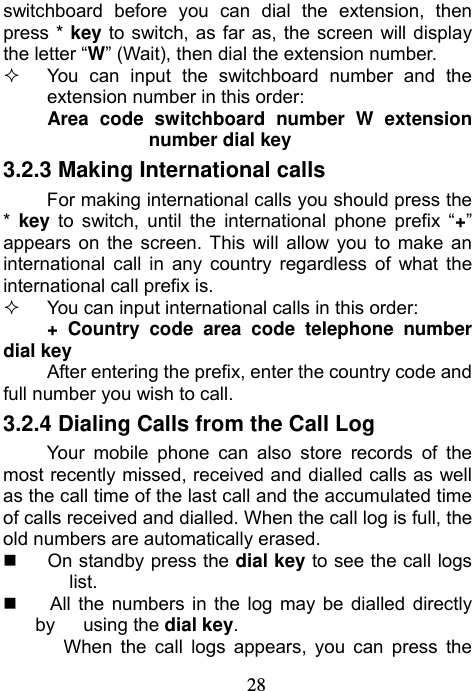
![63soft key to select “Stop”, edit and save the file. Press the hang-up key to exit and save the file automatically. The record is saved to [Sound Recorder] file in the [File Manager] (Memory Card). Notes: At the edit interface of record name, you can press the left soft key to clear the file name, and then press the left soft key “Back” to return and give up the record file. Play to play the current voice memo. Append to “amr” file, can add record to the current file, and save quondam name. Rename to change the name of the voice memo. Delete to delete the voice memo. Delete All to delete all voice memos. Settings to select the Pref.Storage and File Format. Pref.Storage select “Card”, File Format select “AMR” or “WAV” 4.8.6 FM Radio In the FM Radio menu interface, select the following channel in the channel list in the auto-search mode. In the FM Radio menu interface, press the left soft key “Option” You can set the item of Settings menu by the hint](https://usermanual.wiki/BLU/ACECCSPR/User-Guide-1619099-Page-64.png)
![67provider of the desired service. The service provider will also provide instructions about how to use their service. 4.9.3 Licence manager Licence list: to show the licence list. Status: you can view the Vertion and Time. 4.10 Organizer 4.10.1 Calendar Enter Calendar submenu, screen will display the current month, click date to change date. You can enter “View Event” menu to view routing. View Look up the current routing. Add Event Add the new routing. Edit Event To edit the current routing. Delete Event To delete the current routing. Delete All To delete all routings. Send Calendar To send the current routing. 4.10.2 Tasks Press Add to go to edit option: on the first line, enter the year, month and day; on the second line, enter the starting and end time; on the third line, edit notes; on the fourth line, click the alarm clock on or off; and on the fifth line, click [left or right icon] to set the alarm clock reminder date. Press “Done” and select “to save or not”, to complete the editing. For existing memos, click a memo. Press Options to do the following for the schedule: View: View current memo arrangements.](https://usermanual.wiki/BLU/ACECCSPR/User-Guide-1619099-Page-68.png)