BUFFALO 000000014 WLAN Router AirStation User Manual WZR 900DHP
BUFFALO INC. WLAN Router AirStation WZR 900DHP
UserManual.wiki
>
BUFFALO
>
000000014 User Manual
>
User manual
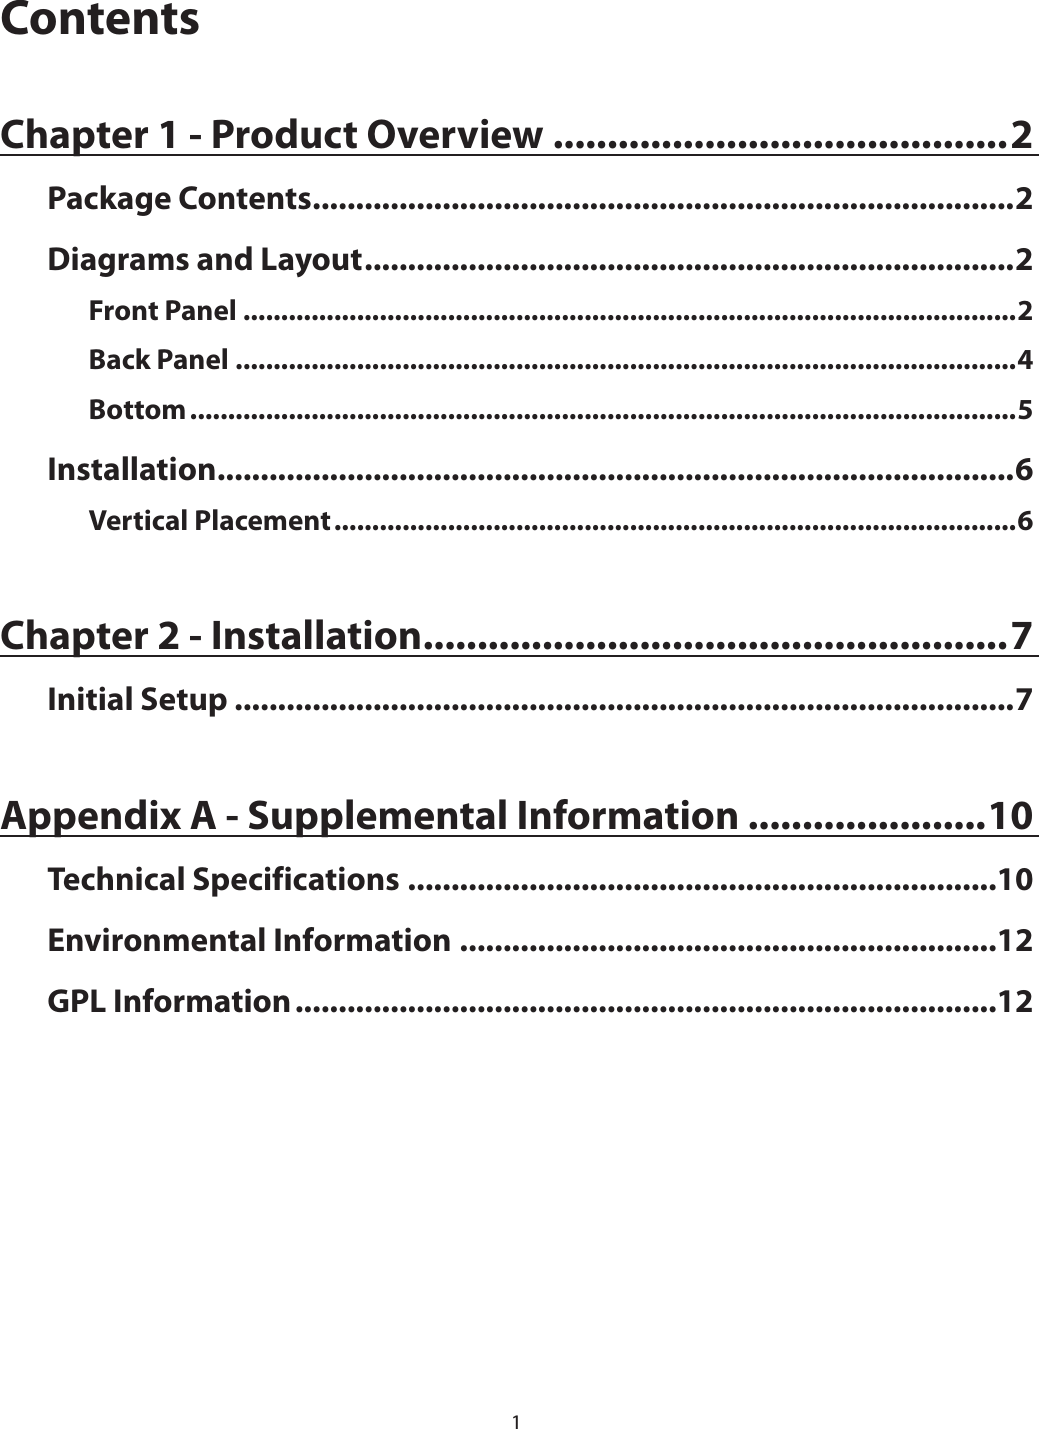
Contents
1.
user manual
2.
User manual
User manual
Navigation menu
Upload a User Manual
Namespaces
Wiki Guide
HTML
PDF
Info
Views
User Manual
Discussion / Help
Navigation
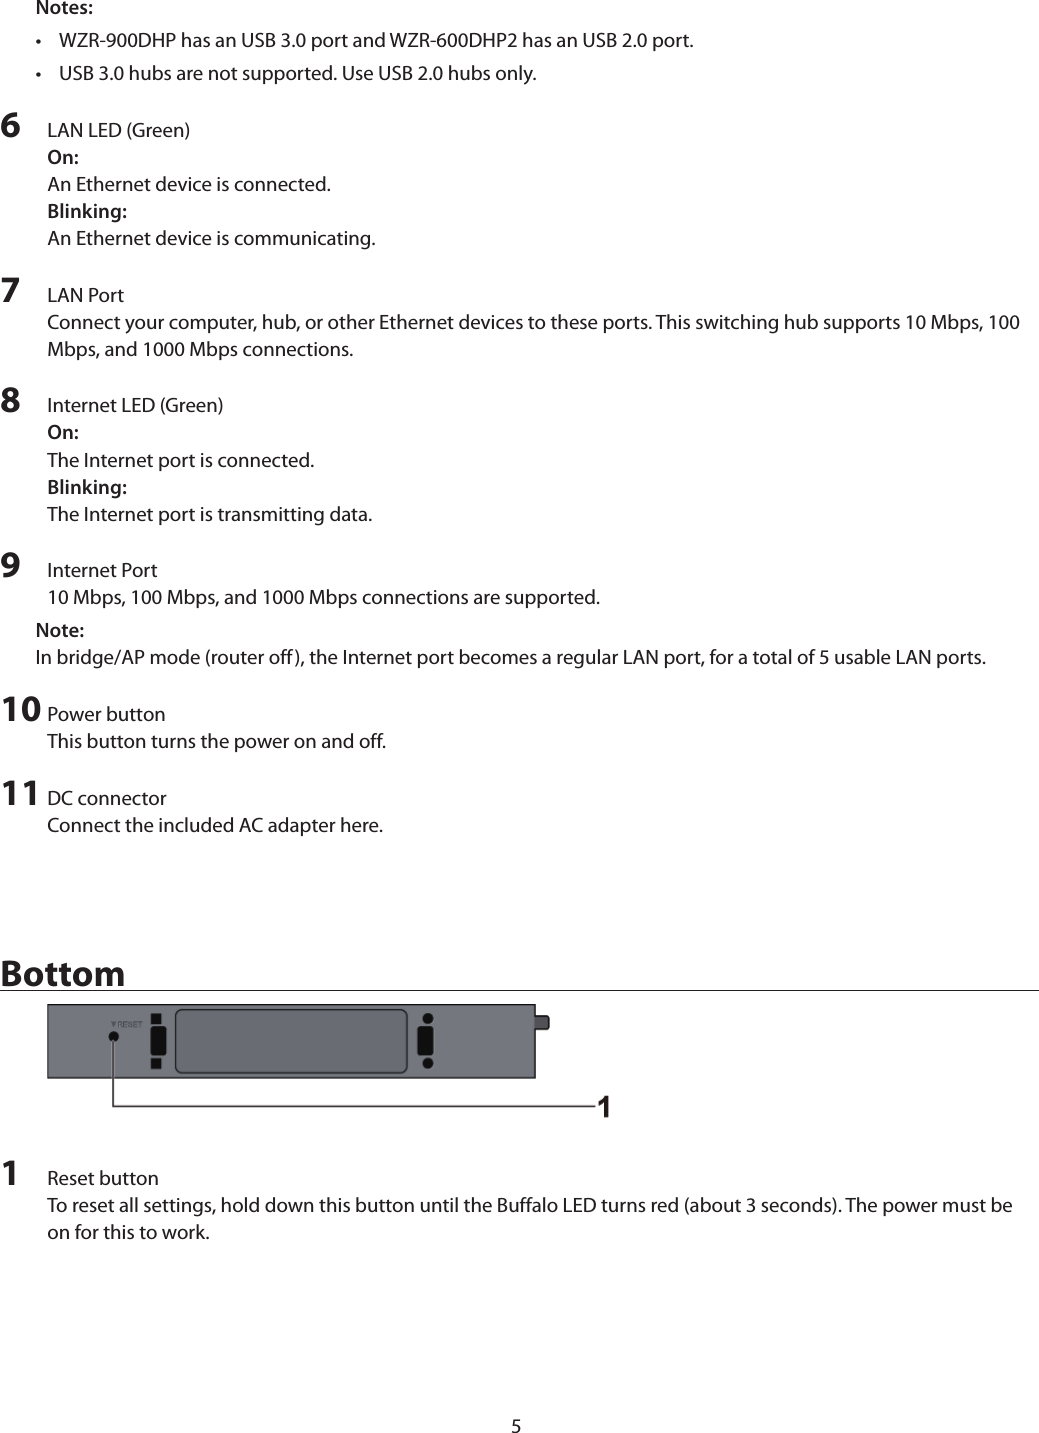


![9Note:If the router LED is not lit, hold down the router button for about 3 seconds to switch to router mode.7 Launch a web browser. If the home screen is displayed, setup is complete.If username and password fields are displayed, enter “admin” for the username and “password” for the password, then click [OK]. Step through the wizard to complete setup.You’ve completed the initial setup of your AirStation. Refer to Chapter 3 for advanced settings.](https://usermanual.wiki/BUFFALO/000000014.User-manual/User-Guide-1963975-Page-10.png)