BYD Precision Manufacture BYDS101FL NOTEBOOK COMPUTER User Manual
BYD Precision Manufacture Co., Ltd. NOTEBOOK COMPUTER
UserManual.wiki
>
BYD Precision Manufacture
>
BYDS101FL User Manual
Users Manual
Navigation menu
Upload a User Manual
Namespaces
Wiki Guide
HTML
PDF
Info
Views
User Manual
Discussion / Help
Navigation


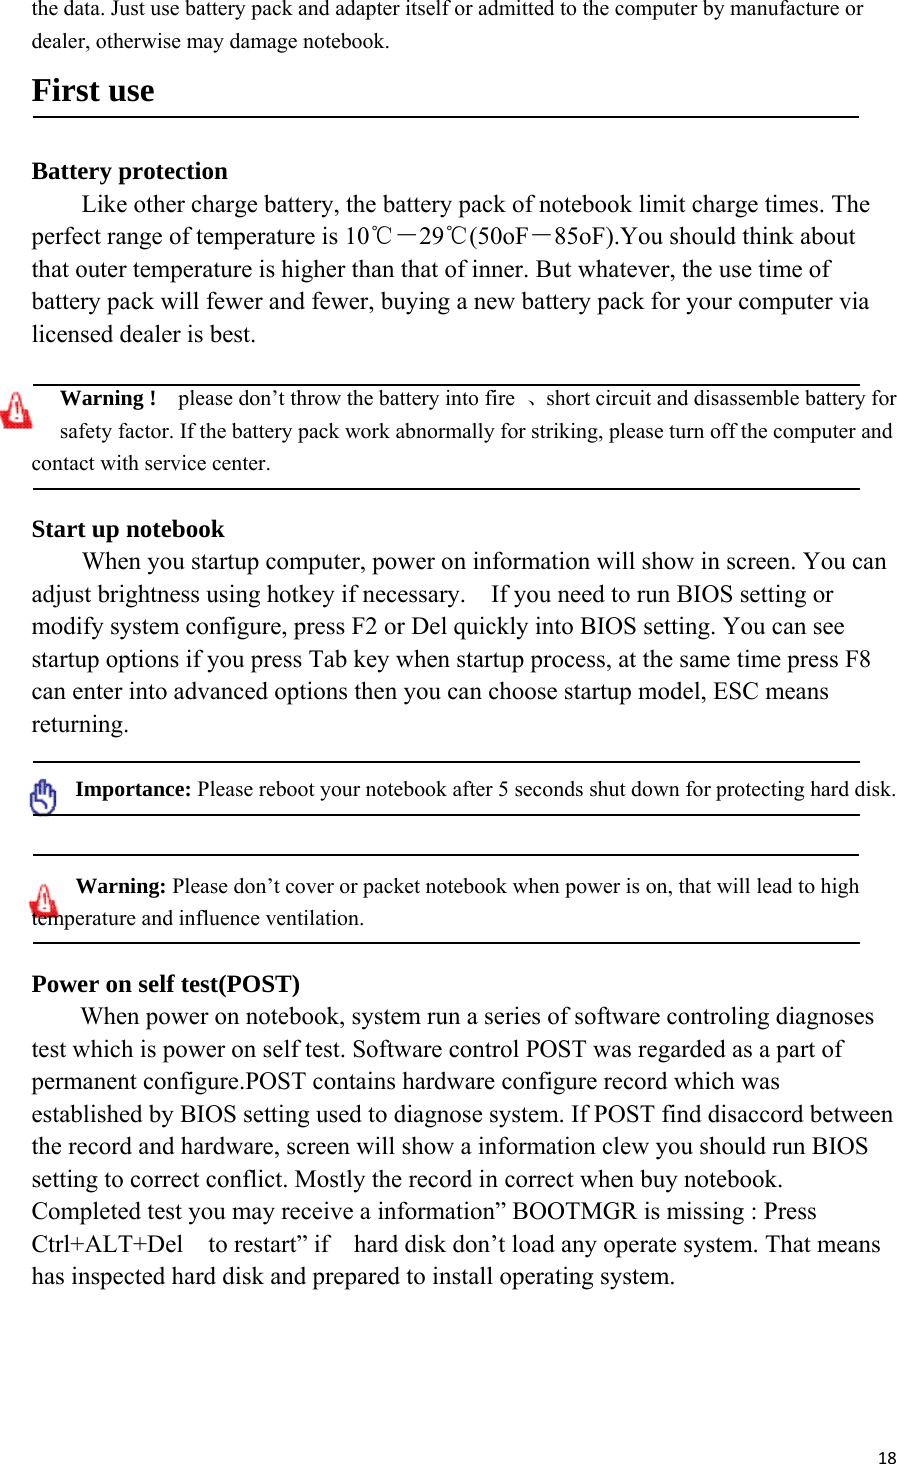
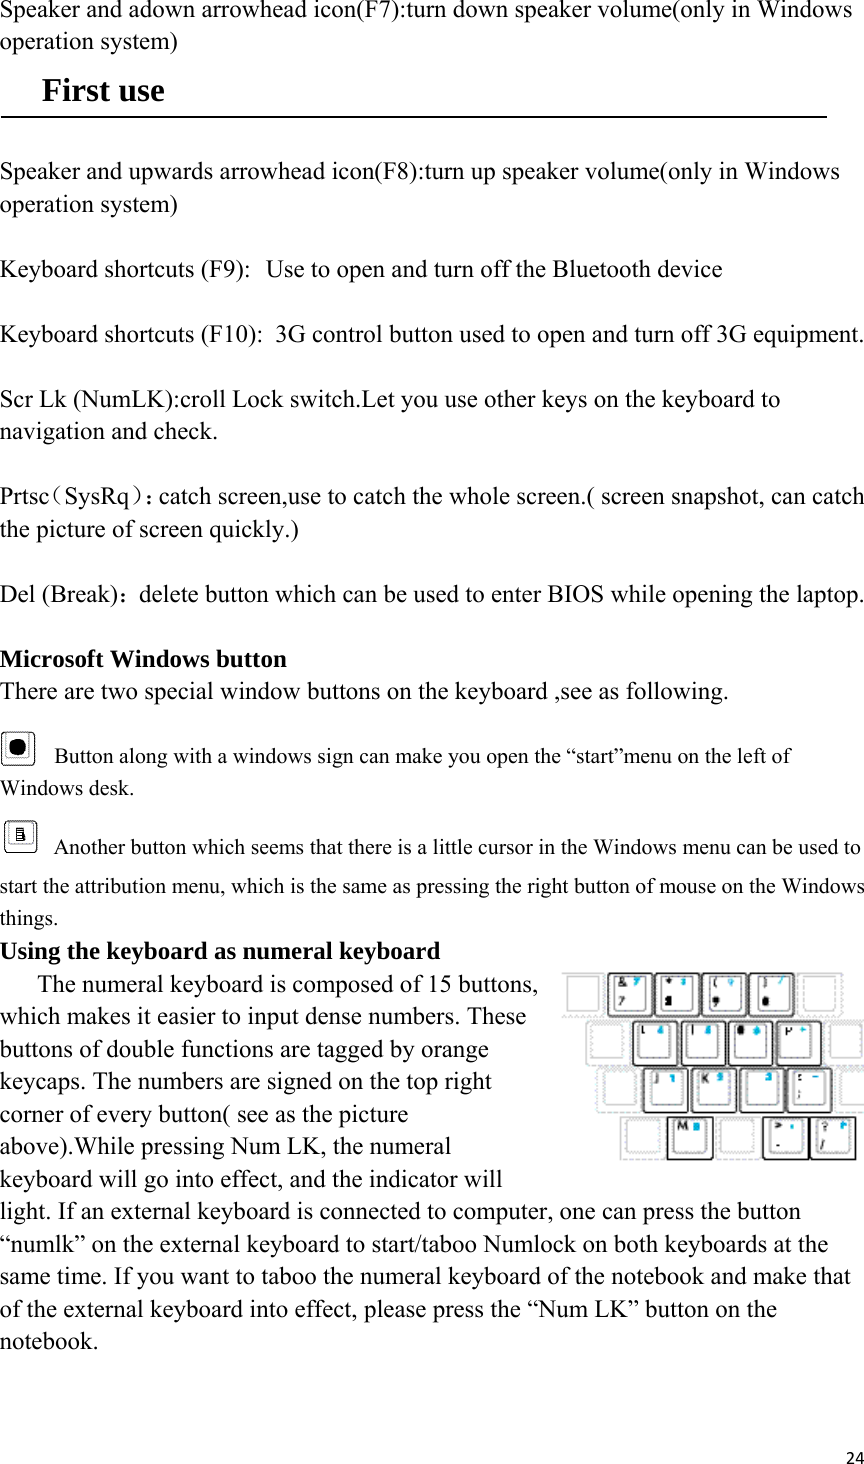

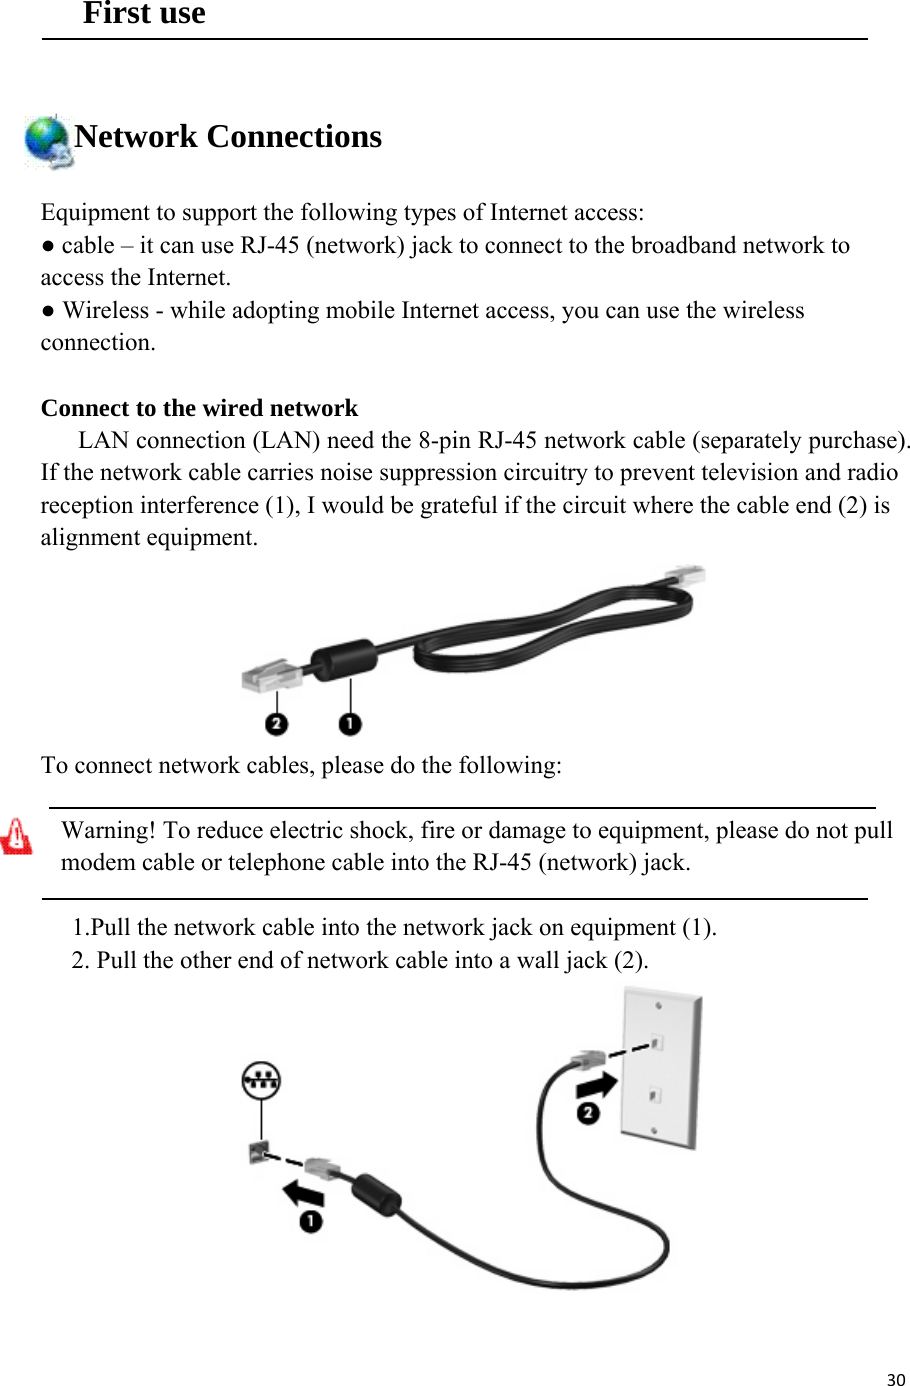
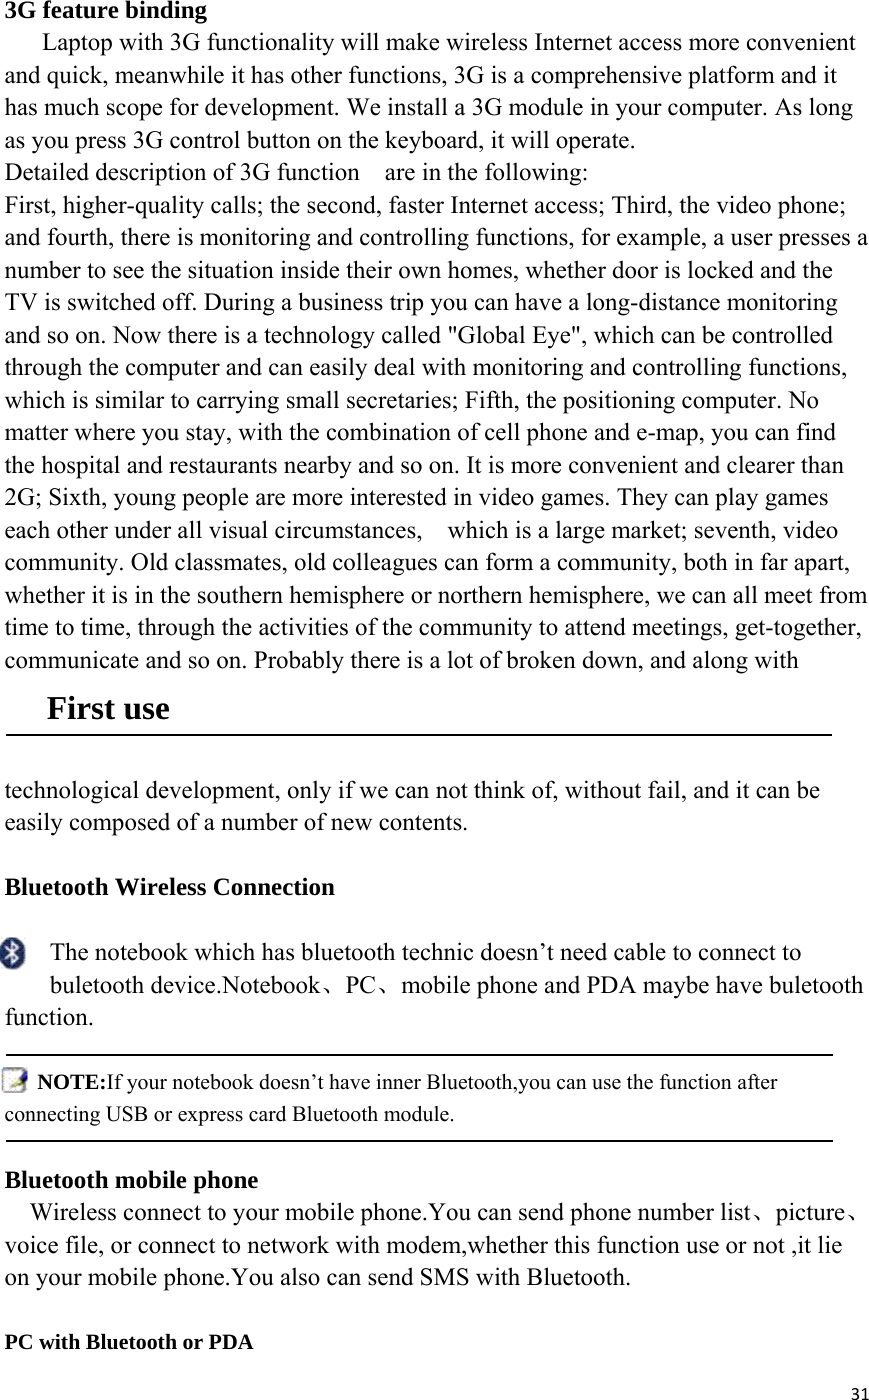
![26 First use State direction light From left to right in turn: Num lock direction light This direction light is bright shows [NumLk] is open.The key allow you use several given key as numberal keyboard. Caps lock direction light The direction light shows Caps Lock is open .At the same time,we can input capital(egA,B,C,D).When Caps lock direction light is extinct,you input lowercase(eg a,b,c,d) . HD direction light The HD direction light shows the notebook is accessing one or more storge device.Shining expresses the storge device is reading and writing data. Battery charging direction light Battery charging direction light is stand for electric power: Bright : Battery is charging. Extinct: charging is done. Glint: Battery power is less than 10% and AC is not connected. Power direction light The notebook start when the power direction light is bright,the notebook is in suspend-to-RAM model.It was shut down or suspend-to-Disk when direction light crush out. Wireless equipment indicator Bright: wireless equipment is on. Or it means wireless equipment is off](https://usermanual.wiki/BYD-Precision-Manufacture/BYDS101FL/User-Guide-1206481-Page-26.png)
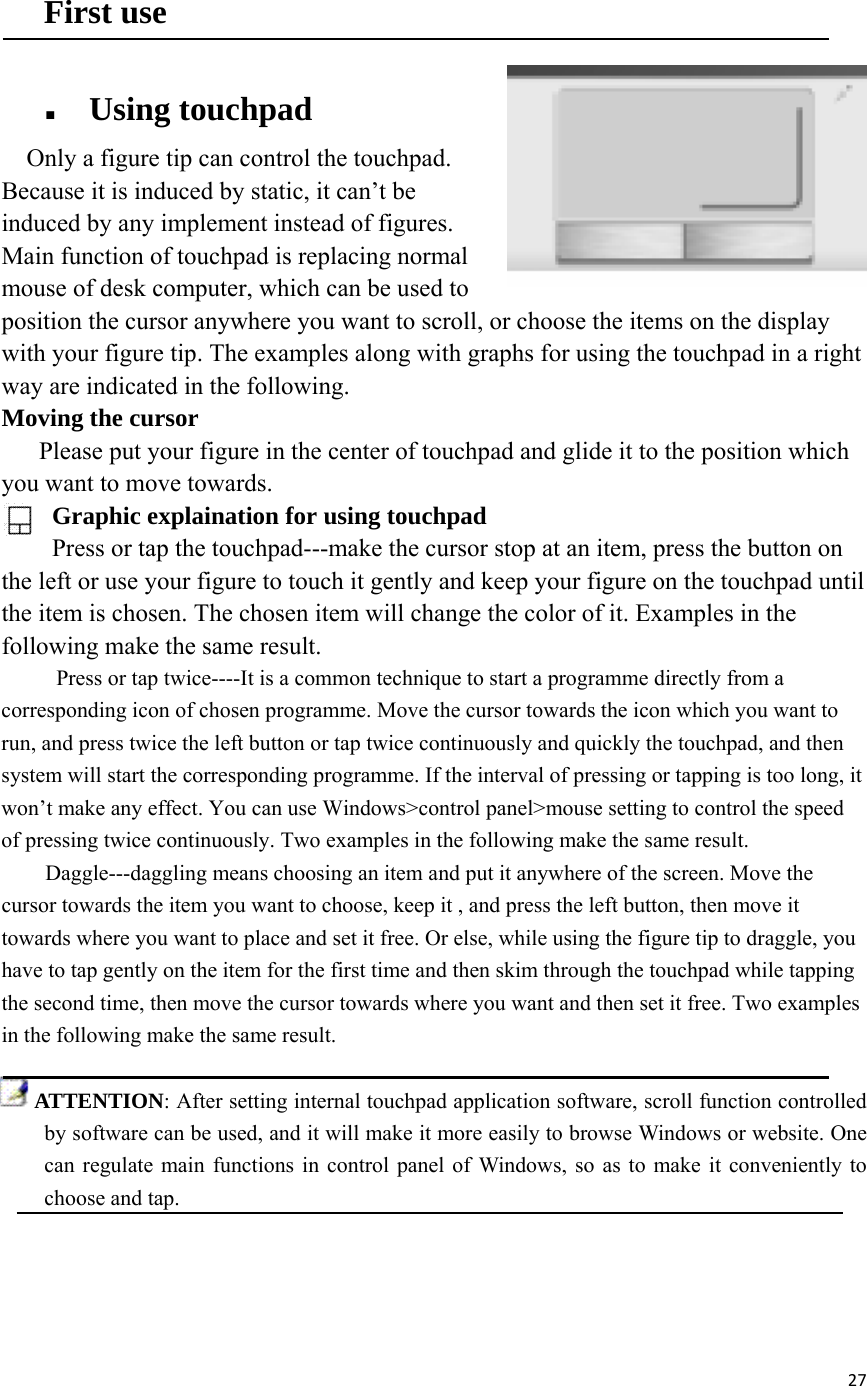
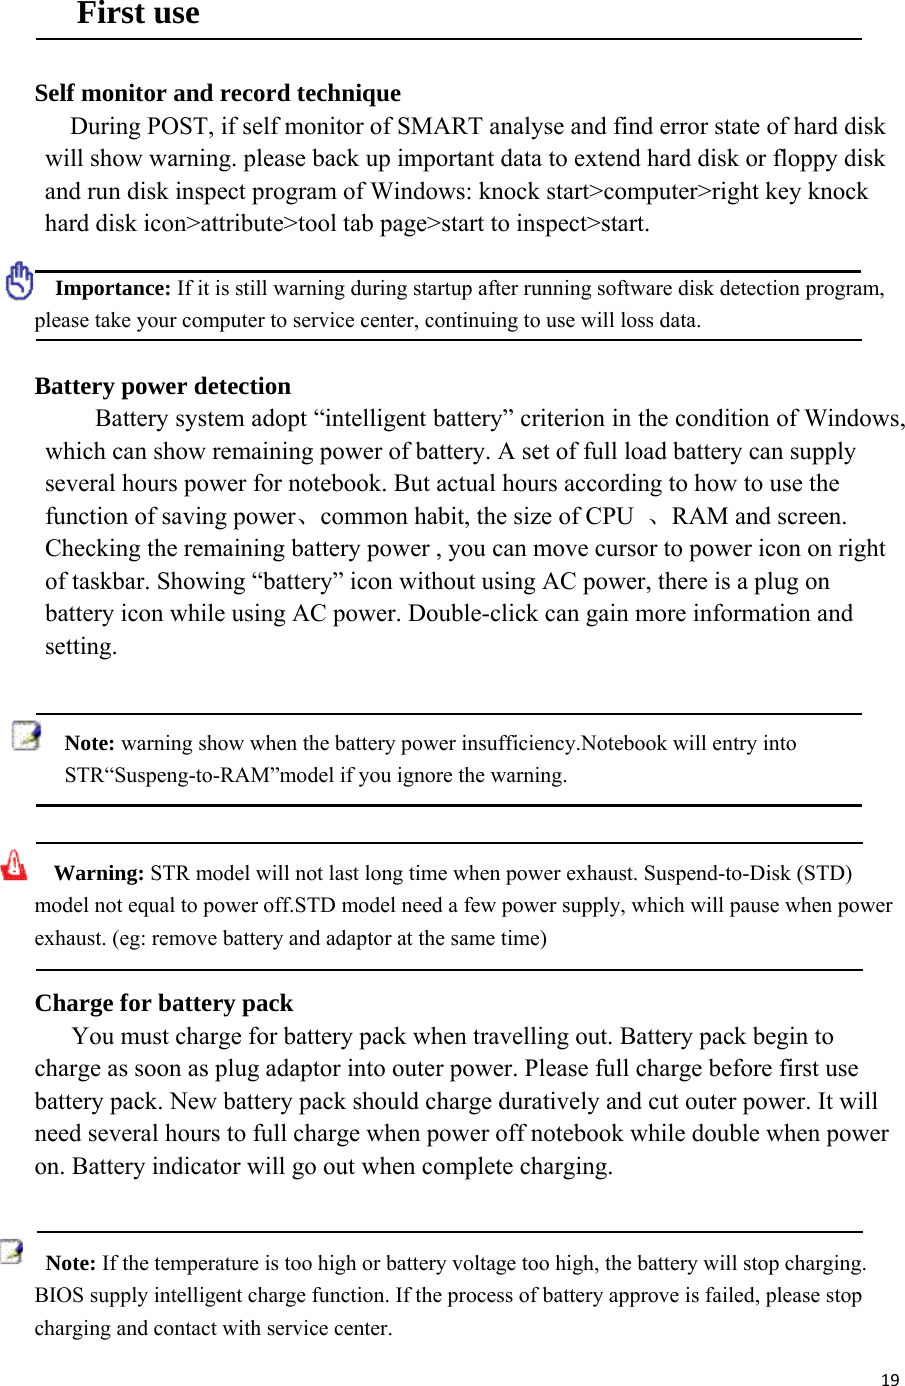
![32Wireless connect to another PC or PDA,in order to exchange files、share peripheral equipment、share network or network connection.You also can use wireless Bluetooth mouse and keyboard. Open up Bluetooth function and start up Bluetooth application program,this can use to accession Bluetooth device.The detail can be see in appendix. 1. If you choose the notebook with wireless function,please open the wireless function. 2. Press [FNF2] repeatly until Bluetooth ON or double click wireless control icon in appears. taskbar and choose buletooth. 3. Choose “accession Bluetooth device”in or open Bluetooth device in the control in the taskbar menu. the control panel. Appendix Bluetooth mouse setting(optional purchase) Operating system and software FAQ](https://usermanual.wiki/BYD-Precision-Manufacture/BYDS101FL/User-Guide-1206481-Page-32.png)