Baja BE500 User Manual ELECTRIC BICYCLE/SCOOTER Manuals And Guides L0912178
BAJA Scooter Manual L0912178 BAJA Scooter Owner's Manual, BAJA Scooter installation guides
User Manual: Baja BE500 BE500 BAJA ELECTRIC BICYCLE/SCOOTER - Manuals and Guides View the owners manual for your BAJA ELECTRIC BICYCLE/SCOOTER #BE500. Home:Sports & Leisure Parts:Baja Parts:Baja ELECTRIC BICYCLE/SCOOTER Manual
Open the PDF directly: View PDF ![]() .
.
Page Count: 8
i i
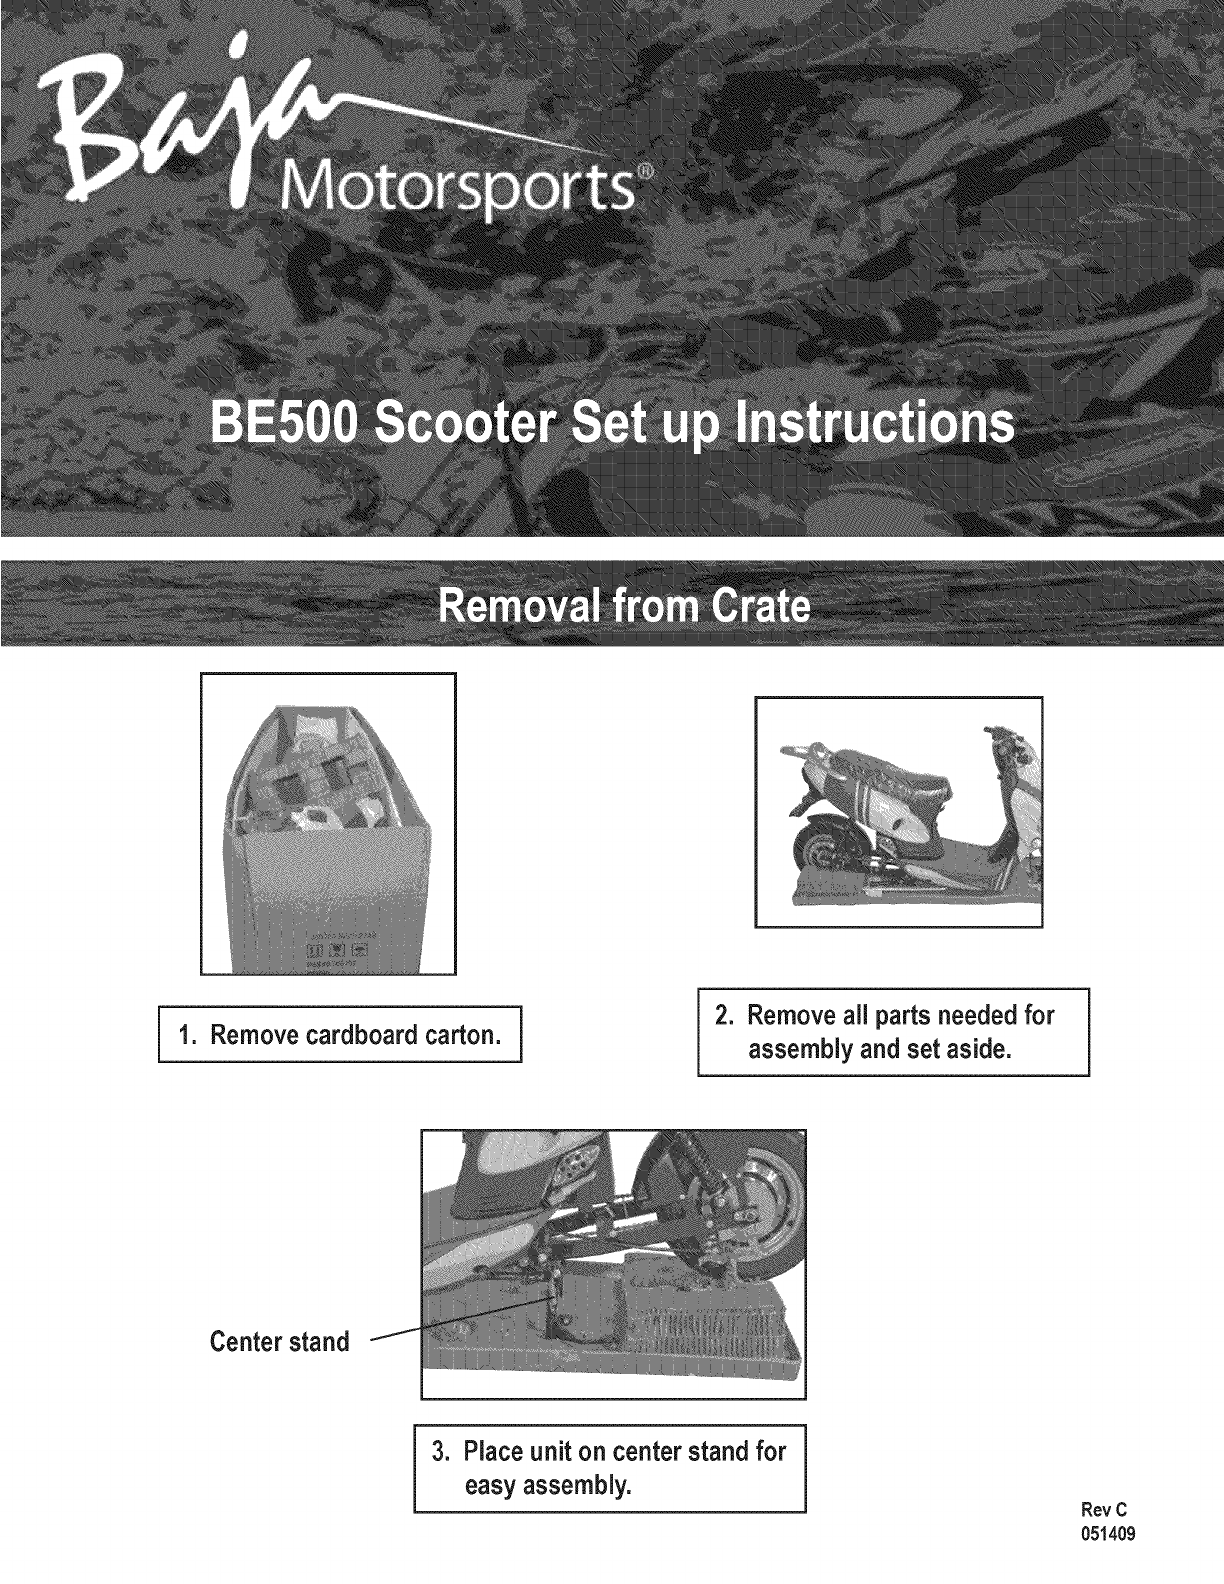
1. Remove cardboard carton. 2. Removeall partsneededfor
assembly and set aside.
Centerstand
3. Placeunit on centerstand for
easy assembly. RevC
051409
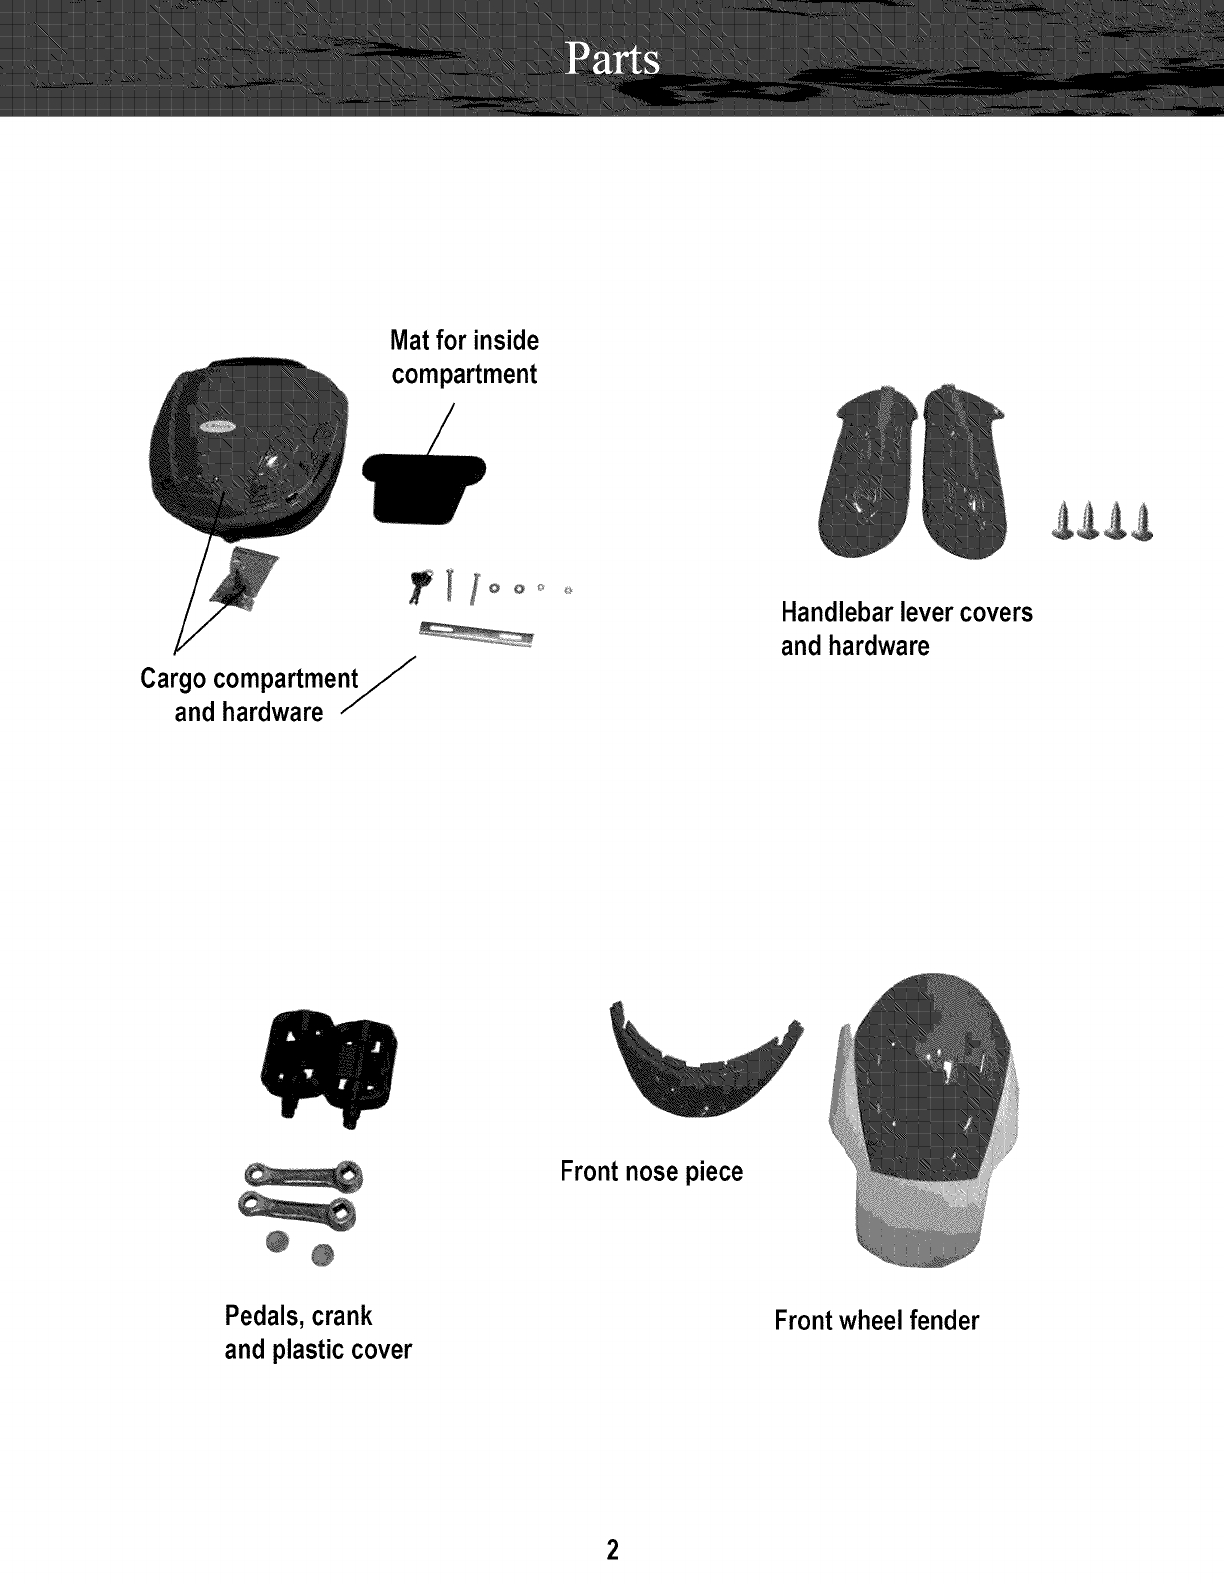
Matfor inside
compartment
Cargo compartment/
and hardware
Handlebarlevercovers
and hardware
Frontnose piece
Pedals, crank
and plasticcover
Frontwheelfender
2
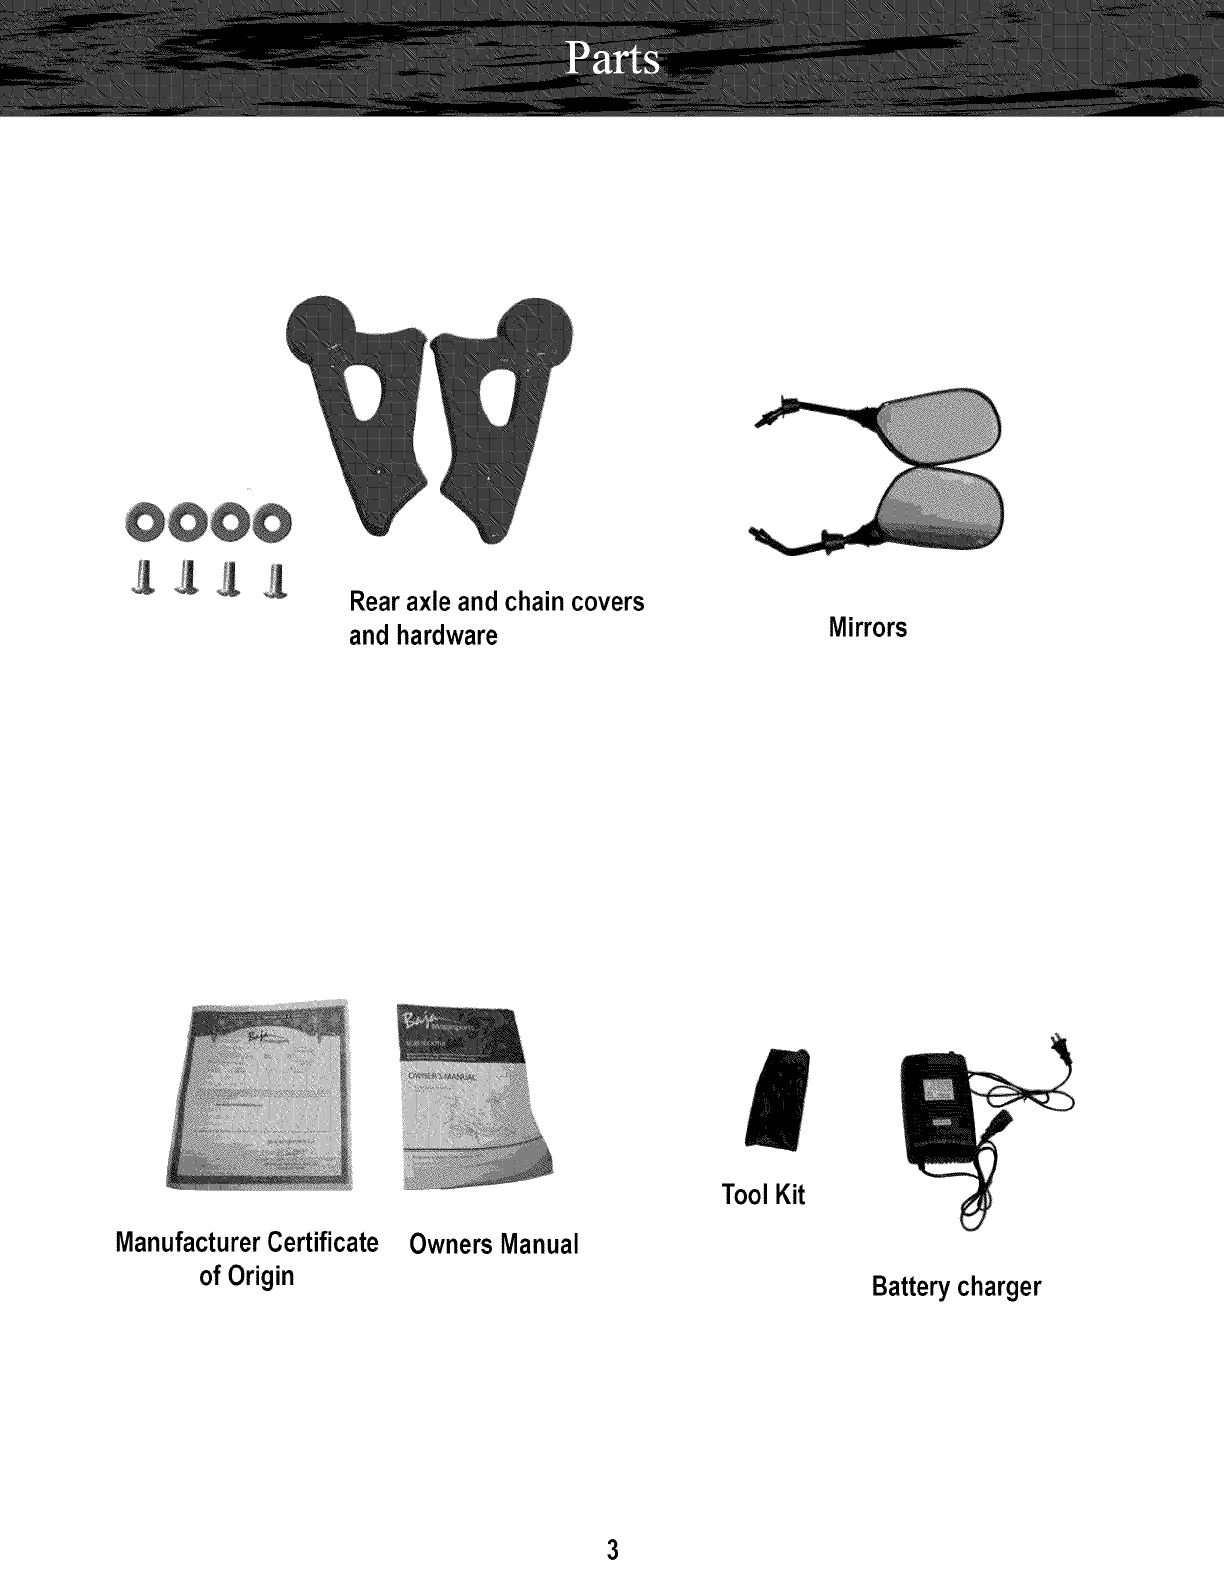
Rear axle and chain covers
and hardware Mirrors
Manufacturer Certificate Owners Manual
of Origin
!
ToolKit
Batterycharger
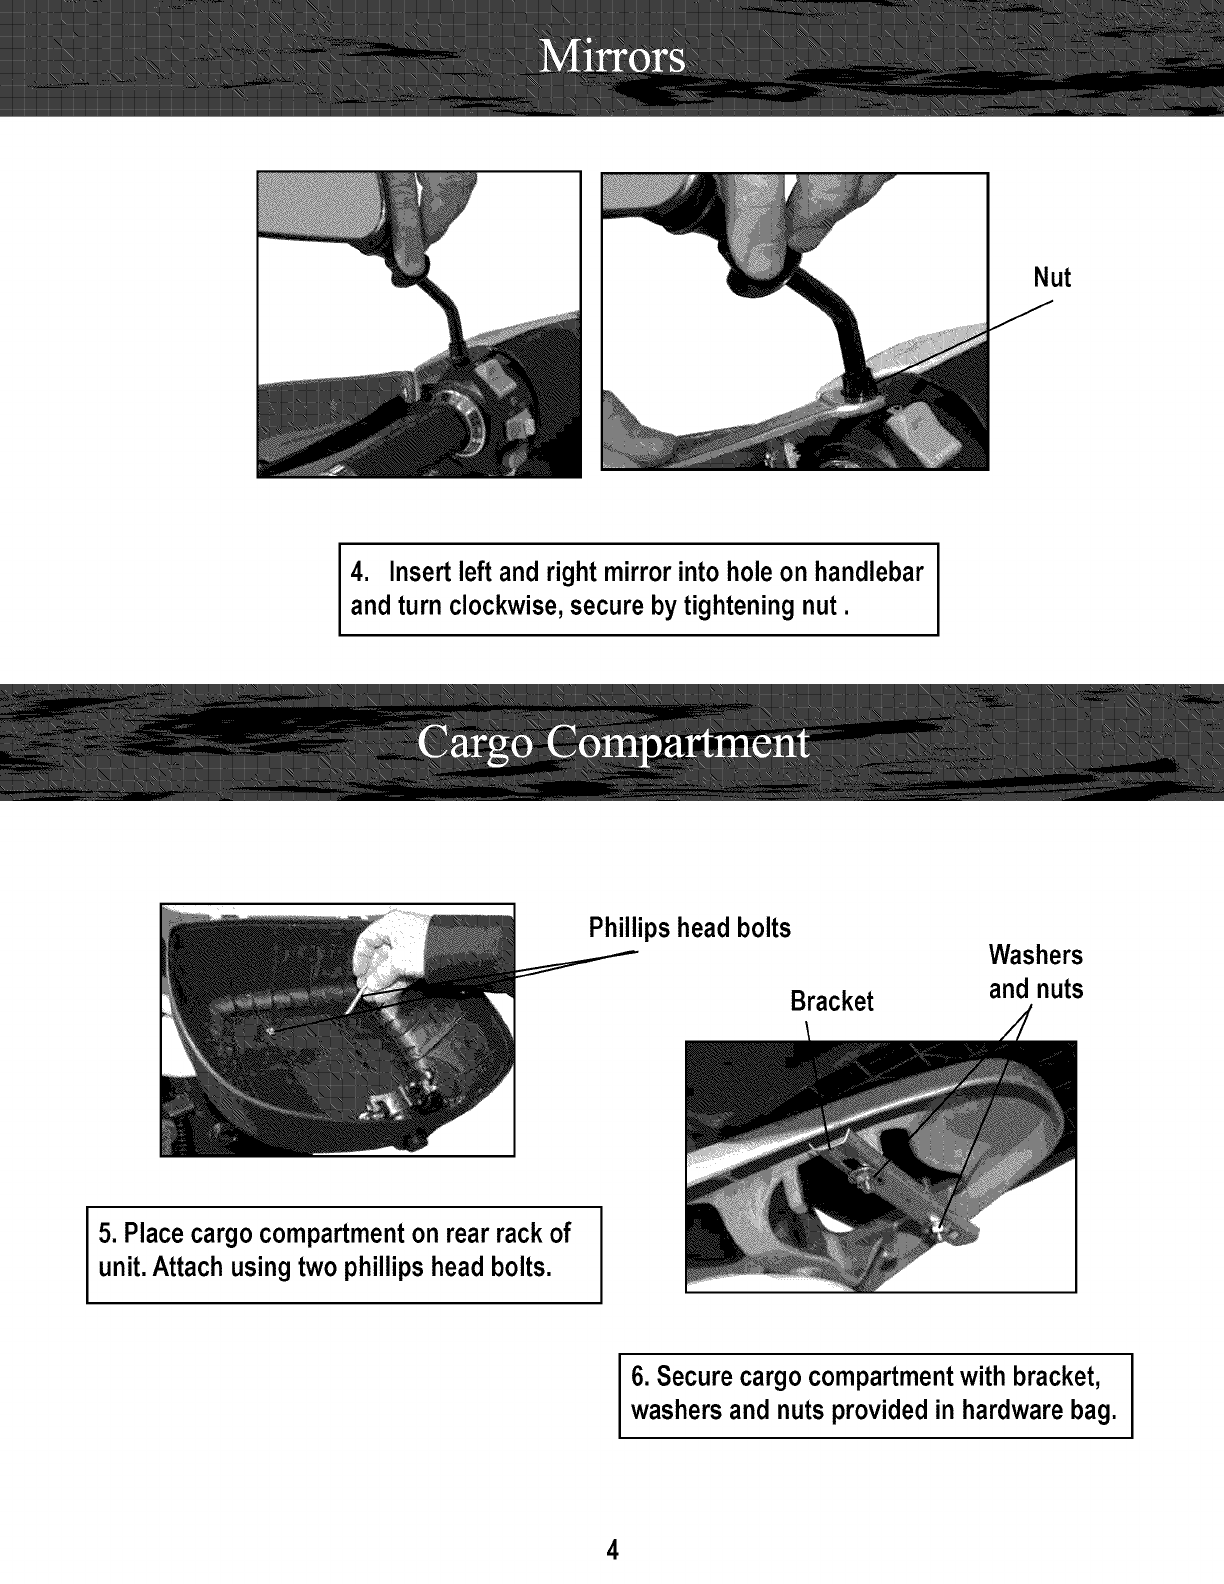
Nut
4. Insert left and right mirrorinto holeon handlebar
andturn clockwise,secure by tightening nut.
Phillipshead bolts
Bracket
Washers
and nuts
5. Placecargocompartmenton rear rackof
unit.Attachusing two phillipshead bolts.
6. Securecargo compartmentwith bracket,
washersand nutsprovidedin hardwarebag.
4
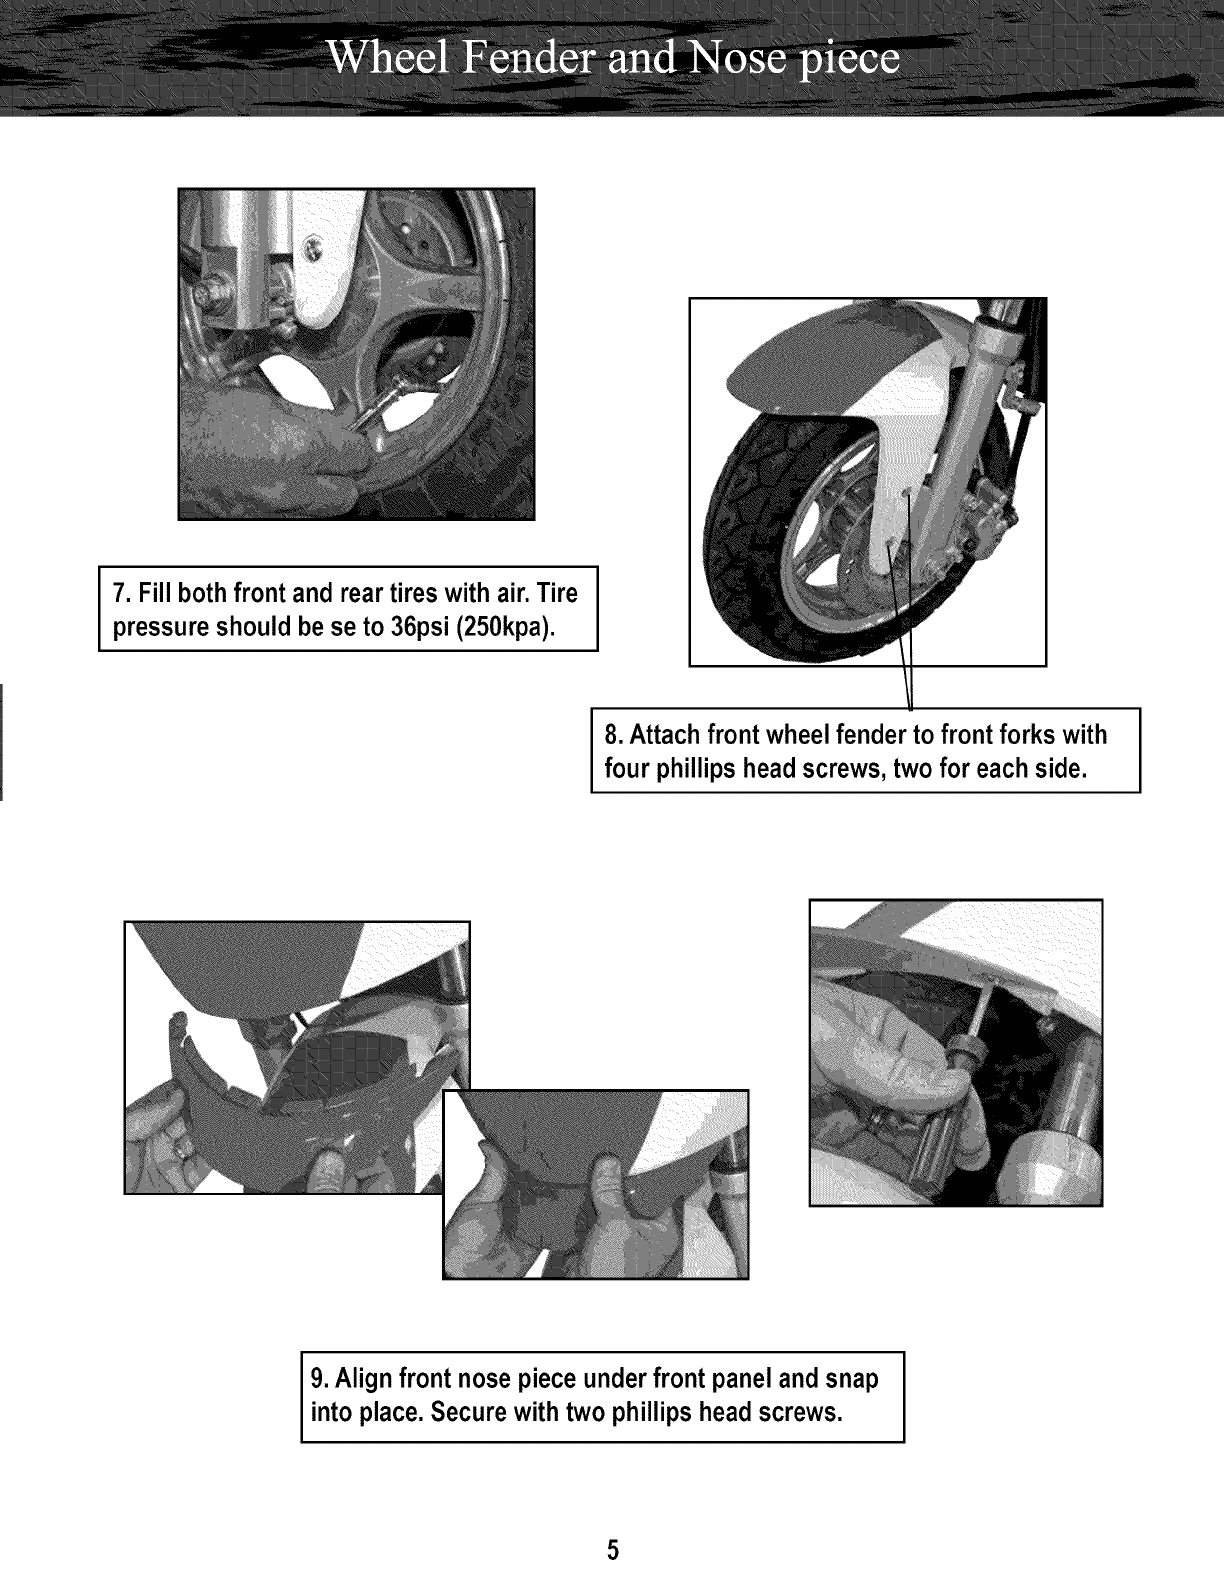
7. Fillbothfront andreartireswithair.Tire
pressureshouldbeseto36psi(250kpa).
8. Attachfront wheelfender to front forks with
four phillipshead screws,two for eachside.
9. Align front nose pieceunderfront panelandsnap
into place.Securewith two phillipshead screws.
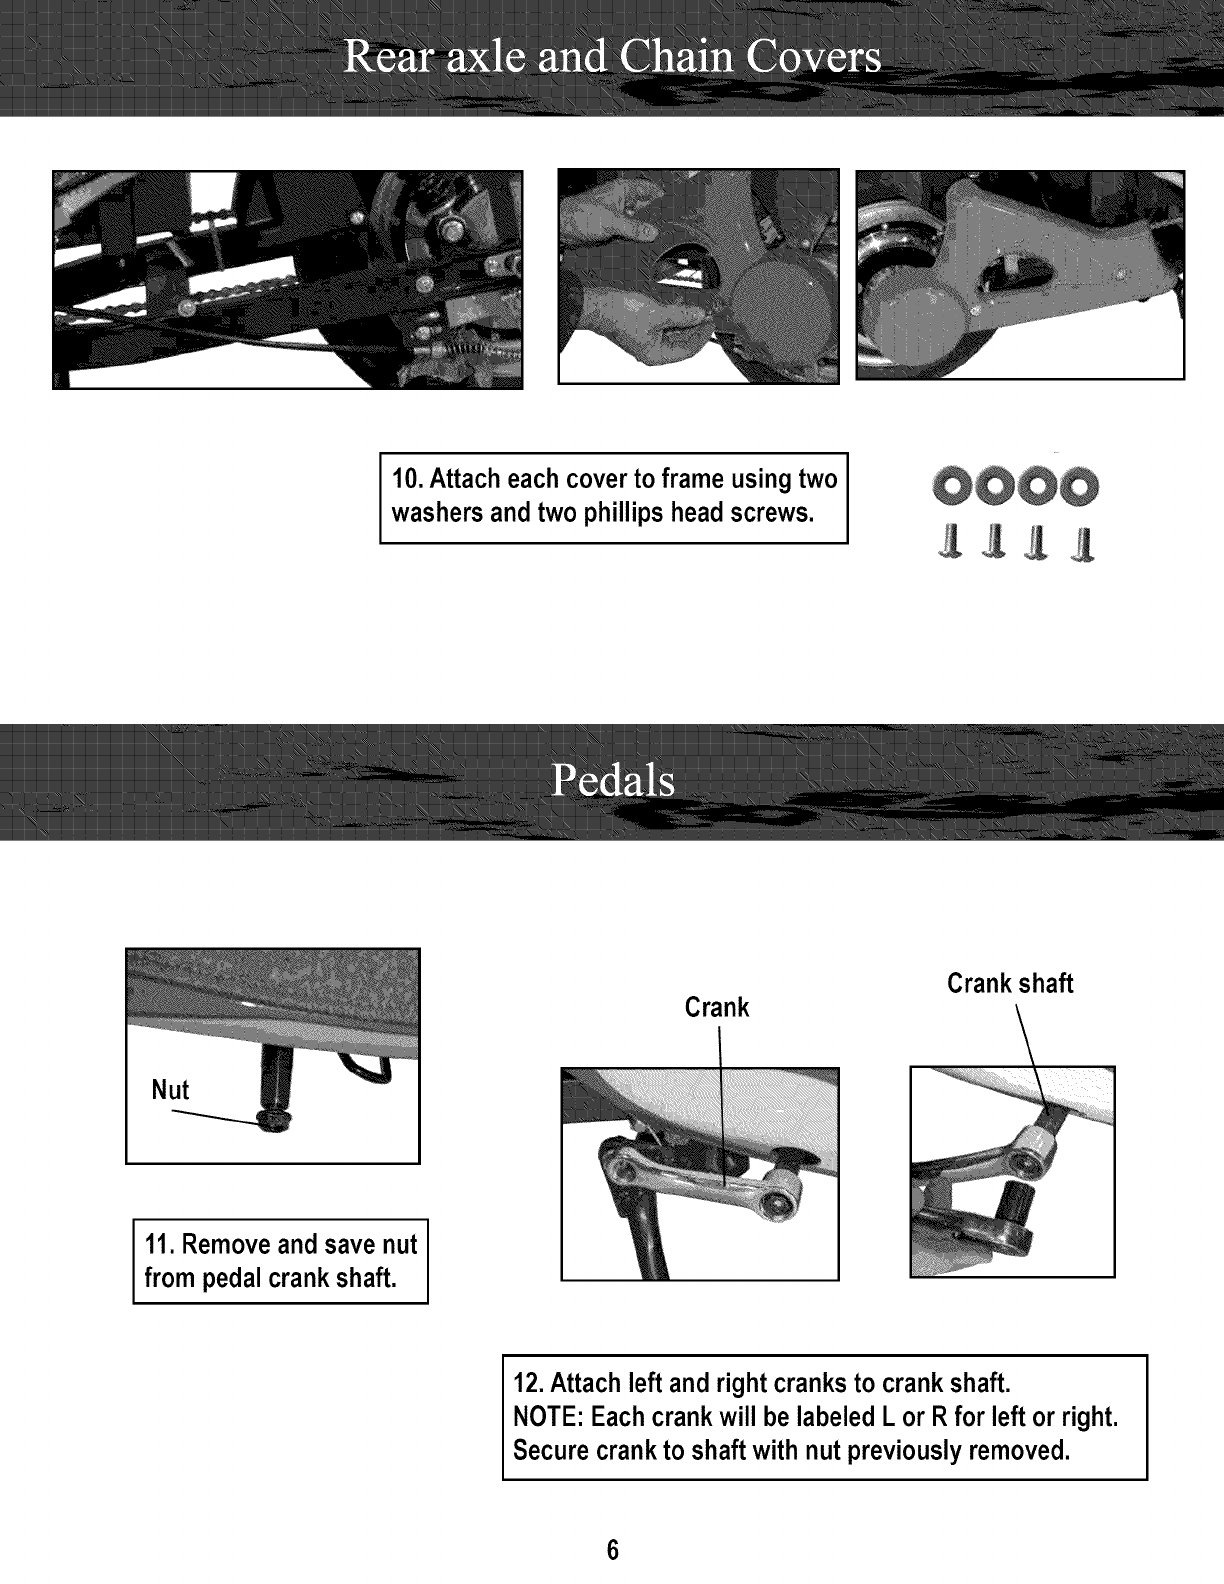
10.Attach each cover to frame using two
washers andtwo phillipshead screws.
Crank Crank sha_
11. Removeand save nut
from pedalcrank shaft.
12.Attach left and right cranksto crankshaft.
NOTE:Each crank will be labeledLor Rfor left or right.
Secure crankto shaftwith nut previouslyremoved.
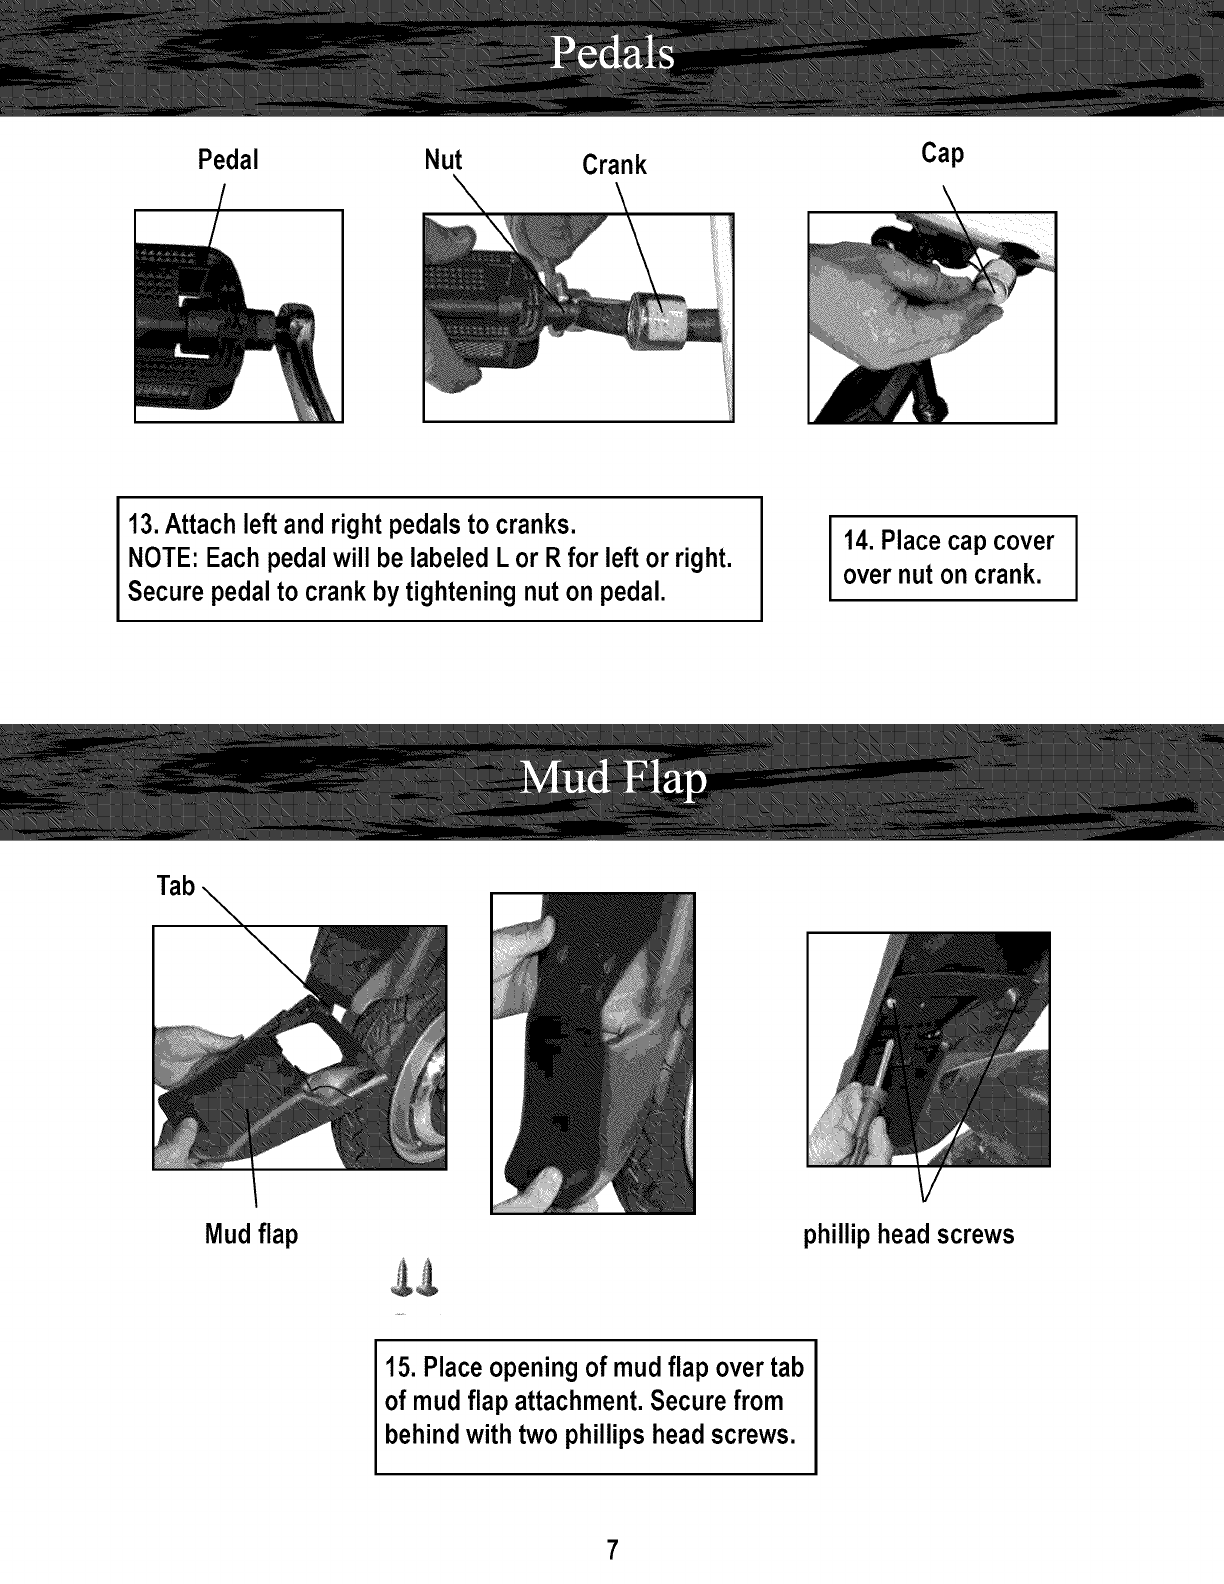
Pedal Nut Crank Cap
13.Attach left and right pedals to cranks.
NOTE:Each pedal will be labeledLor R for left or right.
Securepedalto crank by tightening nuton pedal.
14. Placecap cover
over nuton crank.
Tab
Mud flap
15. Placeopeningof mudflap overtab
of mudflap attachment.Securefrom
behindwith two phillips headscrews.
philliphead screws
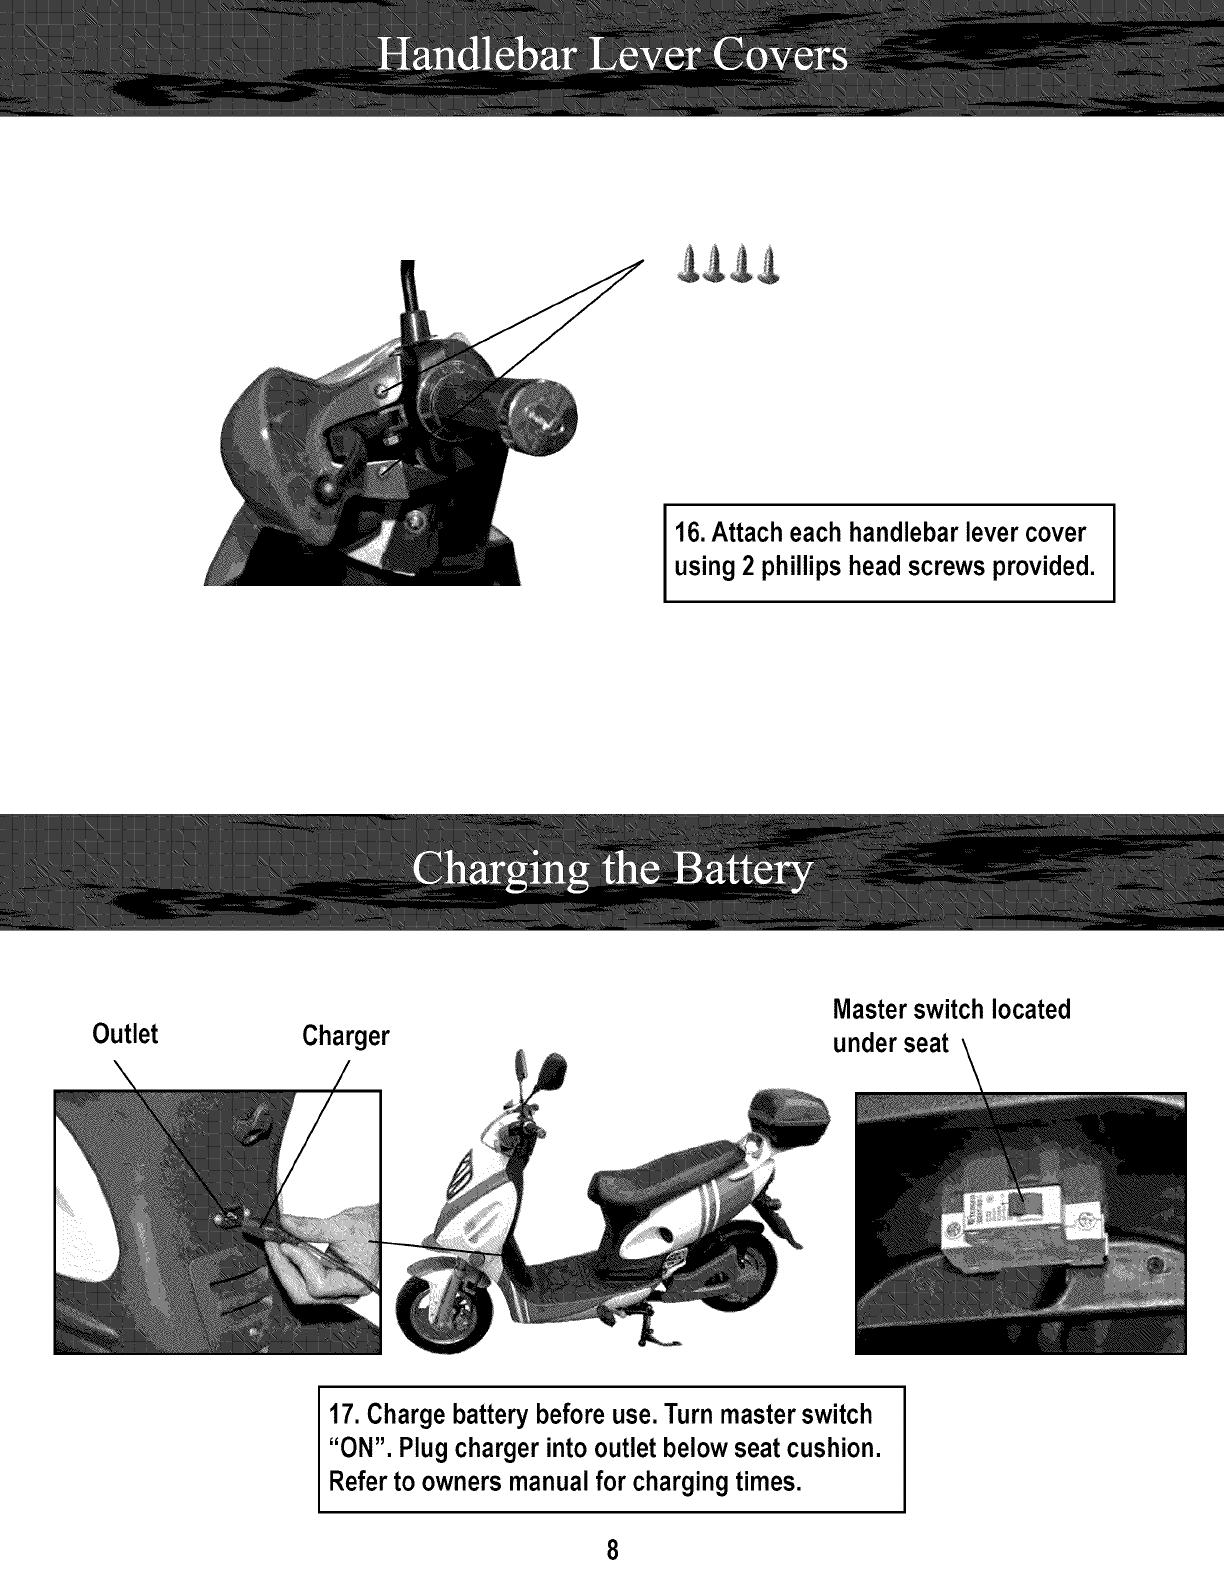
16.Attach each handlebar lever cover
using 2 phillips head screws provided.
Outlet Charger
Master switch located
under seat
17. Charge battery before use. Turn master switch
"ON". Plug charger into outletbelowseat cushion.
Referto owners manualfor chargingtimes.
