Bang and Olufsen a s BEOCOM5 DECT Handset User Manual
Bang & Olufsen a/s DECT Handset
UserManual.wiki
>
Bang and Olufsen a s
>
BEOCOM5 User Manual
User Manual
Navigation menu
Upload a User Manual
Namespaces
Wiki Guide
HTML
PDF
Info
Views
User Manual
Discussion / Help
Navigation

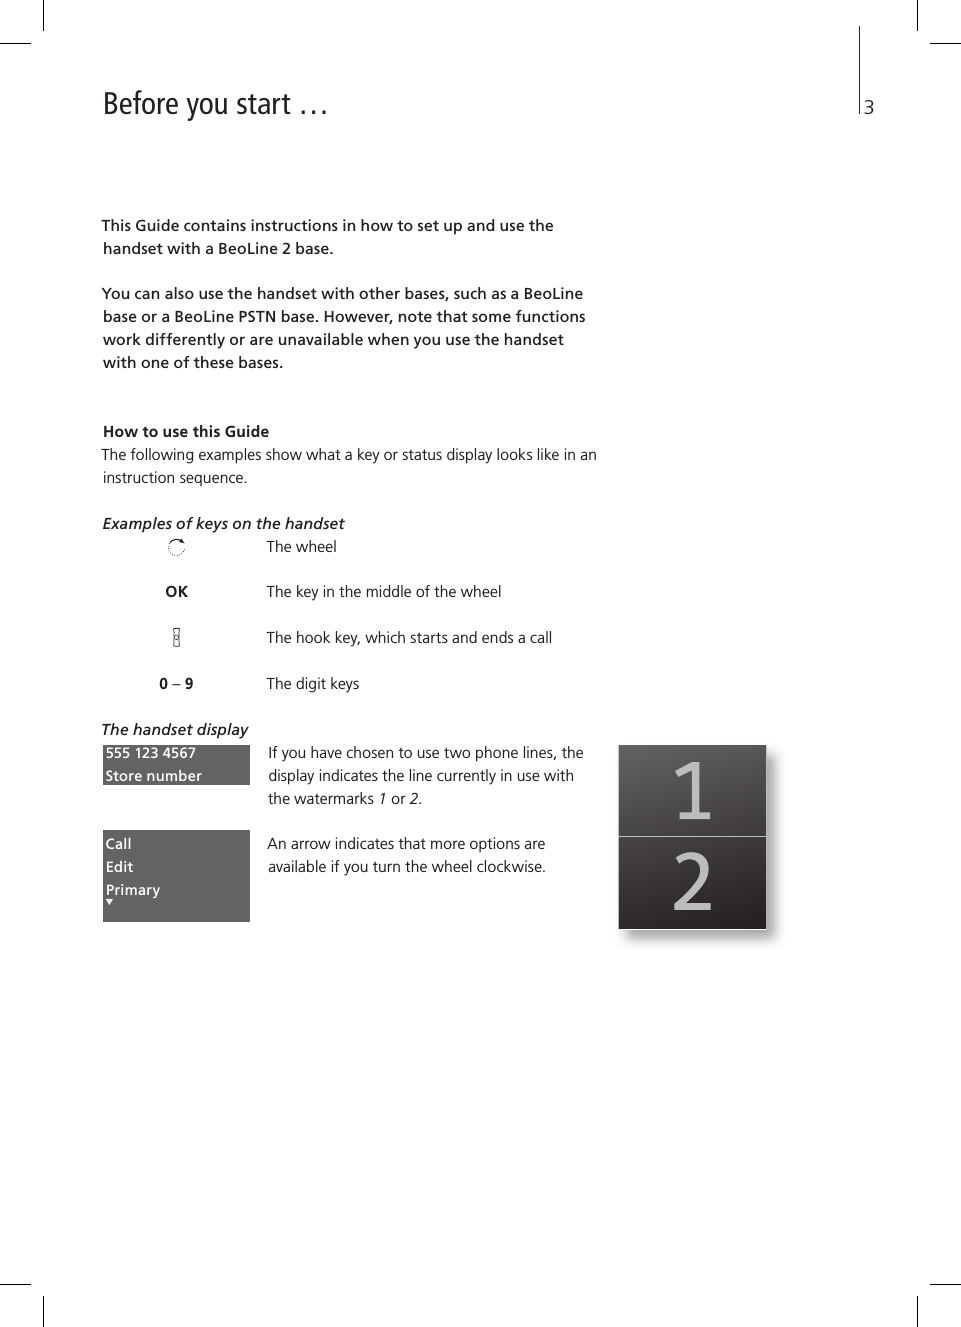


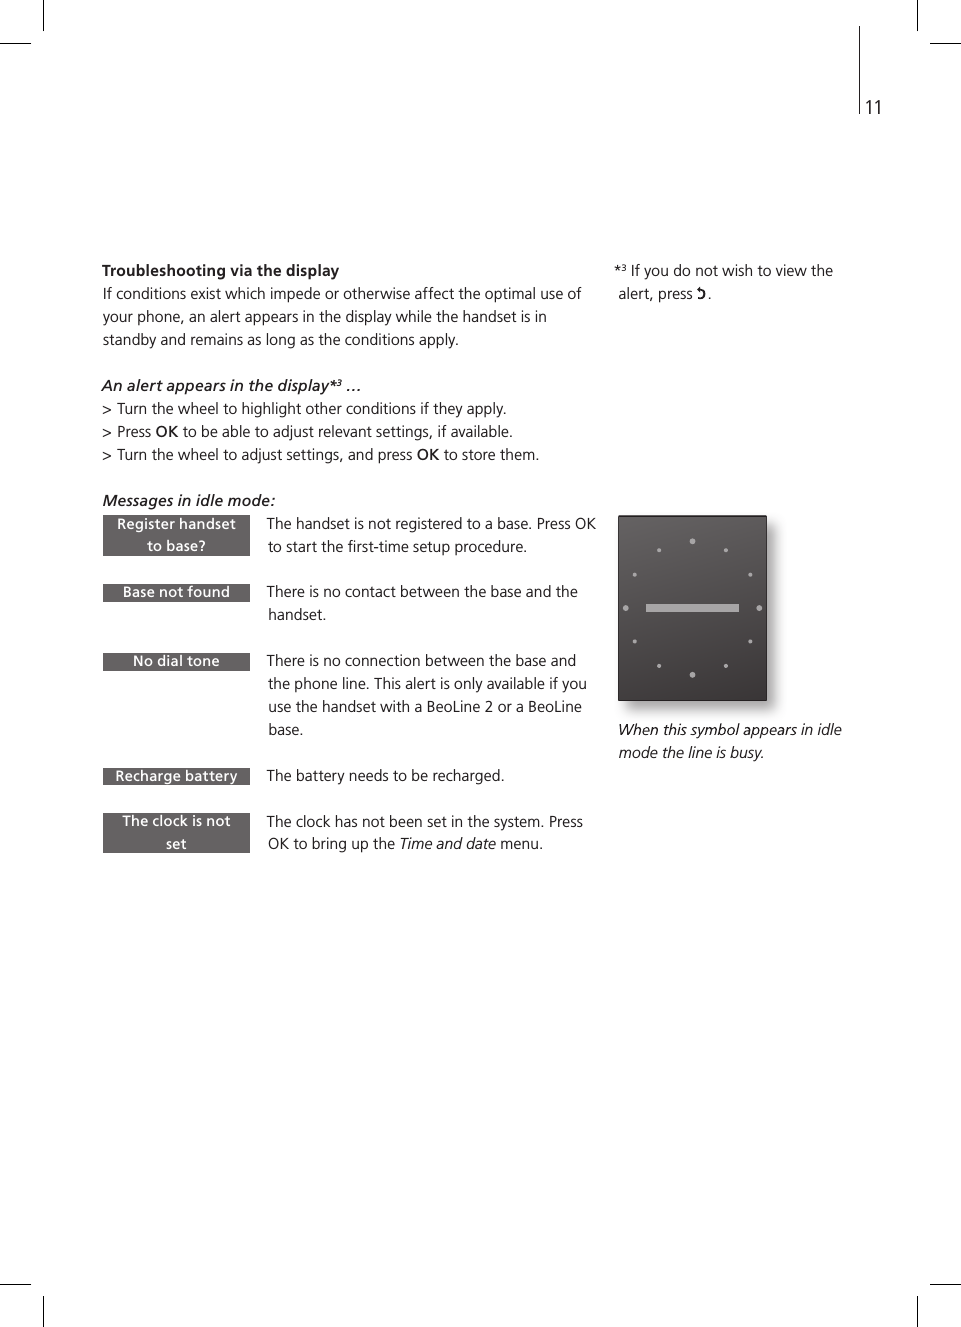
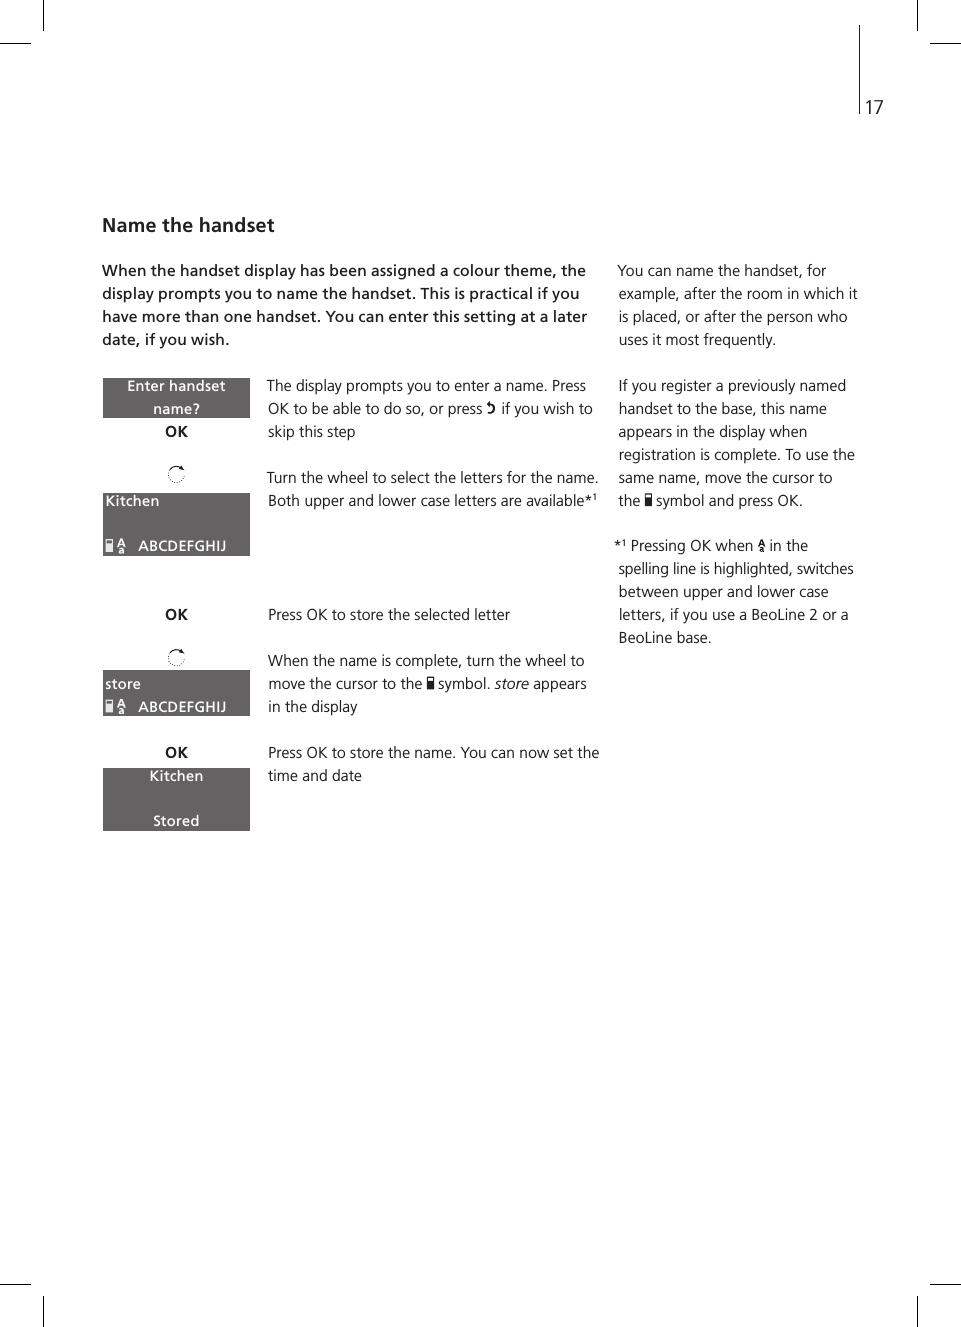
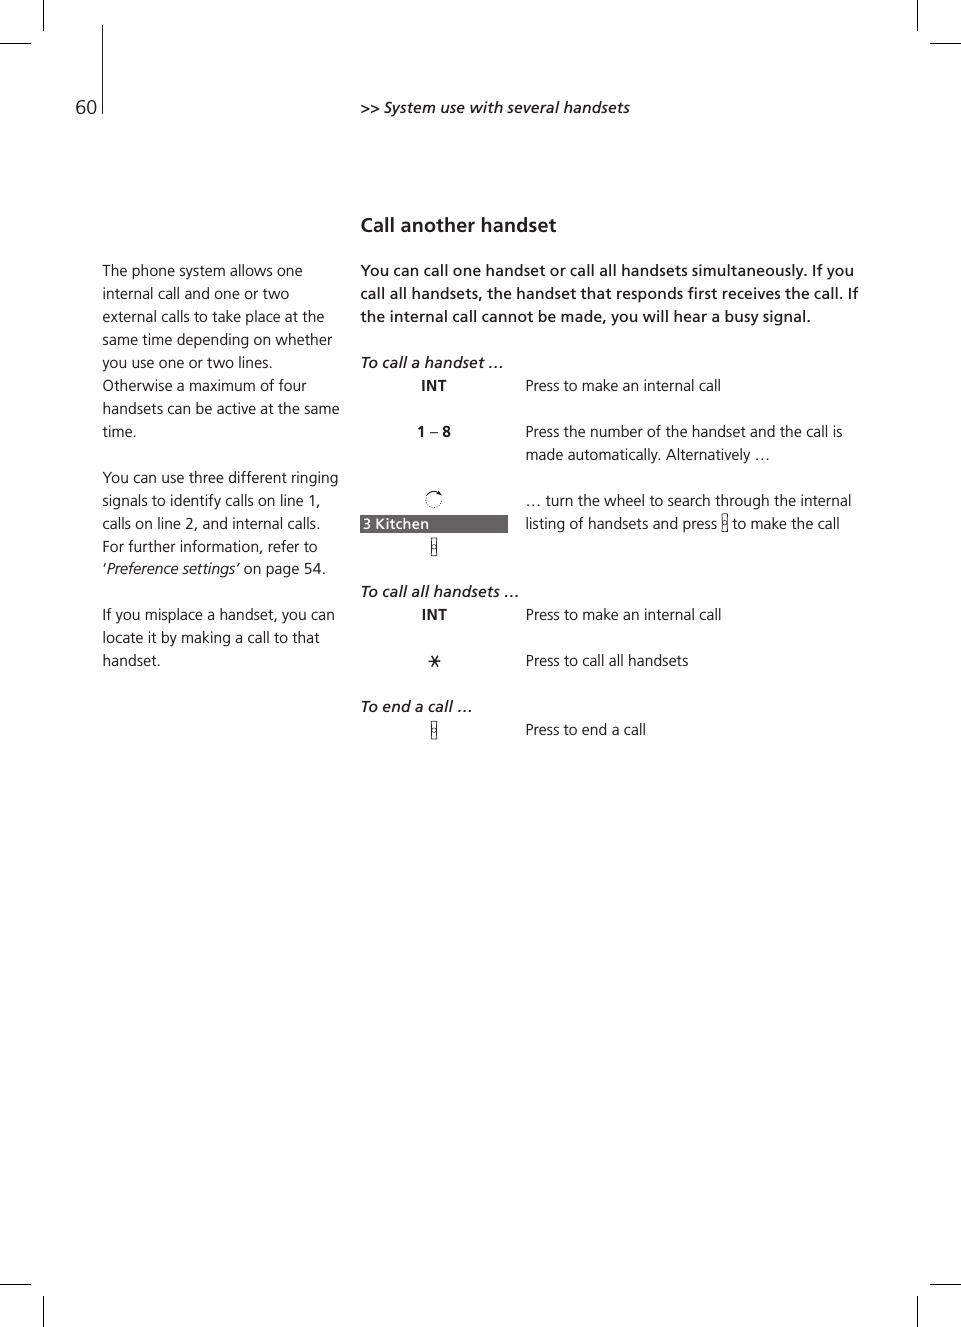
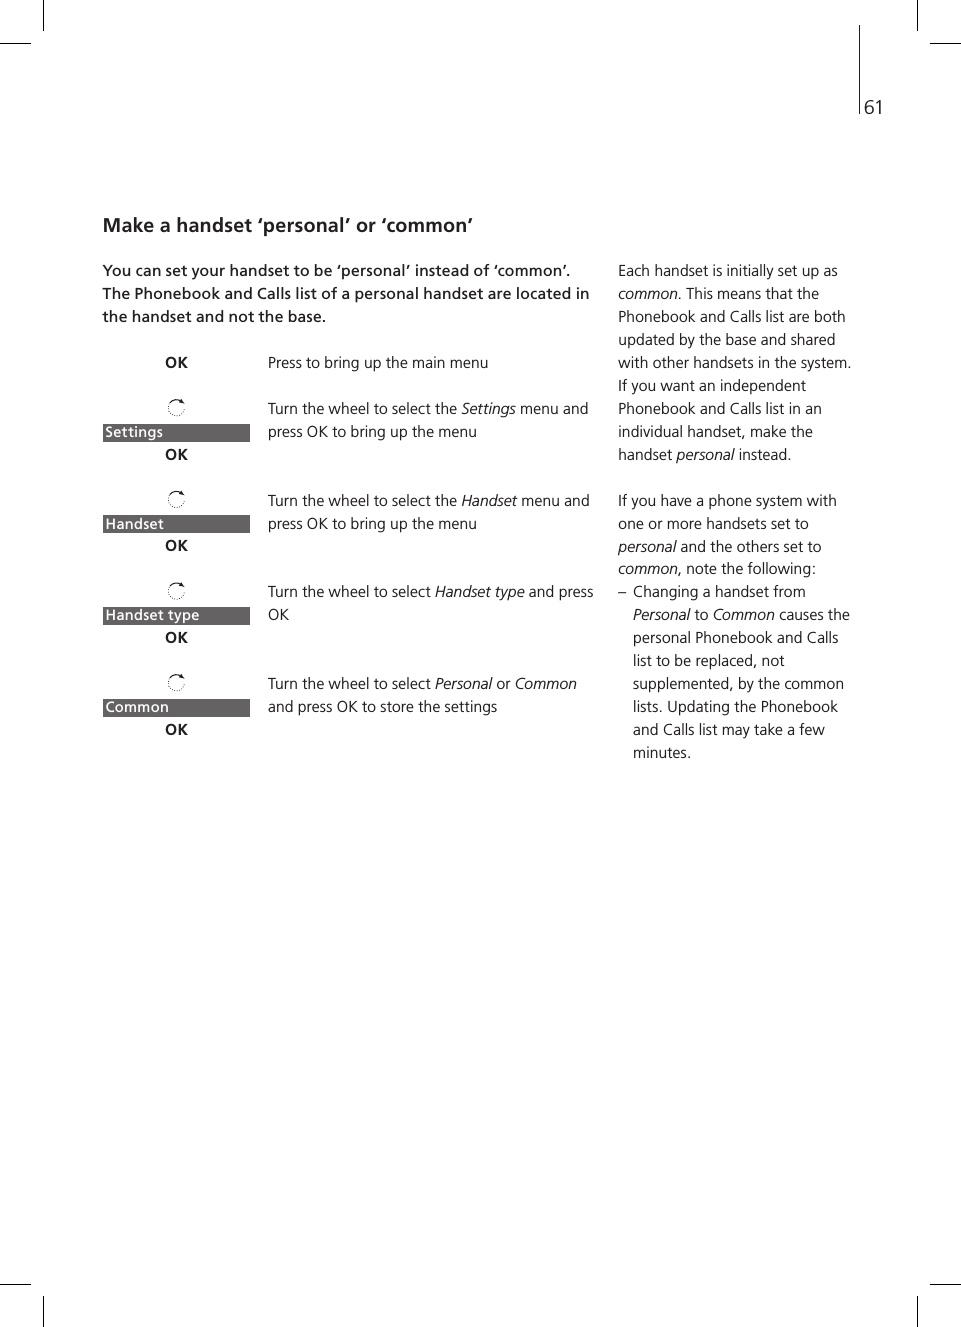
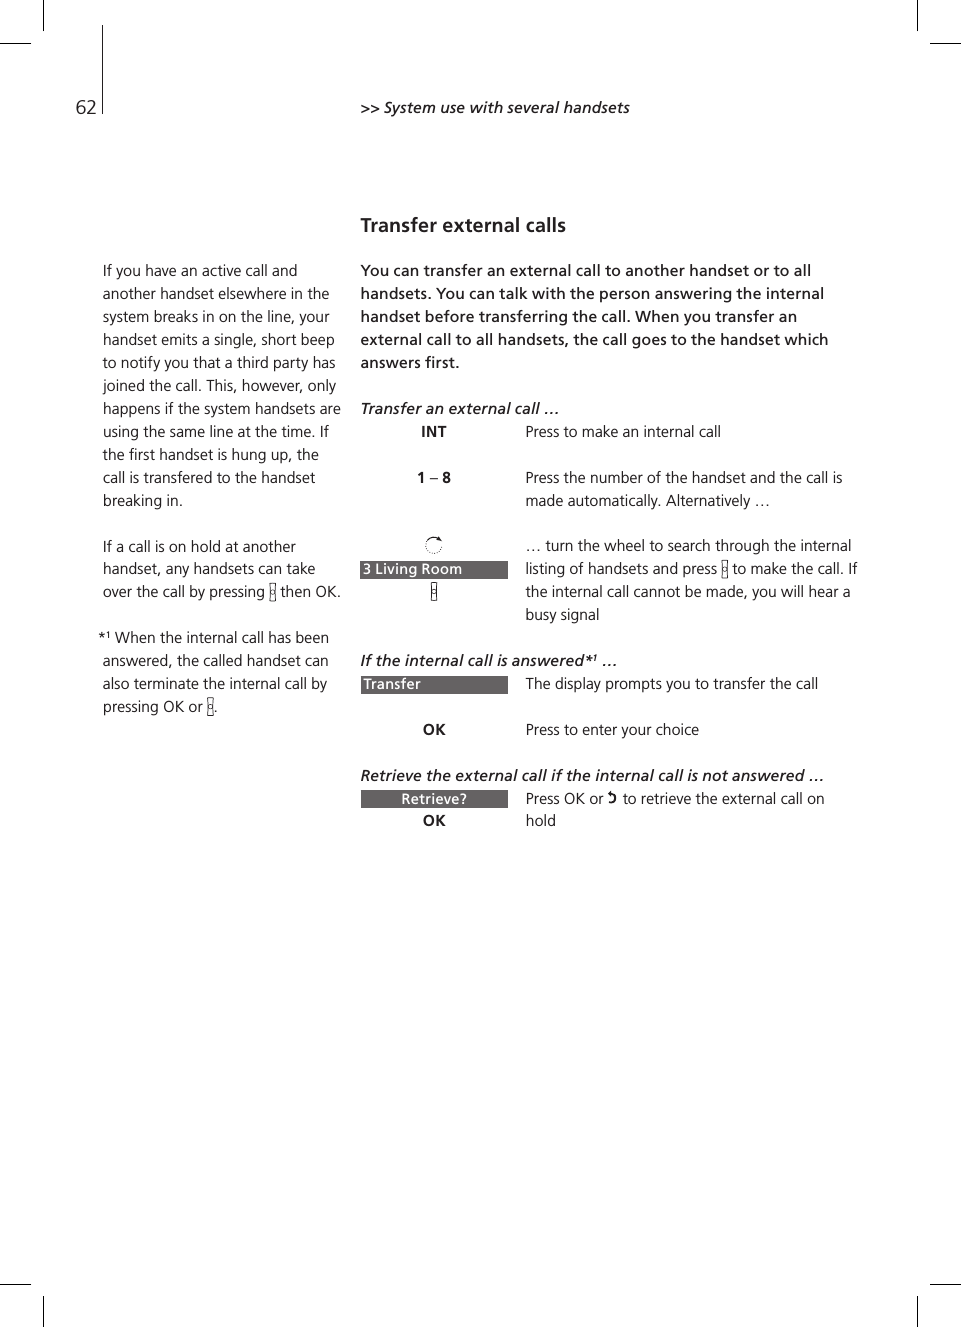
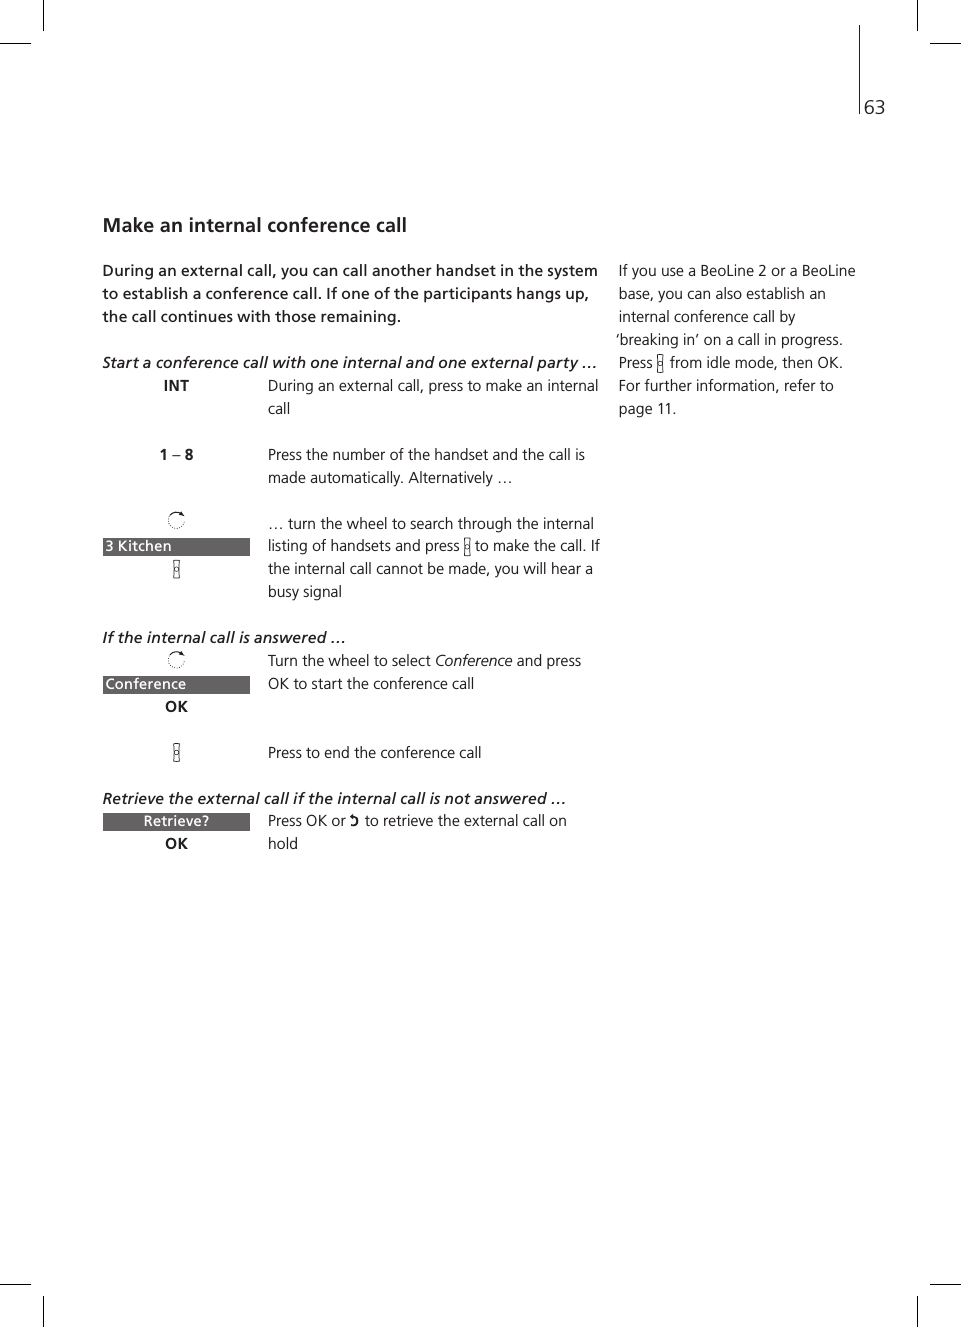
![OK/MENU (centre of the wheel) – Accept and store entries or choices in the display – Depending on the state of the handset, pressing OK gives you access to additional functions or options, which you can view by turning the wheel – Press and hold to switch the hand set off, and press once to switch it on again Calls list Access the Calls list. C Delete the last digit or letter entered or the current item in a list, when editing names, browsing the Phonebook or lists. In idle mode, press and hold to enter silent mode. Hook key Press to make and end a call. Back key Press to go back one level. Press and hold to exit a function. Turn the wheel to enter the Phonebook and search in Phonebook, Calls list and the phone’s menu system. During a call, turn the wheel to adjust the volume. [L1], [L2] Press [L1] or [L2] to select phone line before or during calls. If you have only one phone line, store a favourite number on each button HOLDPlace a call on hold, if you have two phone lines or switch the microphone on and off, if you have one phone line. 0 – 9 (A-Z) Digit keys for entering phone numbers. Used in phone numbers, for Call Forwarding and other automated services. Handset keys >> Get started HOLDABCDEFFLASHTUVWXYZPQRSJKLJKLMNOGHI2135468790RAVINTL1L212The handset has a ´reversed´design, where the microphone and the speaker are placed on the opposite side of the display.](https://usermanual.wiki/Bang-and-Olufsen-a-s/BEOCOM5/User-Guide-1174434-Page-12.png)