Bartec USA T500 Tire Pressure Monitoring System Test Transmitter User Manual manual
Bartec USA LLC. Tire Pressure Monitoring System Test Transmitter manual
UserManual.wiki
>
Bartec USA
>
T500 User Manual
manual
Navigation menu
Upload a User Manual
Namespaces
Wiki Guide
HTML
PDF
Info
Views
User Manual
Discussion / Help
Navigation

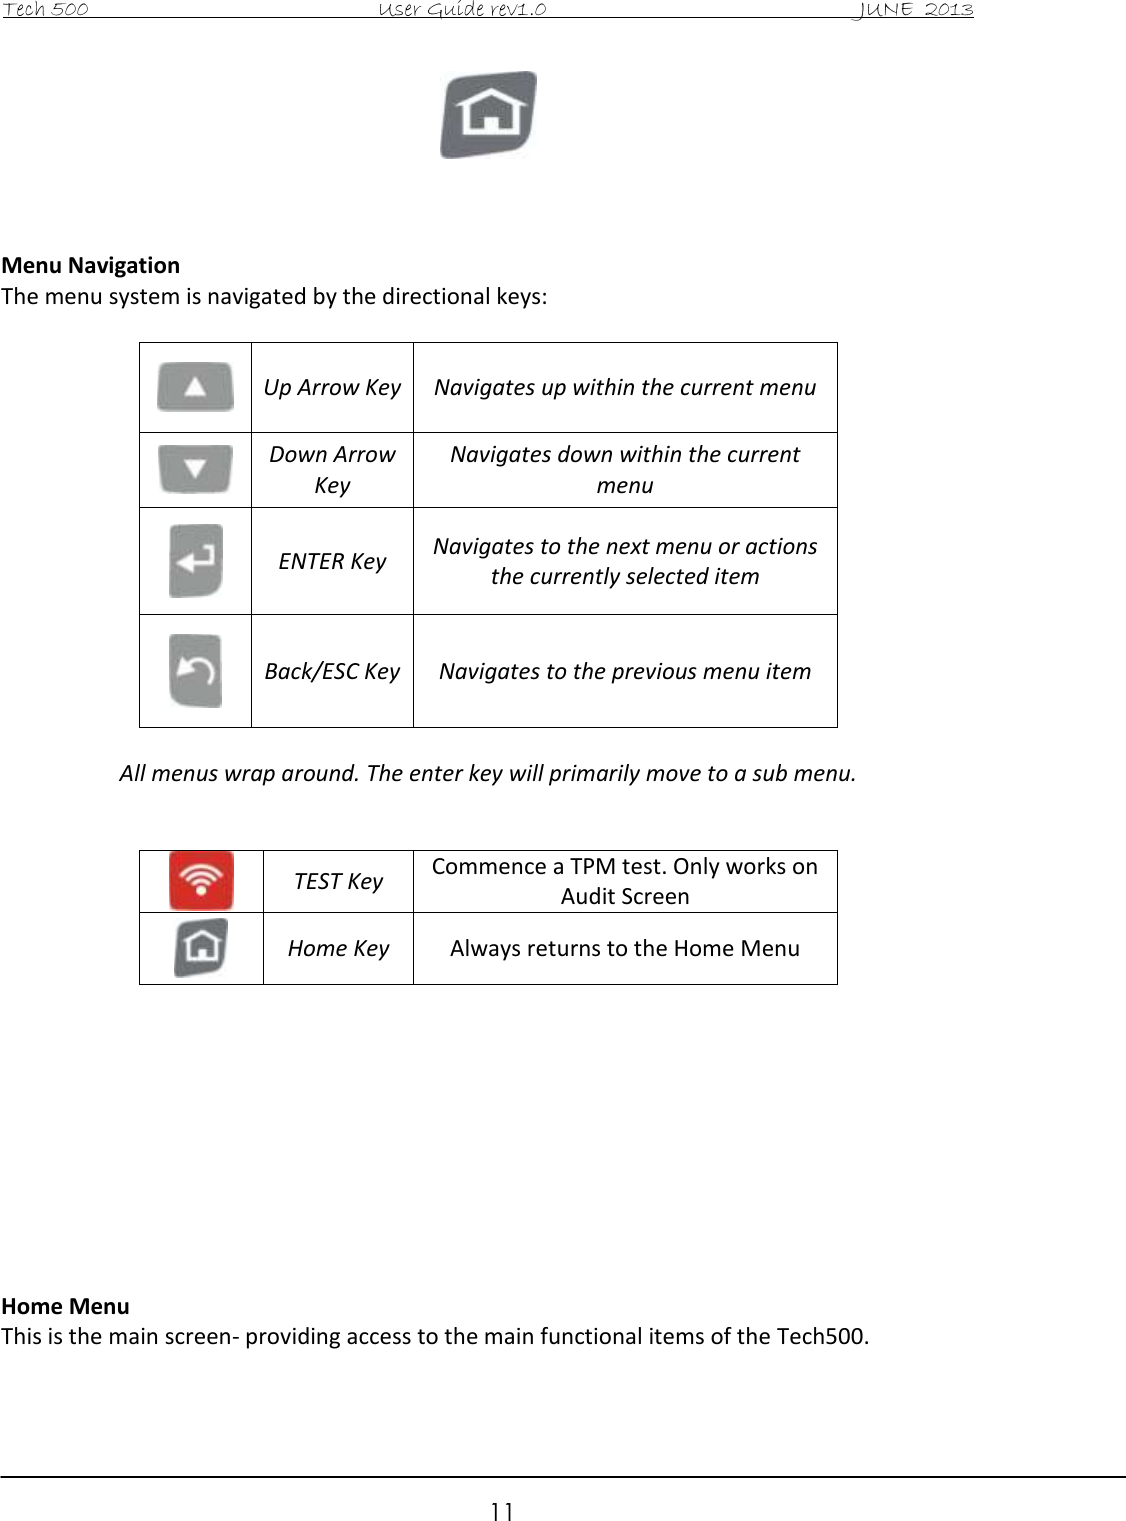
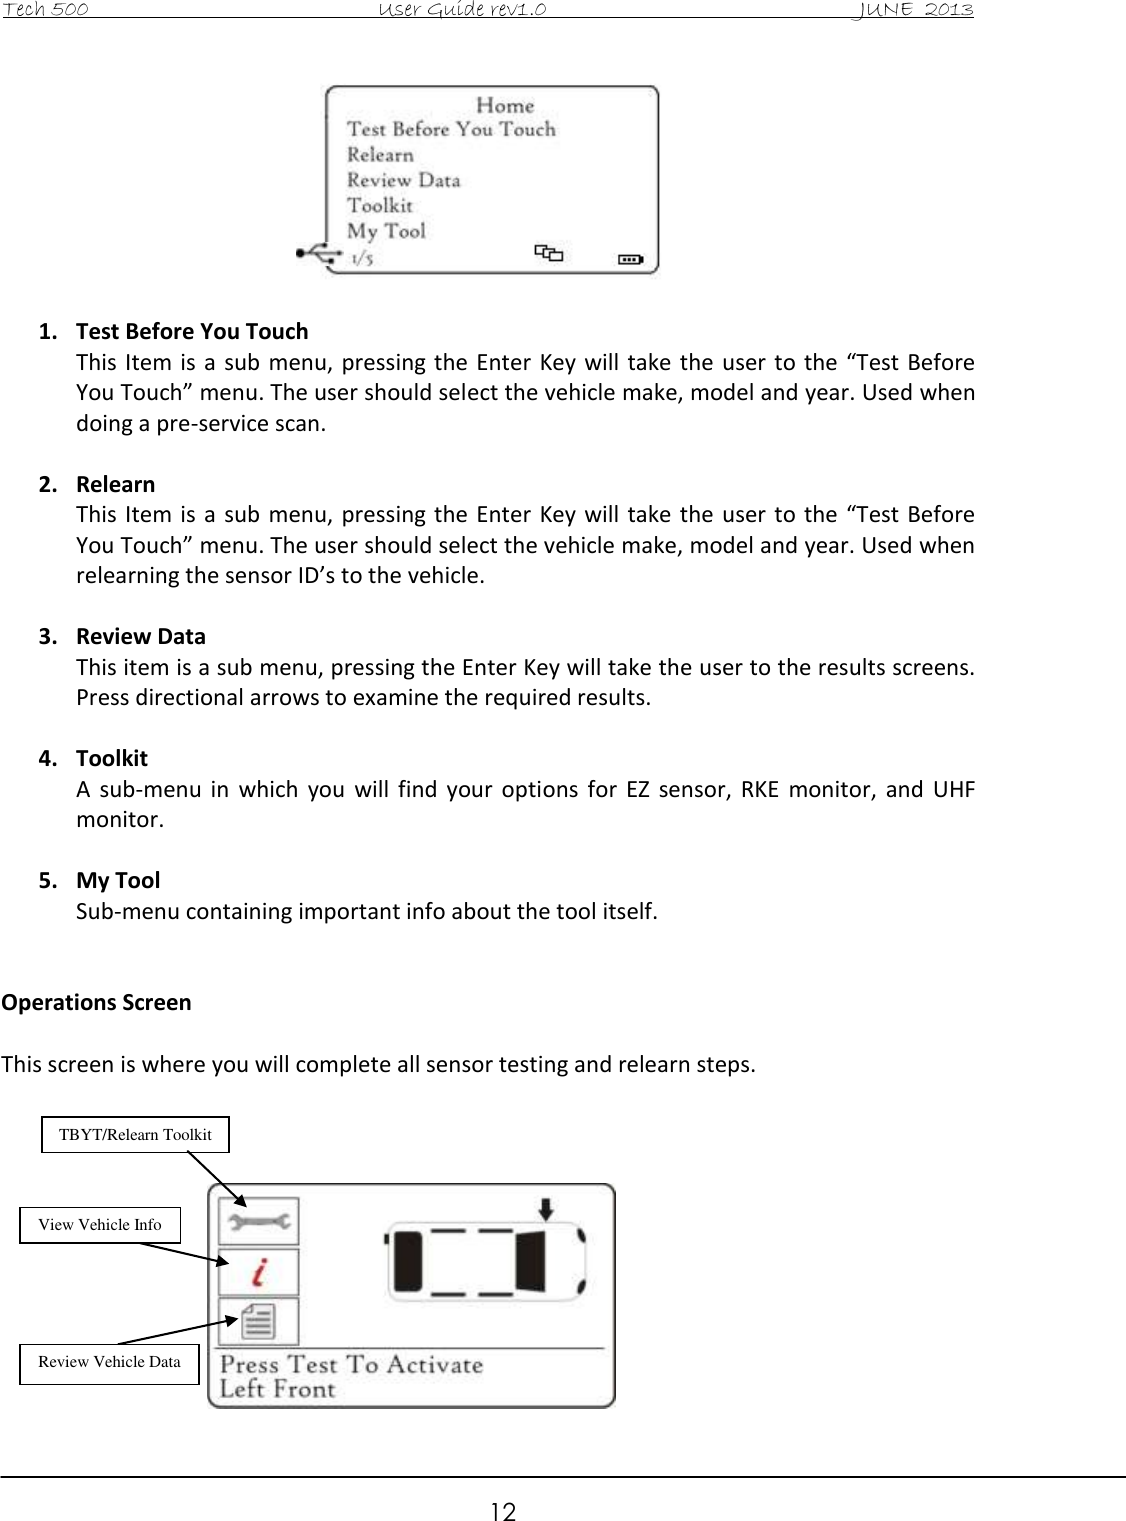
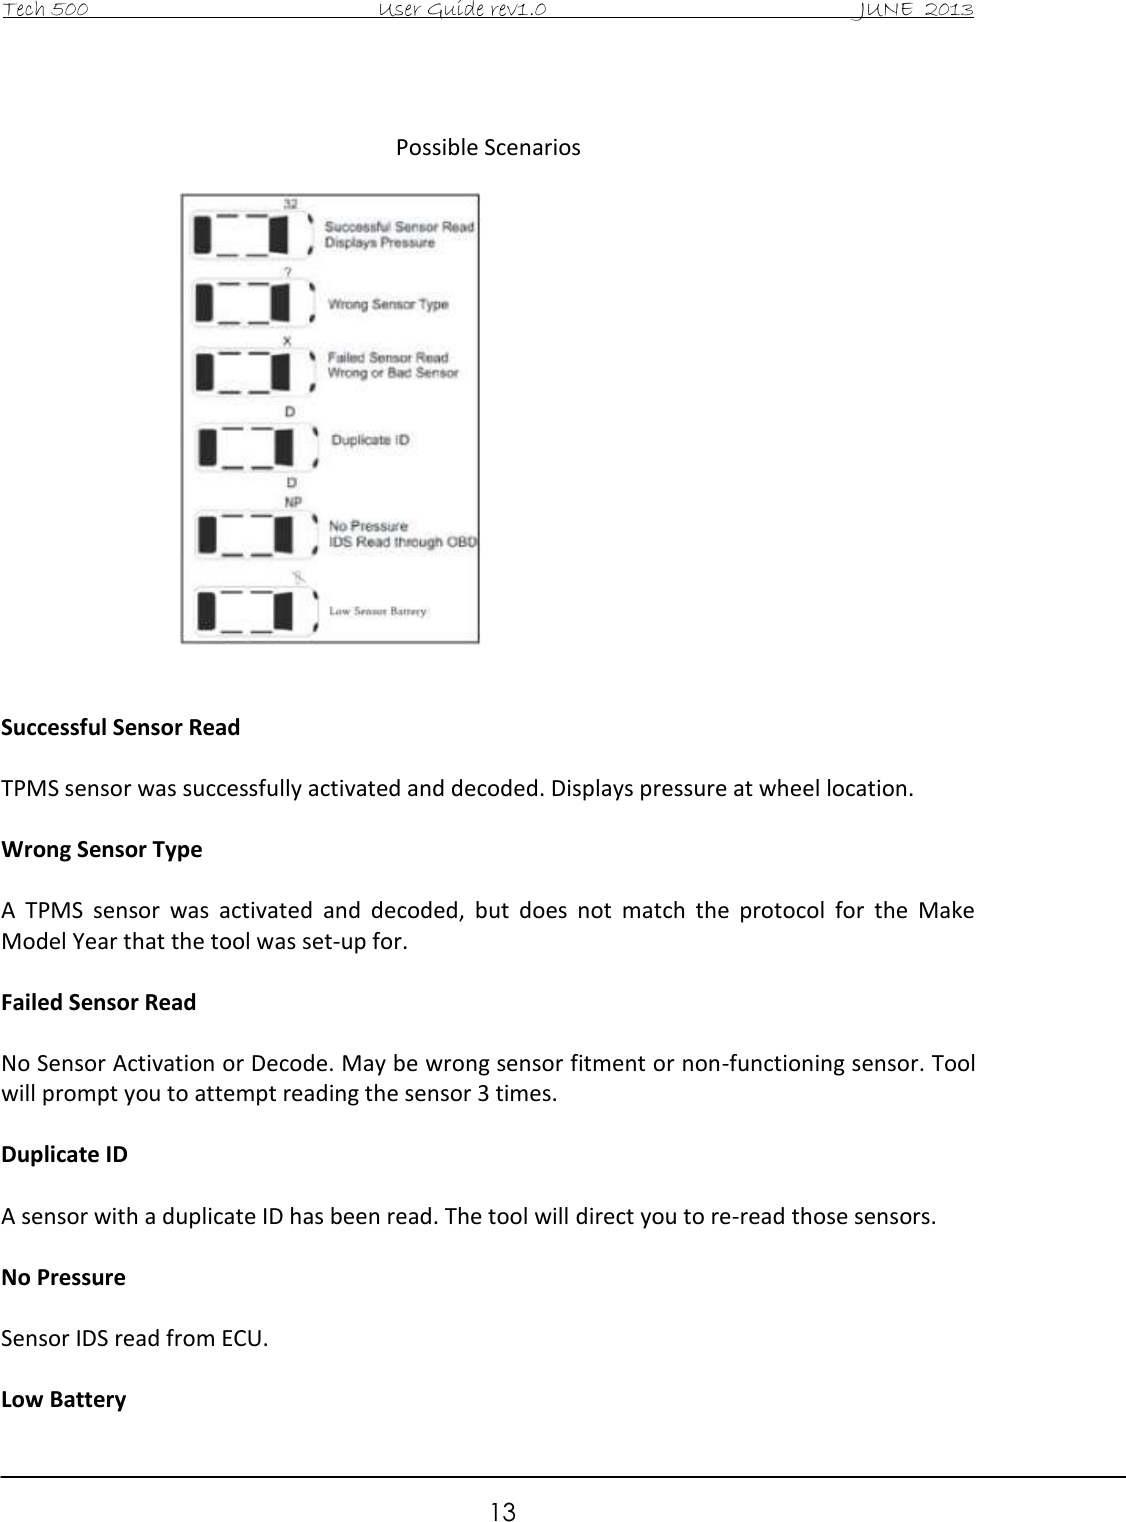
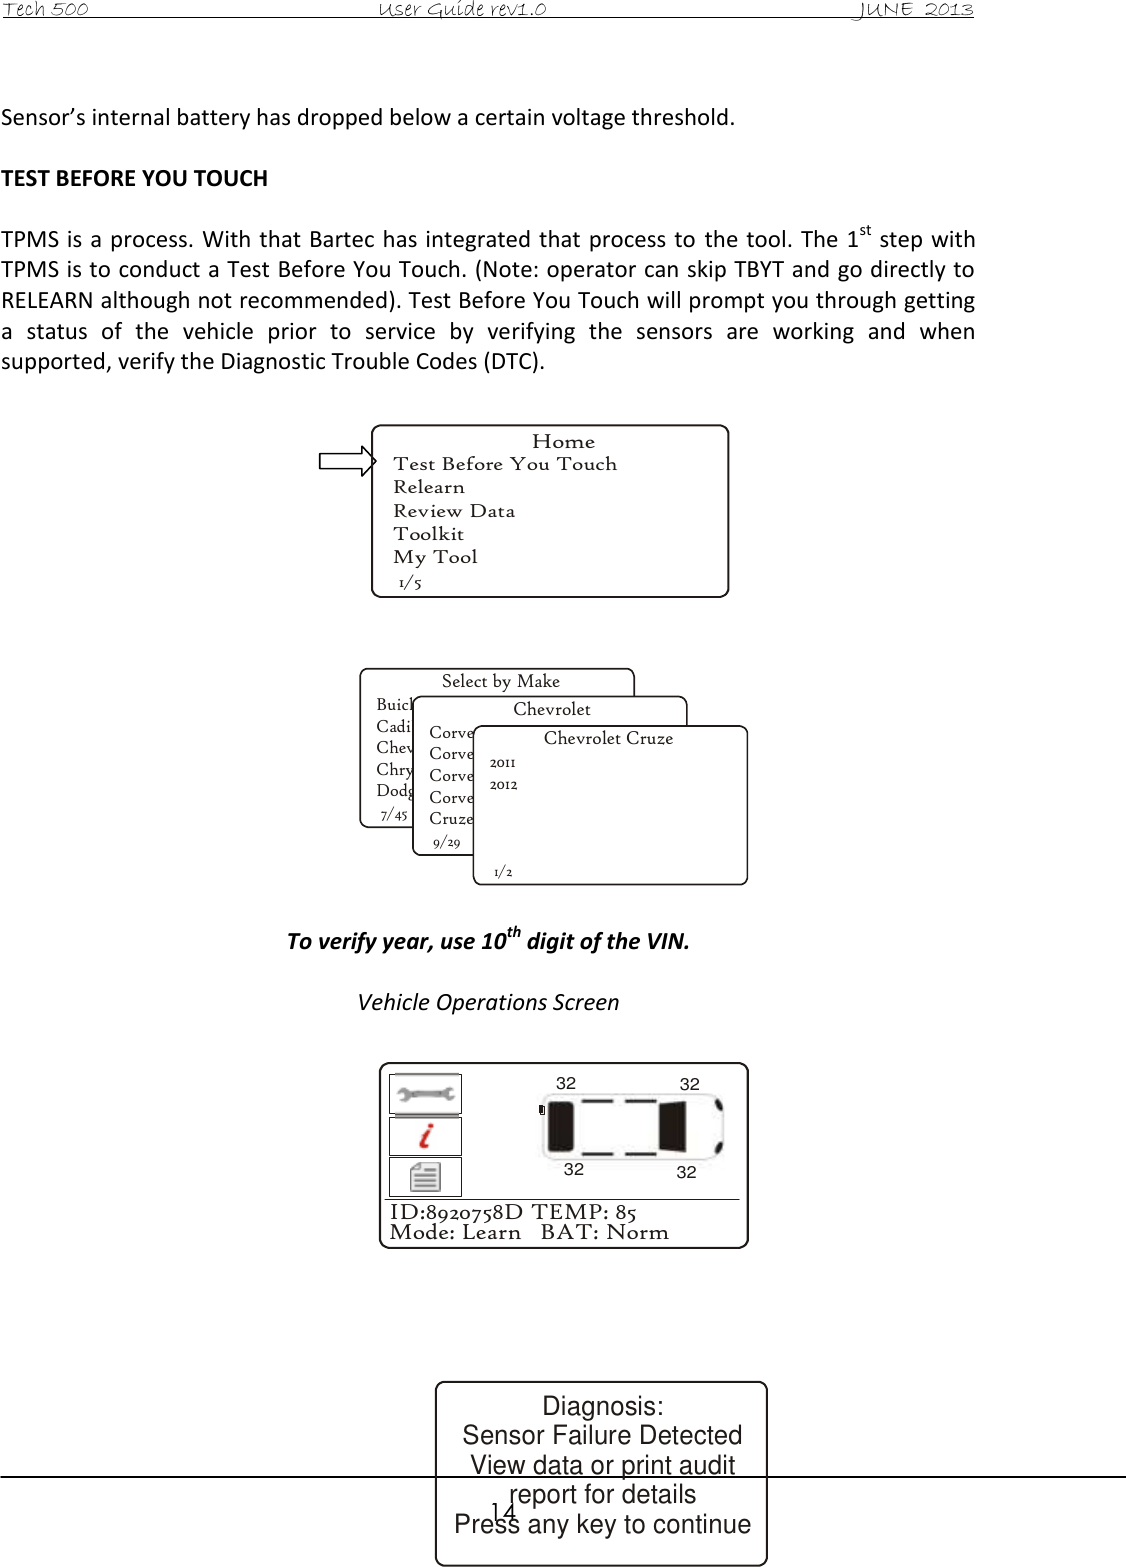
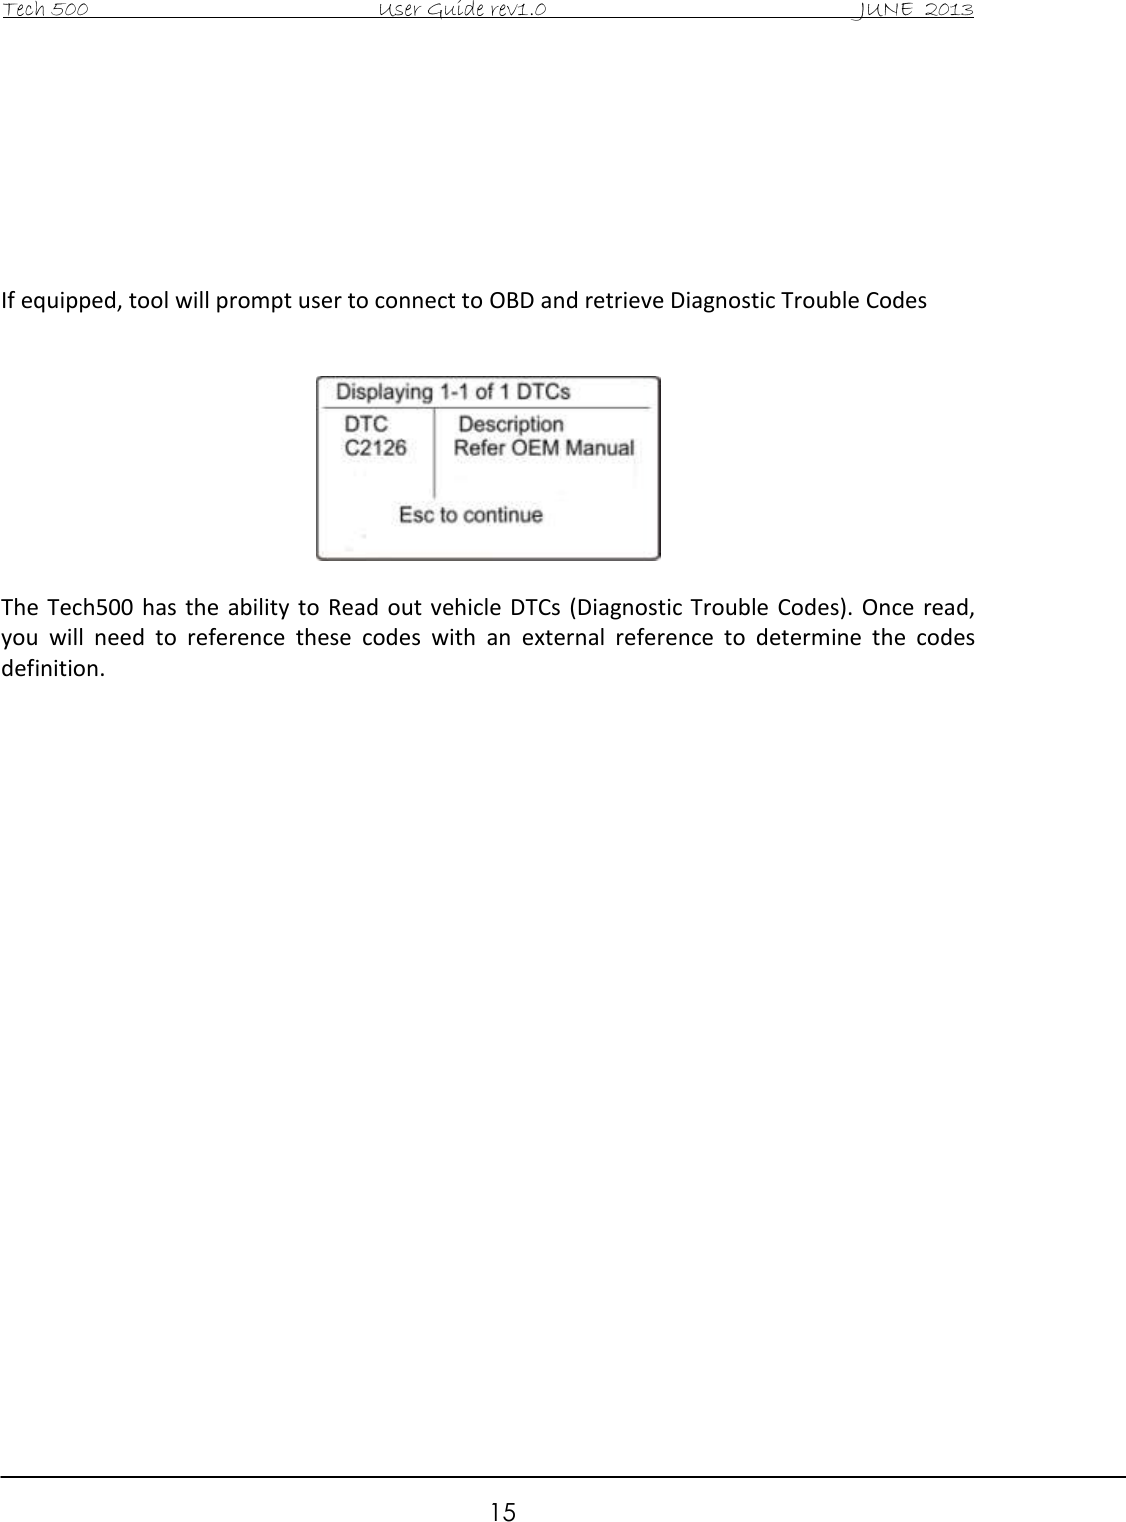
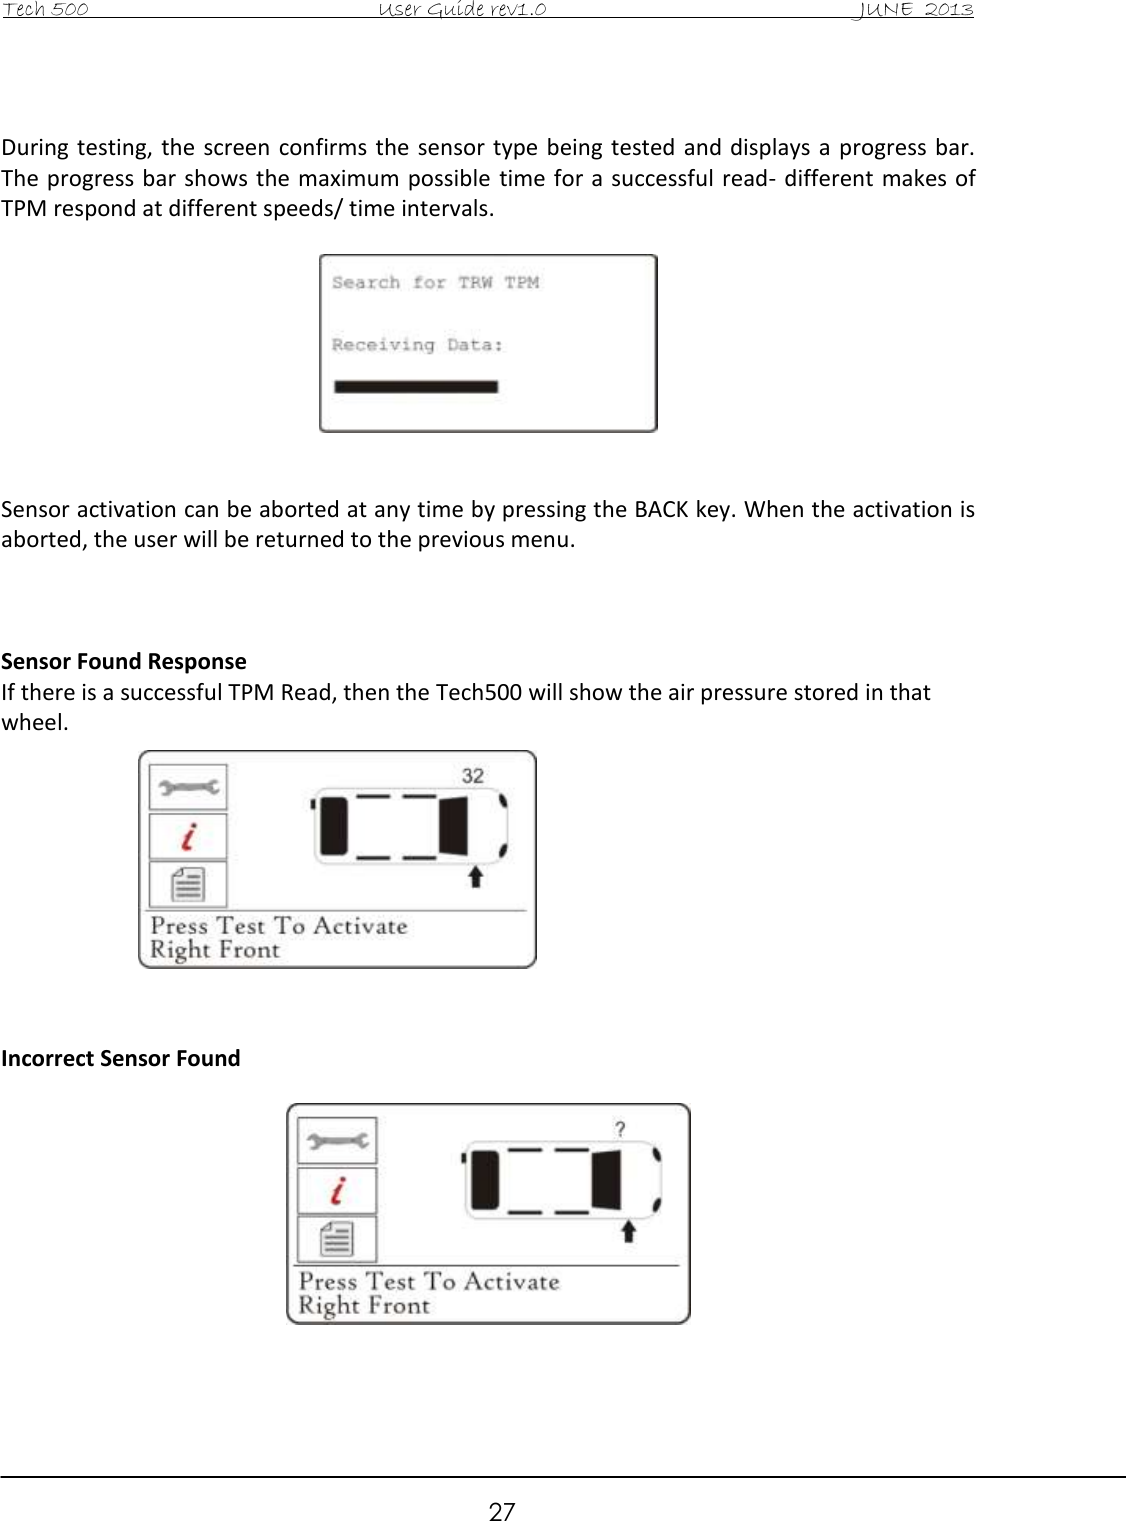
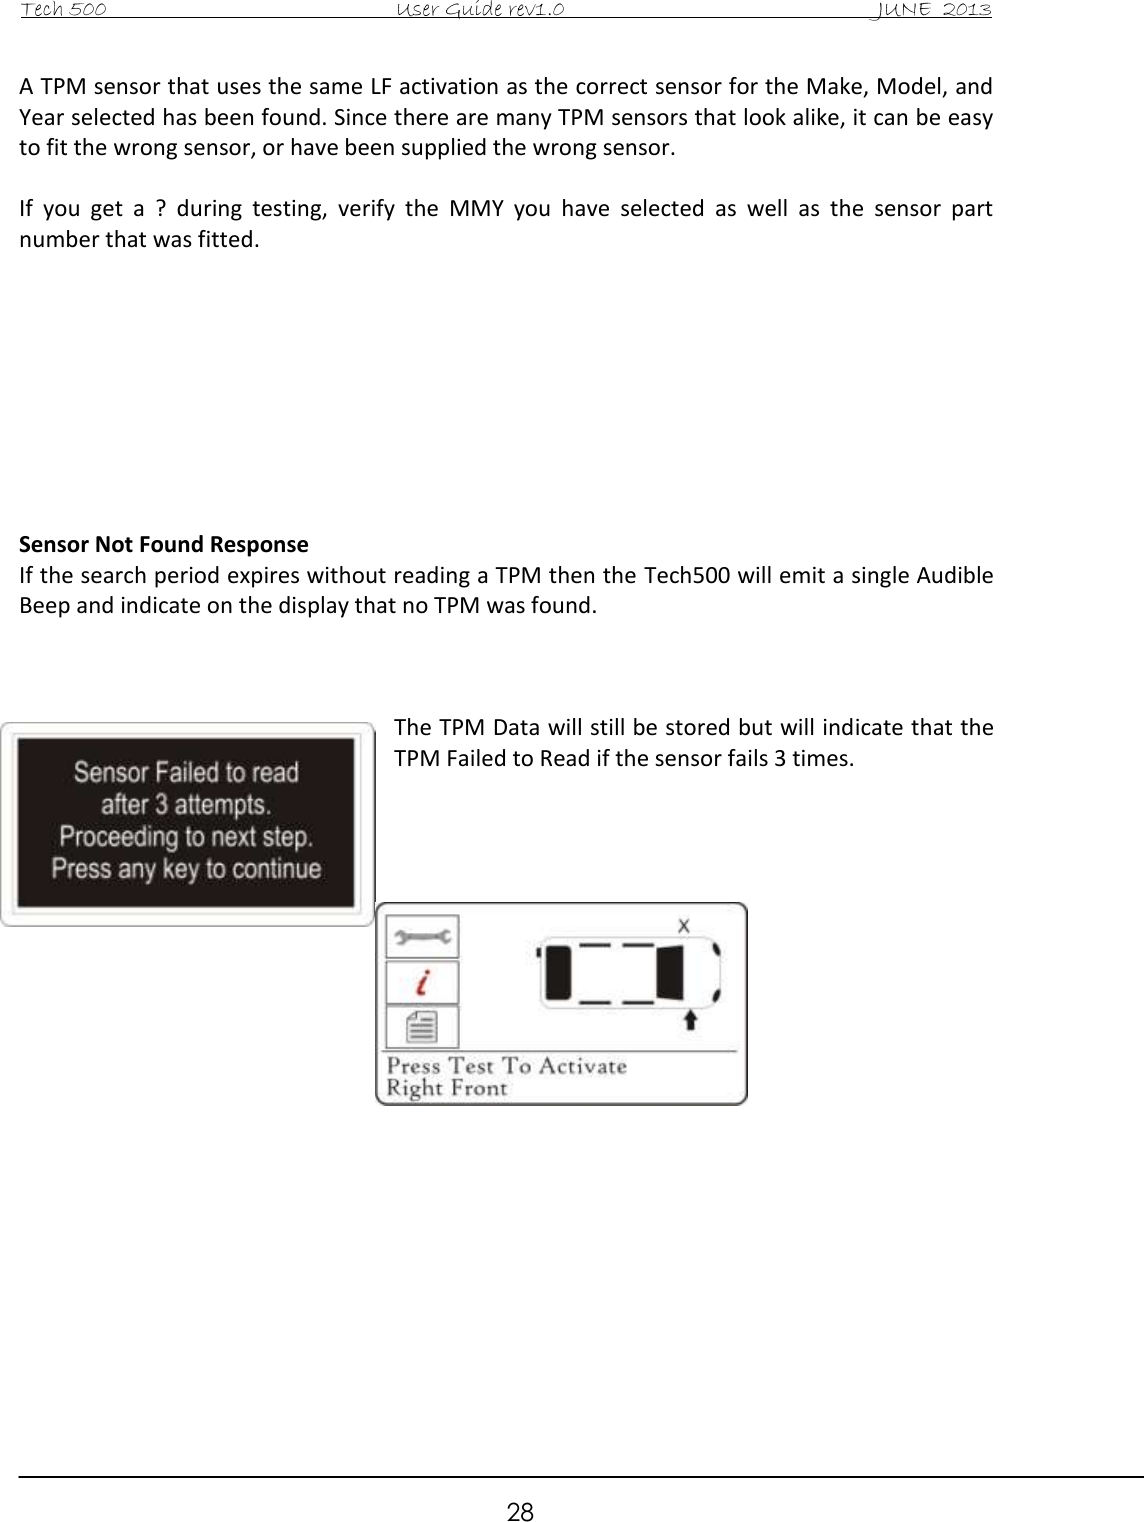
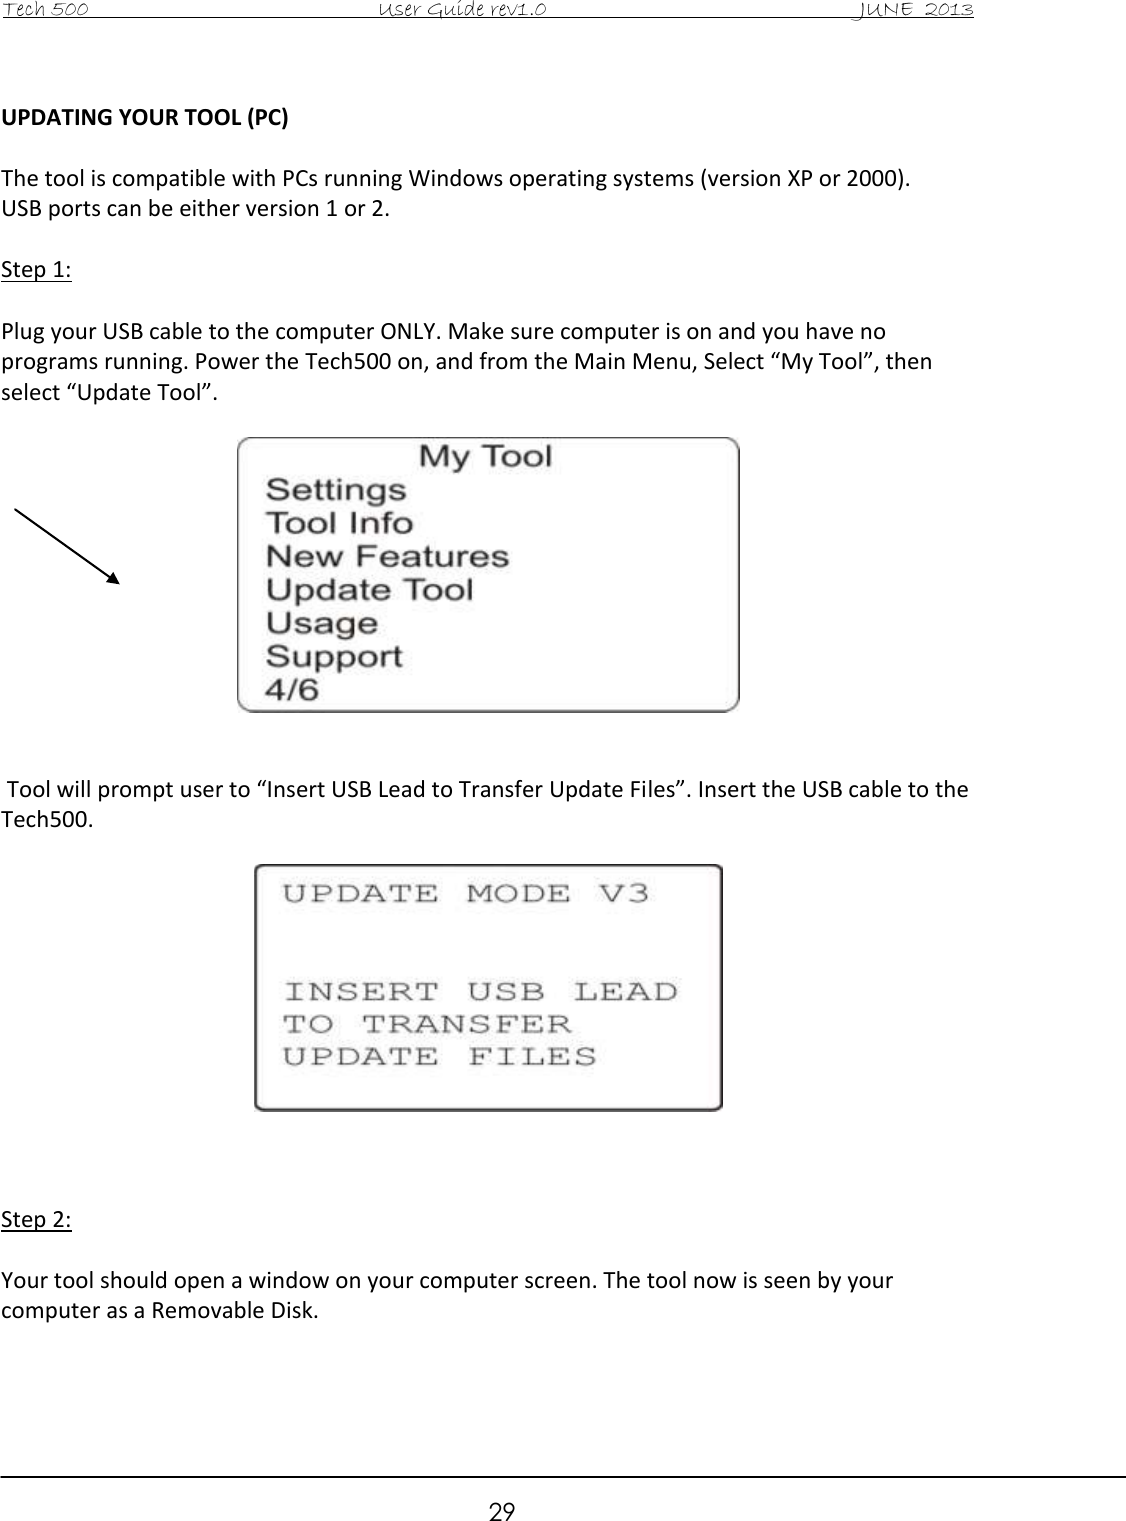
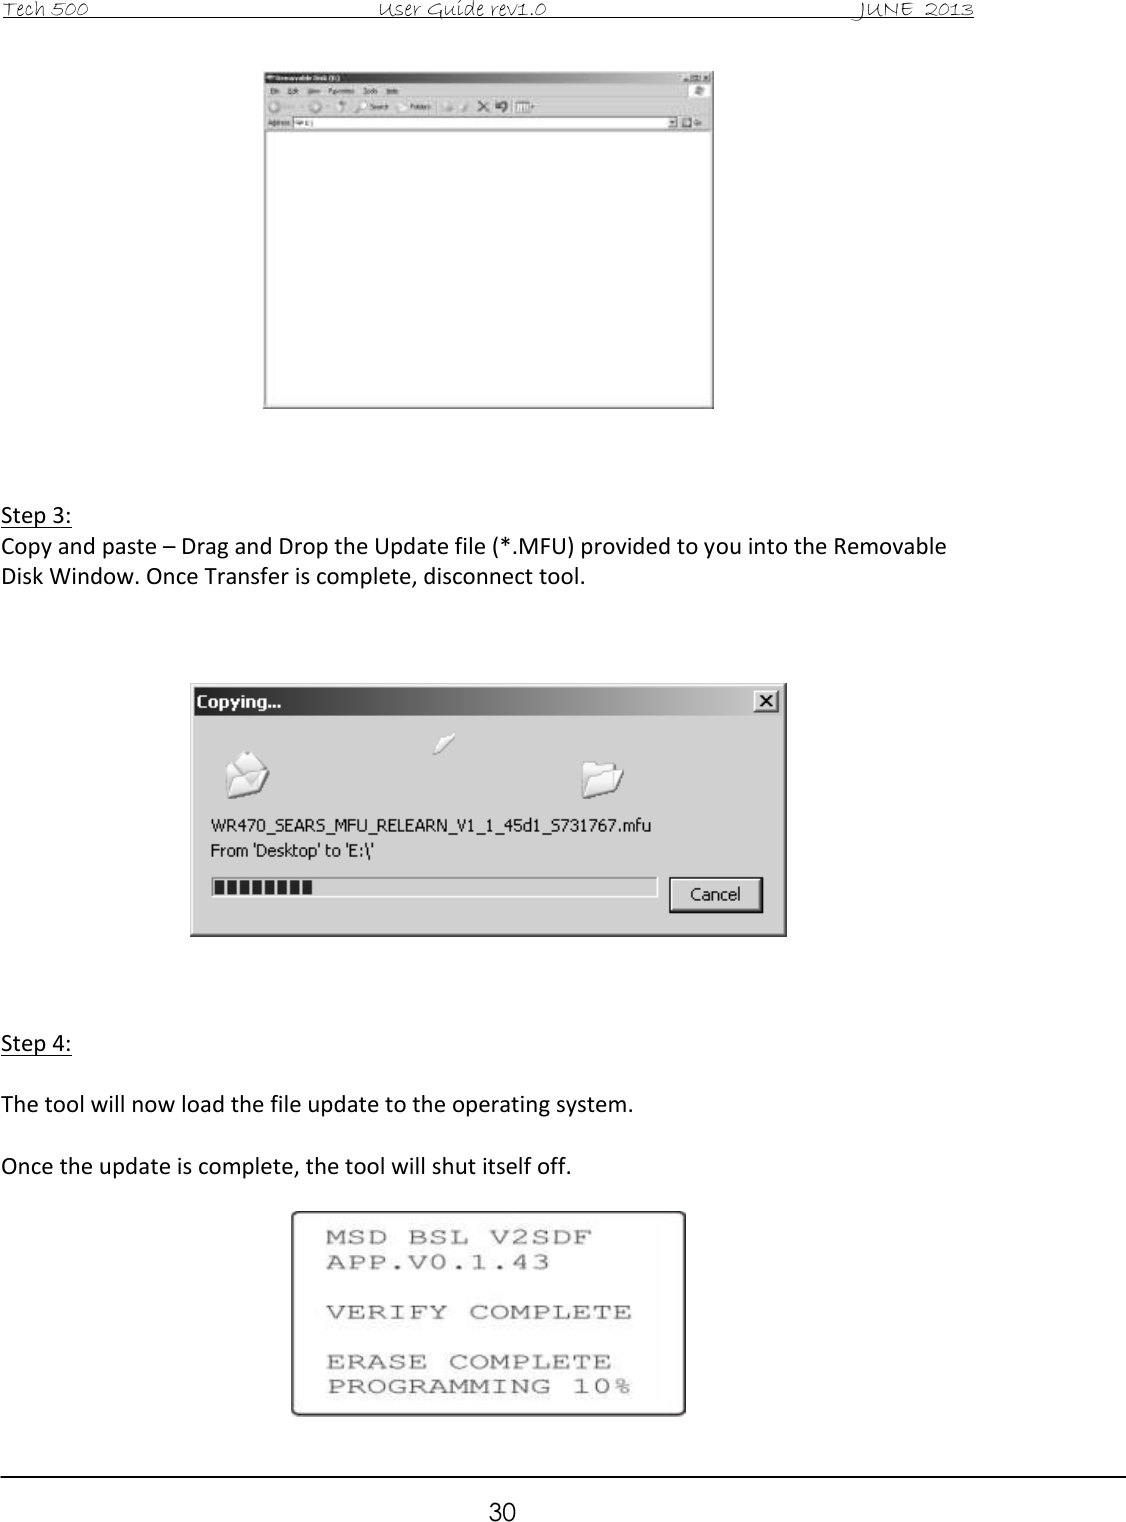
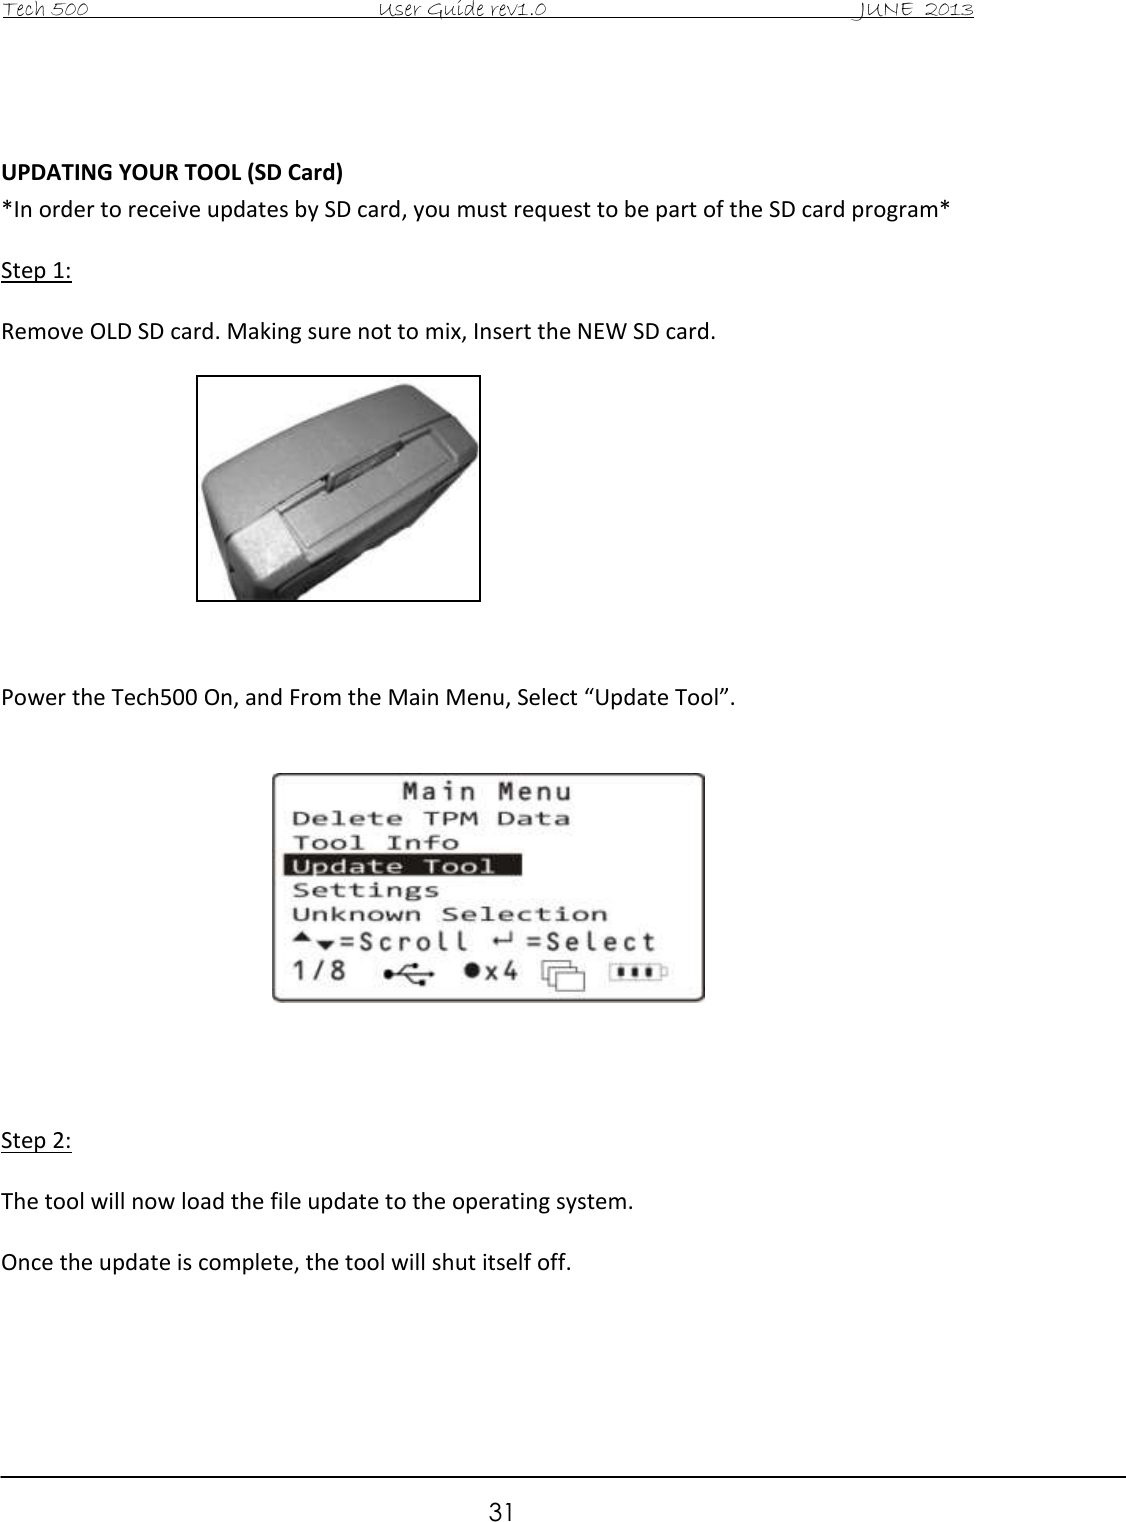
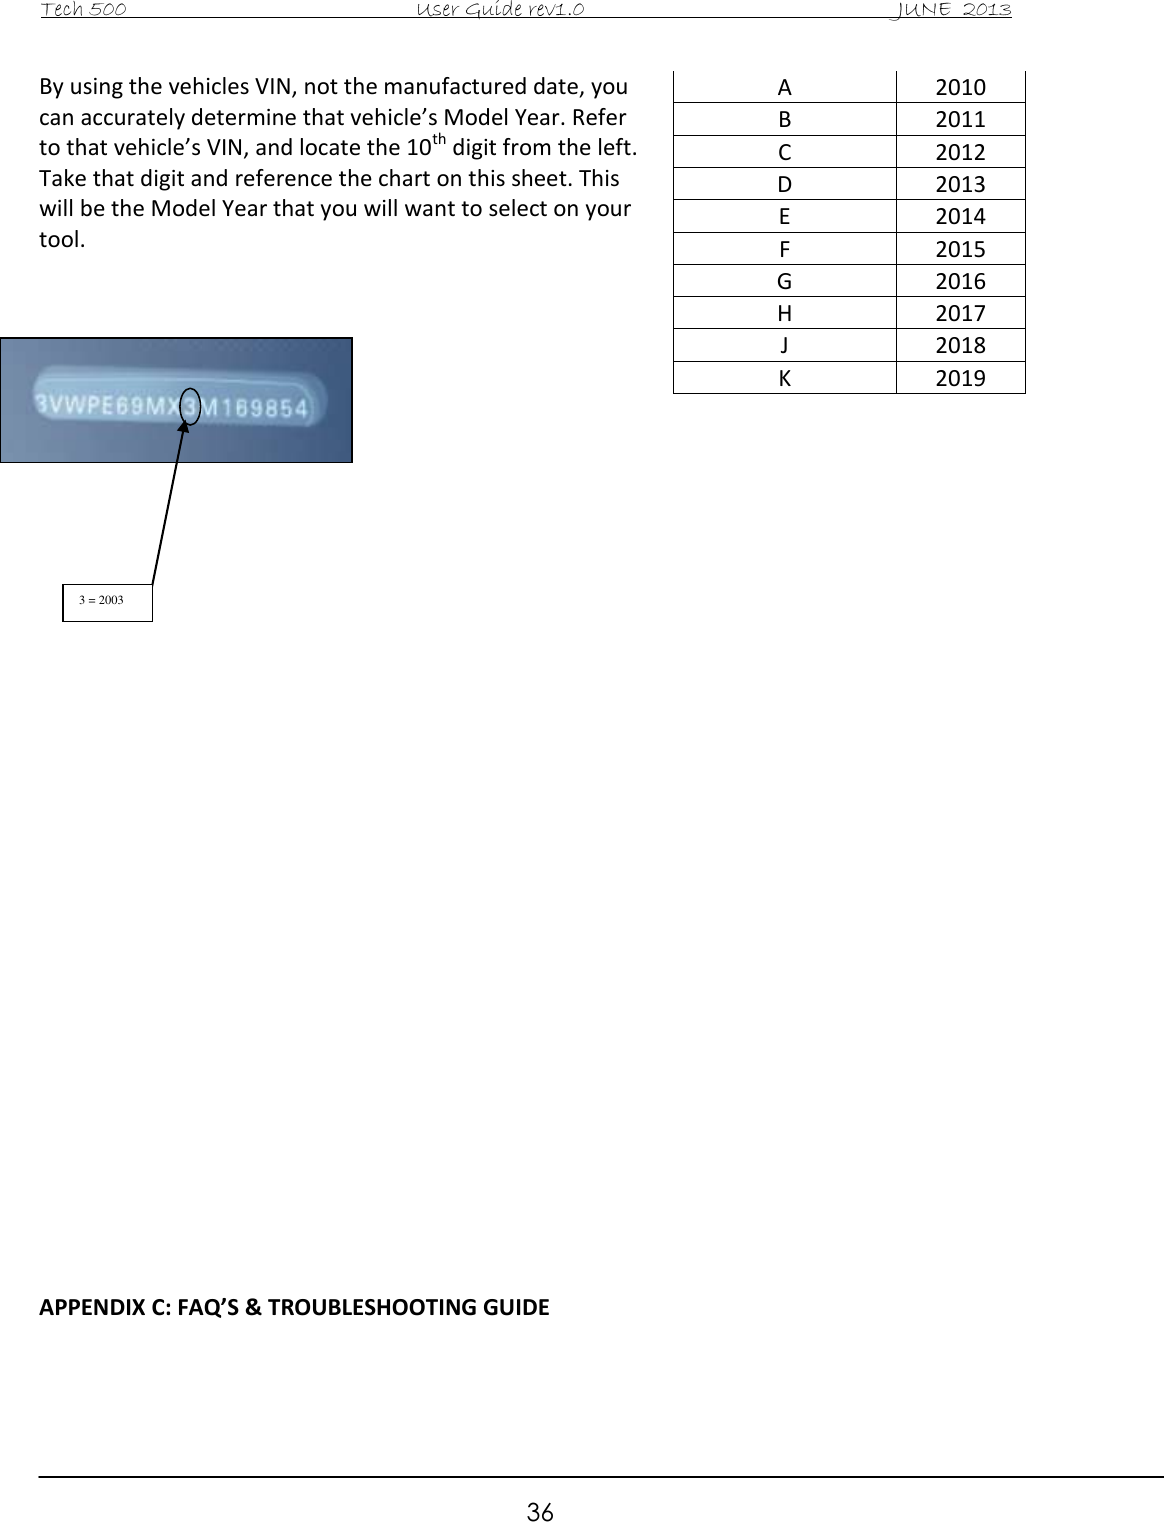
![Tech 500 User Guide rev1.0 JUNE 2013 2 INCLUDED IN Tech500 KIT: Tech500 TPMS Tool [with protective Boot] SD Card [in the tool] Power Supply Re-Learn Magnet USB Cable DB15 to OBDII Cable Tech500 Quick Start Guide Tech500 User Guide Kit CD IMPORTANT NOTICES All specifications, illustrations and information contained within this manual are based on the most current information available at the time of publication. BartecUSA reserves the right to make changes at any time without obligation to notify any person or organization. BartecUSA will do its best to keep you the customer informed of any changes that might affect the tools performance. FCC Compliance Model: DSW FCC ID: SX8T500 IC: 5736A-T500 Contains FCC ID: QOQWT12 IC: 5123A-BGTWT12A Contains FCCID: YOPGS1011MIP IC: 9154A-GS1011MIP This device complies with Part 15 of the FCC Rules and with Industry Canada license-exempt RSS standard(s). Operation is subject to the following two conditions: (1) This device may not cause harmful interference, and (2) This device must accept any interference received, including interference that may cause undesired operation. Le présent appareil est conforme aux CNR d'Industrie Canada applicables aux appareils radio exempts de licence. L'exploitation est autorisée aux deux conditions suivantes : (1) l'appareil ne doit pas produire de brouillage, et (2)](https://usermanual.wiki/Bartec-USA/T500/User-Guide-2011882-Page-2.png)