Behavior Tech Computer MSM857C Mouse User Manual v 1 0
Behavior Tech Computer Corporation Mouse v 1 0
User Manual
M
M8
85
57
7C
C
O
Op
pt
ti
ic
ca
al
l
M
Mo
ou
us
se
e
Q
Qu
ui
ic
ck
k
I
In
ns
st
ta
al
ll
la
at
ti
io
on
n
G
Gu
ui
id
de
e
Congratulations on your purchasing this exciting optical mouse. This multi-function optical mouse is with
great features, wheel for quick scrolling and optical sensor for preventing from the interference caused by dust.
All those human-oriented characteristics make you feel more comfortable and efficient while surfing on the
website or using applications. After the KeyMaestro driver installed, you will have seven extra functions to
select for buttons, Quick Jump, Double Click, Window Zoom, Switch AP, Auto Panning, Back and Forward.
Moreover, the Quick Jump button is bonded with most often-used functions, Mouse Control Panel, Control
Panel, Horizontal Scroll Bar, Vertical Scroll Bar, Minimize All Windows, Size Grip, Windows Explorer,
Recall the Last Active Window and Exit. Please install the KeyMaestro Input Device driver to find more great
functions!
System Requirements
Ø Microsoft® Windows® NT 4.0, Windows® 95, Windows® 98, Windows® ME, Windows® 2000 or
Windows® XP operating system
Note: For Windows NT 4.0, Windows 95 operating system users or users with a system with a PS/2 port, please
use USB-PS/2 adapter (enclosed in the package) to connect the mouse.
Hardware Installation
Connect the Mouse to Your PC System
1. Turn off your PC system. Remember to turn off your PC system before you connect or disconnect the
mouse unless you use a USB device in Windows 98, Windows 2000, Windows ME or Windows XP.
2. For the USB port system, connect the mouse to the USB port on your PC system.
3. For the PS/2 port system, you will find a USB to PS/2 6-pin adapter is attached. This adapter helps
you a lot on solving the USB to PS/2 port issue.
4. Turn on your PC system.
Software Installation
1. Insert the disk labelled “KeyMaestro Input Device Driver” into your disk drive.
2. Open File Explorer to find “Setup.exe” from the disk.
3. Double-click the “Setup.exe”.
4. Then follow the instruction on the screen to install the driver. The default install path is set to
c:\MMaestro. You have the option to change the install path during set -up.
5. Set up will indicate when installation has successfully completed. The driver is loaded when you see the
driver icon in the system tray (lower right corner of the screen). The operat ing system needs to
restart.
Note : Before installing the KeyMaestro input device driver for USB optical mouse, you have to make sure
that the USB device driver has been installed and the USB optical mouse is recognized by Windows
operating system. You may press any button to see if it is correspondently, and thus to know the
mouse works well.
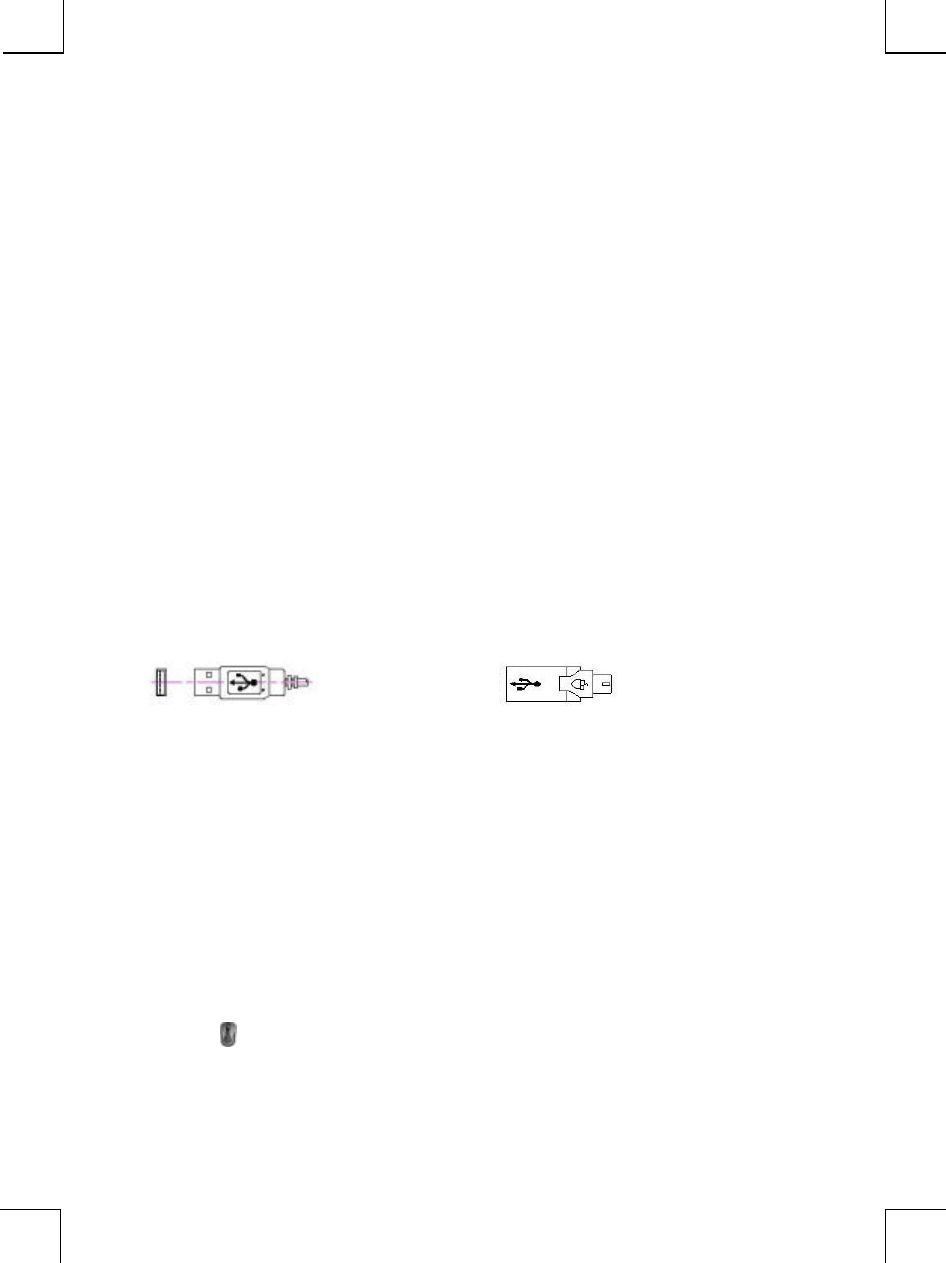
USB Mouse Port Combo Adapter
(USB to PS2 Mouse Port)

Battery Low Alarm
After installing the KeyMaestro Input Device Driver, computer will display a battery low icon on the
upper-right corner of your screen and flash for 10 seconds to indicate low batteries when the batteries are low
in the unit.
Important
1. This optical mouse uses light to sense movement. It cannot work on a glass, translucent or reflective
surface.
2. Use the mouse only on a clean, flat, non-slippery, opaque surface in order to ensure smooth and
accurate cursor action. If you use a mouse-pad, choose a light -colored one, not a dark one.
FCC GUIDELINES
This equipment has been tested and found to comply with the limits for a Class B digital device, pursuant to
Part 15 of the FCC Rules. These limits are designed to provide reasonable protection against harmful
interference in a residential installation. This equipment generates, uses and can radiate radio frequency energy
and, if not installed and used in accordance with the instructions may cause harmful interference to radio
communications. However, there is no guarantee that interference will not occur in a particular installation. If
this equipment does cause harmful interference to radio or television reception, which can be determined by
turning the equipment off and on, the user is encouraged to try to correct the interference by one or more of
the following measures:
w Reorient or relocate the receiving antenna
w Increase the separation between the equipment and receiver
w Connect the equipment into an outlet on a circuit different from that to which the receiver is connected.
w Consult the dealer or an experienced radio/TV technician for help.
w Use only shielded cables to connect I/O devices to this equipment.
This device complies with Part 15 of the FCC Rules. Operation is subject to the following two conditions: (1)
This device may not cause harmful interference. (2) This device must accept any interference received,
including interference that may cause undesired operation.
Information to User:
F Any changes or modifications not expressly approved by the party responsible for compliance could void
the user’s authority to operate this equipment. Shielded interface cable, if any, must be used in order to
comply with emission limits.
IBM AT and PS/2 are registered trademarks of International Business Machines Corporation.
Microsoft and Windows are registered trademarks of Microsoft Corporation in the United States and/or
other countries.
All other trademarks are trademarks of their respective holders.