Belkin F5D7231C Wireless G Plus Router User Manual 07 366 DX WEGRTR combined
Belkin International, Inc. Wireless G Plus Router 07 366 DX WEGRTR combined
UserManual.wiki
>
Belkin
>
F5D7231C User Manual
>
user manual prod 1 part 1
Contents
1.
user manual prod 1 part 1
2.
user manual prod 1 part 2
3.
user manual prod 1 part 3
4.
user manual prod 1 part 4
5.
user manual prod 1 part 5
6.
user manual prod 1 part 6
7.
user manual prod 2 part 1
8.
user manual prod 2 part 2
user manual prod 1 part 1
Navigation menu
Upload a User Manual
Namespaces
Wiki Guide
HTML
PDF
Info
Views
User Manual
Discussion / Help
Navigation

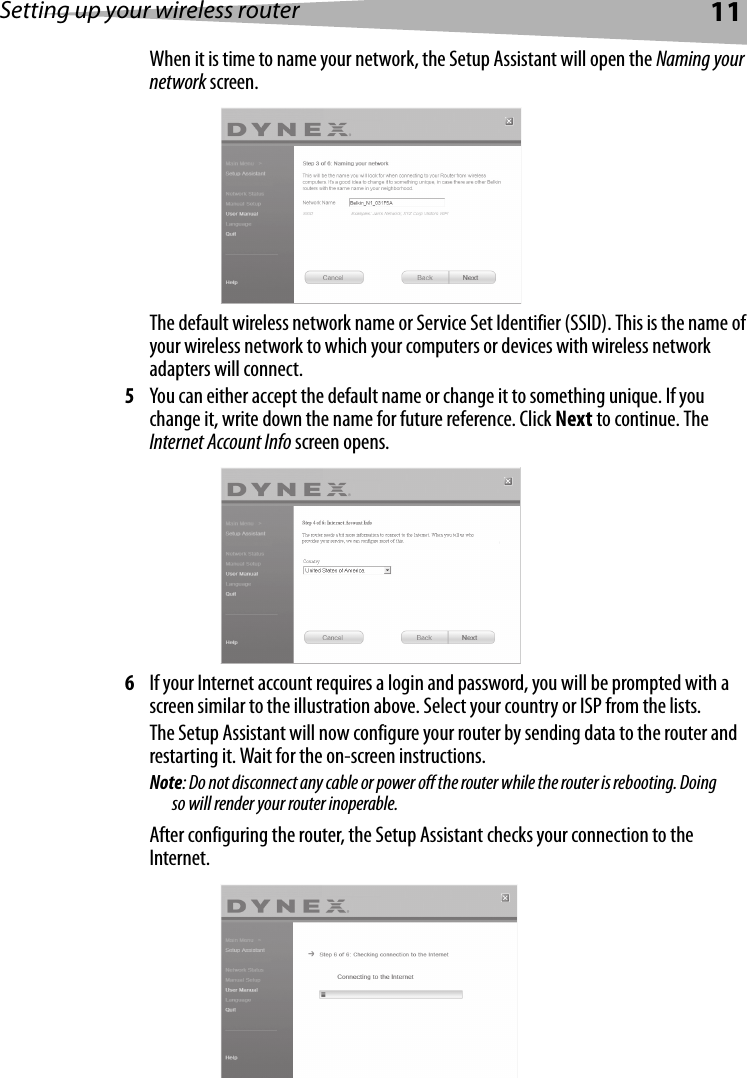
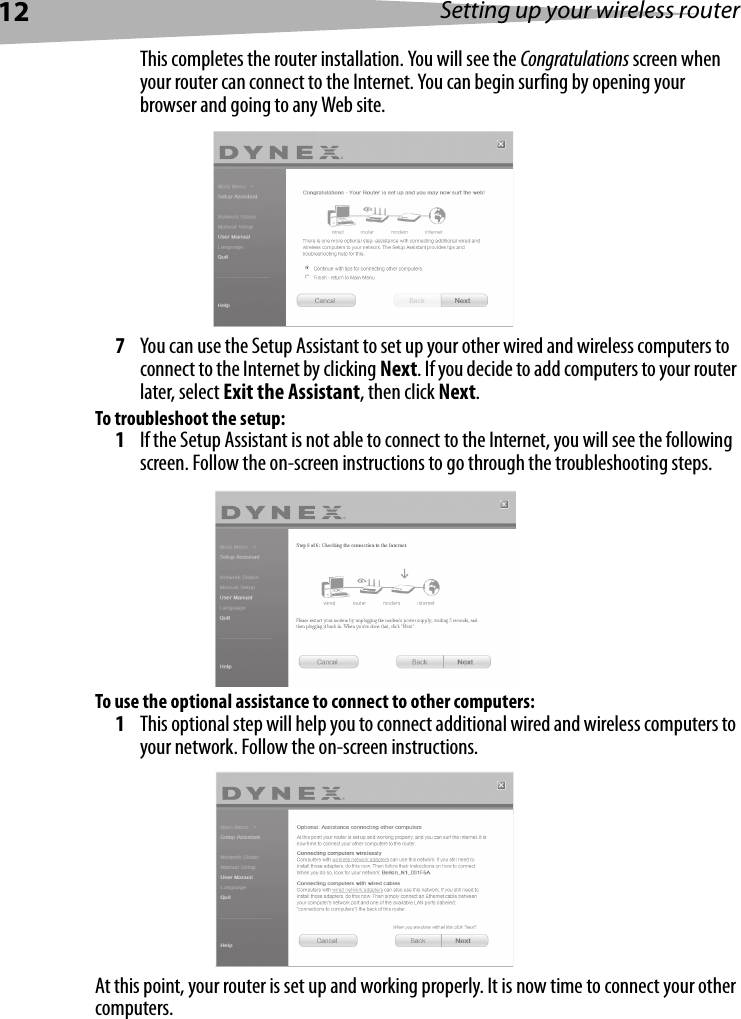
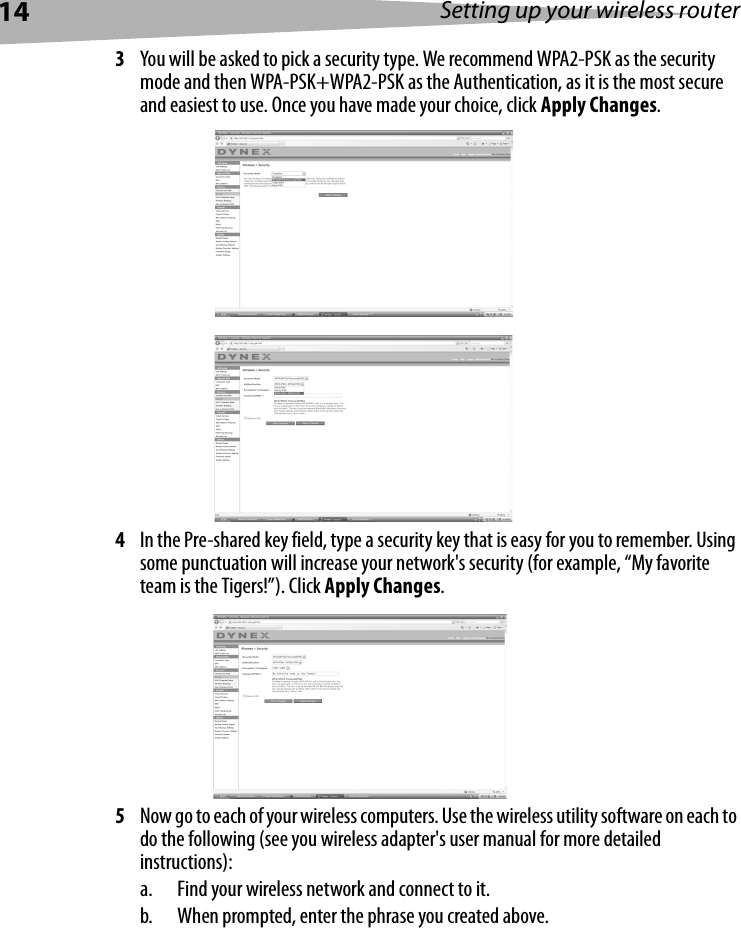
![Setting up your wireless router13Connecting computers wirelesslyComputers with wireless network adapters can use this network. If you still need to install those adapters, do this now. Then follow their instructions on how to connect. When you do so, look for your network: John's Home Wi-Fi. Connecting computers with wired cables Computers with wired network adapters can use this network. If you still need to install those adapters, do this now. Then simply connect an Ethernet cable between your computer's network port and one of the available LAN ports (labeled connections to computers) on the back of this router.]Once you have verified that your other wired and wireless computers are properly connected, your network is set up and working. You can now surf the Internet. Click Next to take you back to the main menu.Wireless Security SetupBe sure to complete the basic setup of your router before setting up security. Make sure that all of your computers (wired and wireless) can successfully connect to the Internet through your router.To set up security:1On a computer that has a wired (cable) connection to the router, open up a web browser. In the address field, type 192.168.2.1 (or the IP address you customized), then click Enter.2In the menu at left, go to the wireless section and click Security.If asked to log in, enter your password or, if you have not yet set a custom password, leave this field blank. Then click, Submit.](https://usermanual.wiki/Belkin/F5D7231C.user-manual-prod-1-part-1/User-Guide-852599-Page-13.png)