Belkin F8E815MSE RF Wireless Mouse User Manual F8E815 MSEUserMan
Belkin International, Inc. RF Wireless Mouse F8E815 MSEUserMan
Belkin >
users manual
Belkin
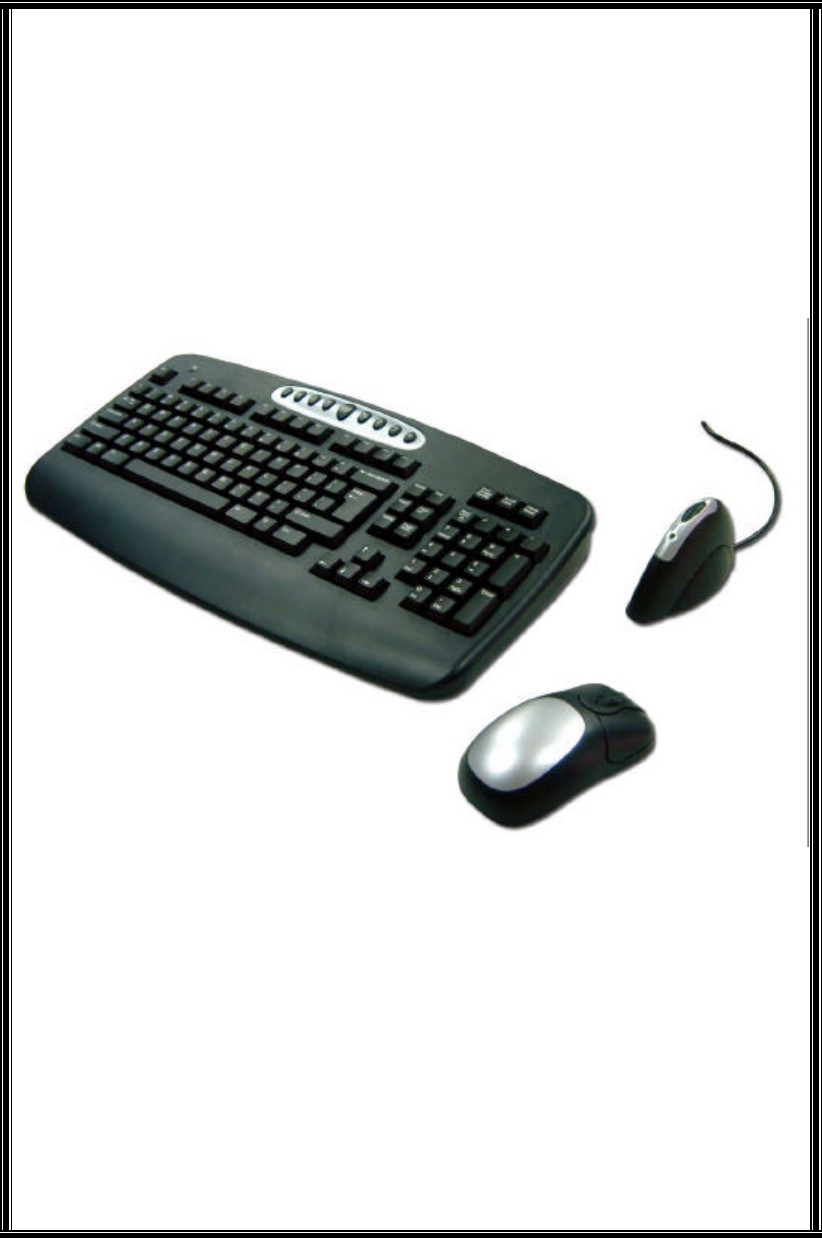
Wireless Desktop
User Manual
FCC ID: K7SF8E815MSE
P/N:F8E815-BNDL

Belkin Components RF Keyboard and Mouse Combo
I. Installation of the hardware
1. First make sure the computer is turned off.
2. Connect the receiver to your computer. The receiver has a two head connector
for the Keyboard and Mouse connections. Purple is for Keyboard and Green is
for mouse. They also have pictures on the top to identify them. Please make
sure you put them in the correct ports on your computer. Your computer should
either have the same color scheme or there will be a picture next to the plug to
identify it.
3. Next install the batteries into your Keyboard and Mouse. Now you may turn
your computer on.
4. The receiver was set by the factory to automatically scan for the Keyboard and
mouse once the computer is turned on. So you should not have to do anything
more to get the Keyboard and Mouse to work.
5. If it does not work automatically here are some things to check
• If the Keyboard and/or mouse are not working, make sure that you see
the light on both start blinking when you push any of the buttons or
move the mouse. Note: if you do not get any lights flashing then you
should check to make sure you have the batteries in correctly or may be
they are bad (try replacing them).
• Also check to see if when the light flashes on the keyboard and mouse
that it also makes the light on the receiver flash too. If there is no
response on the receiver, then that means they are not connecting. Push
the reset button on the receiver. Then within 5 seconds push the reset
button on the mouse or keyboard. Note: if you have to do this for both
keyboard and mouse, do them separately.
Figure’s 1 through 3 show where the reset button and the battery
compartment are located at.
Below is the installation procedure step by step and you can also refer to the label
on the back of keyboard to install the devices correctly when they are not working.
II. Software installation.
l Warning: If you have previously installed other keyboard or mouse drivers on
your PC, please uninstall them first.
Note: Make sure the Keyboard and Mouse is functioning correct before
you continue with the Software installation. The software does not get the
Keyboard and mouse working. It only adds extra features.
1. Make sure the computer is on
2. Insert the CD into the computer.
3. The First screen that comes up tells you to remove any software that may
still be install from another Keyboard and/or mouse that you may have had
before this one. You should do this before continuing the install.
4. If there is no other software installed, click ok and the installation will start.
Click next through the install.
5. Once the install is finished. It is going to ask you to restart. If you wish to
use the software right away, then you will need to restart at this time.
6. When the computer come back after the restart, then your software is fully
installed.
III. How the software works
Here is what the software can do.
Mouse: By right clicking on the mouse icon in your system tray to the bottom right
of your screen, you will be able to access this. This icon is a shortcut to your mouse
properties.
1. First option is to hide the icon so that it does not show up by your time
anymore. If you do this, then you will have to get to the mouse properties
by going to the Control Panel and open your mouse properties. If you want
to bring it back to your time, go to programs then Wireless device and click
on “Show Wireless Mouse Icon”
2. The second option is “Set Mouse Properties”. This screen will bring up your
mouse properties mentioned early. These will be features that your
operating system supplies by default. We only supply the short cut to it off
your task bar.
3. Third option is About and it just tells you the version of the software.
Keyboard: By right clicking on the Keyboard icon in your system tray to the bottom
right of your screen, you will be able to access this.
1. First option is to hide the icon so that it does not show up by your time
anymore. If you want to bring it back to your time, go to programs then
Wireless device and click on “Show Wireless Keyboard Icon”.
2. The second icon is the time out settings for the for OSD that the software
supplies. When you push any of the Hot key button on the Keyboard, it will
pop up the OSD that tells you what you pushed. The highest it goes is 5
seconds.
3. Third option is About and it just tells you the version of the software
Wireless keyboard and wireless mouse are the new type of input devices for the consumers.
Most of the consumers still keep the way of using the traditional wired keyboard and
mouse on the wireless products. Therefore, the consumers do not have enough knowledge
with “Channel” and “Linking” idea.
A good product should be easily use and not to educate how to use. From the start point of
decrease the problem of “Channel” and “Linking” or decrease the conflict of interference in
multi-users environment. One Channel with Multi-IDs will be the perfect reception of
price and function.
System Requirement:
A. IBM PC Compatible
B. Available PS/2 Keyboard Port And Mouse Port
C. CD or DVD-ROM Drive
D. Microsoft Windows 95, 98, NT 4.0, ME, 2000, XP Operating System
Basic Specification:
Keyboard:
1. 1 Channel (With Multi Task, Paten’s Patent) R
2. Security ID: 256 Sets
3. Cordless Technology: Radio Frequency (TDMA technology)
4. Carry Frequency: 27.095MHZ
5. Modulation Mode : FSK (Frequency Shift Key)
6. Transfer Rate: 10 kbps
7. Input Power: 3VDC (2*AAA)
8. Power Consumption: 10 mA
9. RF Power: 500uv/m at 3m
10. Switch Activation Mechanism: Membrane
11. Indicator LED: 1 LED (Red, Blinking)
12. Operation Switch: 1 Link Switch (Tact switch)
13. Effective Distance: 2 M
14. Battery Life: 6 Months
Mouse:
1. Channel (With Multi Task, Paten’s Patent)
2. Security ID: 256 Sets
3. Cordless Technology: Radio Frequency (TDMA technology)
4. Carry Frequency: 27.095MHZ
5. Modulation: FSK (Frequency Shift Key)
6. Transfer Rate: 10 kbps
7. Input Power: 3VDC (2*AAA)
8. Rated Output Power Level (Max): 8 mA
9. RF Power: 500uv/m at 3m
10. Buttons: 2 Buttons, Scroll Button(3-Button Type)
11. Encoder Technology: Opto-Mechanical
12. Resolution: 400 DPI
l Belkin RF Wireless Keyboard And Mouse Specification Description:

13. Indicator LED: 1 LED (Red, Blinking)
14. Operation Switch: 1 Link Switch (Tact switch)
15. Effective Distance: 1.5 M
16. Battery Life: 4 Months
Receiver:
1. Interface: PS/2
2. Connector: One For Keyboard / One For Mouse
3. Receiver Sensitivity: -90dbm
4. Indicator LED: 1 Lens Activation (Mouse/Keyboard)
5. Operation Switch: 1 Micro Switch
6. PS/2 Cable Length: 115 CM
FEDERAL COMMUNICATIONS
This device complies with Part 15 of the FCC Rules. Operation is subject to the
following two conditions:(1) this device may not cause harmful interference, and (2)
this device must accept any interference received, including interference that may
cause undesired operation.
Note
This equipment has been tested and found to comply with the limits for a Class B
digital device, pursuant to Part 15 of the FCC Rules. These limits are designed to
provide reasonable protection. This equipment generates, uses and can radiated
radio frequency energy and, if not installed and used in accordance with the
instructions, may cause harmful interference to radio communications. However,
there is no guarantee that interference will not occur in a particular installation If
this equipment does cause harmful interference to radio or television reception,
which can be determined by turning the equipment off and on, the user is
encouraged to try to correct the interference by one or more of the following
measures:
-Reorient or relocate the receiving antenna.
-Increase the separation between the equipment and receiver.
-Connect the equipment into an outlet on a circuit different from that to which the
receiver is connected.
-Consult the dealer or an experienced radio/TV technician for help.
Shielded interface cables must be used in order to comply with emission limits.
Changes or modifications not expressly approved by the party responsible for
compliance could void the user's authority to operate the equipment.