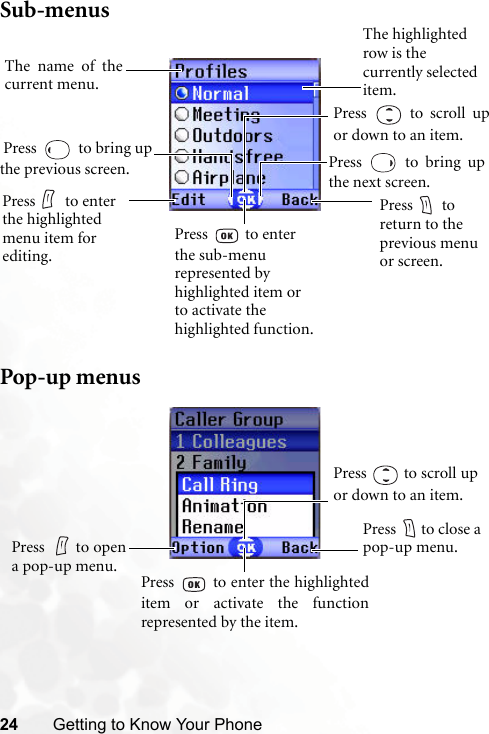
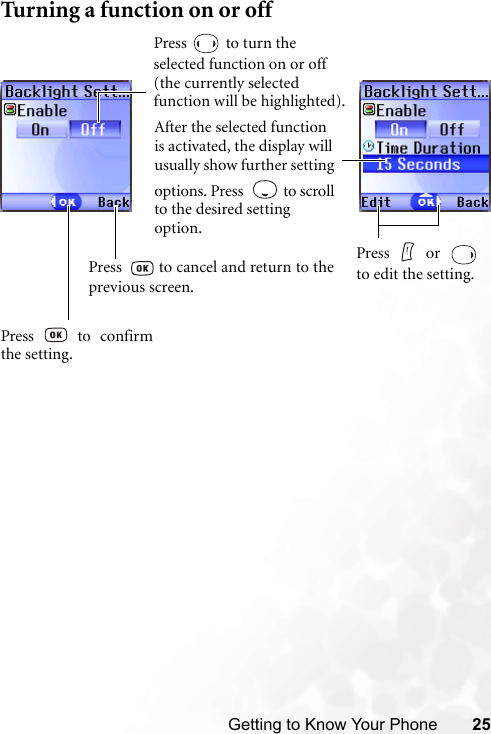
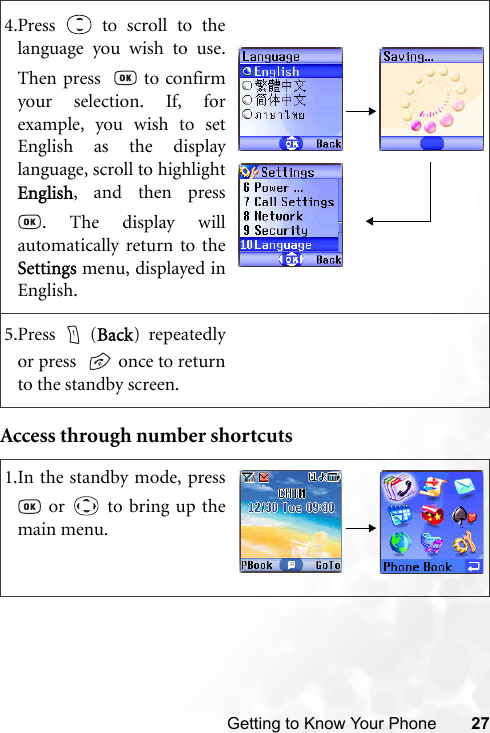
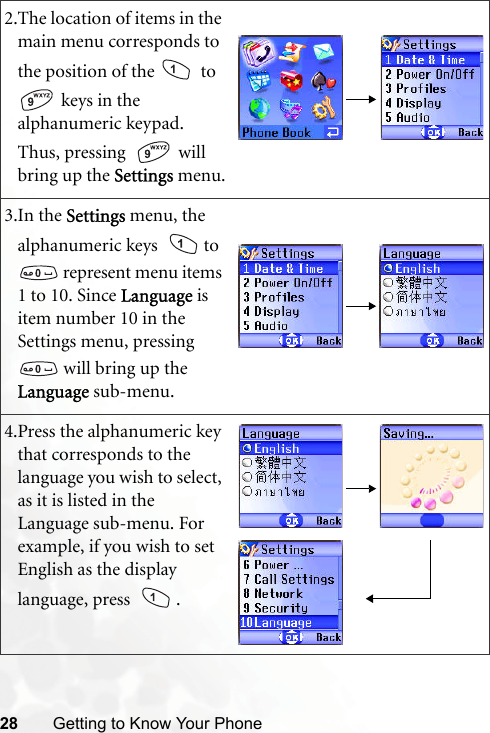
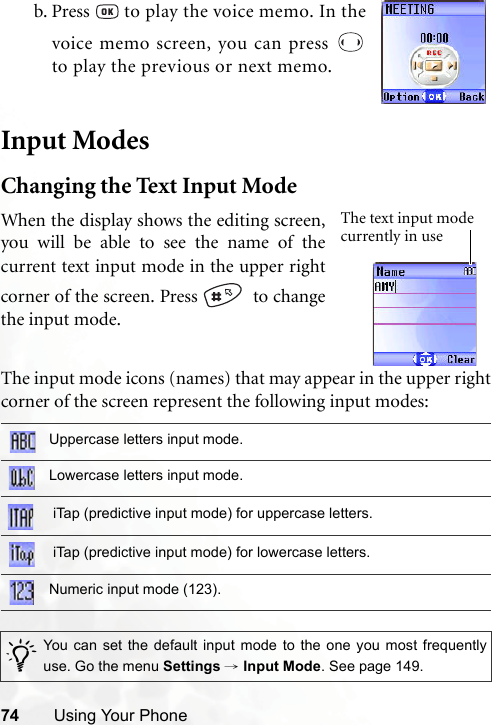
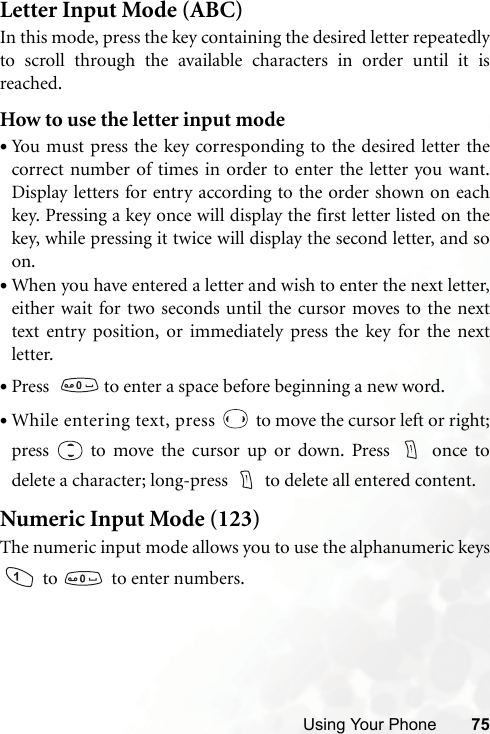
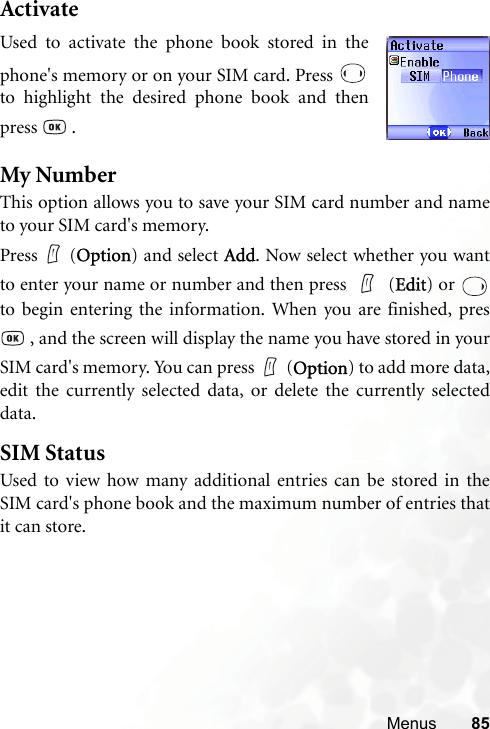
Benq 56D92 Model S660C Single Band GSM Mobile Phone User Manual S660C TC EN
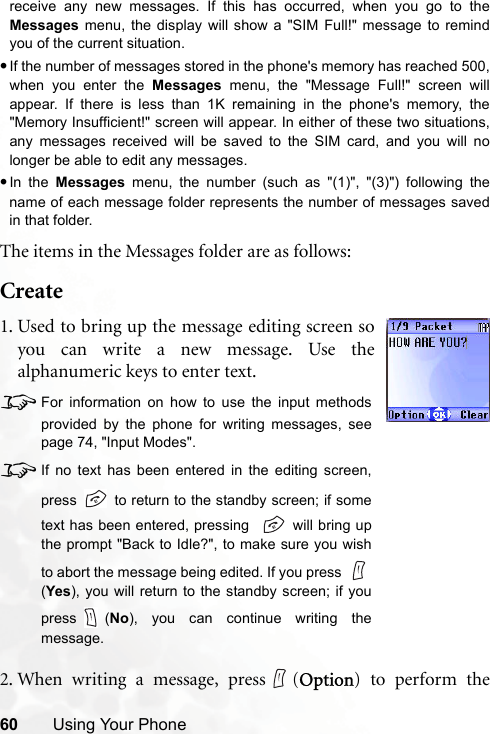
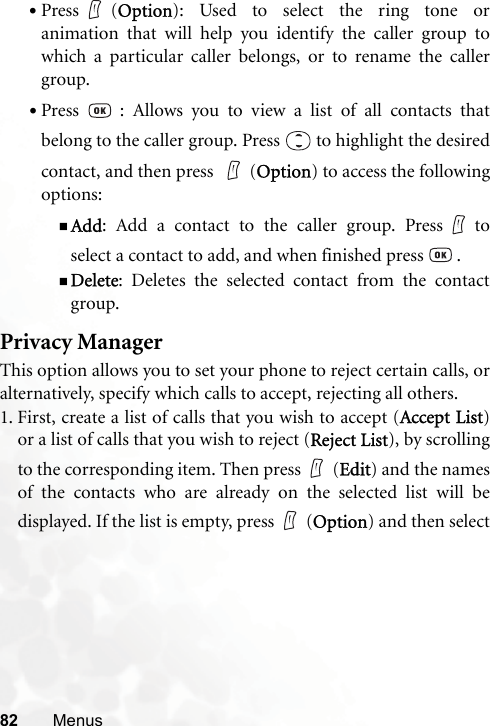
Benq Corporation Model S660C Single Band GSM Mobile Phone S660C TC EN
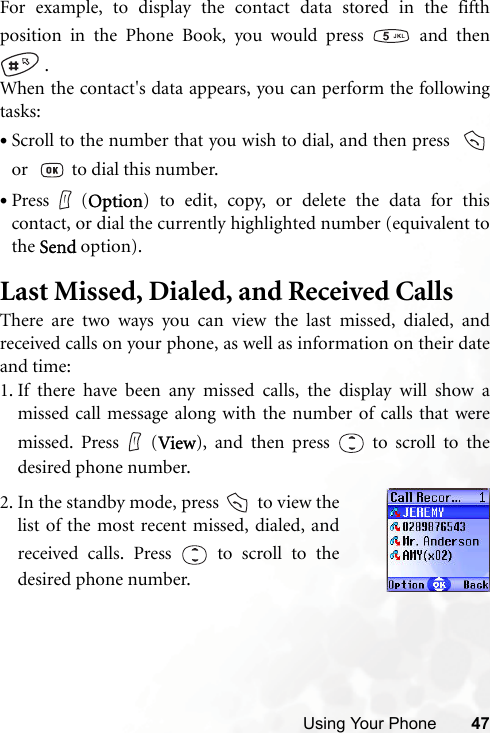
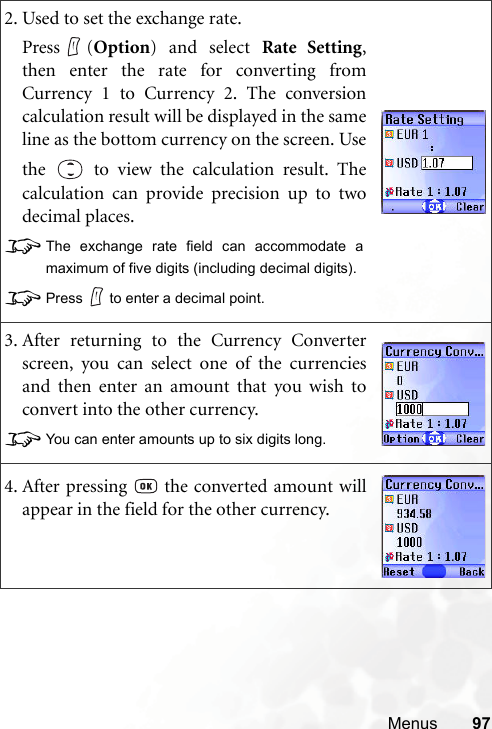
UserManual.wiki
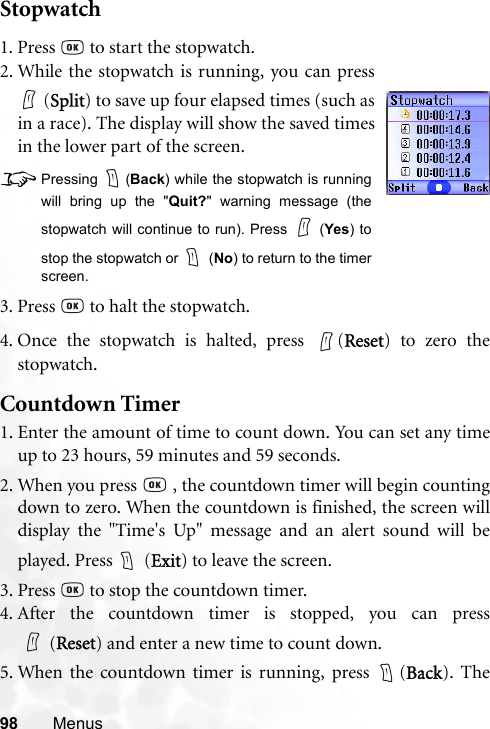
>
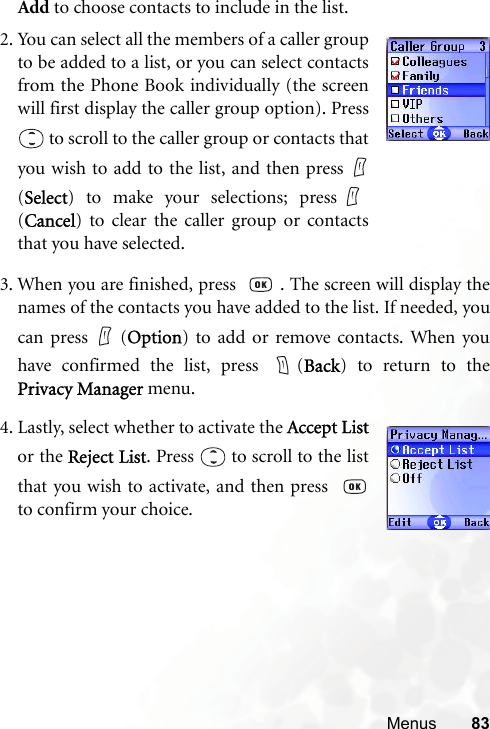
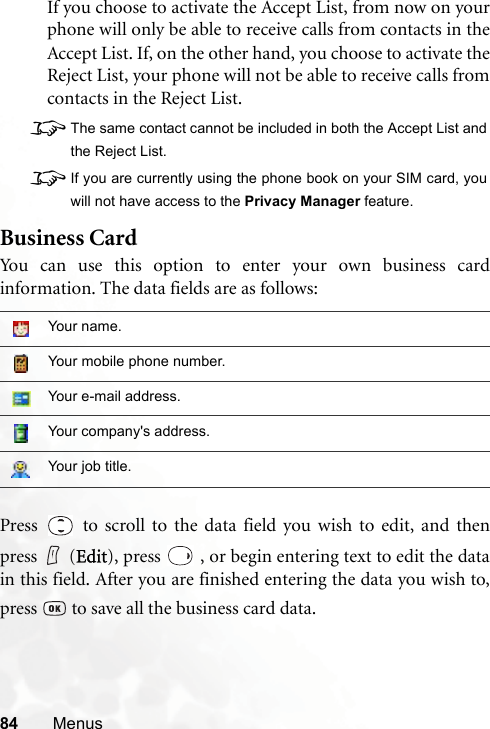
Benq
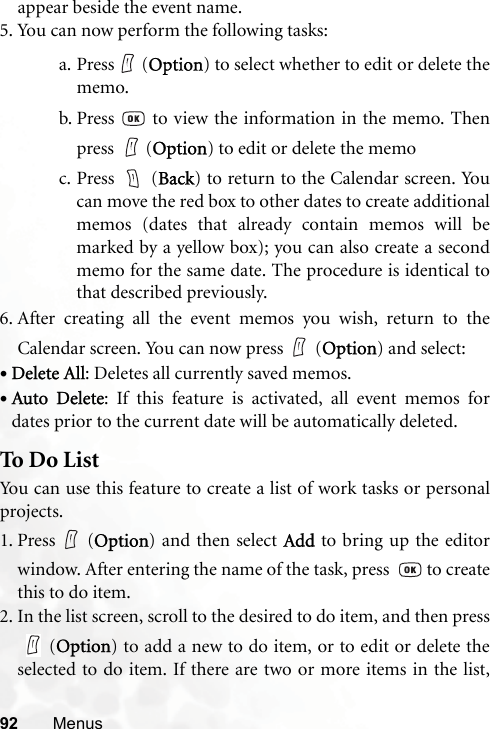
>
56D92 User Manual
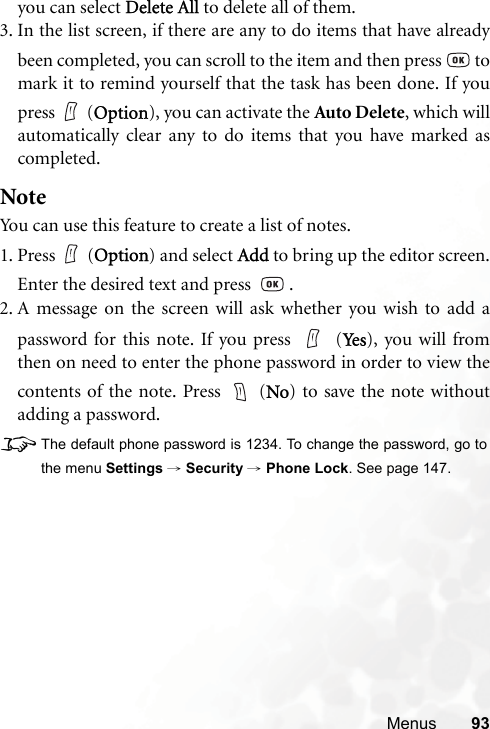
Manual Rev 3
Navigation menu
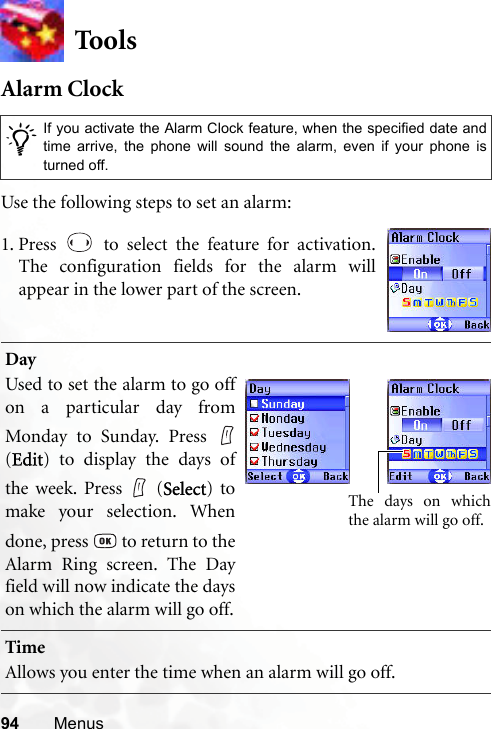
Upload a User Manual
Namespaces
Wiki Guide
HTML
PDF
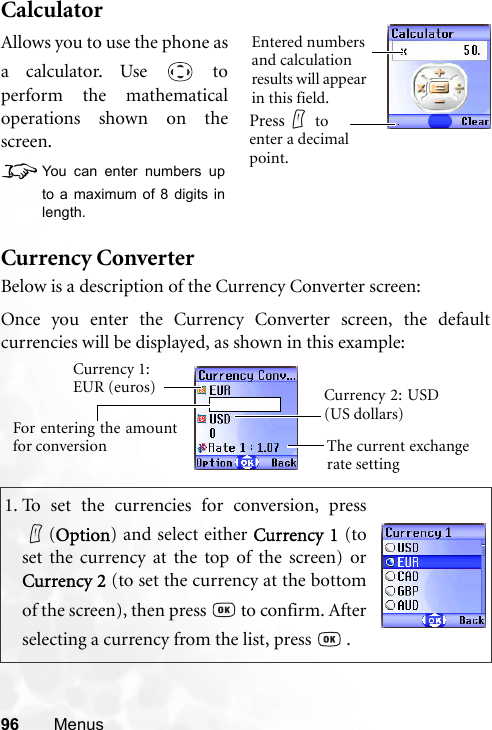
Info
Views
User Manual
Discussion / Help
Navigation