Benton Technology OX7HD Tablet PC User Manual Uer08
Benton Technology Company Limited Tablet PC Uer08
USERS MANUAL

User Manual
1. appearance and button:
1.1 Touch panel
7” Capacitive touch panel: In The Operation, to click, drag on the touch panel
1.2 POWER
Start up: Long Press and hold the power button, the system will enter the main
interface
shut down: In the main menu interface, Press the power button about 5
seconds to shut down. The system will hint "power off" option, Click ”ok”. You
can safely shut it down.
Lock screen: Short press power button to lock screen or unlock screen.
Remarks:
a. When power is used, system will shut down automatically.
b. Illegally turn off the device, restart will scan and restore the disk. It may
take longer time to enter into system
1.3 DC port
Charging through DC charger
1.4 Micro USB
Micro USB jack: you can use it to connect the computer for data transmission,
and external connection USB flash drive through OTG cable.
Remarks:

For PD-757, it can’t be charged through micro USB port.
1.5 earphone jack
3.5 mm standard earphone jack
1.6 Volume +, Volume-
The buttons Volume +, Volume- achieve changes in the volume.
1.7 TF card
TF-CARD slot: external T-FLASH card
1.8 Camera
There are front camera and rear camera for PD-757 to take photos.
2. First use
2.1 Battery management and charge
Before first use, please make sure the device is fully charged. If not, just need
to connect the DC adaptor, then you can charge
The first two times please keep charging about 6 hours, after that you just
need to charge 4 hours.
【Remarks】: This tablet has built-in polymer battery. Charge must choose
standard adaptor (Input: AC110~240V 50/60Hz Max: 180MA. Output:
DC5.0~5.5V/1.5-2A)
During the charging, the battery icon will scroll
When finish charging, battery icon will become green and stop rolling
In order to prolong the service life of the machine, you are advised to use up
the battery power before charging it.
【Remarks】:
a. If you don’t to use this Tablet for long time, in order to avoid no power
damage, please charge/play the device once a month.
b. After shut down for low battery, connect DC adaptor, device will remind low
battery, need to wait some time until the battery is enough power to enter into
main menu.
c. Device charging should be in standby status for normal charging time.
Because with device and screen power consumption, it may cause longer
charging time.
2.2 Connection with PC
Use USB cable to connect device to PC. The unit is a “generic USB Device”
and does not need any extra software drivers to connect to your PC. After your
PC has recognized the unit, you will see a message on the bottom of your
PC screen to inform you. (If your PC warns: Drivers not installed, ignore this)
To complete the connection, you need to reveal the Notifications Screen on
the unit. To do this,
select the top left portion of the screen
Now you will see the notification menu similar to this:-
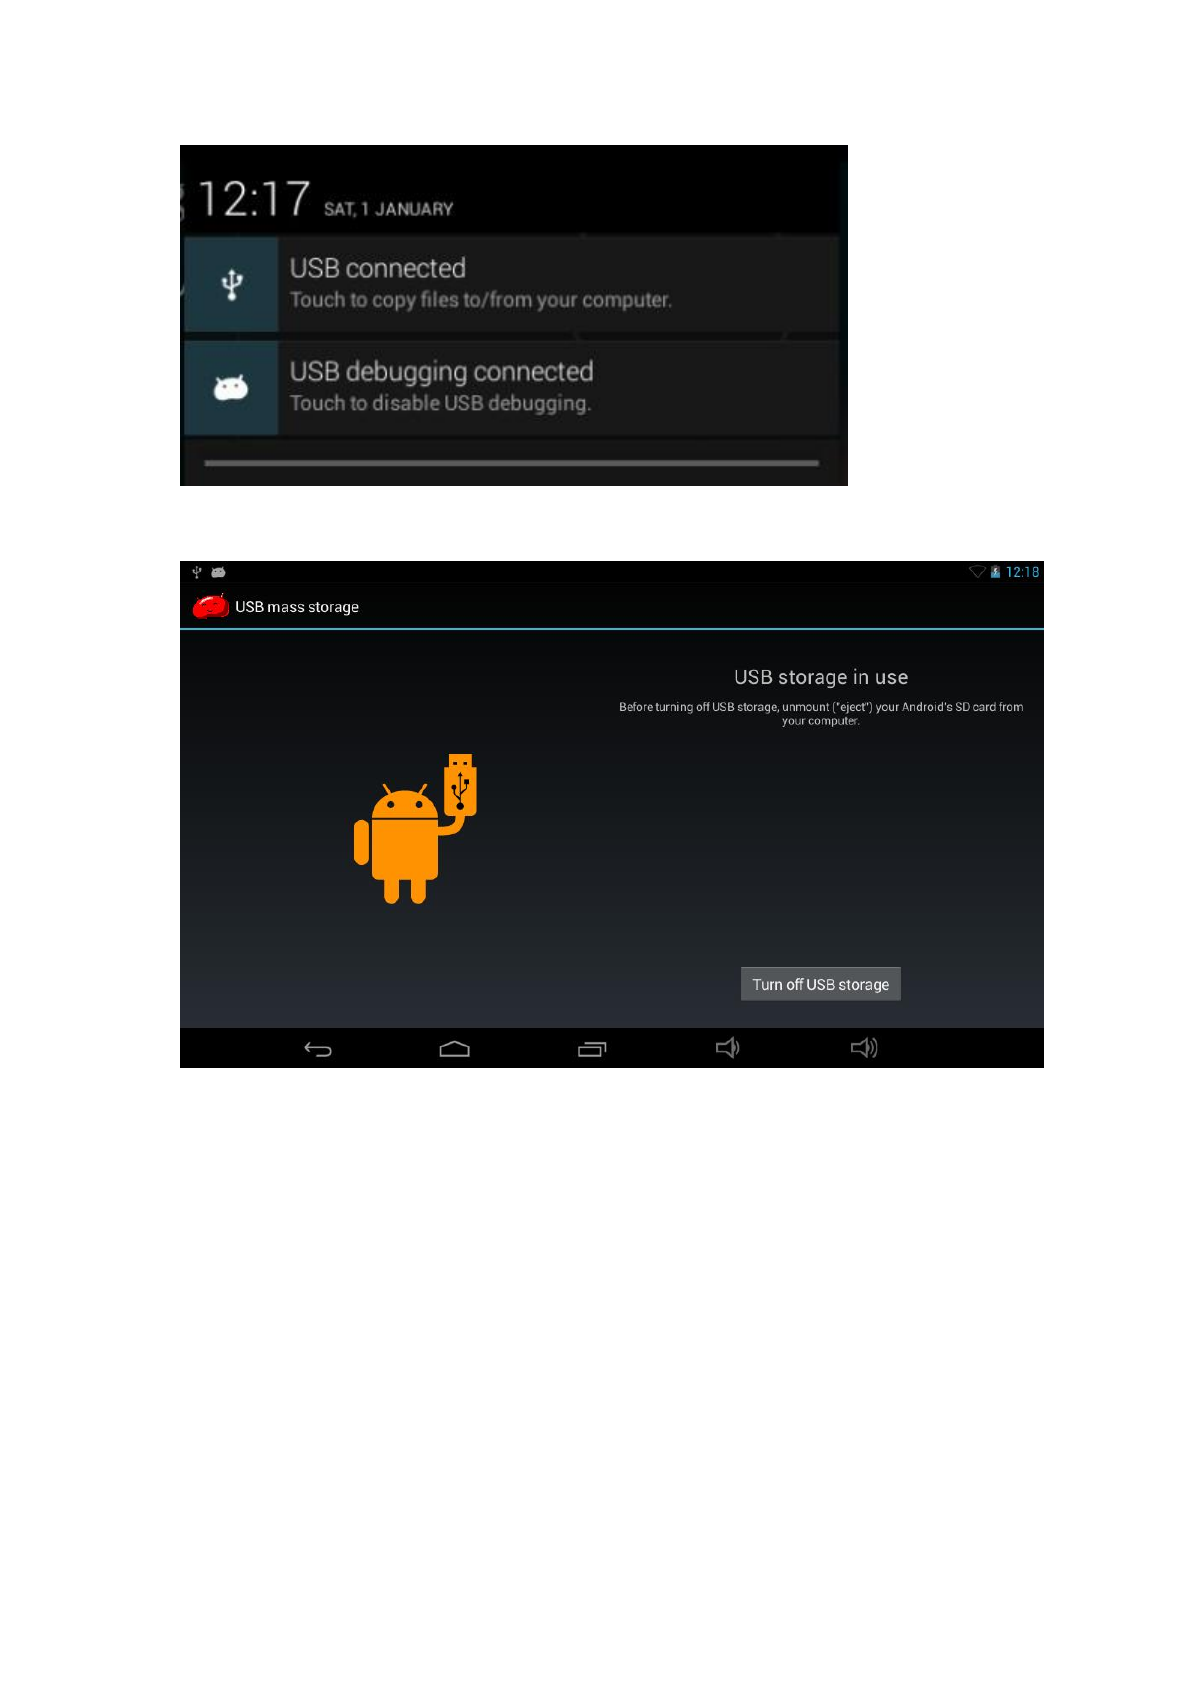
Select USB connected.
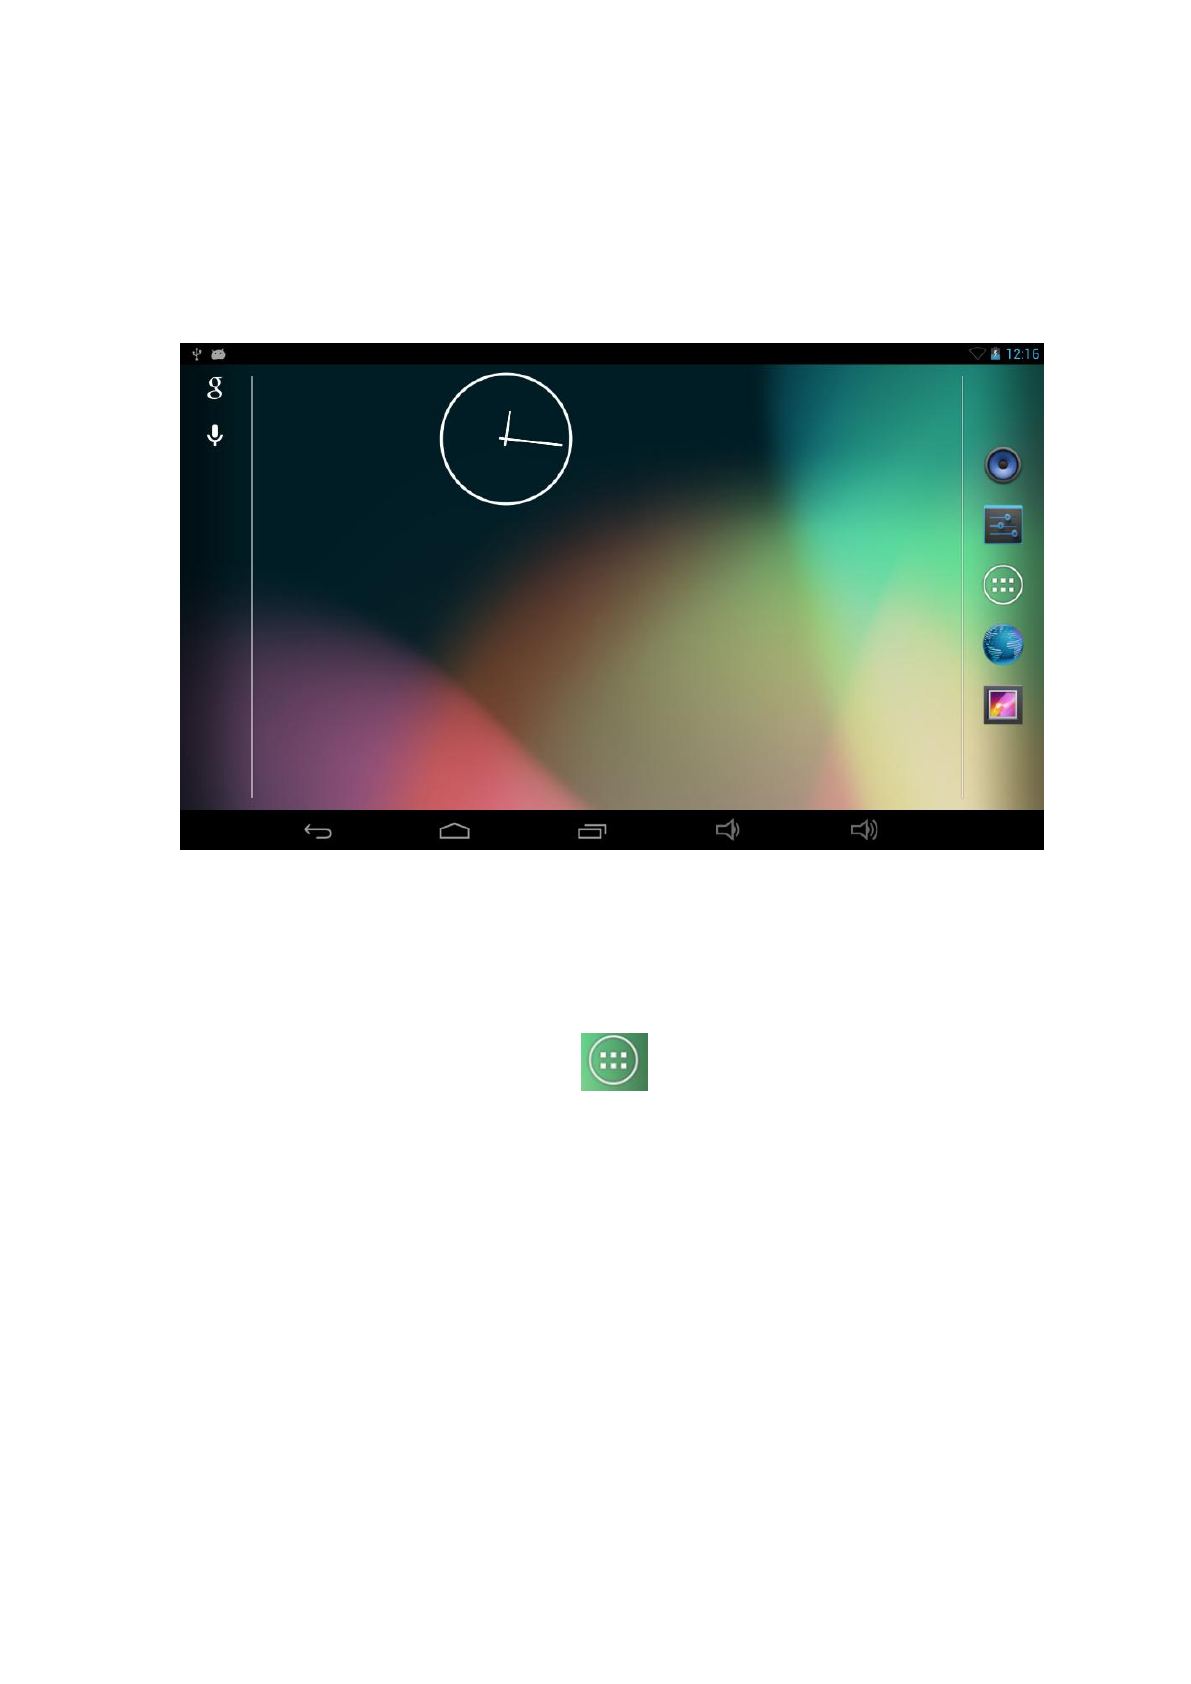
You will then see this screen:
Select Turn on USB storage.
In the load mode, you can copy, delete the file on the device and the file on the
memory card.
3. Equipment operation interface
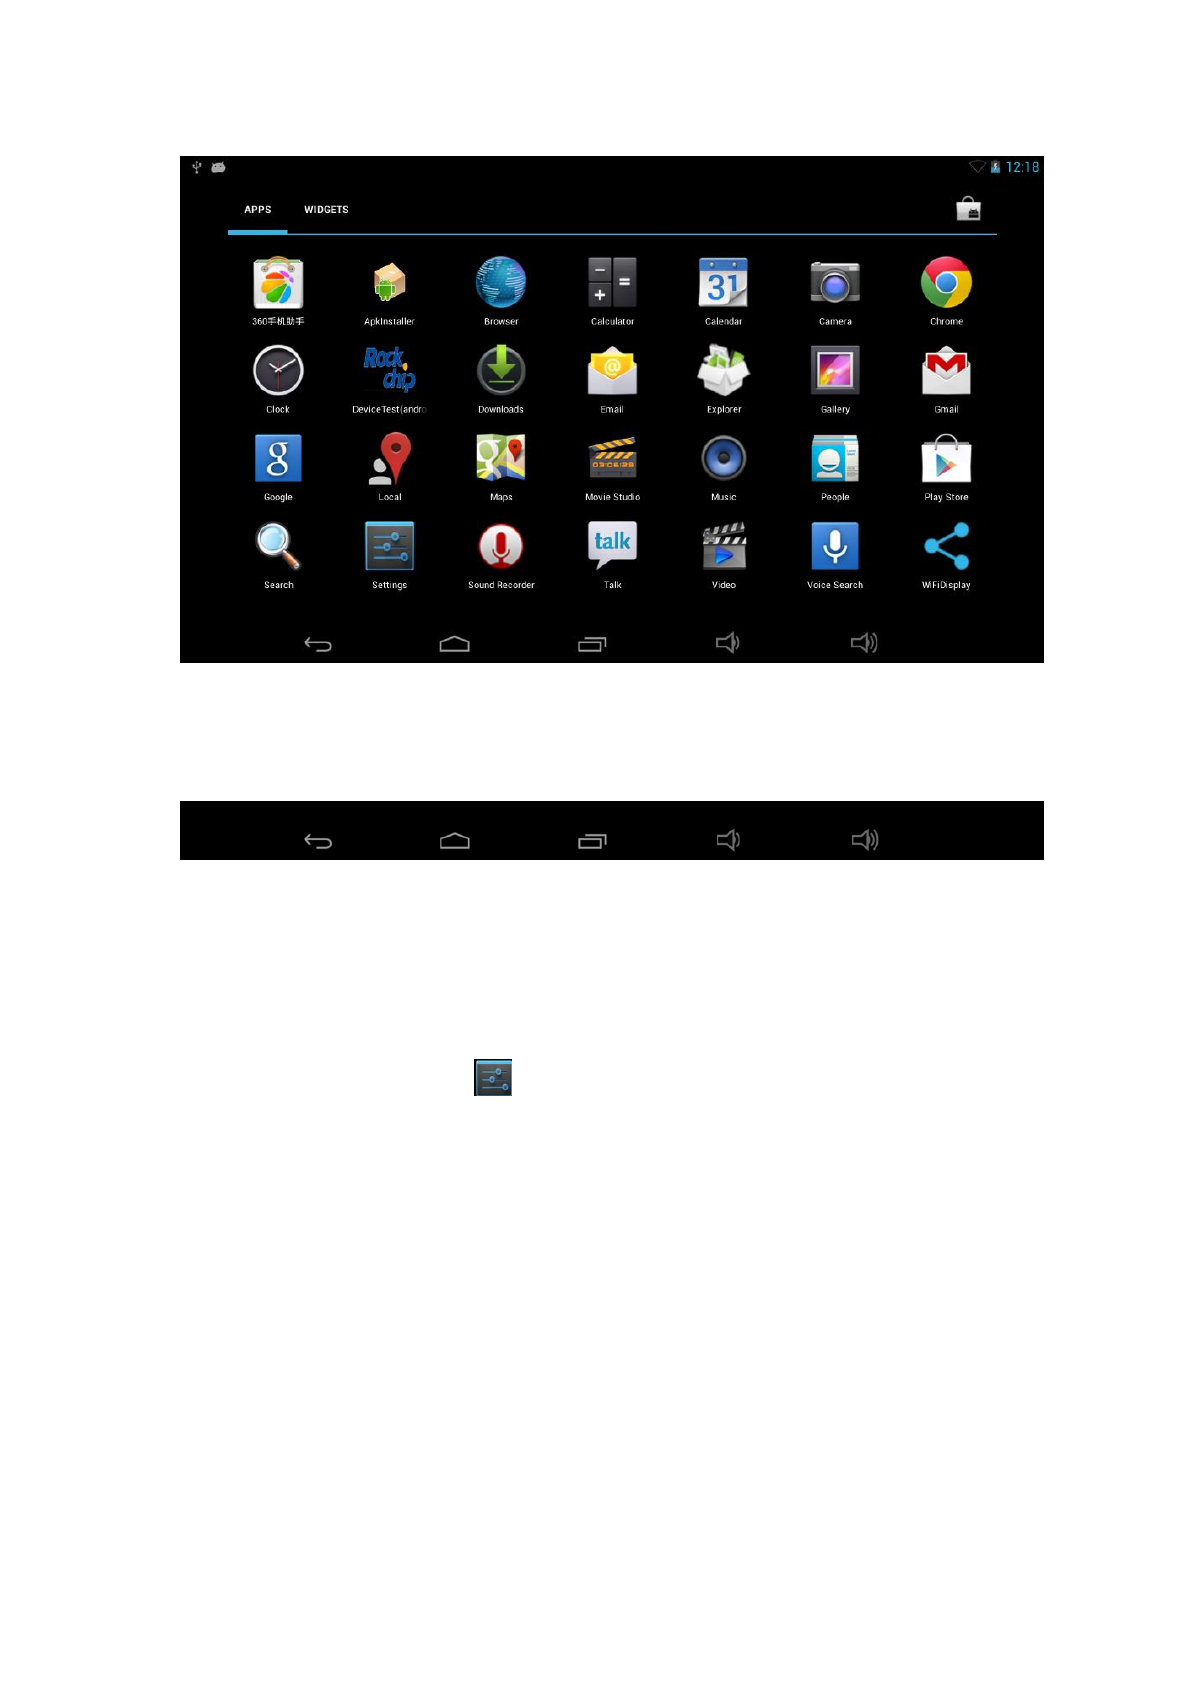
3.1 Main interface
After start-up, it will enter the home screen.
In home screen, you can manage the software ICONS: long press the ICONS
3 seconds, after the icons will be bigger, then you can drag anywhere in the
interface.
Delete ICONS: long press the ICON for 3 seconds, drag the ICONs to the
mark “X”, after that you can delete ICON.
In the home screen, when you press “ ”, it will go to main interface.
In the main interface, you can touch the ICON to open the APPs
When you touch APPs for a while, then it will appear in the home screen.
3.2 status bar
The status bar above of the screen
Left display: ESC button, Menu, Recent applications.
Right display: battery charge ICONs, current time
4. Equipment basic setting
Setting: Click setting ICON , enter setting interface
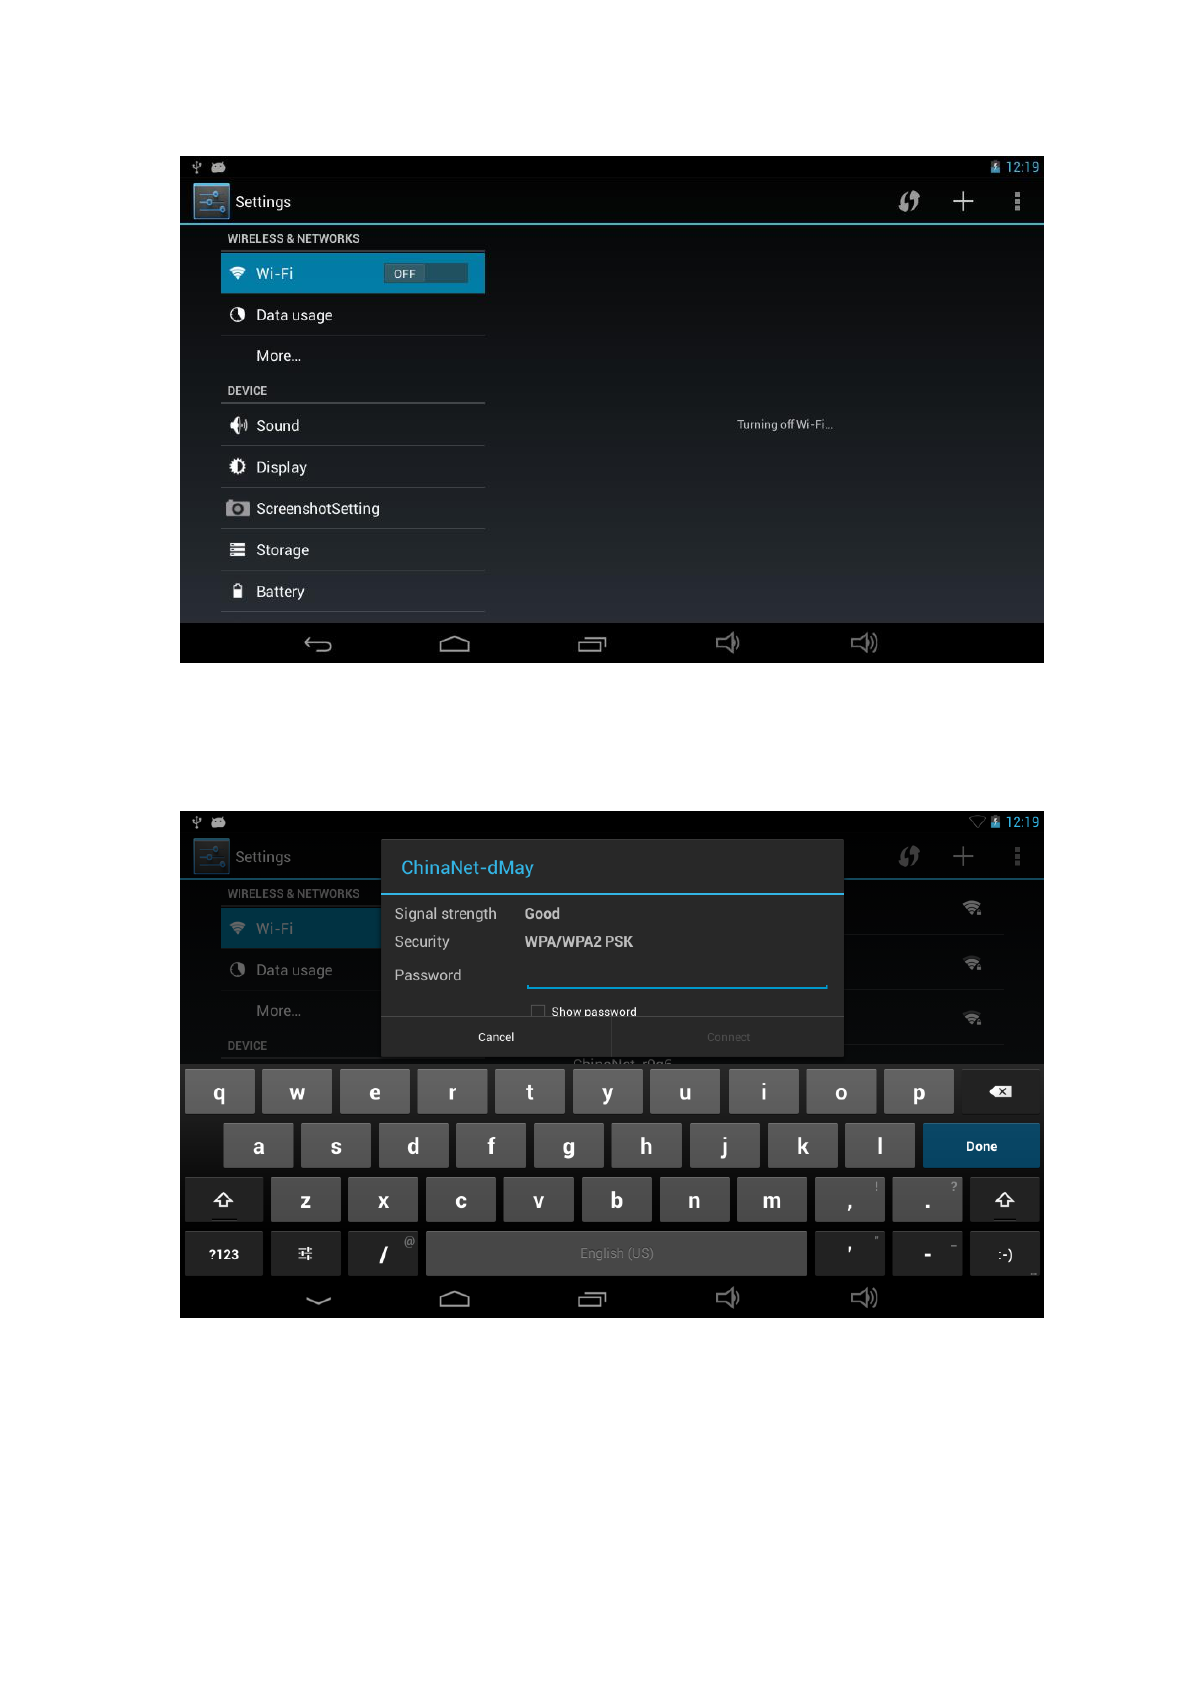
4.1 Wi-Fi
Drag “OFF” to “On”, it will show the available Wi-Fi signal.
Choose yours, then connect it by entering password. You can browse website
then.
4.2 Sound: Silent mode, Volume, Touch sounds, Screen lock sound, Vibrate
on touch
4.3 Display: Brightness, wallpaper, auto-rotate screen, sleep, front size,
accelerometer coordinate system, screen adaption

4.4 Storage
Remove TF card, view the available storage space
【Remark】: please touch option ”delete SD card”, so that you can remove SD
card safely.
4.5 Application Management
How to Install Android Applications:
Purchased or free Android applications that you have downloaded to your computer
can be installed
quickly & easily on the unit by using the File Manager application.
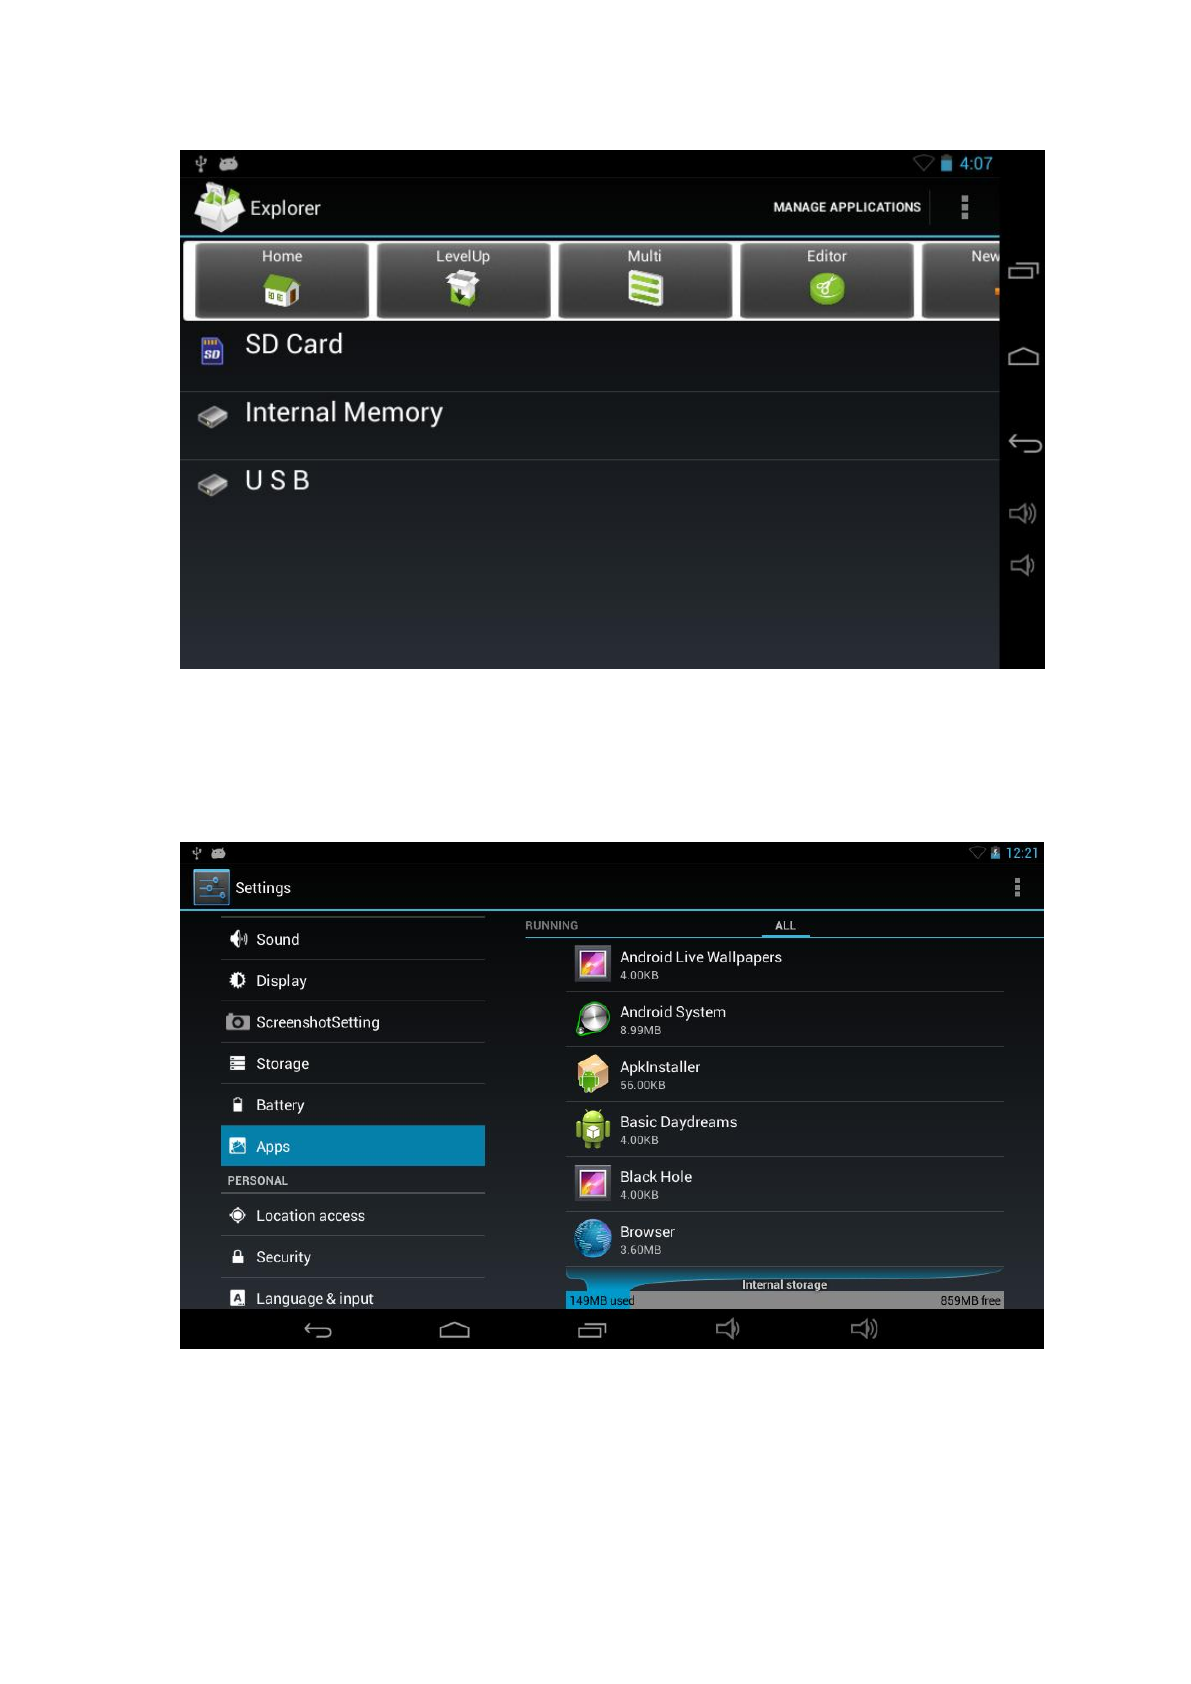
a. Copy the .apk files that you want to install onto a SD card or USB device, then
insert or connect it to your Device.
Tap the Explorer application icon to reveal this screen:
b. Tap or and locate the folder in which the .apk application files were saved.
c. Tap on an .apk file → Install.. Confirm you want to install it. ….. And then
see the confirmation of install
Tap Open to launch the application now, or tap Done to return to File Manager.
Manage and uninstall Application
【Remark】:
Uninstall
1. enter “setting”>”Application”>”ALL” And there will be all the program list
2. Click the application you want to uninstall, will enter the following interface
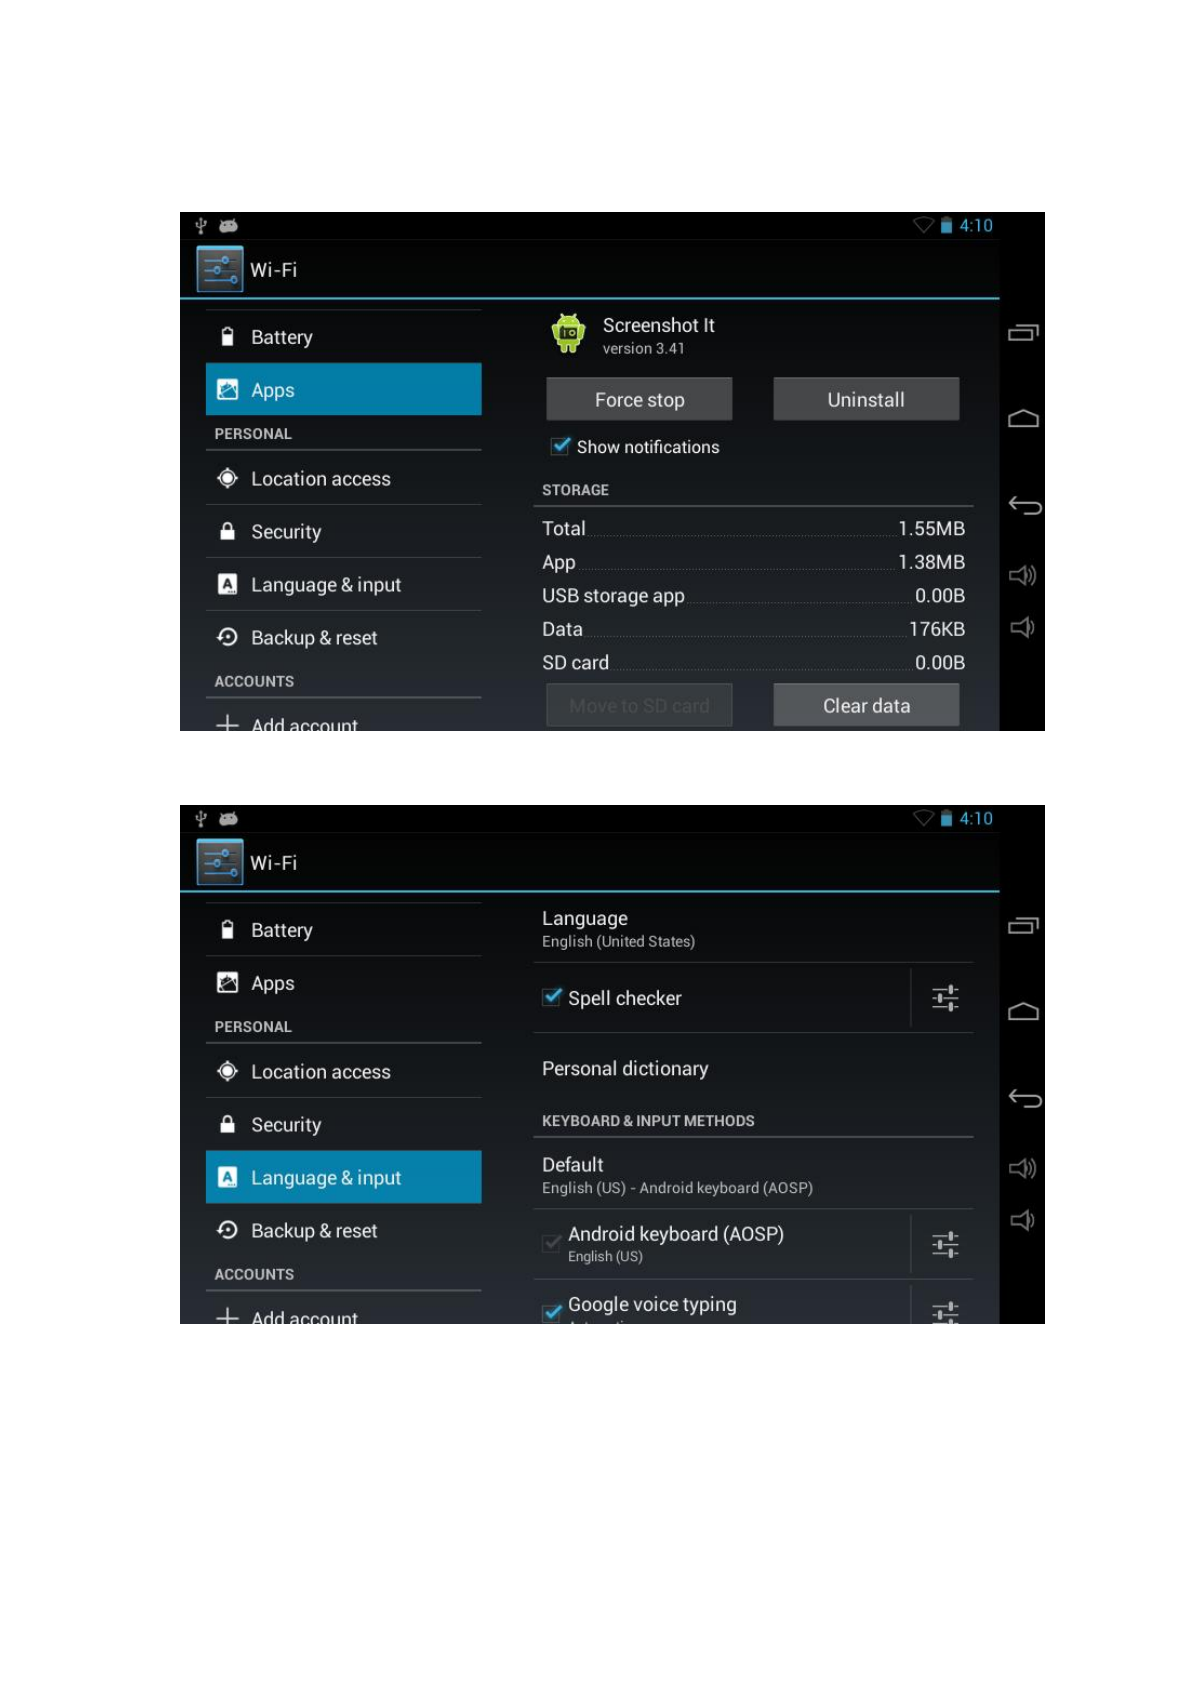
3. Click Uninstall, then you can delete the application.
4.7 Language & input
Select Language: multi languages are available
Android keyboard: Android keyboard setting
4.8 Backup & reset
Backup &RESTORE: Back up my data, back up app data, Wi-Fi passwords,
another settings to Google service.
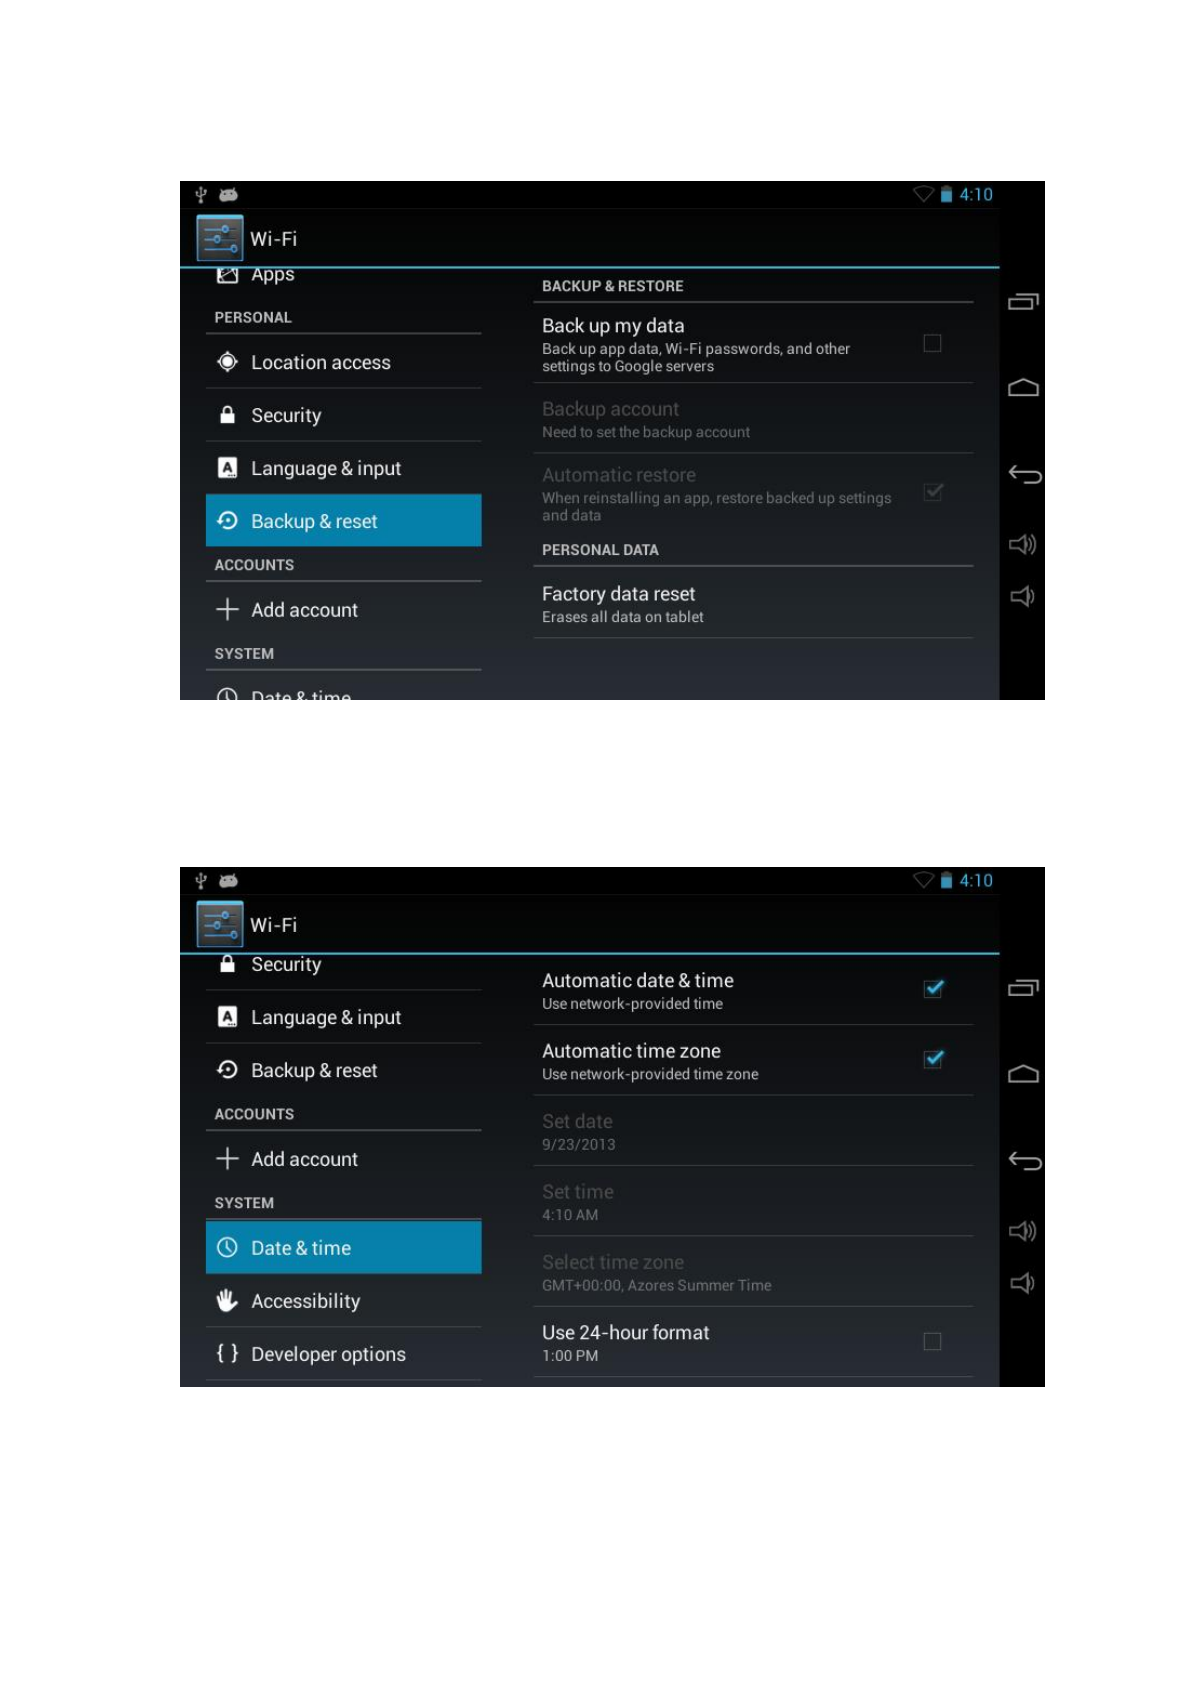
Personal Data: Erases all data on tablet.
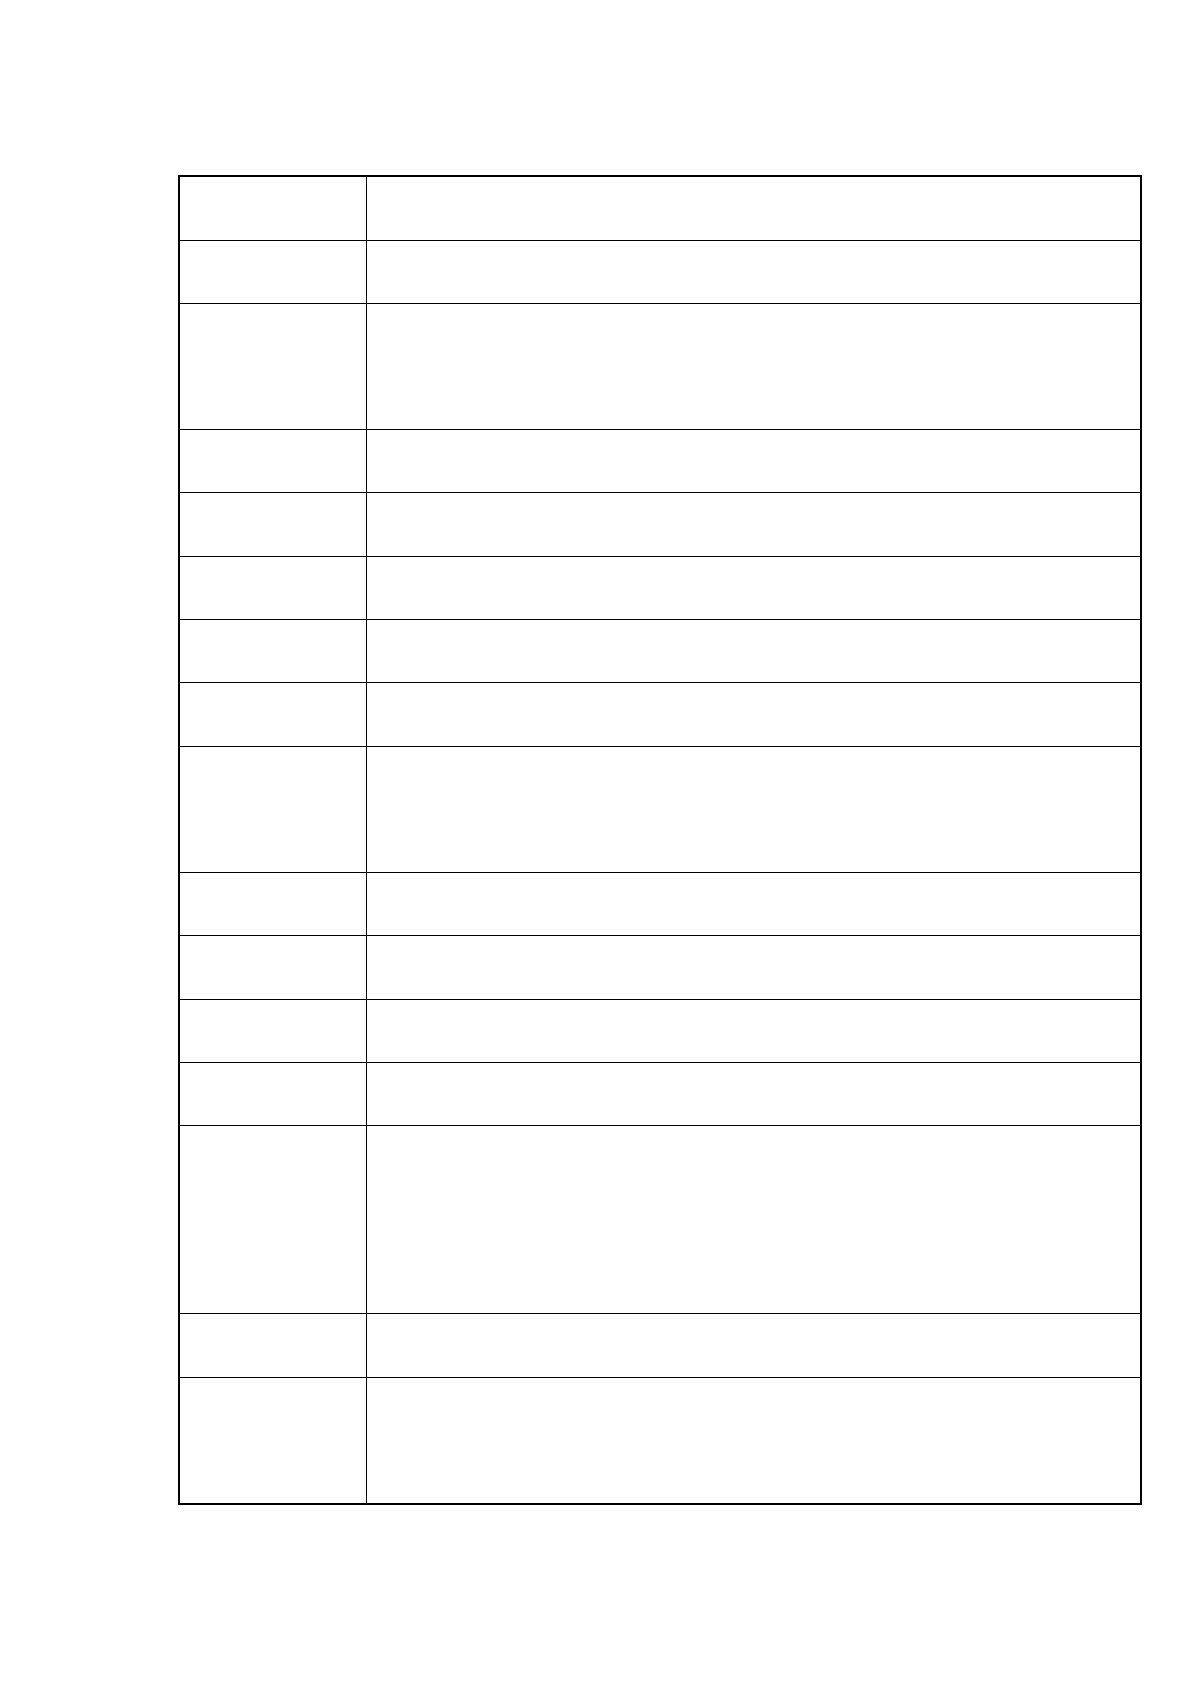
4.9 Date & time
Select time zone and select date format, time format.
5. Specification
Processor
Rockchip RK3168 Dual core, Cotex-A9 1.2 GHZ
Memory
DDRIII RAM: 1GB,
Storage
Built-in flash memory 8GB
Support Micro SD card, max capacity of 32GB
Networking
IEE802.11B/G/N wireless network
USB
1 x Micro USB, OTG high speed interface port
Other Ports
1 *TF card, Headphone Port, DC Power Port
Cameras
Front/Rear position: 0.3MP pixels hardware / 2.0MP
Audio
3.5mm headphone jack; Stereo speakers
Screen
Size: 7.0 inch; 1024 x 600; 16.7 million colors,
Type: Capacitive—5 x Point Touch
Battery
Built-in lithium polymer battery 3000mAH
User Interface
Touch Screen—Capacitive Touch
OS
Google Android 4.2
Music Files
Supports: MP3 / WMA / AAC / WAV
Video Files
Supports: MPEG1/2/4,XViD,DiVX4,H264,MJPEG 1080P
Formats: MKV / WMV / MPG / DAT /
VOB / AVI / MOV / ISO / MP4 / FLV
Photo Files
Formats: JPEG / BMP / GIF / PNG
Contents
Device / AC wall charger / USB Cable / OTG cable
/ User Manual/Leather case/battery user guide
Federal Communications Commission (FCC) Interference Statement
This equipment has been tested and found to comply with the limits for a Class B digital device,
pursuant to Part 15 of the FCC Rules.
These limits are designed to provide reasonable protection against harmful interference in a
residential installation. This equipment generate, uses and can radiate radio frequency energy
and, if not installed and used in accordance with the instructions, may cause harmful
interference to radio communications.
However, there is no guarantee that interference will not occur in a particular installation. If this
equipment does cause harmful interference to radio or television reception, which can be
determined by turning the equipment off and on, the user is encouraged to try to correct the
interference by one of the following measures:
Reorient or relocate the receiving antenna.
Increase the separation between the equipment and receiver.
Connect the equipment into an outlet on a circuit different from that to which the receiver is
connected.
Consult the dealer or an experienced radio/TV technician for help.
This device complies with Part 15 of the FCC Rules. Operation is subject to the following two
conditions:
(1) This device may not cause harmful interference, and (2) this device must accept any
interference received, including interference that may cause undesired operation.
FCC Caution: Any changes or modifications not expressly approved by the party responsible
for compliance could void the user’s authority to operate this equipment.
RF exposure warning
This equipment complies with FCC radiation exposure limits set forth for an uncontrolled
environment.
The equipment must not be co-located or operating in conjunction with any other antenna or
transmitter.