Binatone Electronics ECLIPSE 1.9GHz DECT Cordless Phone User Manual
Binatone Electronics International Ltd. 1.9GHz DECT Cordless Phone
UserManual.wiki
>
Binatone Electronics
>
ECLIPSE User Manual
User Manual
Navigation menu
Upload a User Manual
Namespaces
Wiki Guide
HTML
PDF
Info
Views
User Manual
Discussion / Help
Navigation

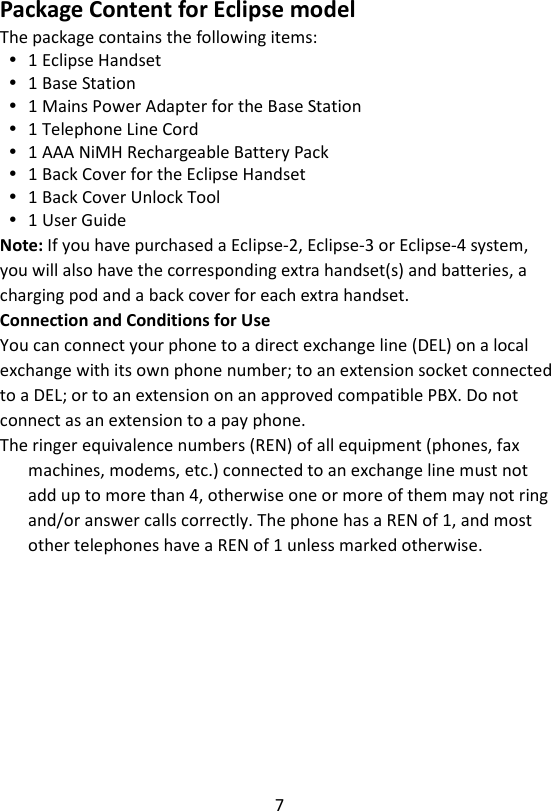


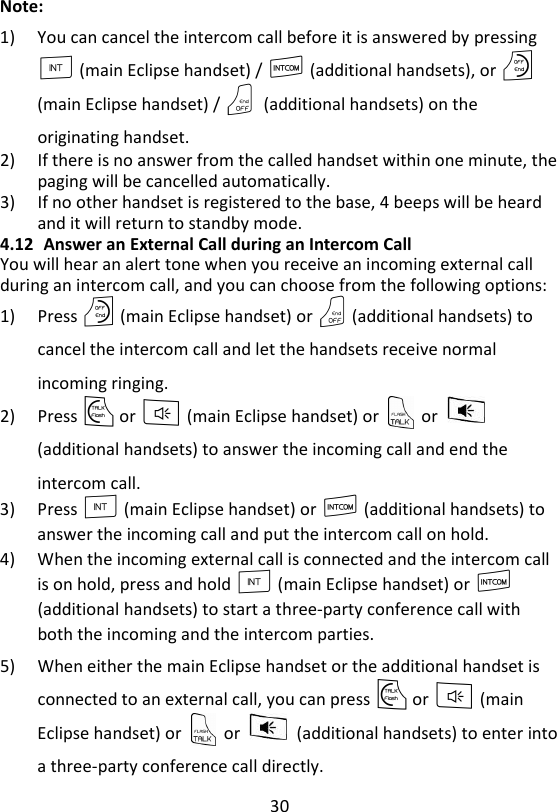


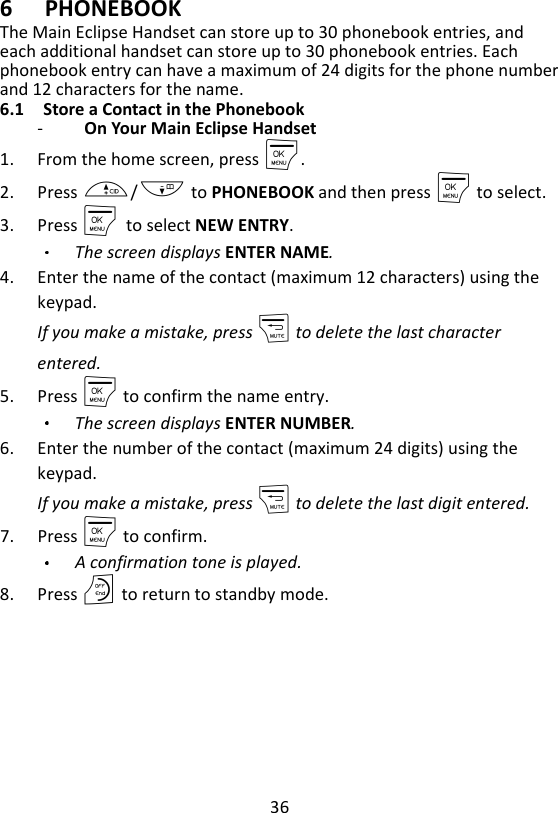
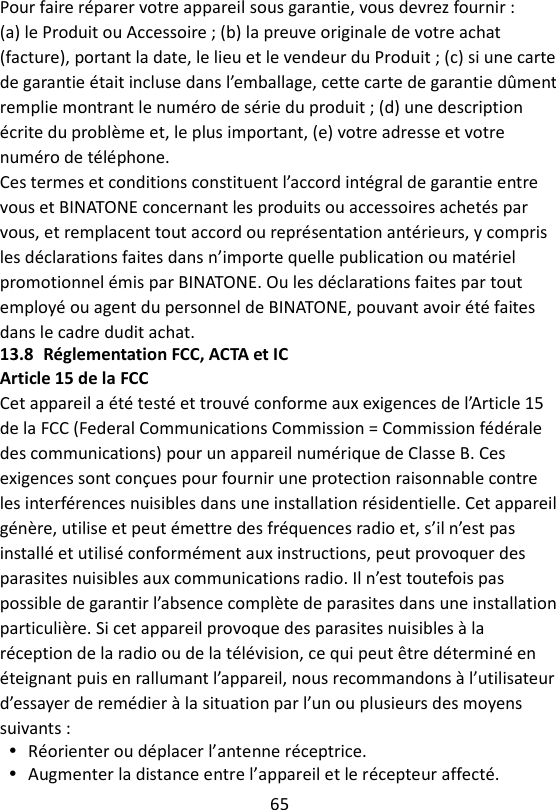
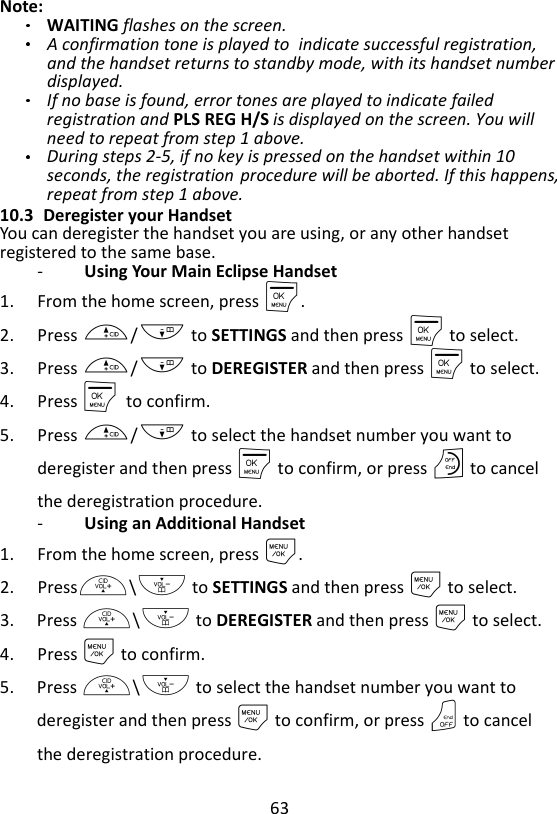
![49 8 CLOCK AND ALARM SETTINGS 8.1 Date and Time Settings If you have subscribed to the Calling Line Identification service, the time and date settings will be automatically updated by the network when you receive an incoming call, but you may still need to set the correct year. You can also set the date and time manually. - On Your Main Eclipse Handset 1. From the home screen, press M. 2. Press +/- to CLOCK&ALARM and the press M to select. 3. Press M again to select DATE & TIME. The last stored date is displayed, with the third digit of the year flashing. 4. Enter the current date and press M to confirm, the default setting date format is MM/DD. Enter 03 May 2012 as [1], [2], [0], [5], [0], [3]. If you make a mistake, press m to delete the last digit entered. 5. Enter the current time and press M to confirm. The default time format is 12 HOURS. (To change time format, see Change the Date Format on page 52.) For 24-hour format, enter 1:30pm as [1], [3], [3], [0]. For 12-hour format, enter the time and then press + to select am , or press- to select pm. If you make a mistake, press m to delete the last digit entered. A confirmation tone is played. 6. Press O to return to standby mode.](https://usermanual.wiki/Binatone-Electronics/ECLIPSE/User-Guide-2057941-Page-50.png)
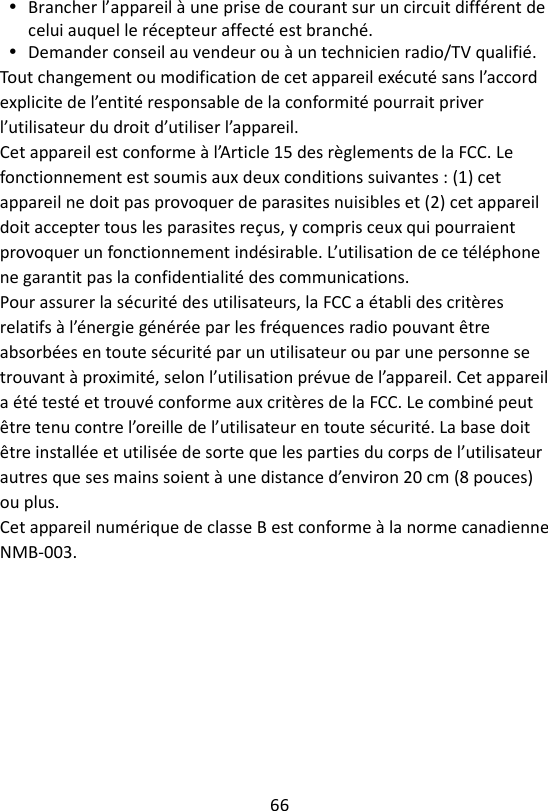
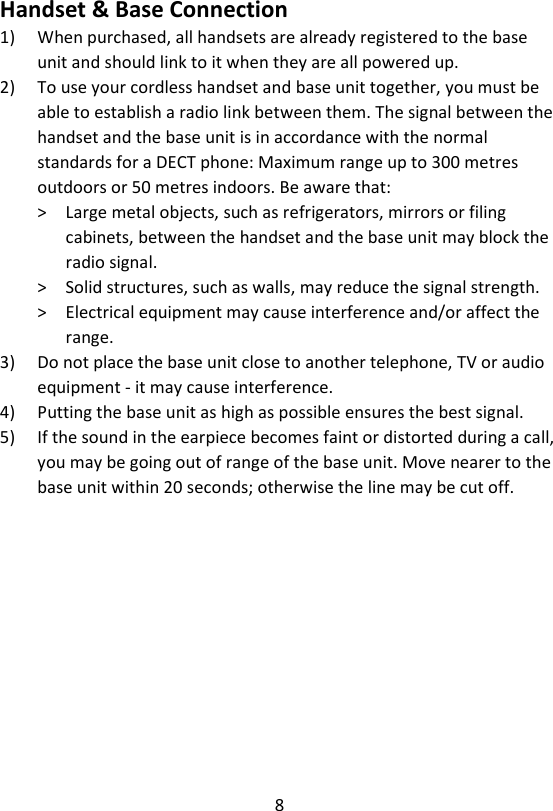
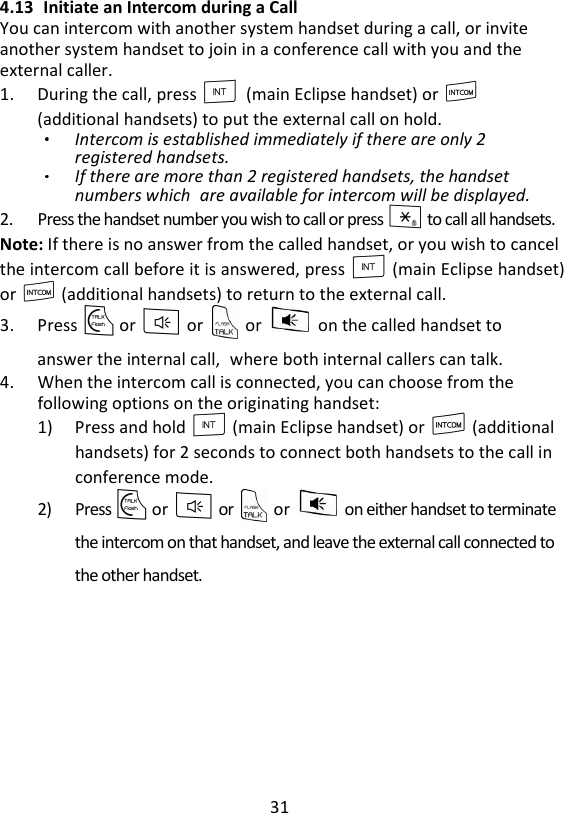
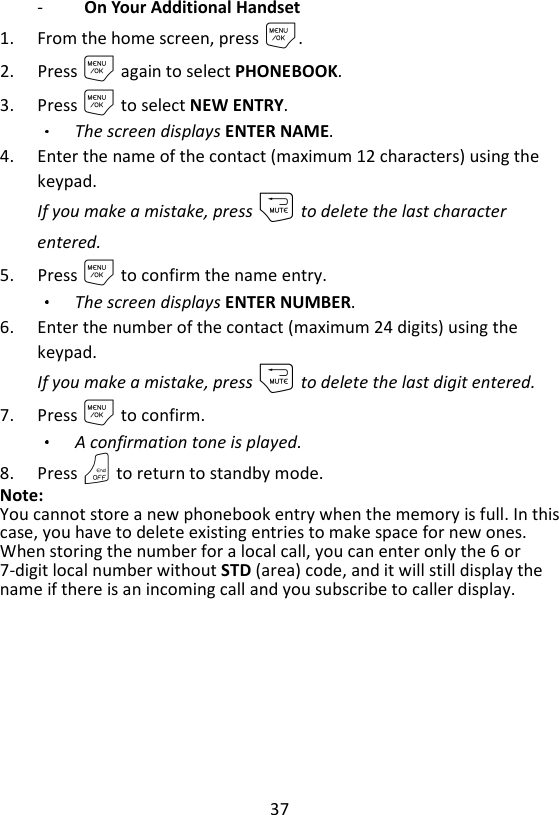
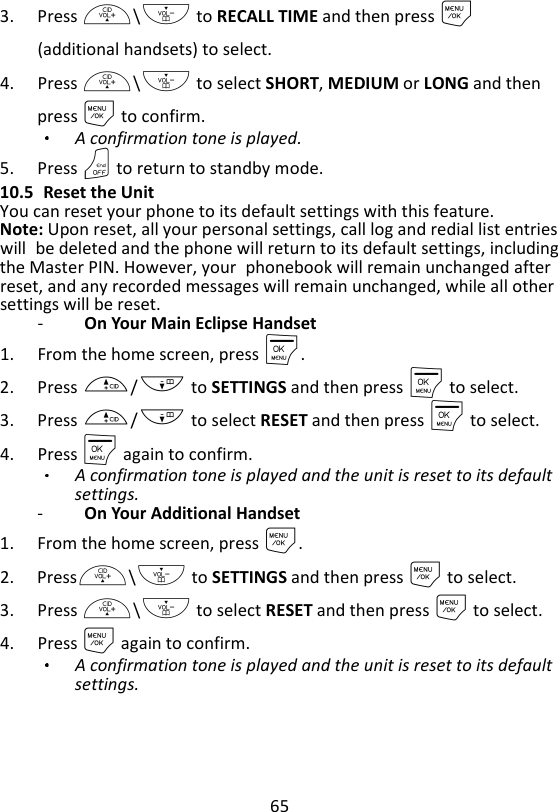
![50 - On Your Additional Handset 1. From the home screen, press M. 2. Press +\- to CLOCK&ALARM and the press M to select. 3. Press M again to select DATE & TIME. The last stored date is displayed, with the third digit of the year flashing. 4. Enter the current date and press M to confirm, the default setting date format is MM/DD. Enter 03 May 2012 as [1], [2], [0], [5], [0], [3]. If you make a mistake, press m to delete the last digit entered. 5. Enter the current time and press M to confirm. The default time format is 12 HOURS. (To change time format, see Change the Time Format on page 51.) For 24-hour format, enter 1:30pm as [1], [3], [3], [0]. For 12-hour format, enter the time and then press + to select AM, or - to select PM. If you make a mistake, press m to delete the last digit entered. A confirmation tone is played. 6. Press O to return to standby mode.](https://usermanual.wiki/Binatone-Electronics/ECLIPSE/User-Guide-2057941-Page-51.png)


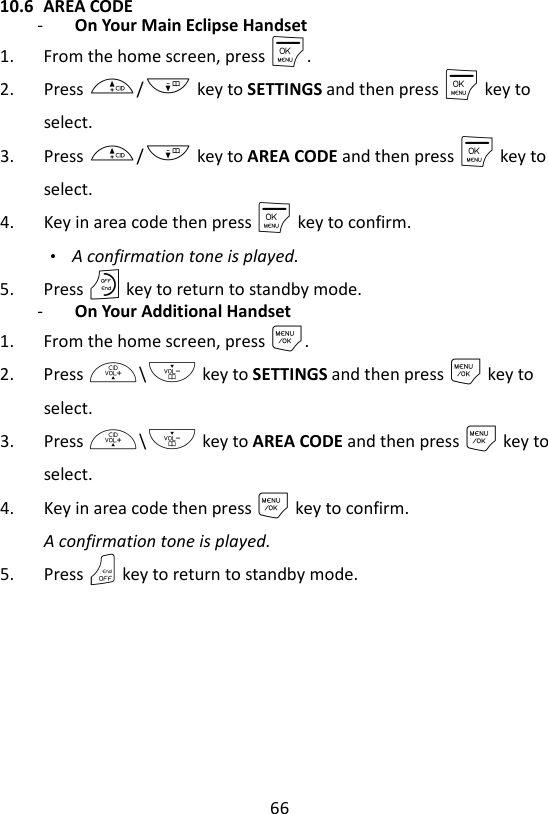


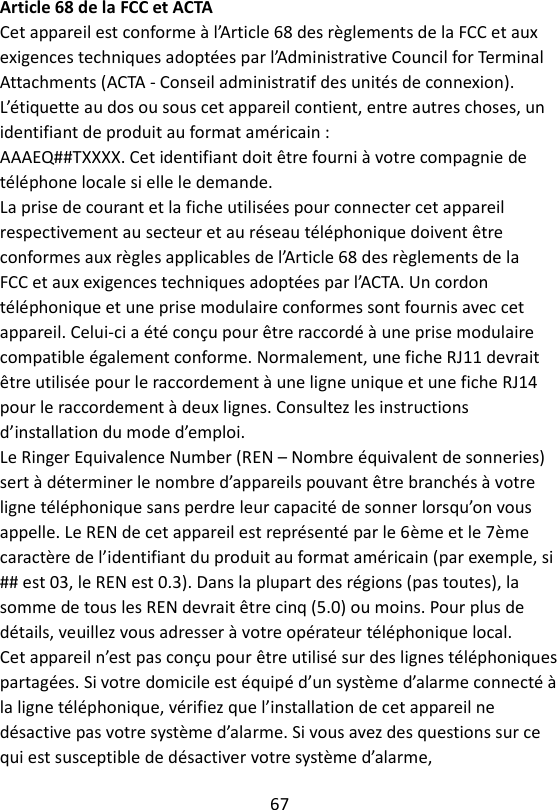
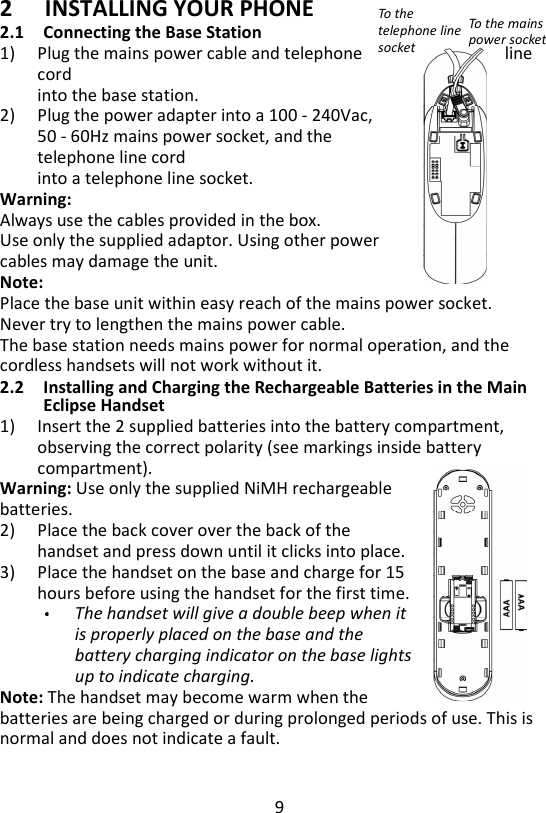
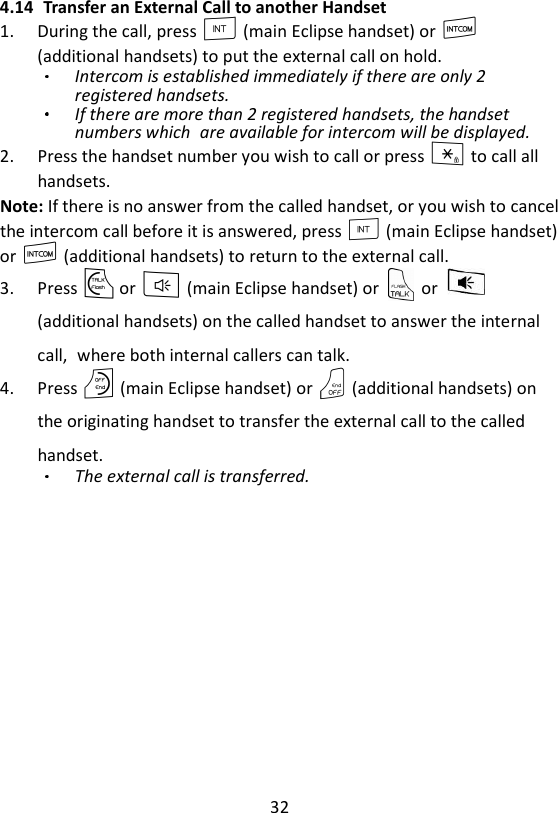
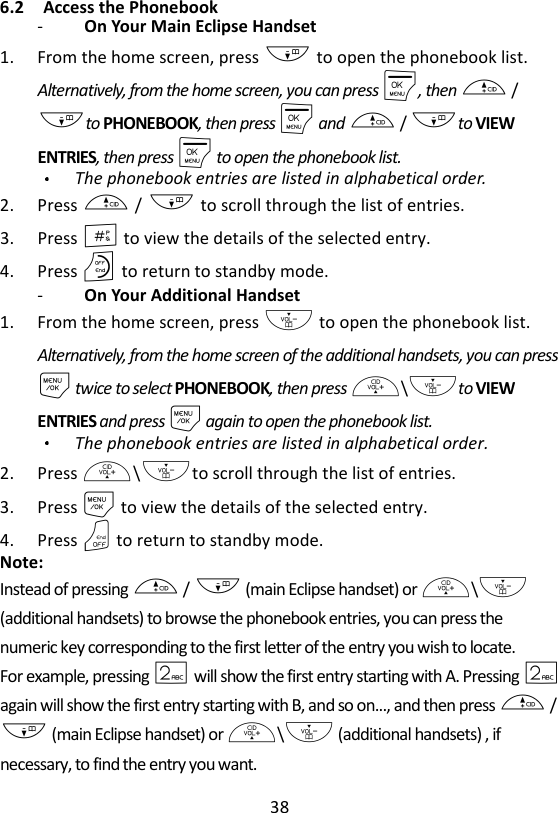
![36 8 RÉGLAGES DE L’HORLOGE ET DE L’ALARME 8.1 Réglages de la date et de l’heure Si vous êtes abonné au service d’identification de l’appelant, la date et l’heure seront automatiquement réglées quand vous recevrez un appel, mais vous devrez peut-être entrer l’année correcte. Vous pouvez aussi régler la date et l’heure manuellement. 1. Dans l’écran d’accueil, appuyez sur M. 2. Appuyez sur +/- jusqu’à HORL.&ALARME, puis sur M pour sélectionner. 3. Appuyez de nouveau sur M pour sélectionner DATE/HEURE. La dernière date enregistrée s’affiche avec le troisième chiffre de l’année clignotant. 4. Entrez la date du jour et appuyez sur M pour confirmer, le format par défaut de la date est MM/JJ. Pour entrer le 3 mai 2012, tapez successivement sur [1], [2], [0], [5], [0], [3]. En cas d’erreur, appuyez sur m pour effacer le dernier chiffre entré. 5. Entrez l’heure actuelle, puis appuyez sur M pour confirmer. Le format par défaut de l’heure est 12 HEURES. Pour entrer 1 :30 pm au format 24 heures, tapez successivement sur [1], [3], [3], [0]. Pour le format 12 heures, entrez l’heure puis appuyez sur + pour sélectionner am , ou sur - pour sélectionner pm. En cas d’erreur, appuyez sur m pour effacer le dernier chiffre entré. Vous entendez un bip de confirmation. 6. Appuyez sur O pour revenir au mode veille.](https://usermanual.wiki/Binatone-Electronics/ECLIPSE/User-Guide-2057941-Page-127.png)