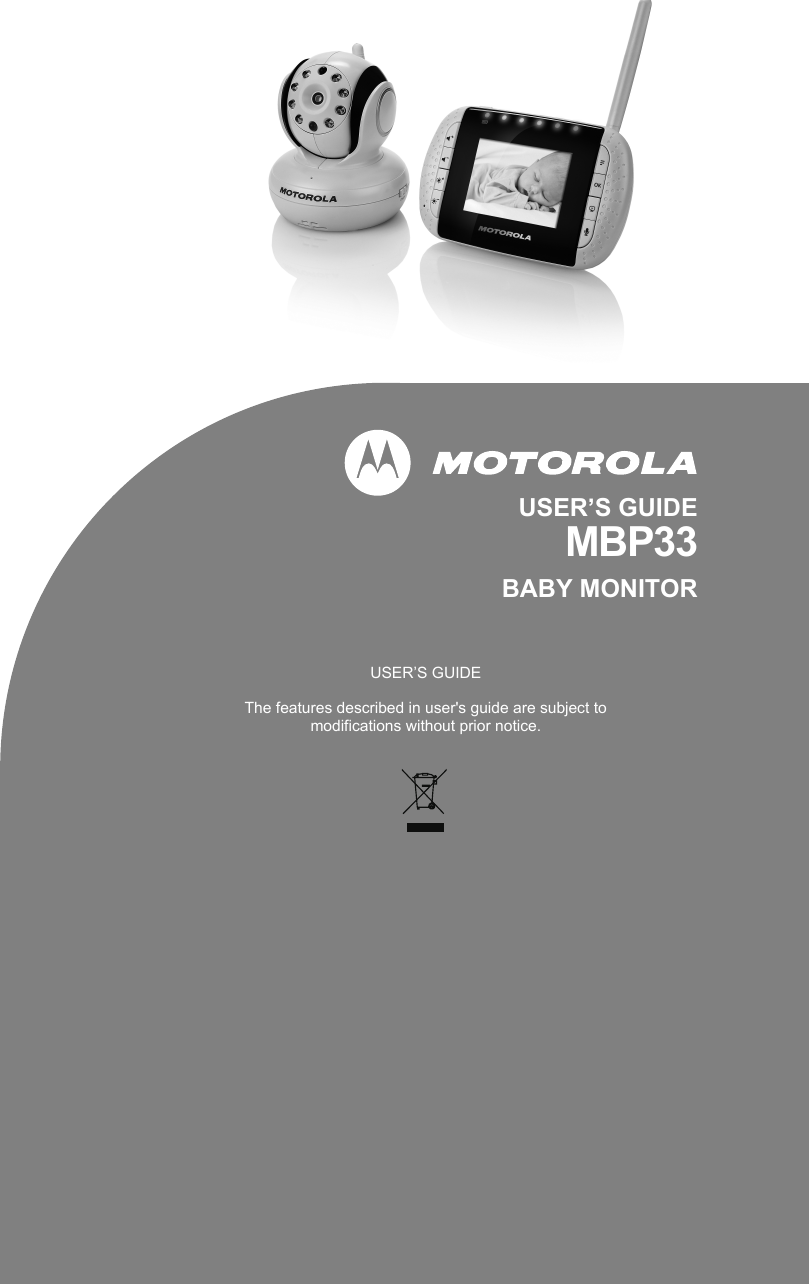
Binatone Electronics MBP33PU 2.4GHz Baby Monitor System (Monitor, Parent unit) User Manual MBP33 IFU EN
Binatone Electronics International Ltd. 2.4GHz Baby Monitor System (Monitor, Parent unit) MBP33 IFU EN
UserManual.wiki
>
Binatone Electronics
>
MBP33PU User Manual
User Manual
Navigation menu
Upload a User Manual
Namespaces
Wiki Guide
HTML
PDF
Info
Views
User Manual
Discussion / Help
Navigation
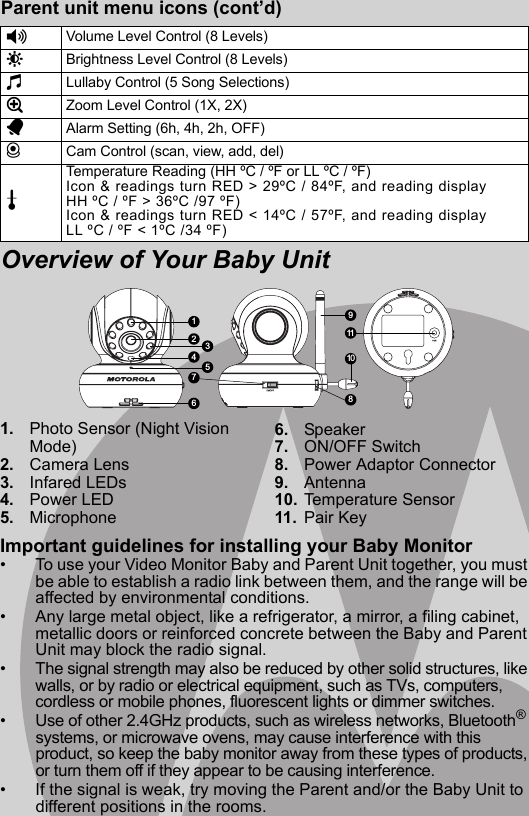
![1. Display (LCD screen)2. Vol + Key )Normal Mode: Vol UpMenu Mode: Up3. Vol - Key (Normal Mode: Vol Down Menu Mode: Down4. Brightness + Key ] Normal Mode: Brightness up Menu Mode: Right5. Brightness - Key [ Normal Mode: Brightness down Menu Mode: Left6. Menu Key M Press to open the Menu options7. OK Key O8. Video ON/OFF Key VPress to turn OFF the LCD displayPress again to turn ON the LCD display9. Tal k Key T Press and hold to speak to your baby10. Power Adapter / Battery LEDBLUE when mains adapter power on.Flashes BLUE when battery charging.Flashes RED when battery low.11. Unit ON/OFF LED (Green)12. Audio Level LED (Green, Orange, Red, Red)13. Microphone14. Power Key PPress and Hold to turn the unit ON/OFF15. Antenna Lift the antenna for optimal reception16. Battery cover17. Stand18. Speaker19. USB connector Connection to AV output* AV Cable (Optional accessory, to be purchased separately)20. Power Adaptor connectorOverview of the Parent Unit18 15 11 14 13 16 17 19 20 6 7 8 9 2 3 4 5 10 12 1 Parent unit menu icons1Signal Level (5 Levels)NNight Vision Mode (Screen changes to Black/White)TTalk ModeBattery Level Control (4 Levels)B](https://usermanual.wiki/Binatone-Electronics/MBP33PU/User-Guide-1476307-Page-3.png)

![12 MBP33 Parent Unit Menu Options4. MBP33 Parent Unit Menu Options4.1 VolumePress the ) VOL UP button or ( VOL DOWN button to select the desired volume level from level 1 ~ 8. (The default volume level setting is level 3.)4.2 BrightnessPress the ] BRIGHTNESS UP button or [ BRIGHTNESS DOWN button to select the desired brightness level from level 1 ~ 8. (The default brightness level setting is level 4.)4.3 Lullaby1. Press the M button and the menu bar will pop up. 2. Press the < LEFT button or > button until m is highlighted. 3. Press the + UP button or - DOWN button to select the desired song from the 5 lullabies available, or the cycle option to play all 5 songs in turn. If an individual song is selected it will only play once and then stop. (The default setting is STOP, with the lullaby turned off.)4. While still in the menu screen and with a lullaby selected, press the OK button and then press the + UP button or - DOWN button to adjust the volume level played from the baby unit.4.4 Zoom1. Press the M button and the menu bar will pop up. 2. Press the < LEFT button or > button until Z is highlighted. 3. Press the + UP button or - DOWN button to select the 1X or 2X Zoom. (The default setting is 1X.)](https://usermanual.wiki/Binatone-Electronics/MBP33PU/User-Guide-1476307-Page-12.png)