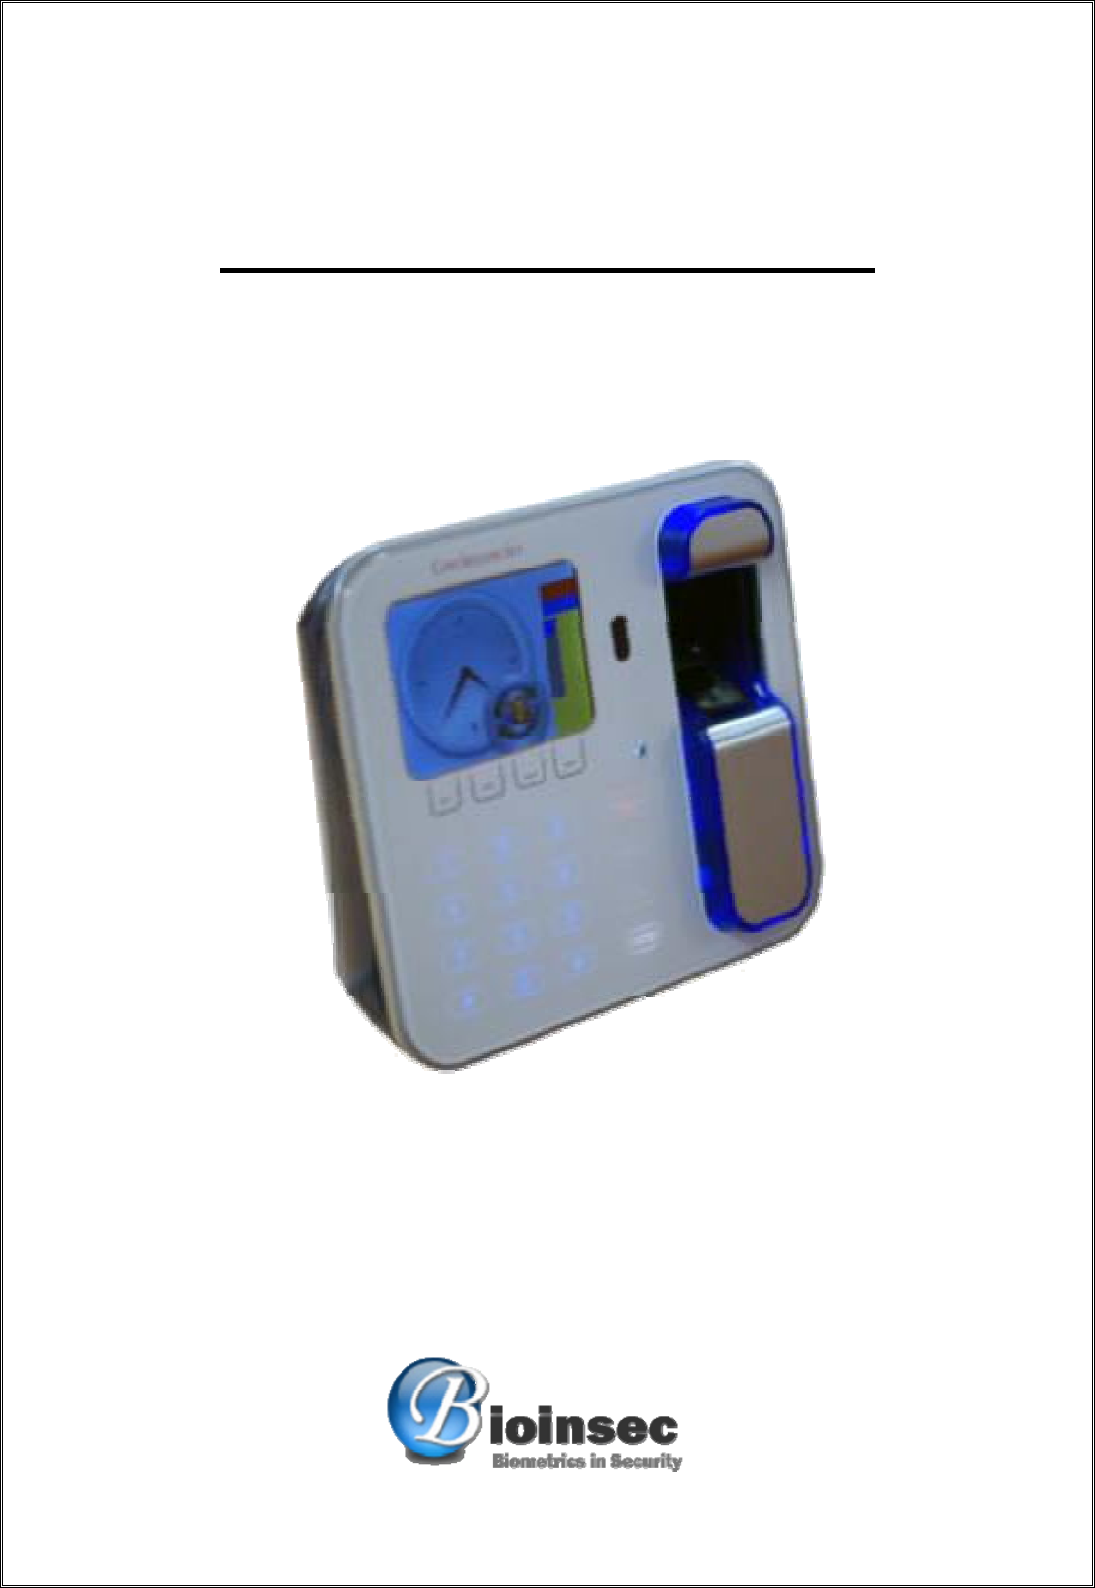
Bioinsec CATENACCIOLITE FINGERPRINTER ACCESS CONTROLLER User Manual Cadenacio Manual ENG
Bioinsec Co.,Ltd FINGERPRINTER ACCESS CONTROLLER Cadenacio Manual ENG
Bioinsec >
Users Manual
Cadenacio Reference Manual
-Cadenacio FP/MF, BKS-5000 FP/MF
-Catenaccio Lite
-Cadenacio Lite
-BKS-5100
Ver 2.0

CADENACIO User Manual
www.bioinsec.com 2
Contents
1. Before You Begin .................................................................................................................... 5
1. Safety Precautions / Emergency Measures ........................................................................ 5
2. Proper Way to Input Fingerprint ......................................................................................... 7
3. Product Introduction .......................................................................................................... 7
4. Product Diagram ............................................................................................................... 9
5. Icon Information .............................................................................................................. 10
6. Product Features ............................................................................................................ 11
7. Terminal Menu ................................................................................................................ 14
2. User Management(Registration/Edit/Delete) Menu ................................................................. 19
1. Administrator Password Registration ............................................................................... 19
2. Enroll User ...................................................................................................................... 20
① Fingerprint Registration ............................................................................................... 20
② Card Registration ........................................................................................................ 21
③ Password Registration ................................................................................................. 22
④ When setting with Fingerprint or Card ........................................................................ 22
3. Edit User......................................................................................................................... 23
4. Delete User .................................................................................................................... 24
3. Mode Setup (Access Control/Time & Attendance Setup/Meals Setup) ............................ 24
1. Access Control Setup (Access Control) ............................................................................ 24
2. Attendance Management Setup ....................................................................................... 25
< Reporting Time Auto Setup> ............................................................................................. 26
3. Meals Mode ................................................................................................................... 27
4. Prevention of Unnecessary Events in Attendance / Meal Counting Mode........................... 28
4. Access Door Setup ................................................................................................................ 29
1. Use of I/O MAN ............................................................................................................. 29
2. Link to Speed Gate (Change of Door Opening Time) ........................................................ 29
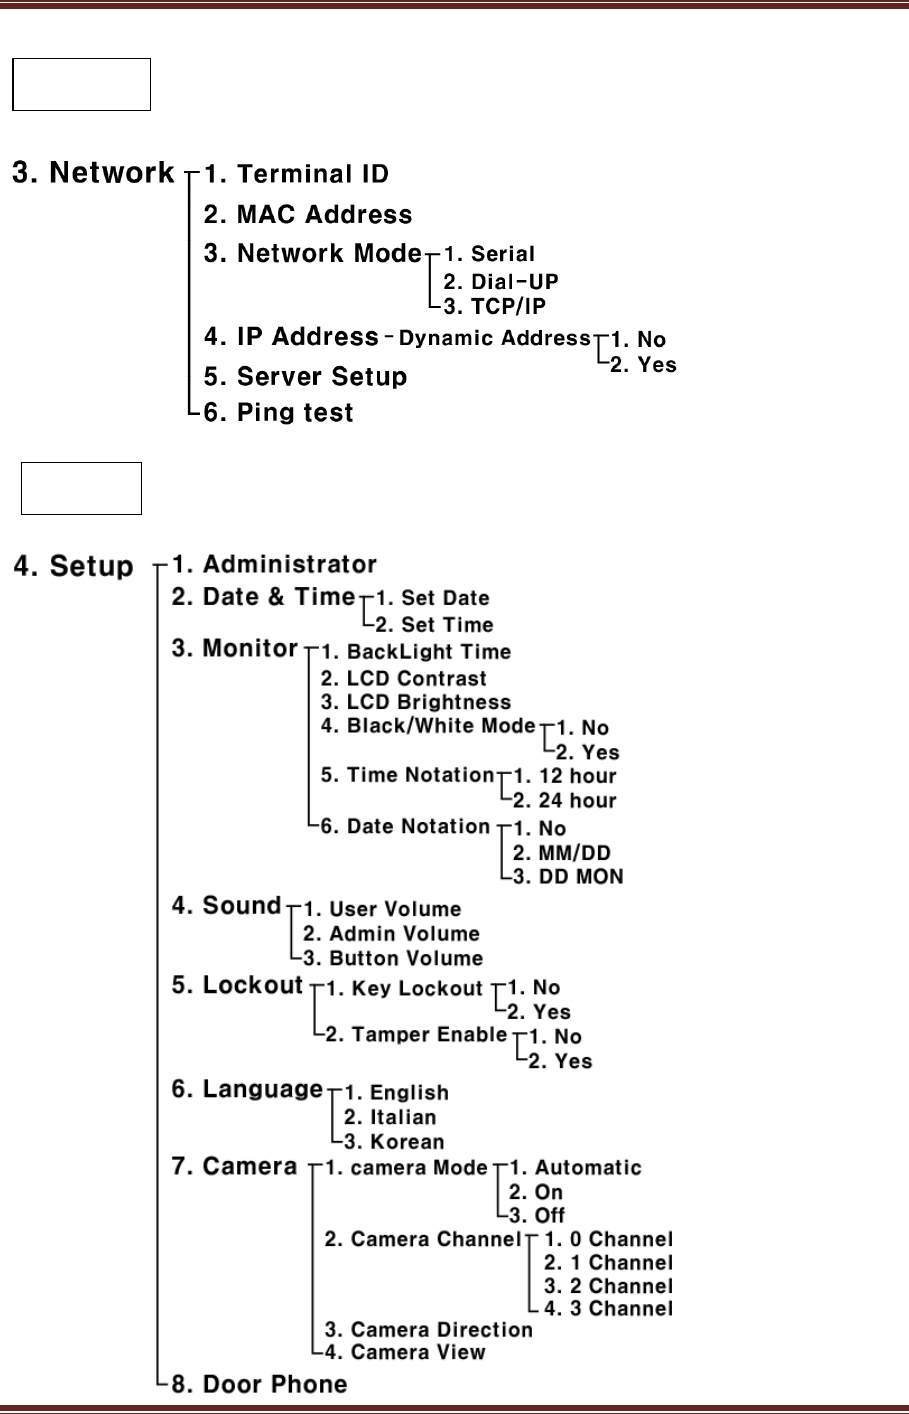
5. Network ................................................................................................................................ 30
1. Terminal ID ..................................................................................................................... 30
2. TCP/IP Network Connection ........................................................................................... 30
3. RS485 Network Connection ............................................................................................ 32
6. Camera Setup ...................................................................................................................... 33

CADENACIO User Manual
www.bioinsec.com 3
1. Camera Operation Mode Setup ...................................................................................... 33
2. Viewing with Camera ...................................................................................................... 34
7. Display ................................................................................................................................. 35
1. Lighting Hours ................................................................................................................ 35
2. Contrast ......................................................................................................................... 36
3. Brightness ...................................................................................................................... 36
4. Black / White Mode (Daylight Mode) ............................................................................. 37
5. Set Time ......................................................................................................................... 37
6. Set Date ......................................................................................................................... 38
7. Language ....................................................................................................................... 39
8. SD Memory Backup & Restore ........................................................................................... 39
1. SD Memory Function ..................................................................................................... 40
2. Auto Log Data Backup Function ..................................................................................... 40
3. Import from SD memory ................................................................................................ 40
4. Export to SD Memory .................................................................................................... 41
5. How to Update Firmware ............................................................................................... 42
9. Initialization ......................................................................................................................... 42
10. Q&A ..................................................................................................................................... 43
1. I cannot view the LCD from outdoors. ............................................................................ 44
2. Card is not authorized when using Serial PC Device. ...................................................... 44
3. I want to know the Card Number. .................................................................................. 45
4. The fingerprint registered on the USB Fingerprint Device ............................................... 45
is not properly recognized. .................................................................................................... 45
5. The LCD screen keeps turning off and giving out a ‘beep beep’ sound. ......................... 46

CADENACIO User Manual
www.bioinsec.com 4
FCC Information to User
This equipment has been tested and found to comply with the limits for a Class B digital device,
pursuant to Part 15 of the FCC Rules. These limits are designed to provide reasonable protection
against harmful interference in a residential installation. This equipment generates, uses and can
radiate radio frequency energy and, if not installed and used in accordance with the instructions, may
cause harmful interference to radio communications. However, there is no guarantee that interference
will not occur in a particular installation. If this equipment does cause harmful interference to radio or
television reception, which can be determined by turning the equipment off and on, the user is
encouraged to try to correct the interference by one of the following measures:
• Reorient or relocate the receiving antenna.
• Increase the separation between the equipment and receiver.
• Connect the equipment into an outlet on a circuit different from that to which the receiver is con-
nected.
• Consult the dealer or an experienced radio/TV technician for help.
Caution
Modifications not expressly approved by the party responsible for compliance could void the user’s
authority to operate the equipment.
FCC Compliance Information : This device complies with Part 15 of the FCC Rules. Operation is
subject to the following two conditions: (1) This device may not cause harmful interference, and (2)
this device must accept any interference received, including interference that may cause undesired
operation

CADENACIO User Manual
www.bioinsec.com 5
Revision History
Version Date Description
Ver 1.0.0 April 26, 2010 Release Cadenacio
1. Before You Begin
1. Safety Precautions / Emergency Measures
Do not turn on the power when water or foreign substances went into the power supply.
Do not touch the power with wet hands.
Please use the power on the specification.
Do not install in places where electricity (voltage/current) flows or leaks.
Please do not install in places where there is oil smoke, flammability, explosives, humidity, lots of
dust, and places where water(rainwater) splashes.
Do not place candle light or cigarette light on top of the product, or install the product near heating
equipment.
Please take care when a customer personally installs or relocates the product.
Do not install in places where there is a lot of direct sunlight or moisture, dust or soot.
There is the cause of electric leakage or electric shock, and it may become the cause of
malfunction.
Regarding the location of installation, it is a general rule to install the product indoors. In case of
inevitably installing the product outdoors, please make and use a supportive box that can protect the
device.
For device installation and wiring, please refer to the attached wiring diagram.
Please install the device and register the administrator ID and administrator fingerprint.
Please do not put foreign substances such as water, benzene, paint thinner, alcohol, adhesive
substance, other pins and needles, and other metal substances.
Be careful not to let fluids such as water, beverage, and chemicals inside the terminal.

CADENACIO User Manual
www.bioinsec.com 6
Do not drop the product or give strong impact.
When cleaning, do not spray water on the product and wipe with soft cloth or washcloth.
Do not disassemble, repair or remodel the product on one’s own accord.
※ We shall not be held liable for accidents and damages arising from not using the product as
directed in the user manual.
Things you must do before installing the product for the first time
1-1. Please change the system password. There may be security problems because the
password is temporarily set to ‘1111’ when CADENACI is shipped out from the plant.
1-2. Please connect the cable when the power is not authorized.
When fingerprint is not properly recognized
- Please try again after removing moisture or foreign substances from the user’s
fingerprint.
- When entering fingerprint, enter the fingerprint by pressing the tip of the finger onto the
sensor.
- Please be careful not to move the finger during fingerprint recognition.
- When the fingerprint image is not clear, please adjust the exposure value of the
fingerprint sensor.
When Cadenacio does not function properly
- Try again after initializing Cadenacio by pressing the Reset switch.
- If the problem is not solved with the method above, please make an inquiry to our
customer service center.
CADENACIO User Manual
www.bioinsec.com 7
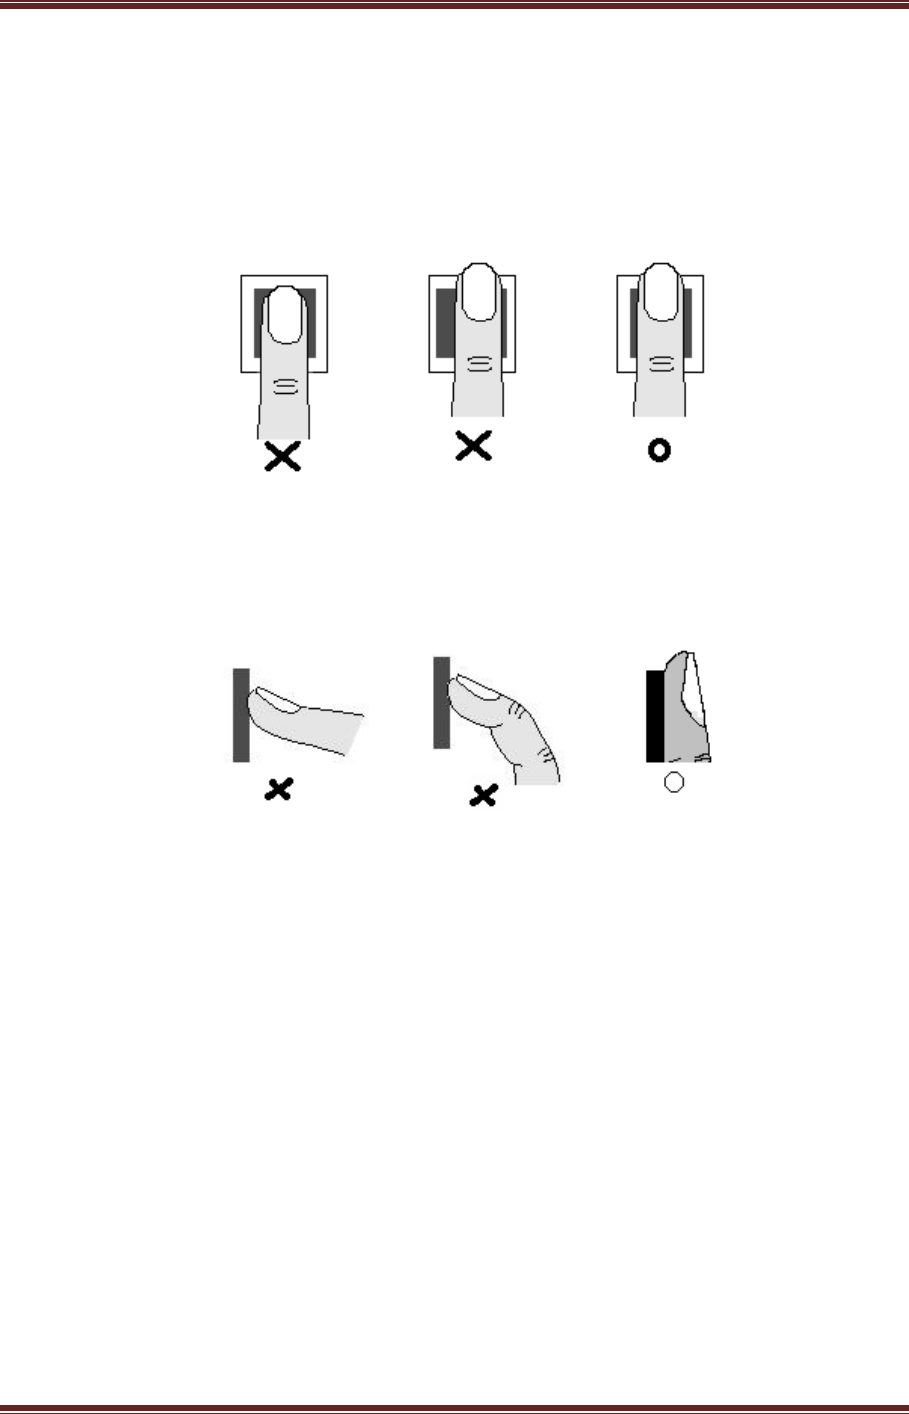
2. Proper Way to Input Fingerprint
Fingerprint Input Location
Fingerprint Contact Method
3. Product Introduction
BIOINSEC’s CADENACIO model is a fingerprint recognition access control system applicable to
all areas requiring personal authentication such as access control, attendance management,
membership management, and academic affairs management. This product recognizes a person and
saves the image at the point of recognition using a fingerprint. By doing so, it solves problems such as
piracy due to illegal use and loss by an agent, which occur in existing terminals using ID cards or
keypads.
A fingerprint is characterized by inalterability and uniqueness. It is the area most widely used in
biometrics due to its inexpensive price. CADENACIO is a product using BIOINSEC’s world renowned
optical fingerprint sensor. It boasts excellent performance due to its durability and stability.

CADENACIO User Manual
www.bioinsec.com 8
CADENACIO has already been recognized for its reliability by being supplied to many places such as
government offices, large corporations, and academic institutes.
CADENACIO has improved its performance by implementing camera function with a camera
directly built into the mainboard. Through this, it has added video storage function upon recognition
success or failure, and remote visitor image identification function. In addition to this, it has allowed
the user to personally send one’s WAV file to the terminal so it can generate a desired voice by
applying AC97 voice codec for high quality voice support.
CADENACIO has its own door open relay, and I/O MAN(controller) can be added in places
requiring higher security. It offers the optimum solution for access control using various I/O of IOMAN.
The CPU speed of the terminal is a very fast 400 MHz, and through this, high speed calculation
and authentication speed was maximized. Furthermore, by modulizing the LAN card and camera
that may cause problems, user convenience was maximized to enable the use of the terminal body
just by replacing the card when a problem occurs. On top of that, storage capability was enhanced
to enable the loading of 1~2GByte Micro SD Memory Card (T Flash) for storing user videos when the
terminal is used as a single unit due to disconnection with a network.
Using various functions like this, it can be used for multi-purpose in places requiring personal
authentification such as time & attendance management and academic affairs management as well
as being able to conduct access control in highly secure areas.
CADENACIO User Manual
www.bioinsec.com 9
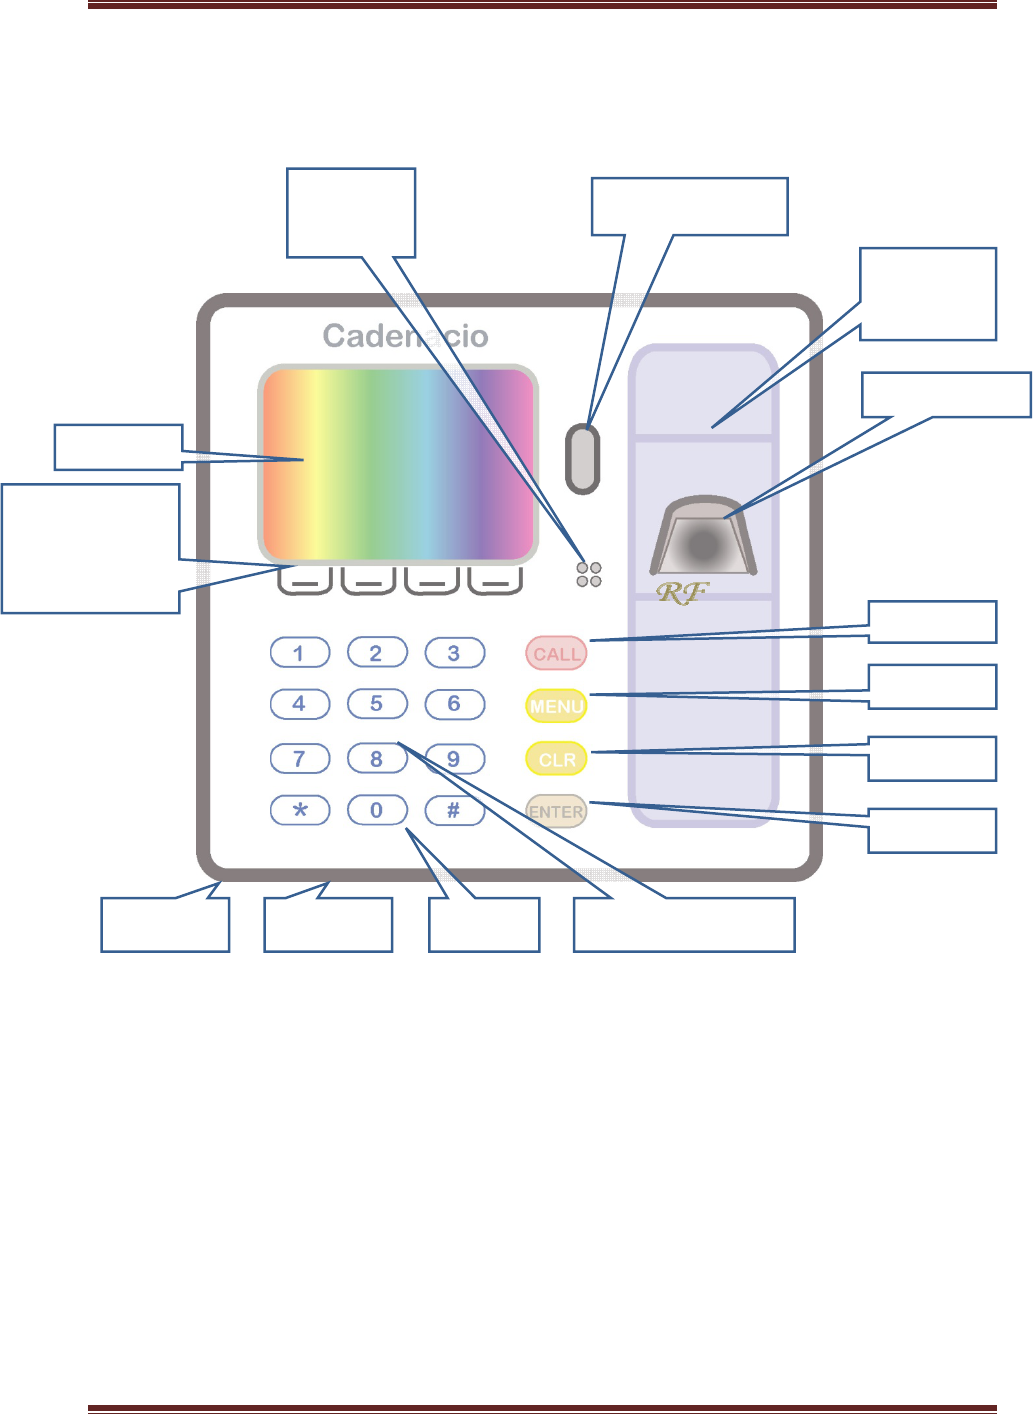
4. Product Diagram
Speaker
Voice Guide
Fin
g
er
p
rint
Built-in Camera
LCD
Proximity
Sensor
Microphon
Call Button
Keypad
Keypad
-Up/Down Arrow
Key
Menu
Clear Button
Enter
Reset Hole Mifare(13.56KHz)
CADENACIO User Manual
www.bioinsec.com 10
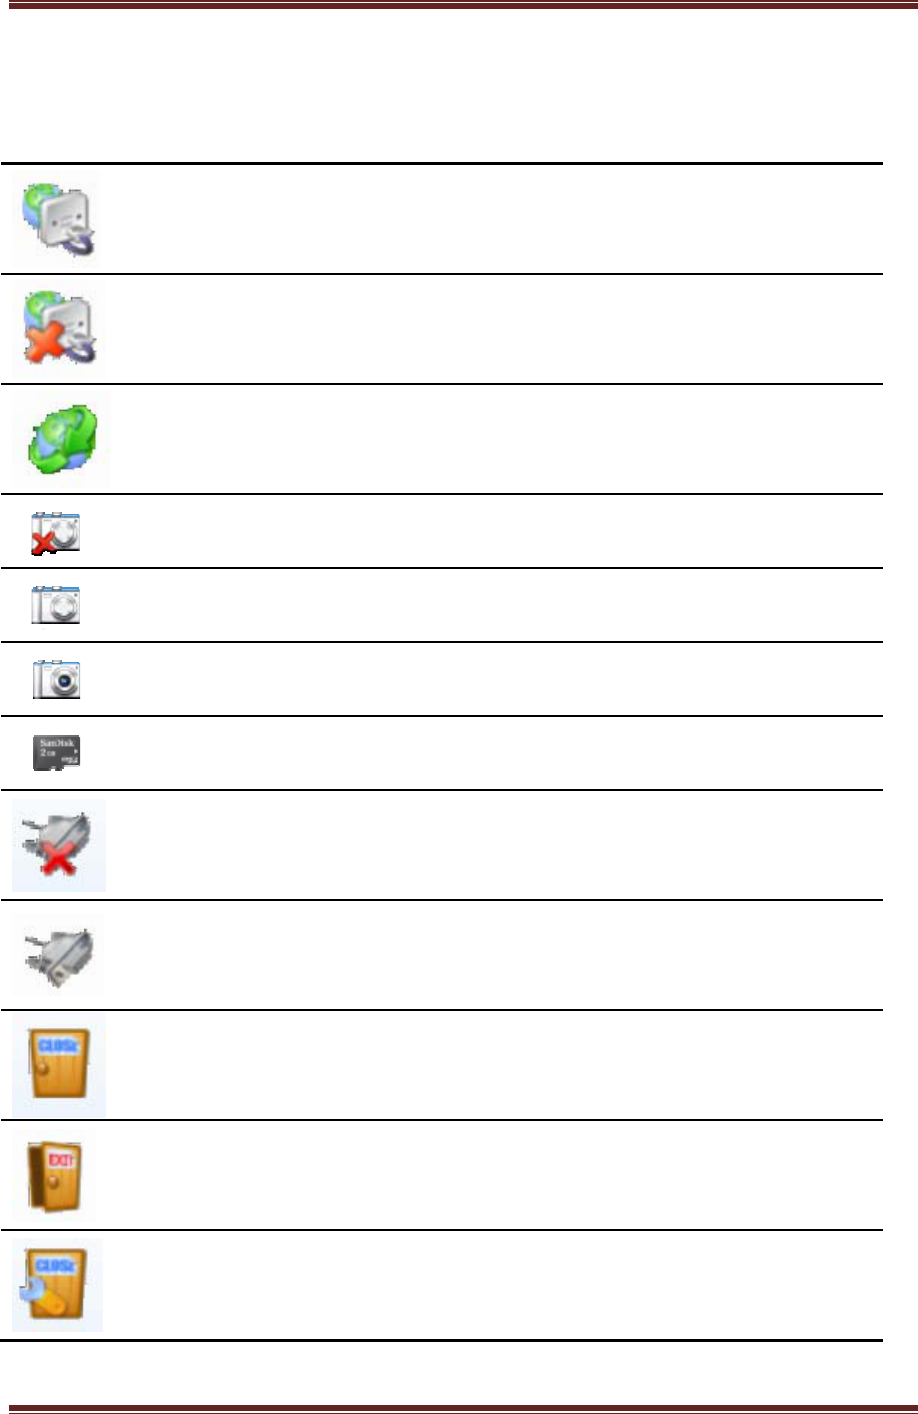
5. Icon Information
Normal Network icon appearing when communication with the server is
normal
Icon showing when communication with the server is cut off
DHCP mode setting in progress
No Camera Icon
Camera Off
Camera Auto/On
SD Memory Card recognized
Serial disconnected
Serial normal
Door Closed
Door Open
Force Locked Door
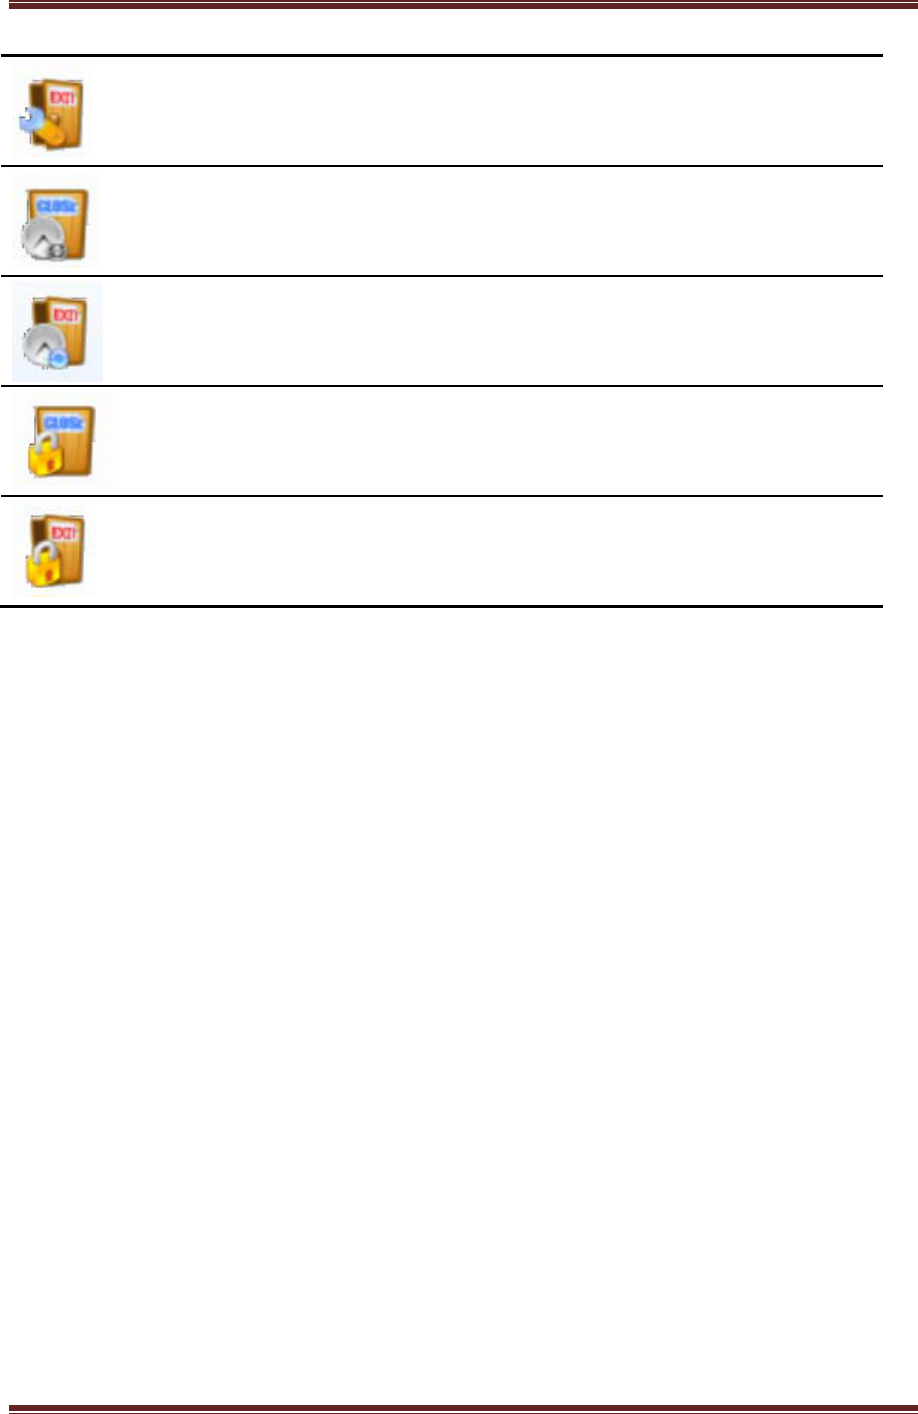
CADENACIO User Manual
www.bioinsec.com 11
Force Open Door
Locked by Door Schedule
Open by Door Schedule
Lock Down (Forced lock locking device)
Lock Open (Forced open locking device)
6. Product Features
High Performance CPU
- Capable of high speed authentication by using 32Bit 400Mhz ARM CPU
Large Built-in Memory
- It has a 128 Mbyte NAND Flash memory built into the device.
- It can additionally load a Mini SD memory. (Supports only 1GB, 2GB) SD memory is
used for log and user backup.
Capable of mounting various external RF reader
- It can mount external RF readers such as MIFARE.
- It can connect RF of other companies through 1 Wiegand Input Port.
Camera Function (Option)
- Image is saved upon authentication/failure due to built-in camera.
- Capable of remote monitoring.
- When a visitor calls, you can see the face of the visitor.
- When DVR is connected via NTSC port, you can save images.
Proximity Sensor (Included in Camera Option)
- When a user approaches, the camera turns on and gives out a greeting message.

CADENACIO User Manual
www.bioinsec.com 12
Links with Speed Gate
- You can set the door open time in units of 1/10 second. When you set the door open
time in minimum units of 0.5 seconds, it can be linked up to Speed Gate.
Built-in Key Phone Function (Option Board)
- It is capable of interphone call by linking up with a private switchboard inside a company.
The door can be opened by pressing a password using a dial of the telephone while
talking over the phone.
AC97 Voice Play (Wav File Play Function)
- The product supports high quality sound, and the desired sound source can be
personally produced by the user, and sent to and played through the terminal.
Multi-Language Support
- Languages such as English, Italian etc. can be set in the menu, and voice can be
recorded and replaced with the desired language.
I/O Man mounted for Access Control and I/O Expansion
- Engages in encrypted data communication for high-security
- Capable of RS485 communication for remote communication
- Supports fire alarm connection and various I/O.
- Provides 2 relay contact points as basic option.
High Reliability using Fingerprint
- It has solved security problems due to card duplication, loss, and distribution
arising from Card System or Key Pad System with a fingerprint.
Various Solution
- It can be applied to various areas such as access control, time & attendance
management, overtime work management, parking management, speed gate etc.
Built-in TCP/IP
- TCP/IP is built into the terminal board, and multiple terminals can be managed via LAN.
Function capable of flexible implementation of Time & Attendance Management
- Functions including 4 programmable function keys and up to 9 time & attendance
classification codes supports a more efficient time & attendance management. You
can apply various types of functions with one terminal.
Capable of Management with Low Budget
- When ID Card is used, there is a cost for reissuing of a card when there is a ne
w user or when a card is lost. The fingerprint recognition system can simply man
age with a terminal without any additional cost.
Built-in RF Card Reader
- According to the type of reader, EM Card, Mifare(13.56MHz, 1443A) Card, and Tra
nsportation Card can be used.

CADENACIO User Manual
www.bioinsec.com 13
Capable of Independent Use or Use in connection with a Server
- BIOINSEC’s fingerprint recognition system can be used independently or linked up
with a server via TCP/IP communication. Furthermore, it can be directly connected
to the independent program using SDK provided as a bundle. CADENACIO can c
onduct time & attendance management with its own RTC and Log management fu
nction.
Setting & Viewing of User Time Zone
- It can be controlled by groups through a combination of 32 time zones and 32 sc
hedules, and this can be sent to the terminal.
Log Automatic Transfer
- A log is automatically sent when a terminal communicates with a server, and the
sent log can be deleted from the terminal.
CADENACIO User Manual
www.bioinsec.com 14
7. Terminal Menu
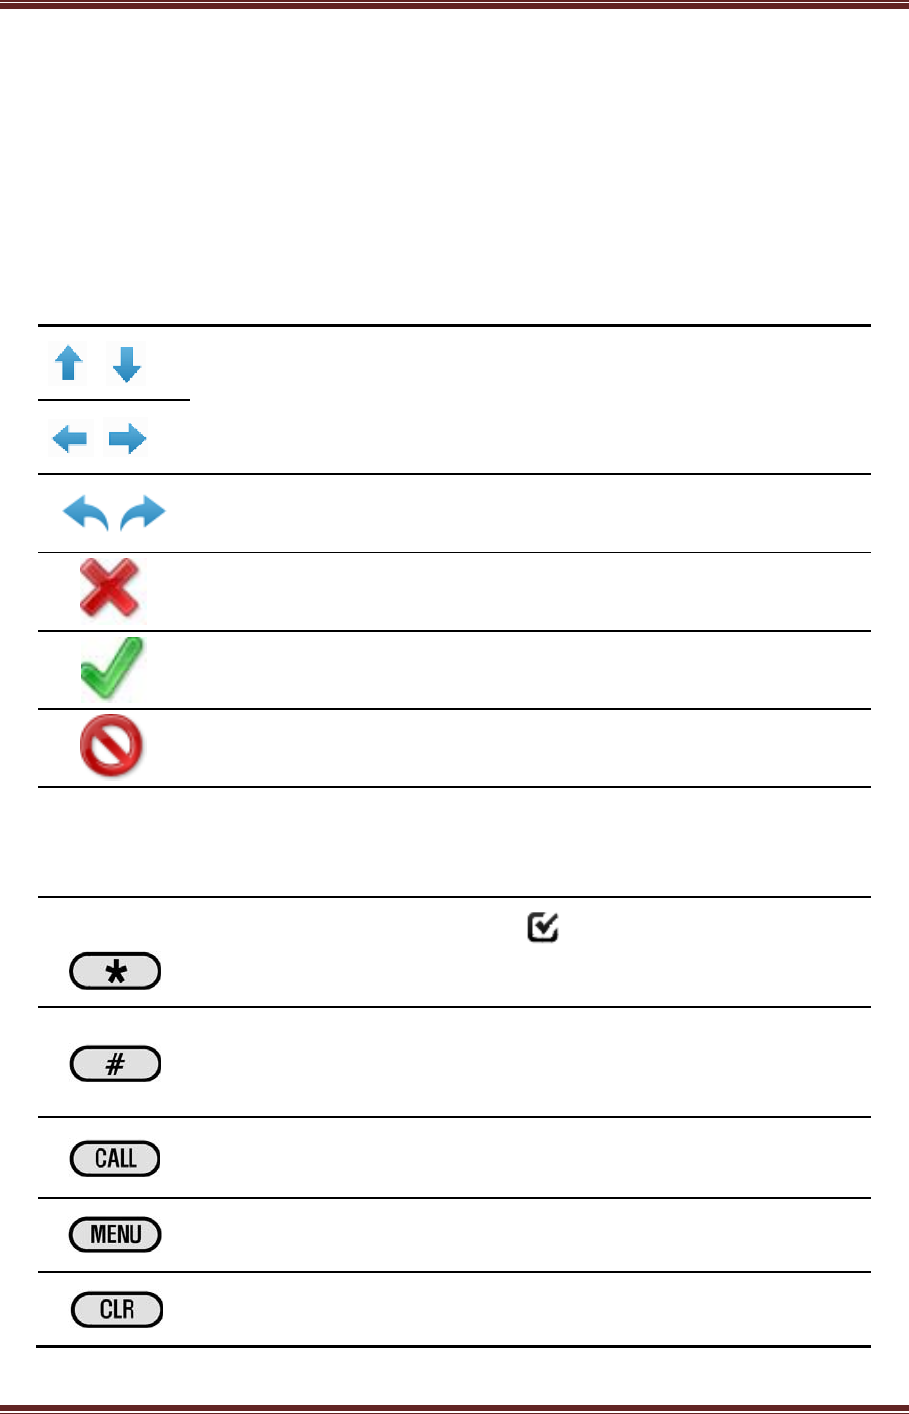
① How to Use Menu
< Menu Setting Button >
4 buttons below the LCD
This is the up and down arrow keys used for moving the cursor up and
down or left and right in all menus.
This switches to previous or next menu.
This cancels a task.
This completes a task and saves it.
This goes back to the previous menu.
< Keypad Setting Button >
You can select the check box ( ) upon user registration. It is
hereinafter referred to as “Star Button.”
When deleting the input value, it is used for the same purpose as a Back
Space key.
It is hereinafter referred to as “Sharp Button.”
This is used when a visitor makes a call. It is hereinafter referred to as
“Call Button.”
This is pressed when going into a menu. It is hereinafter referred to as
“Menu Button.”
This is used when cancelling a task. It is hereinafter referred to as “Cancel
Button.”

CADENACIO User Manual
www.bioinsec.com 15
This is used to complete or save a task. It is hereinafter referred to as
“Enter Button.”
CADENACIO User Manual
www.bioinsec.com 16
② Entire Menu Tree
The terminal is set as example menu tree when it left the factory.
If user changes the value set as factory next tree menu process will be changed with your
purpose.
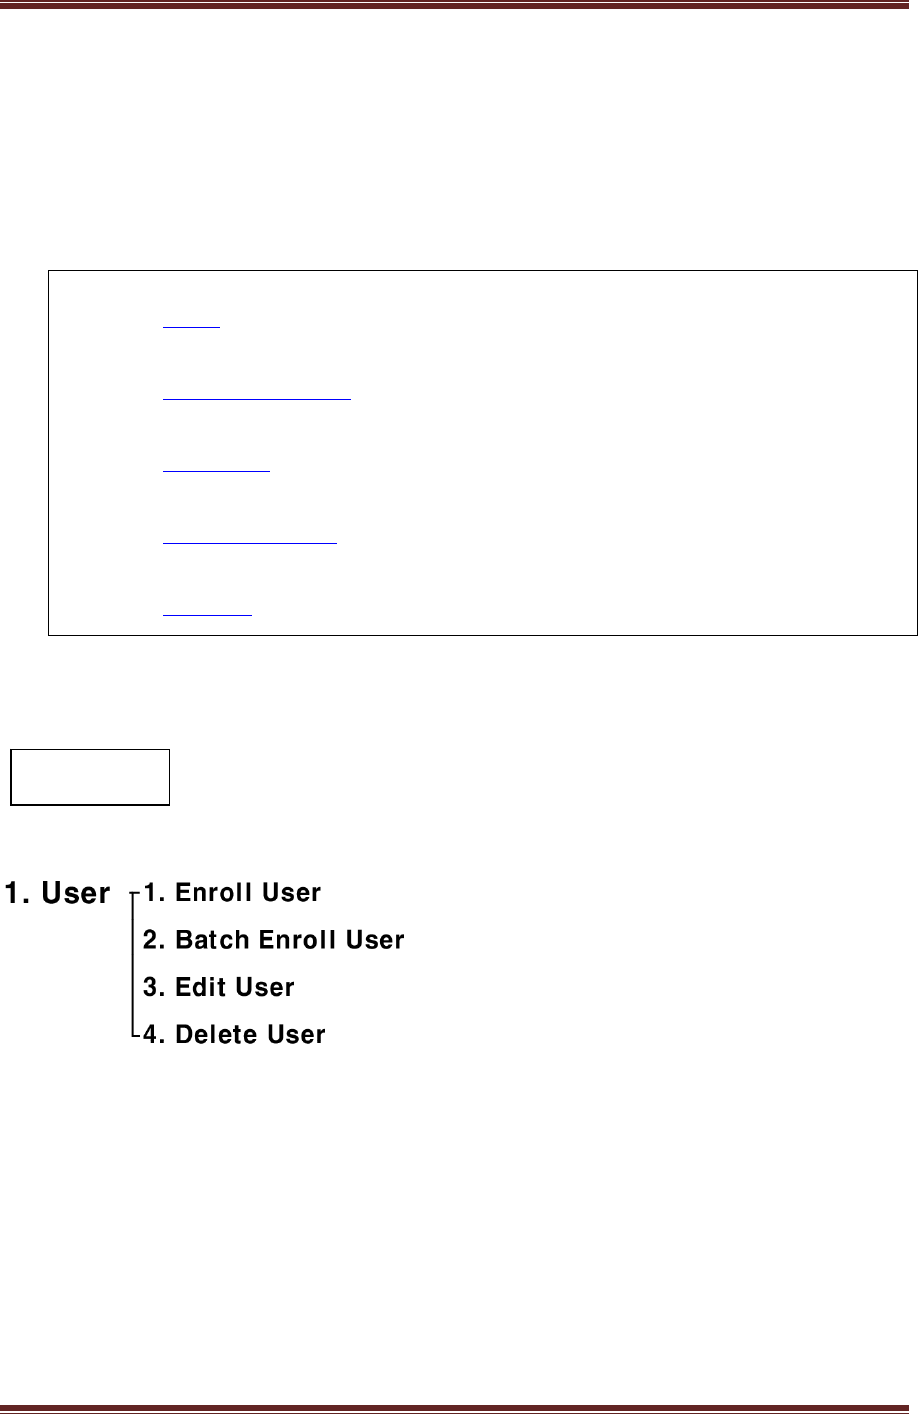
1. User
2. Access Control
3. Network
4. Configuration
5. System
1. User
CADENACIO User Manual
www.bioinsec.com 17
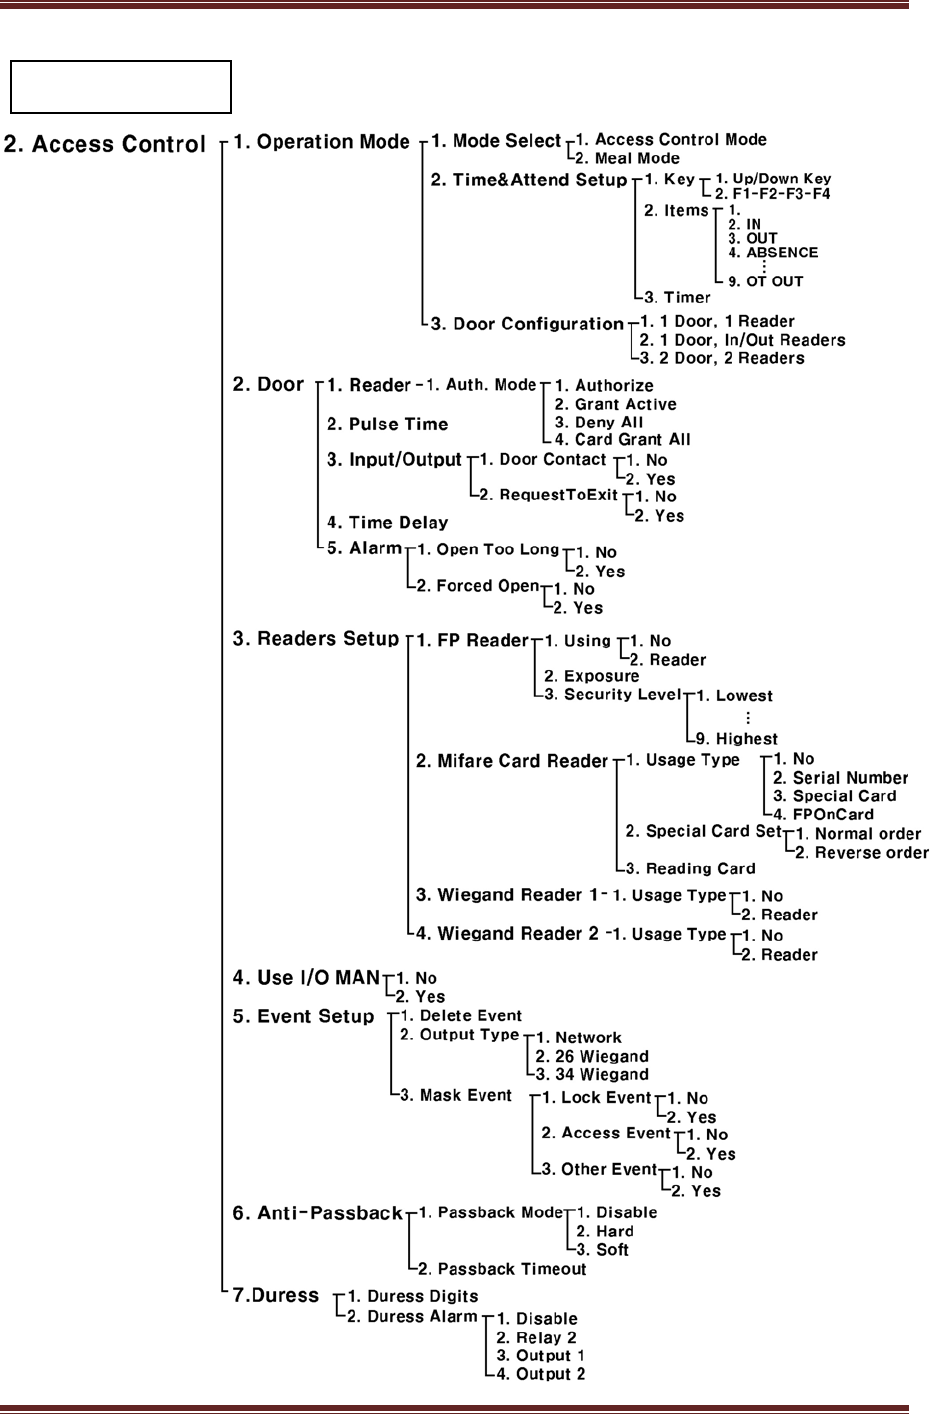
2. Access Control
CADENACIO User Manual
www.bioinsec.com 18
3. Network
4. Setup
CADENACIO User Manual
www.bioinsec.com 19
* If user changes the value set as factory, next tree menu process will be changed with your
purpose.
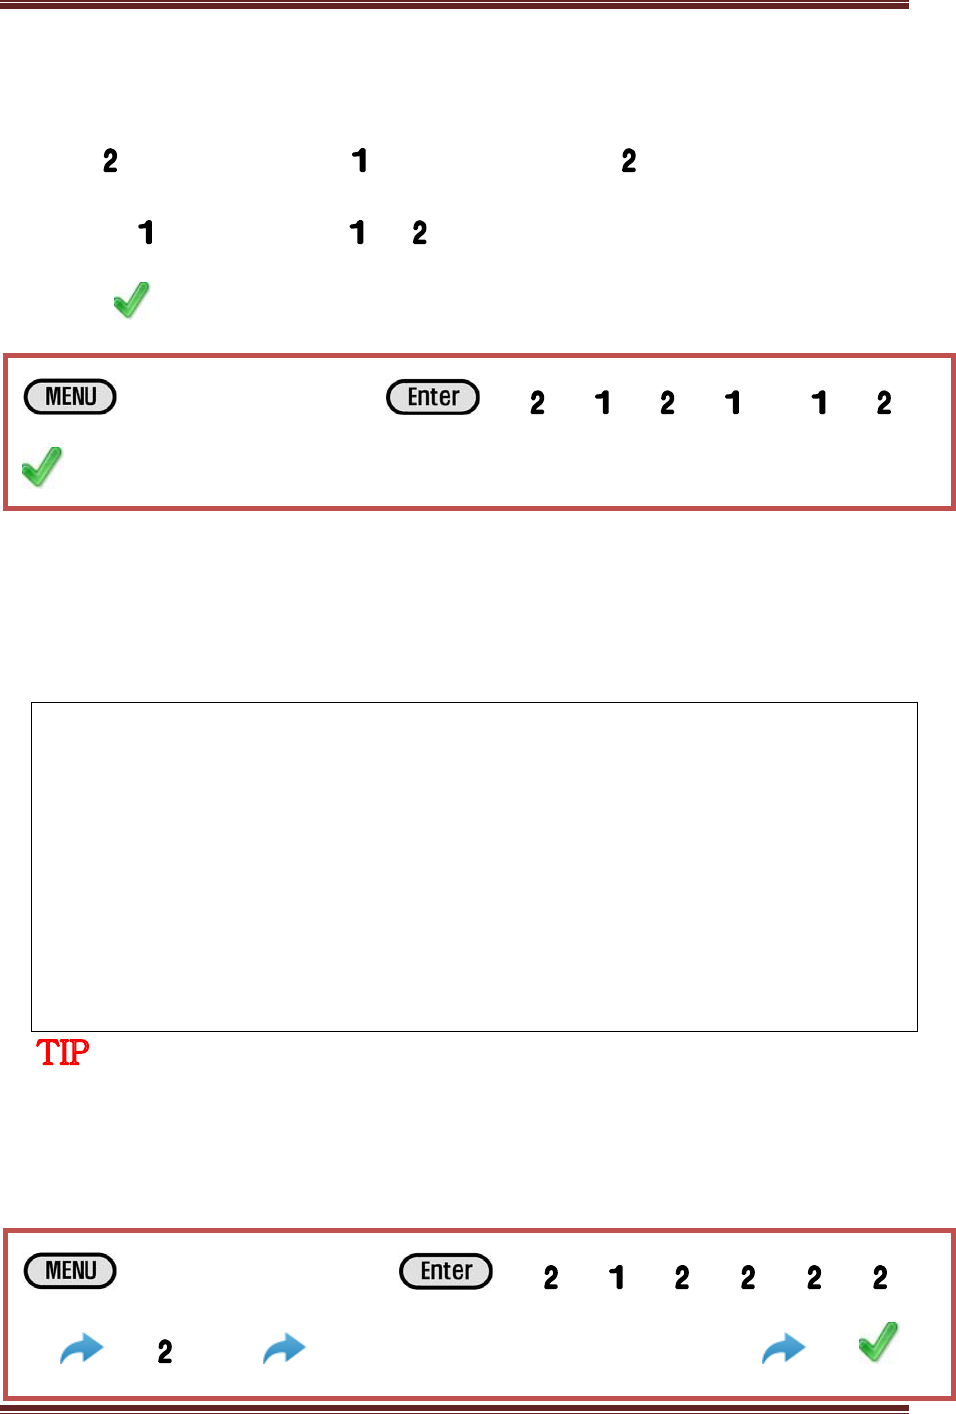
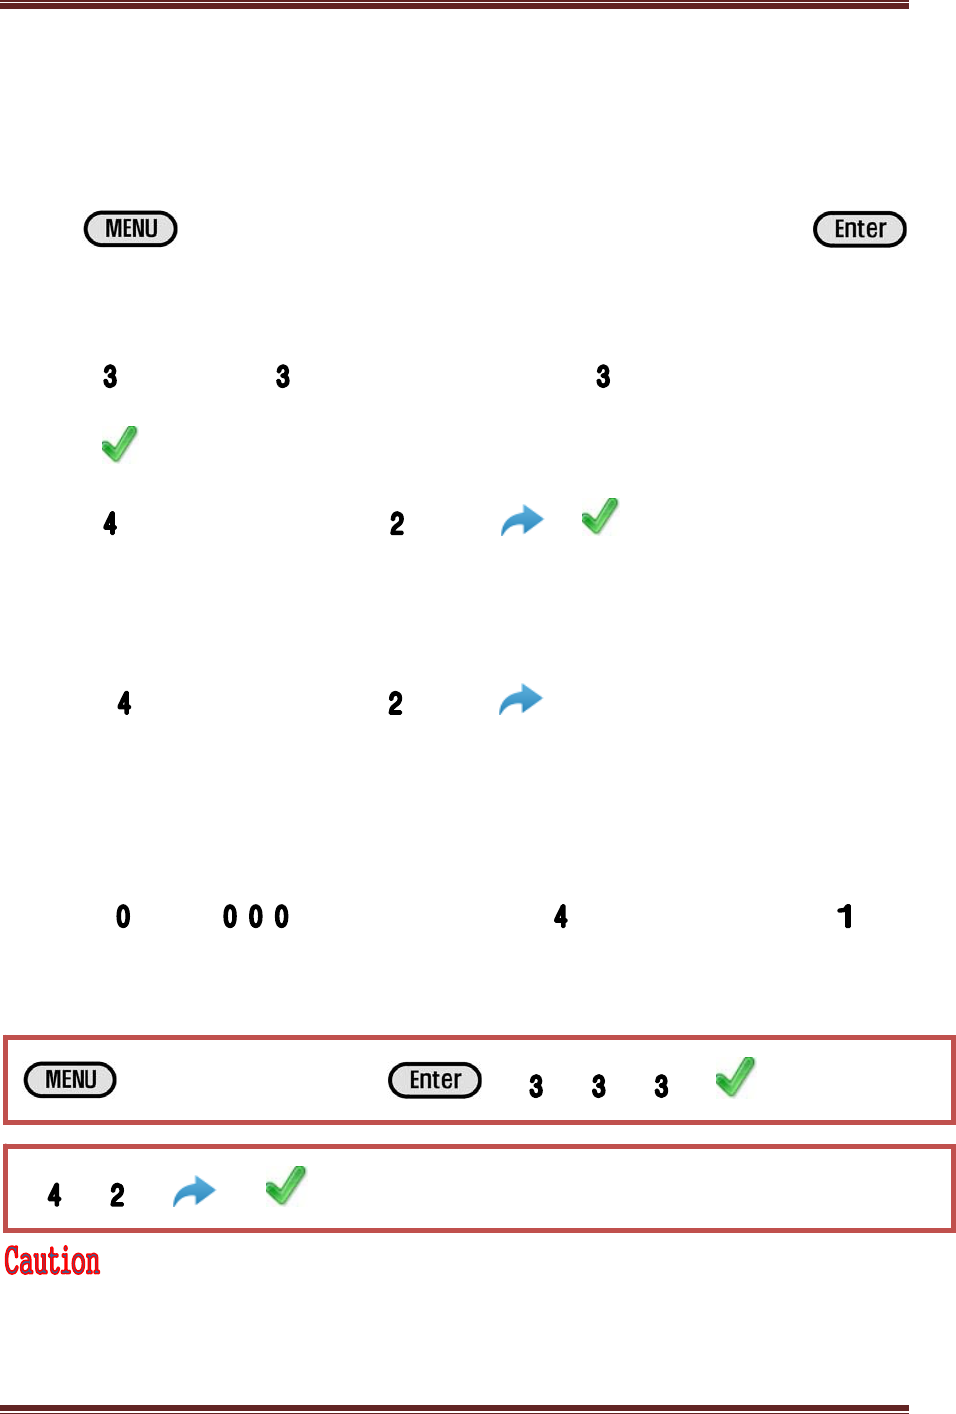
2. User Management(Registration/Edit/Delete) Menu
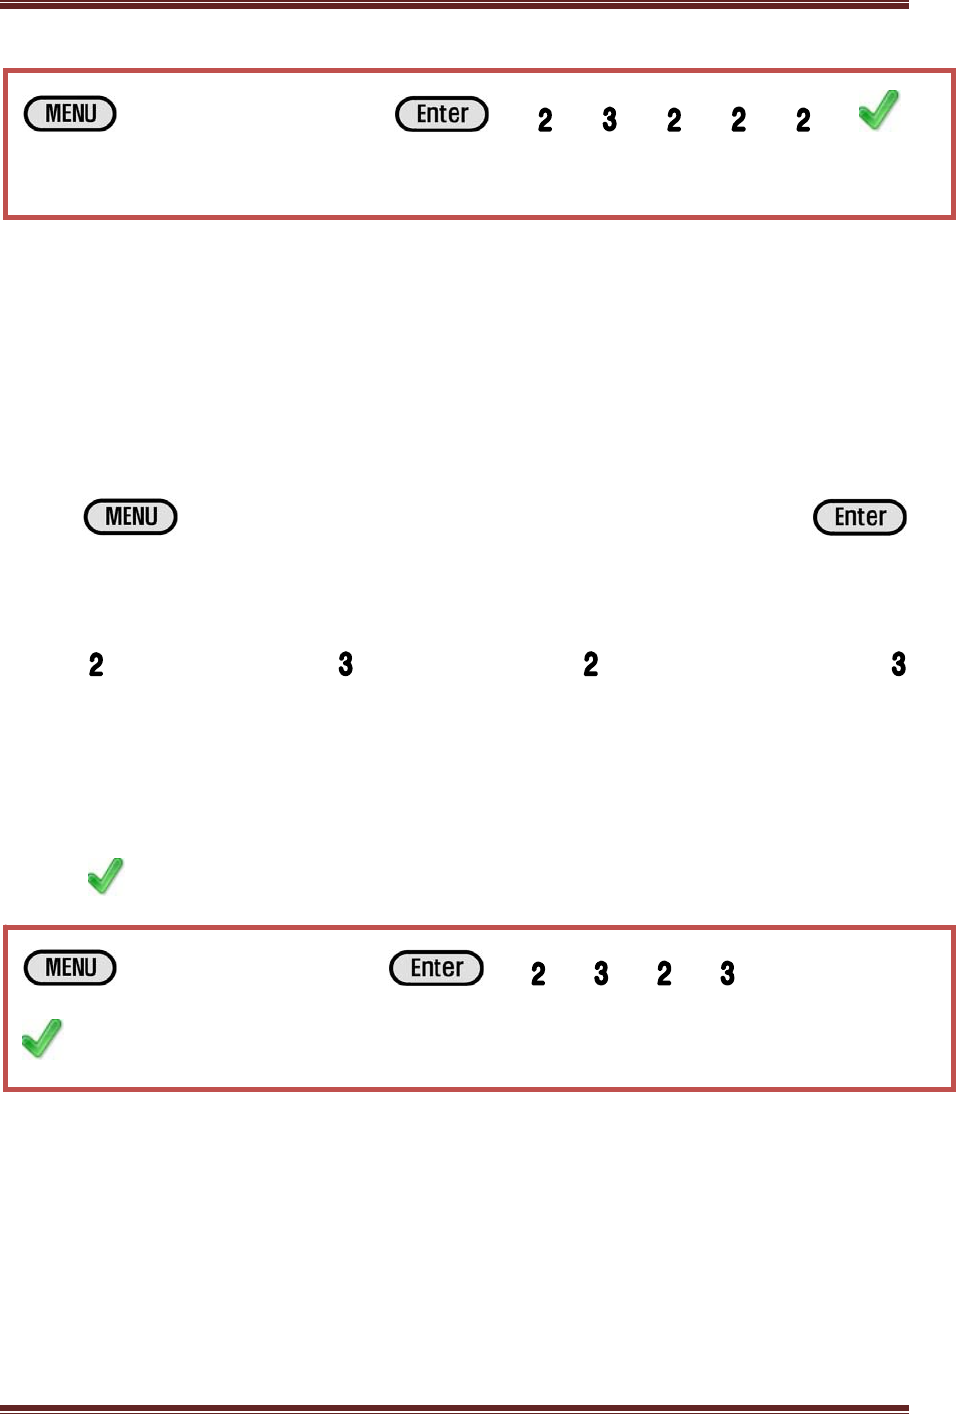
1. Administrator Password Registration
In order to go into the menu, administrator password must be registered.
The password when the product was shipped out is “1111,” and you must change the password.
I. Button → Admin password(Default value : 1111) →
button
II. Setup → Administrator → Button (Delete Existing
Password) → Enter New Password → Button(Switchover
to new line) → Check Password (Reenter New Password)
5. System
CADENACIO User Manual
www.bioinsec.com 20
III. Button → Finish
: Please change the administrator password.
If you wish to go into the desired menu fast, once you press the number relevant to the menu, it
is immediately applied.
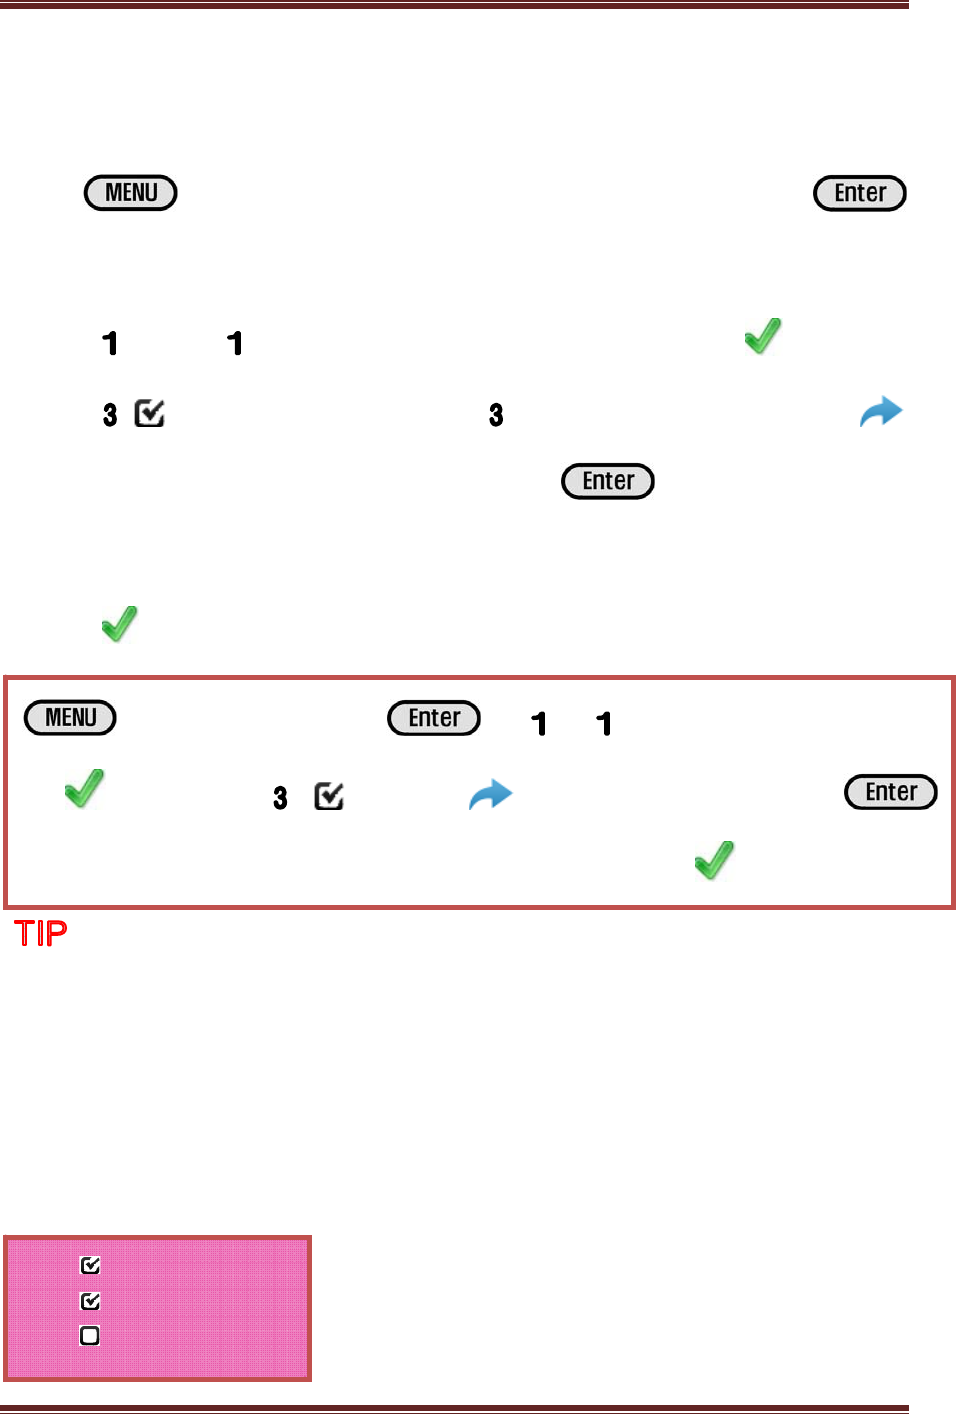
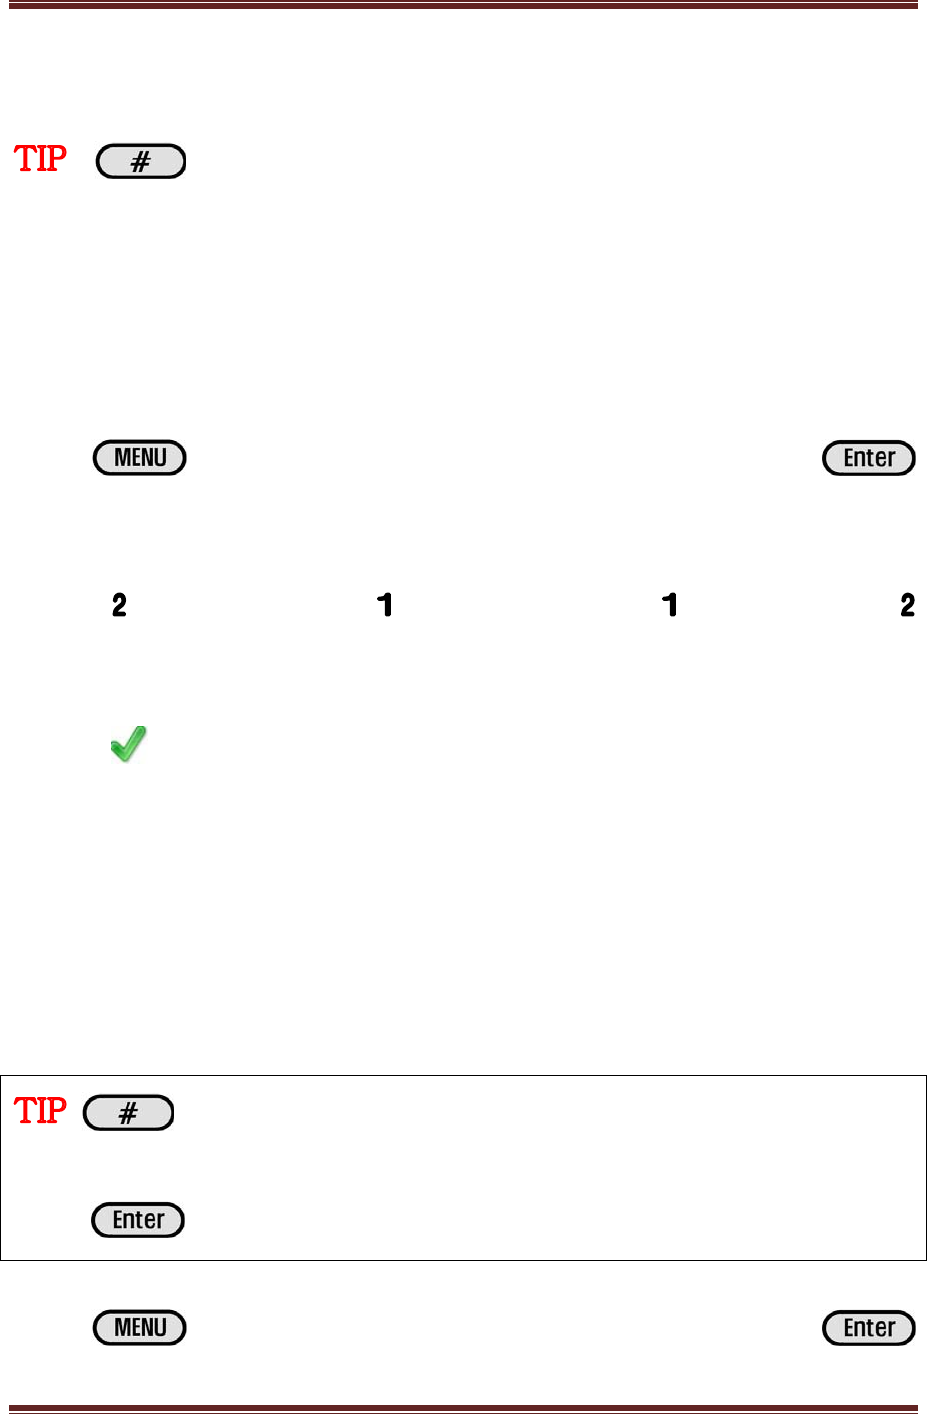
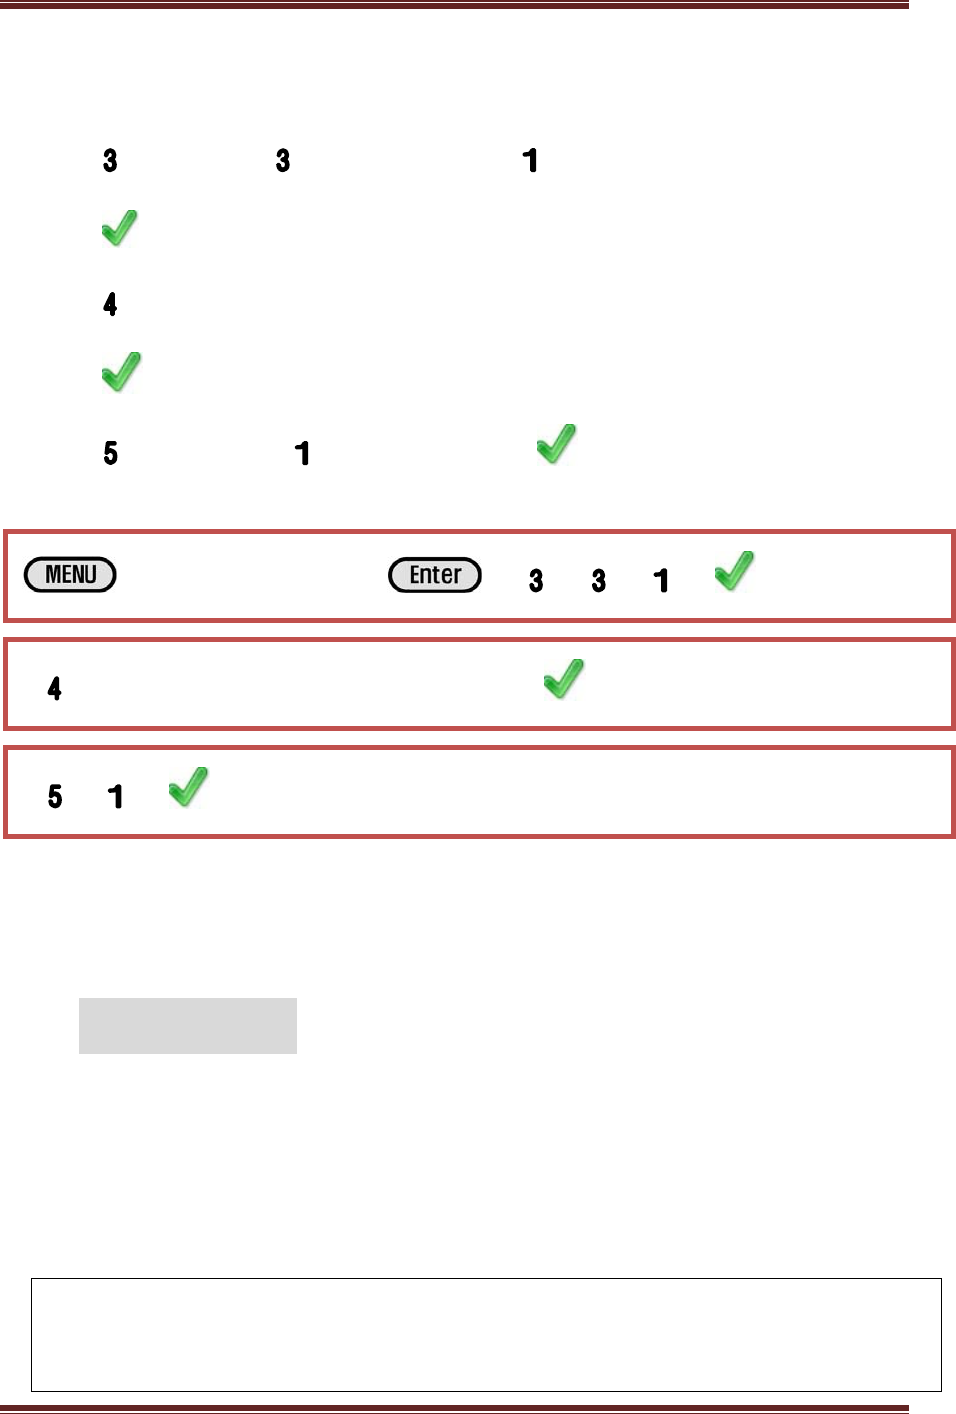
2. Enroll User
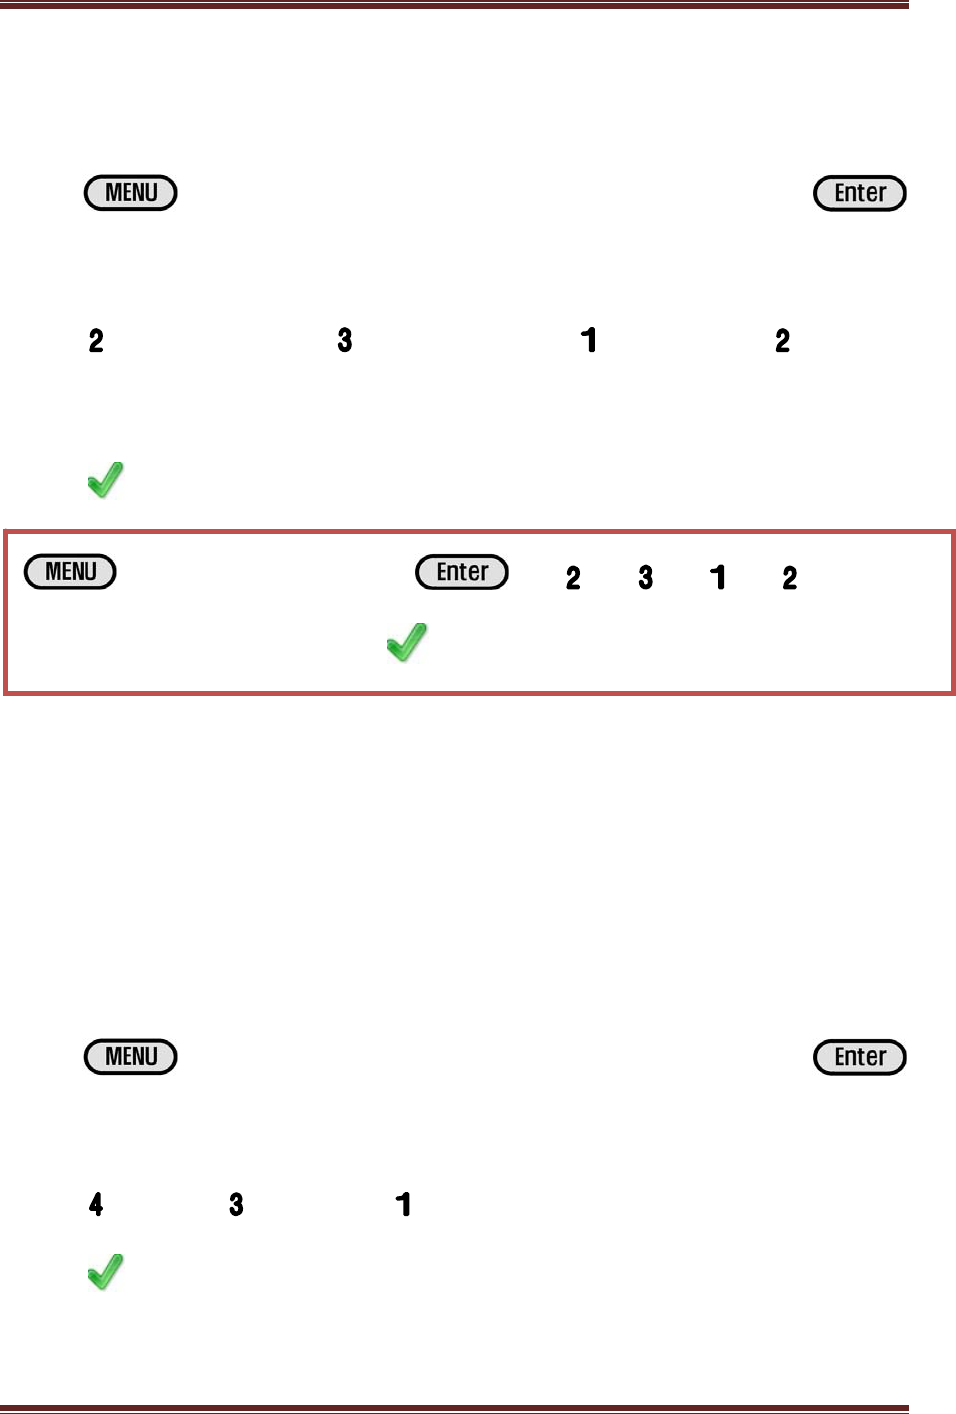
① Fingerprint Registration
I. Button → Enter Password(Default Value : 1111) →
Button
II. User → Enroll User → Enter User ID (Number) → Button
III. FP Check (Once is pressed, Repeat Check/Uncheck) →
Button
IV. Register FP 1 (Register the same finger twice) → Register FP 2
(Register the same finger twice)
V. Button → Finish
→ Enter Password → → → → (Delete Existing
Password) → Input New Password → (Switchover to new line) →
Password Check Reinput → → Completion
CADENACIO User Manual
www.bioinsec.com 21
When changing the access mode, once you press the relevant number, you can check or
uncheck it.
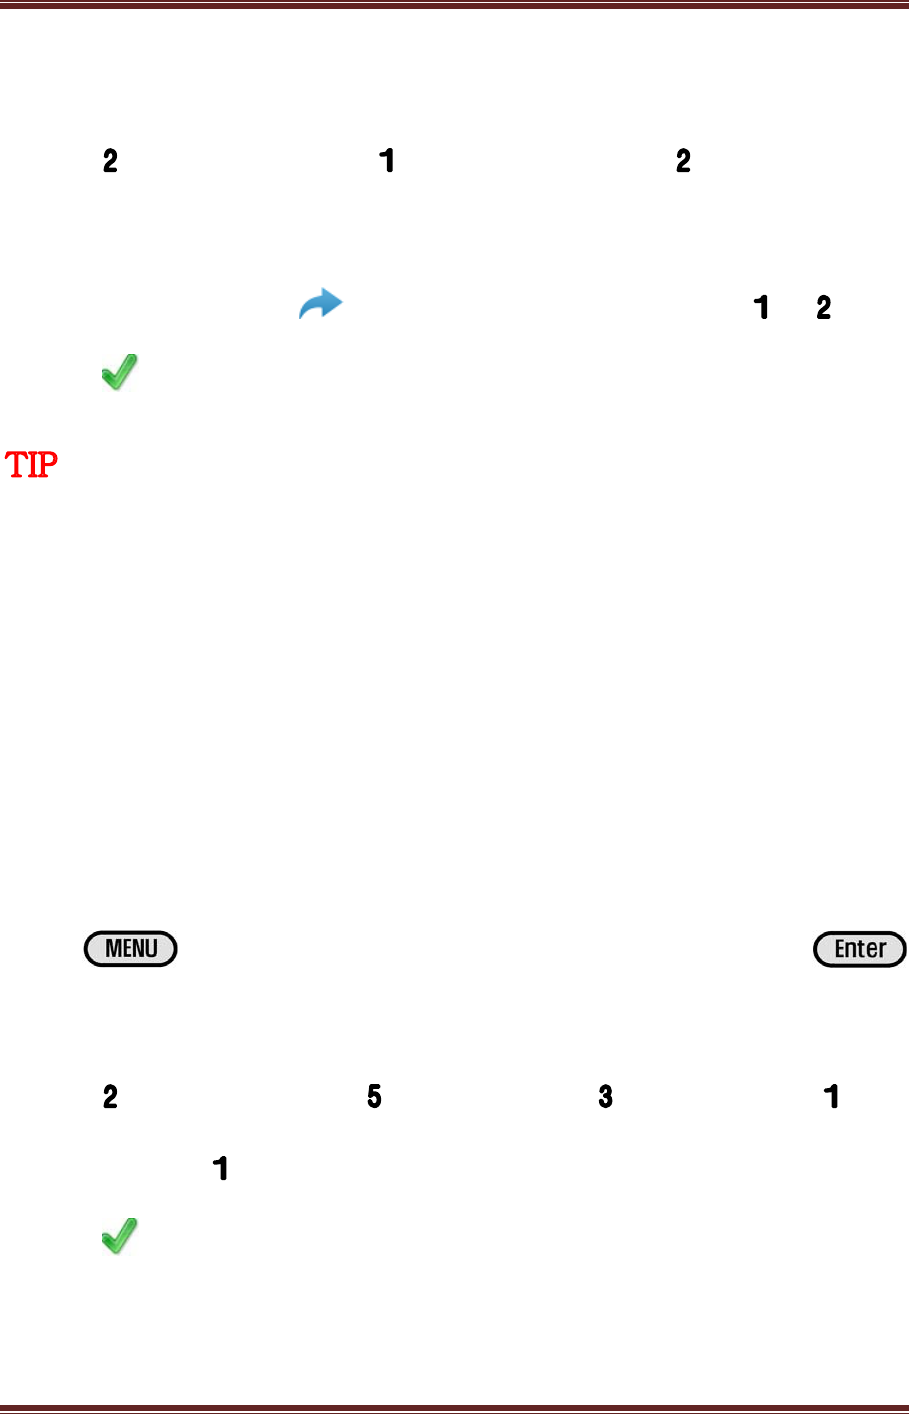
② Card Registration
I. Button → Enter Password(Default Value:1111) →
Button
II. User → Enroll User → Enter User ID (Number) → Button
III. Card Check (If you press Repeat Check/Uncheck) →
Button → Card gets close to number key → Button
IV. Button → Completed
When changing the access mode, once you press the relevant number, you can check or
uncheck it.
→ Enter Password → → → → Input User ID (Number)
→ → Check Card → → Approach with Card Number Key →
→ Finish
→ Enter Password → → → → Enter User ID (Number)
→ → Check FP → → Register FP 1 (Register the same finger
twice) → Register FP 2 (Register the same finger twice) → → Completion
CADENACIO User Manual
www.bioinsec.com 22
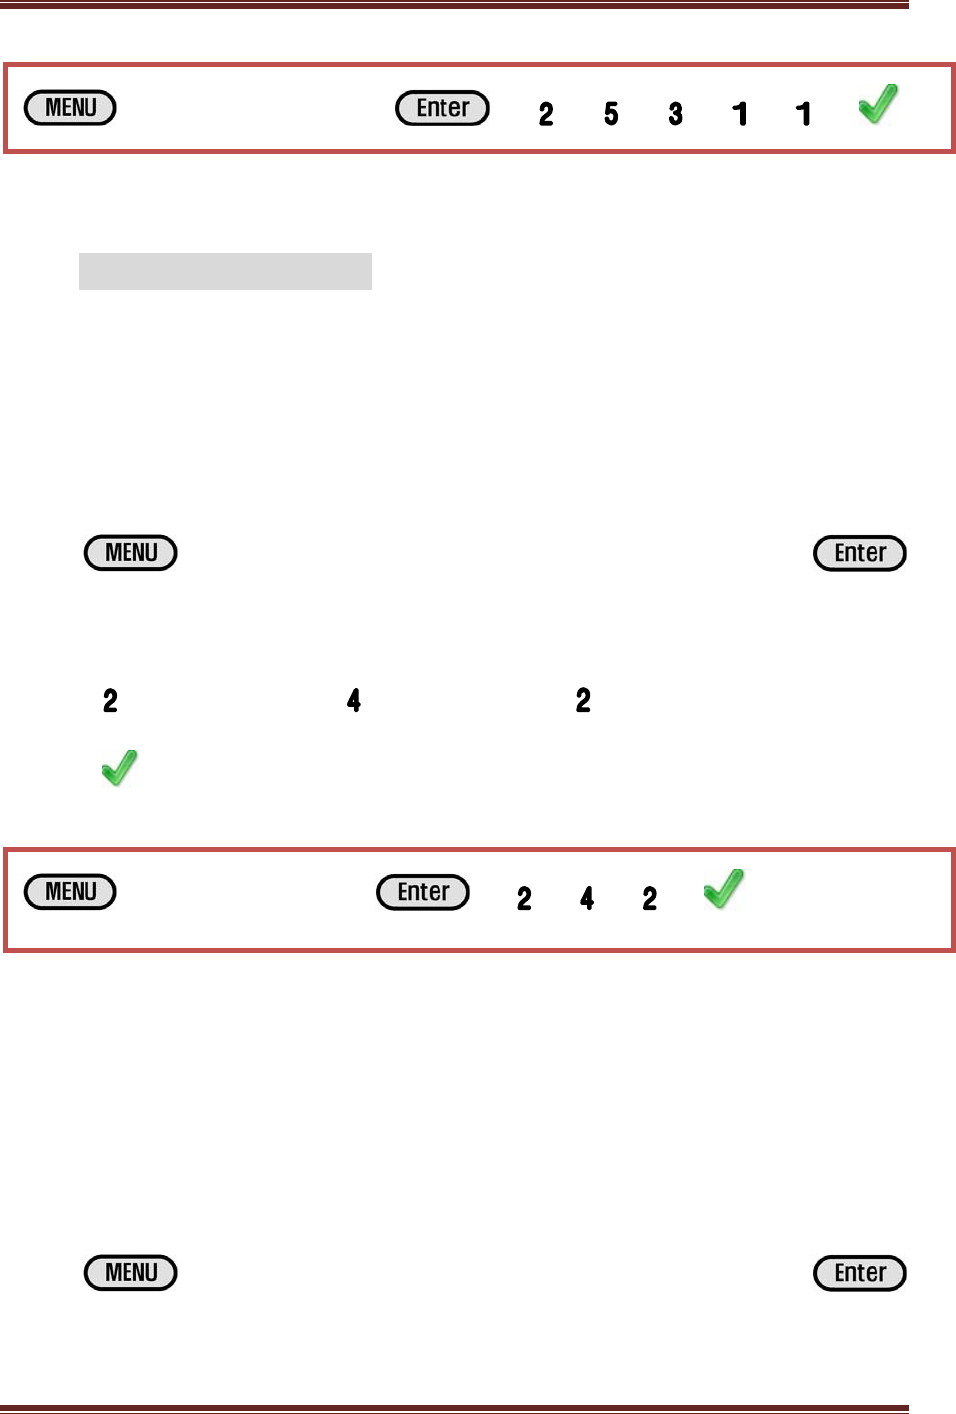
③ Password Registration
I. Button → Enter Password(Default Value :1111) →
Button
II. User → Enroll User → Enter User ID (Number) → Button
IV. PIN Check (If you press Repeat Check/Uncheck) →
Button → Enter New Password → Button(Switchover to
new line) → Check Password (Reenter New Password)
III. Button → Finish
When changing the access mode, once you press the relevant number, you can check
or uncheck it.
※ Please enter the password in 4~8 digits in order to prevent its leakage.
④ When setting with Fingerprint or Card
When you have registered numerous fingerprints and cards and only want to authenticate one of them,
check fingerprint, card or password as shown below, and then, authorize only one of them.
1. FP
2. CARD
3. PIN
→ Enter Password → → → → Input User ID(Number)
→ → Check PIN → → Input Password →
(Switchover to new line) → Check Password (Reinput) → → Finish
CADENACIO User Manual
www.bioinsec.com 23
What is the difference between ‘Card + Fingerprint’? When selecting ‘ Card + FP’ in
access mode, both the card and the fingerprint must match in order to authorize.
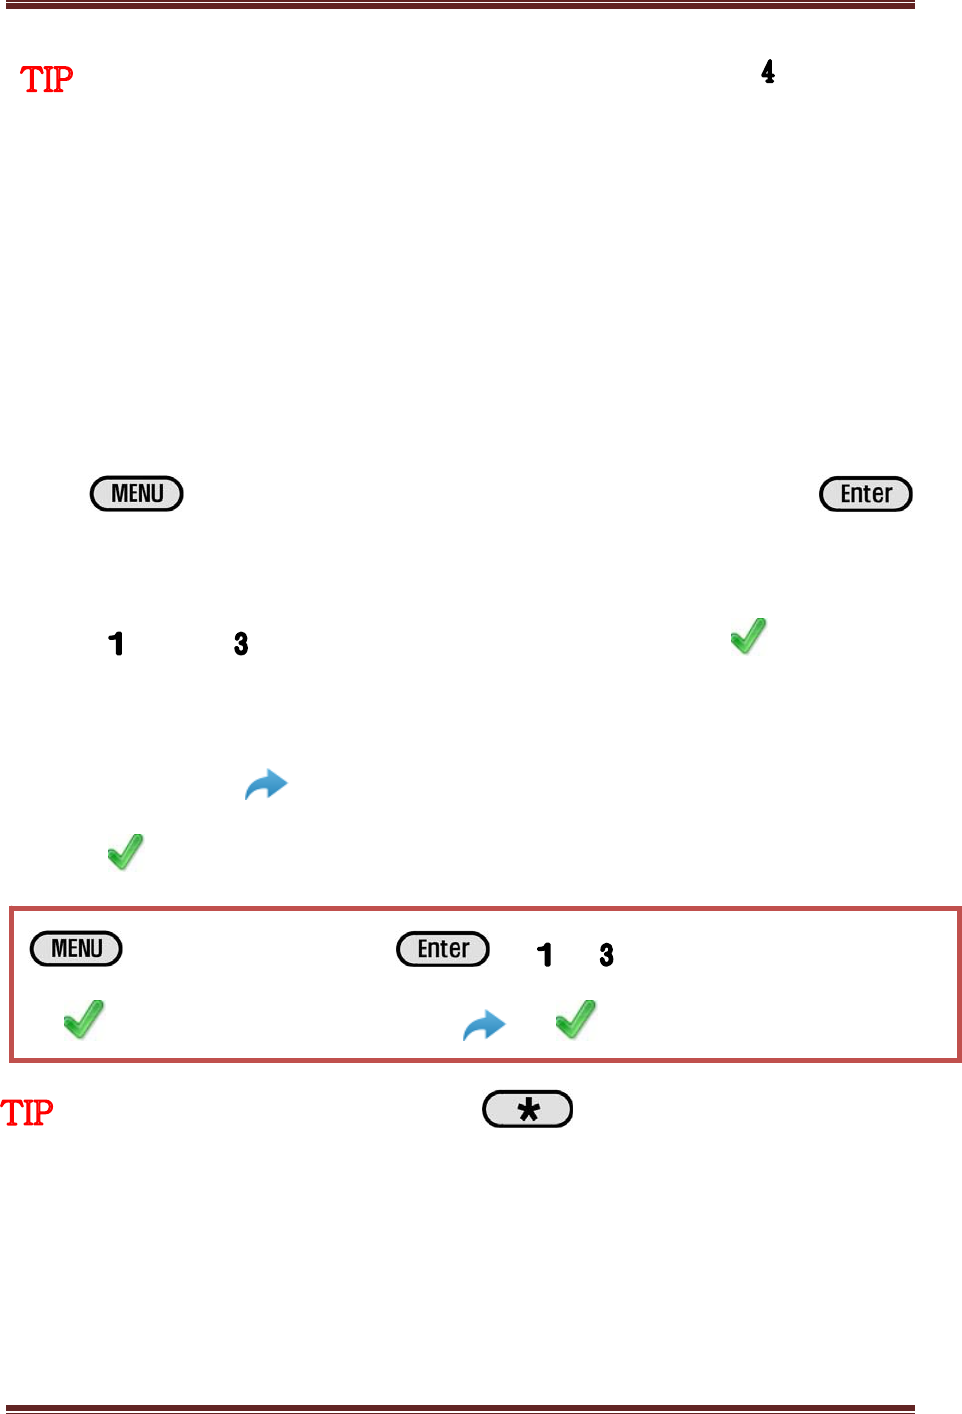
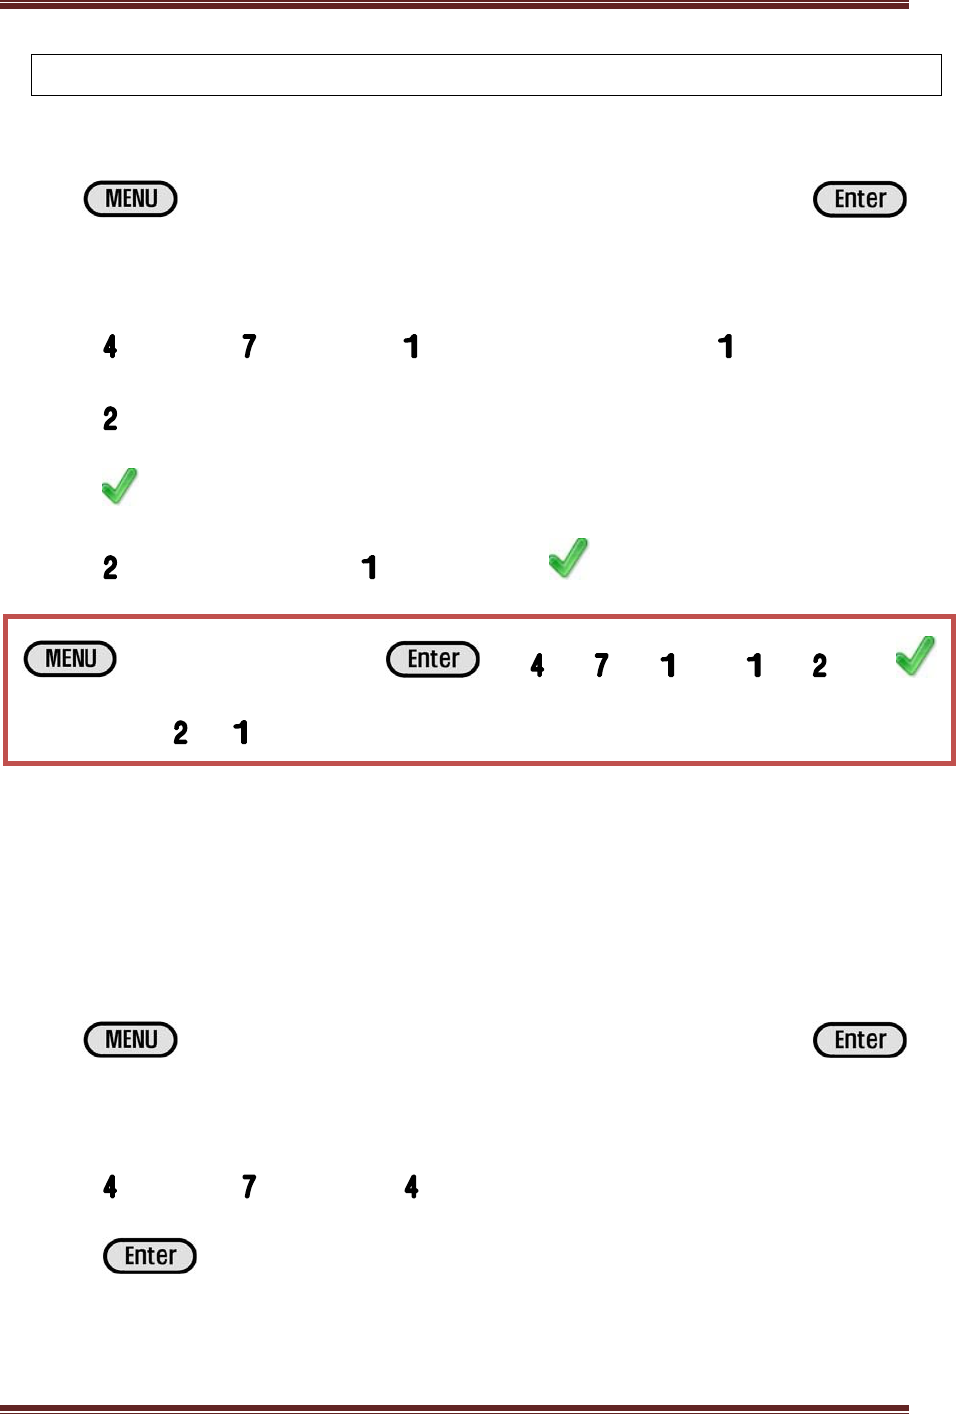
3. Edit User
In User Change, it is impossible to change the access mode. If you want to change the access
mode, reregister after deleting a user.
I. Button → Enter Password(Default Value :1111) →
Button
II. User → Edit User → Enter User ID (Number) → Button
V. Enter Date to Change(Impossible to change already registered access
mode) → Button
III. Button → Finish
If you want to view the user list, press (star) button in the User ID input
window.
※ If you want to quickly access the desire menu, once you press the number relevant
to the menu, it is immediately applied.
→ Enter Password → → → → Input User ID (Number)
→ → Input Data to Change → → → Finish
CADENACIO User Manual
www.bioinsec.com 24
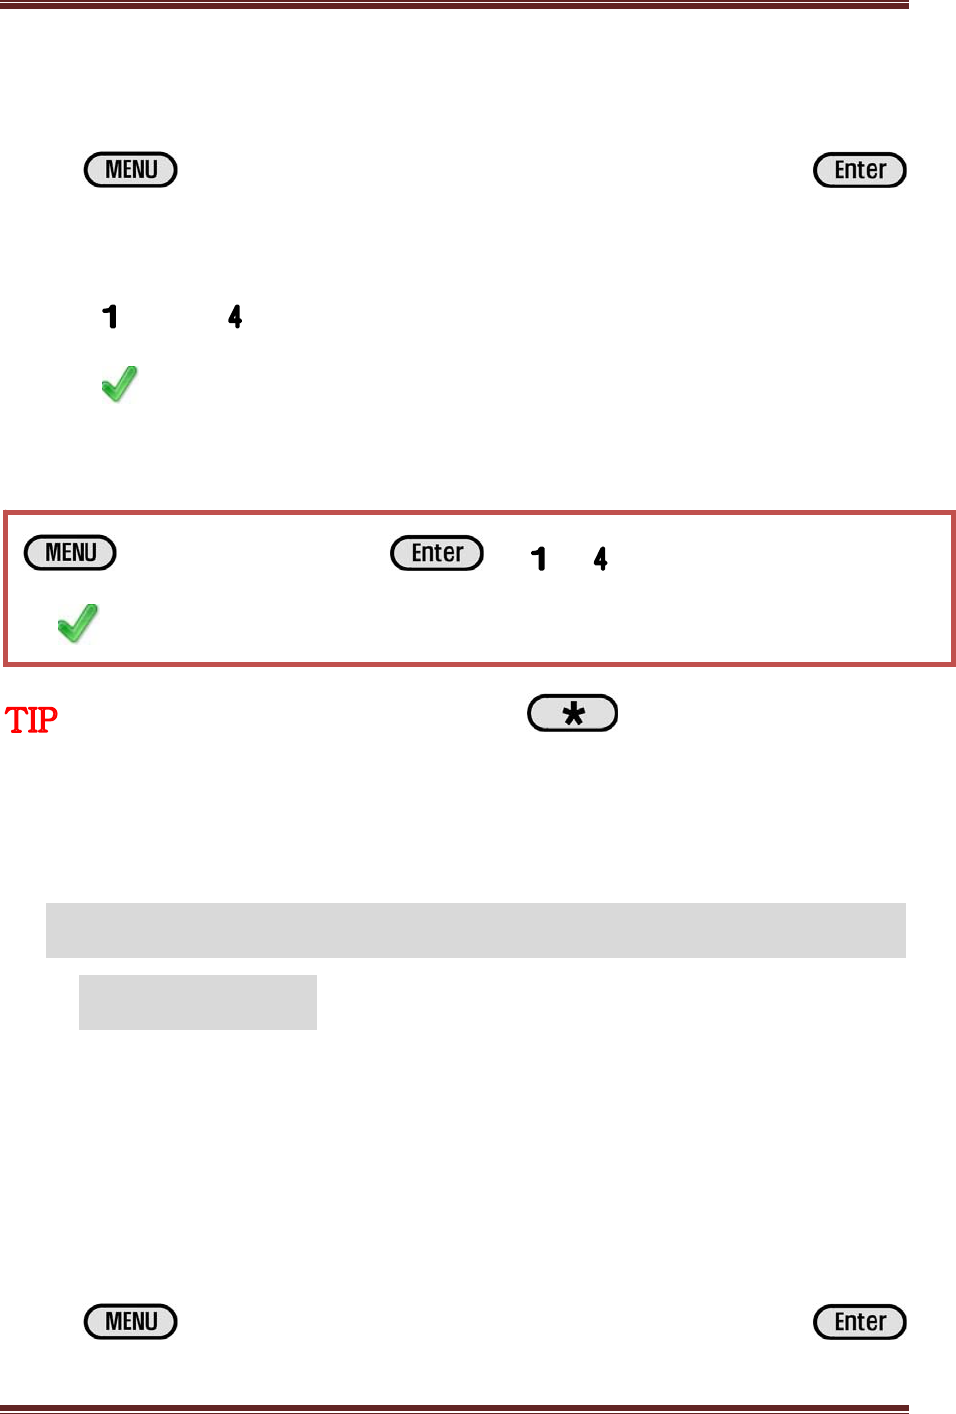
4. Delete User
I. Button → Enter Password(Default Value:1111) →
Button
II. User → Delete User → Enter User ID (Number)
III. Button → Finish
When deleting all the users, once you press (star) button in the User ID
input window, the total number of registered users is displayed and they can be deleted
together.
3. Mode Setup (Access Control/Time & Attendance Setu
p/Meals Setup)
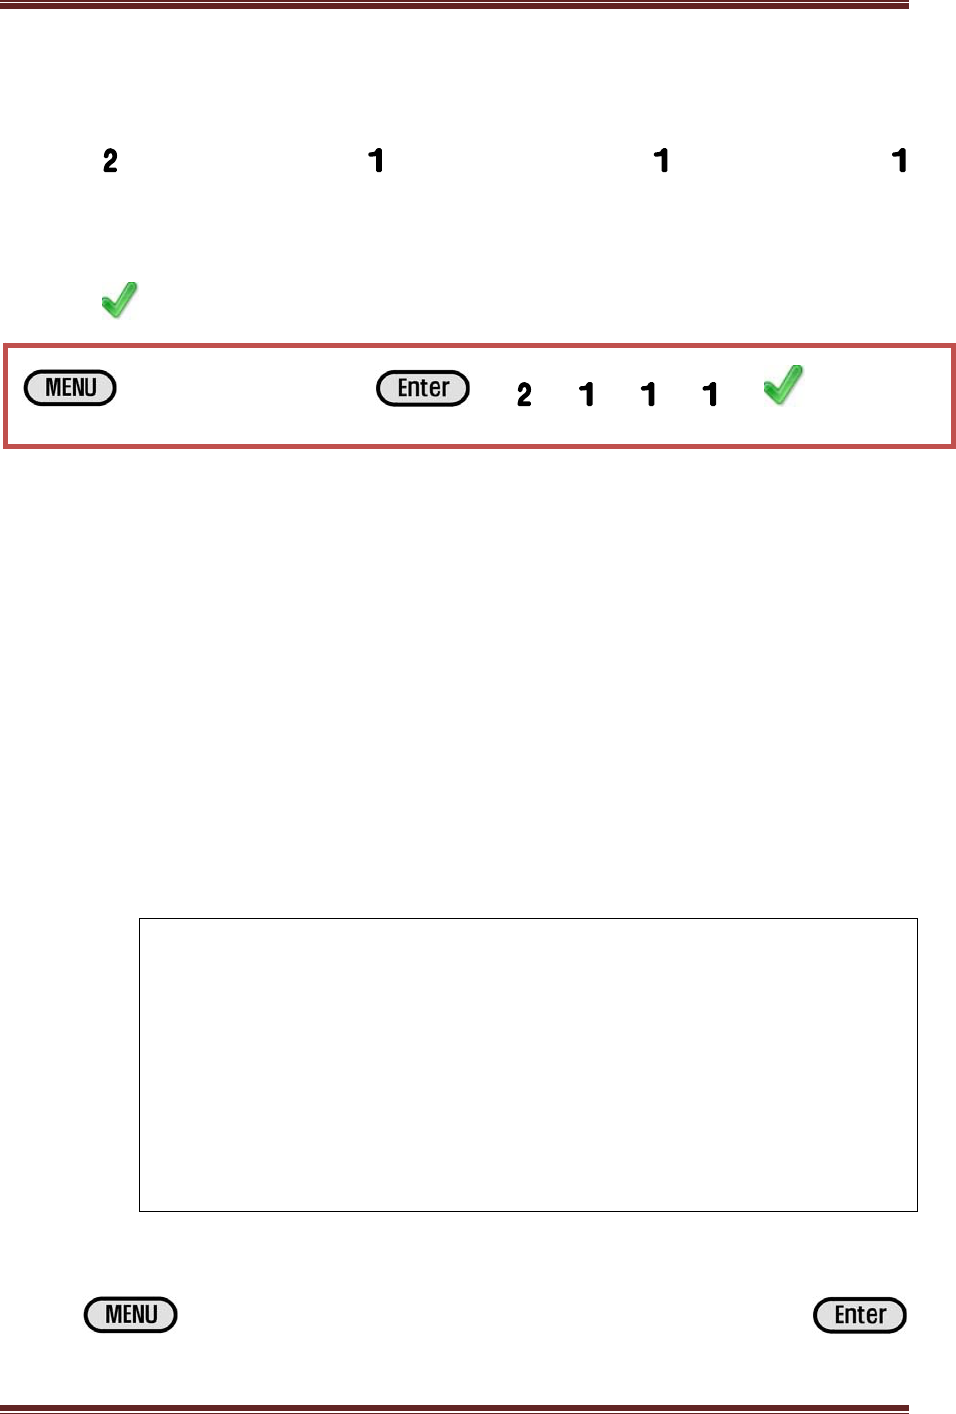
1. Access Control Setup (Access Control)
When using Access Control and Time & Attendance Management, please select 1. Access
Control as Operation Mode.
I. Button → Enter Password(Default Value :1111) →
→ Enter Password → → → → Input User ID (Number)
→ → Finish
CADENACIO User Manual
www.bioinsec.com 25
Button
II. Access Control → Operation Mode → Mode Select →
Access Control Mode
III. Button → Finish
2. Attendance Management Setup
Attendance Management can only be used when Operation Mode is ‘1. Access Control.’
(Impossible to use in ‘2. Meal Mode’)
① Key
It selects a button for using attendance code. Select time & attendance code with arrow keys or
select using F1, F2, F3, and F4 as fixed keys.
1. Up/Down key : Change Time & Attendance Button (Use Over
4 Time & Attendance Code)
2. F1-F2-F3-F4 : Fix Time & Attendance Button (Fix Below 4
Time & Attendance Code)
I. Button → Enter Password(Default Value :1111) →
→ Enter Password → → → → → → → Finish
CADENACIO User Manual
www.bioinsec.com 26
Button
II. Access Control → Operation Mode → Time & Attend Setup
→ Key → Select ( or )
III. Button → Finish
② Item
Select time & attendance code and name.
1 => F0 Access Mode(Deactivated if unnecessary)
2 => F1 Sign In (Attendance) Capable of Auto Setup of Time
3 => F2 Sign Out (After School) Capable of Auto Setup of Time
4 => F3 Out (Early Leave)
5 => F4 Return (Return)
6 => F5
7 => F6
8 => F7
9 => F8
1 (F0) is access mode, the default value. When access mode is unnecessary in time
& attendance, please deactivate it.
< Reporting Time Auto Setup>
→ Enter Password → → → → → → → Yes
→ → IN → → Input Time Slot (00:00-00:00) → → →
→ Enter Password → → → → → → ( or )→
→ Finish
CADENACIO User Manual
www.bioinsec.com 27
※ Sign in is F1, and Sign out F2 code is fixed. After setup, sign in/sign out code is
automatically changed by time slot.
(Sharp) button has the same function as Back Space (←) which deletes data.
3. Meals Mode
When setting up meals mode, only meals function is supported. Access control and time &
attendance function cannot be used.
I. Button → Enter Password(Default Value : 1111) →
Button
II. Access Control → Operation Mode → Mode Select →
Meal Mode
III. Button → Finish
① Meal Setup
It can be set in the time slot in the order of breakfast, lunch, dinner, late-night meal, and snack. You
can also set the number of menus by time slots. The terminal is not authorized outside the set time
slot.
If overlapping prevention is selected, the same time slot is authorized only once.
(Sharp) Button : (Sharp) button has the same function as Back Space (←)
which deletes data
Button : Line Switchover
I. Button → Enter Password(Default Value: 1111) →
CADENACIO User Manual
www.bioinsec.com 28
Button
II. Access Control → Operation Mode → Meals Mode →
Breakfast/Lunch/Dinner/Late Supper/Snack Time Slot & No. of
Menus Setup → → Select Overlapping Prohibited ( or )
III. Button → Finish
※ It is authorized in only the set time. Time besides that is not authorized by the terminal.
The number indicated on the screen is the count number authorized by the current
time slot. It is not saved and automatically deleted when it is changed to the next time slot.
4. Prevention of Unnecessary Events in Attendance / Meal Counting Mo
de
Event prevention is a setup menu for preventing the occurrence of unnecessary log data, which can
reduce the amount of data. For example, it is the log data on door open in time & attendance/ meals
mode. It is unnecessary in time & attendance and meals mode.
When selecting lock event prevention, event on door open/close does not occur.
I. Button → Enter Password(Default Value : 1111) →
Button
II. Access Control → Event Setup → Mask Event → Lock
Event → Yes
III. Button → Change Complete
CADENACIO User Manual
www.bioinsec.com 29
4. Access Door Setup
1. Use of I/O MAN
Select only when I/O MAN is used.
I. Button → Enter Password(Default Value :1111) →
Button
II. Access Control → Use I/O MAN → Yes
III. Button → Change Complete
※ Please refer to installation manual on How to connect I/O MAN.
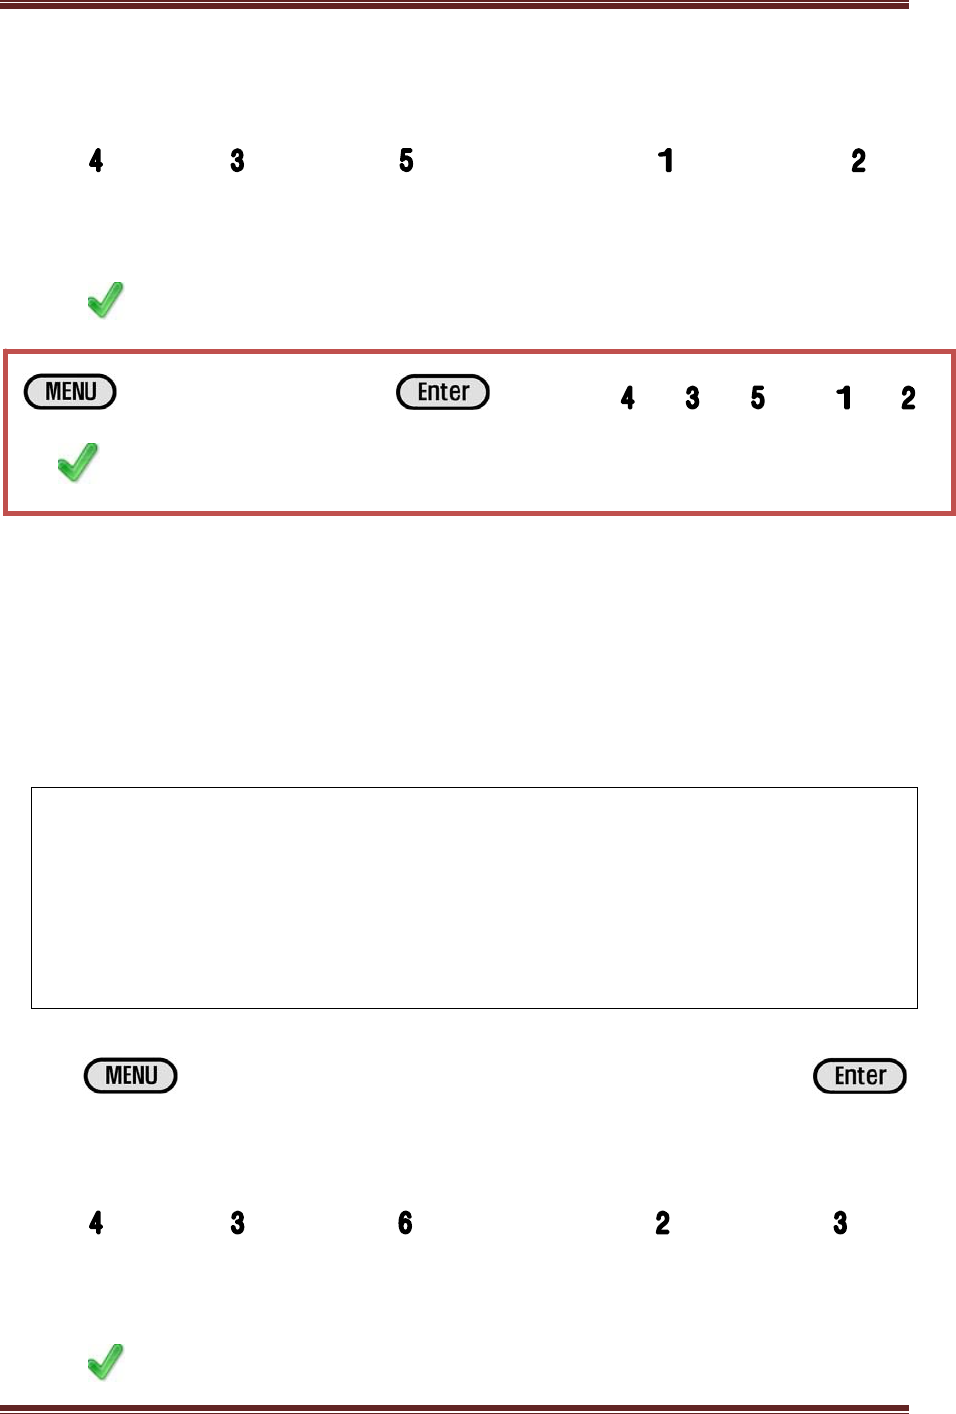
2. Link to Speed Gate (Change of Door Opening Time)
Set door opening time to 0.5 seconds when using the device for controlling speed gate.
The default value is set to 5 seconds.
I. Button → Enter Password(Default Value : 1111) →
Button
→ Enter Password → → → → → → Finish
→ Enter Password → → → → → → → →

CADENACIO User Manual
www.bioinsec.com 30
II. Access Control → Reader → Relay On Time → Input ‘5’
III. Button → Finish
You can control the door opening time from 0.5 ~ 25.5 seconds, and the entered 5
appears as 0.5 seconds.
5. Network
1. Terminal ID
Terminal ID is the identification number by terminal which must not be overlapped.
Upon network connection, it is connected only when IP address and terminal ID matches.
I. Button → Enter Password(Default Value :1111) →
Button
II. Network → Terminal ID → Input Terminal ID (1~999)
III. Button → Change Complete
: Terminal ID must not be overlapped.
※ 1~999 can be used as terminal ID.
2. TCP/IP Network Connection
→ Enter Password → → → → Input Terminal ID
(1~999) → → Finish
→ Enter Password → → → → → Input ‘5’ → →
CADENACIO User Manual
www.bioinsec.com 31
① Terminal IP Setup
I. Button → Enter Password(Default Value:1111) →
Button
II. Network → Network Mode → Input TCP/IP
III. Button → Finish
IV. Setting IP Address → Yes → → Button → Finish
<Normal Input Checking Procedure>
I. IP Address Setup → Yes →
II. 1Automatic address receiving is successful when address is like
92.168.2.XXX
III. When . . . is displayed, select ‘ IP address setup → No,
Input Manually.
: When the automatically received terminal IP address is displayed as ‘0.0.0.0’, it
is a network environment unable to automatically receive IP address. You must input
manually.
→ → → → Finish
→ Enter Password → → → → → → Finish

CADENACIO User Manual
www.bioinsec.com 32
② Server Setup
I. Button → Enter Password(Default Value :1111) →
Button
II. Network → Network Mode → Select TCP/IP
III. Server Setup → Input Server Computer IP Address
IV. Button → Finish
< Check Network Connection with Server Computer >
Reply OK : No problem in communiction from terminal to server computer
Time out : No communication between terminal and server computer
: If ‘Time out’ appears, there is a problem in network setting or physical connection.
You must check the status of connection.
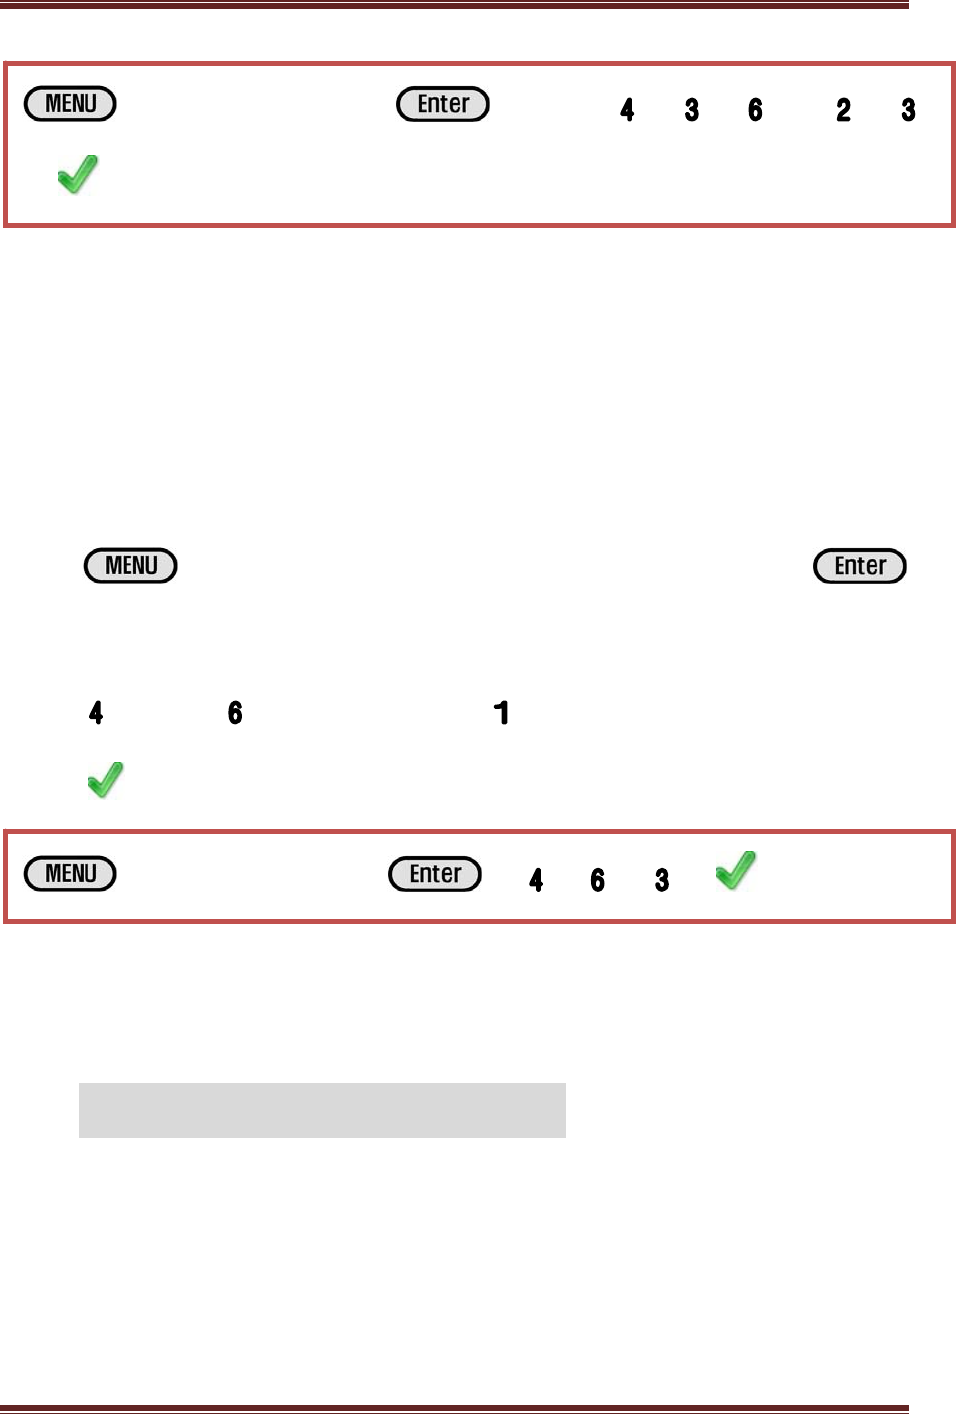
3. RS485 Network Connection
I. Button → Enter Password(Default Value :1111) →
→ Enter Password → → → → Input Server Computer IP
Address → → Finish
→ Enter Password → → → → → → Input Server
Computer IP Address → → Finish
CADENACIO User Manual
www.bioinsec.com 33
Button
II. Network → Network Mode → Serial
III. Button → Finish
IV. Serial Speed → Set Same as Computer Program Setup Speed →
→ Finish
V. Serial Port → Port 0(RS-485) → → Finish
※ For the Serial Speed, you must enter the same speed as the serial port speed of BioManager
program.
※ For how to connect to RS485, please refer to installation manual.
6. Camera Setup
Camera is optional, and does not apply to products without camera.
1. Camera Operation Mode Setup
1. Auto : Camera automatically turns on when a user approaches. It automatically turns
off when there is no user.
2. On : Always on ( Used when recording with DVR or used when always monitoring )
→ → → Finish
→ Same as PC Program Serial Speed → → Finish
→ Enter Password → → → → → → Finish
CADENACIO User Manual
www.bioinsec.com 34
3. Off : Camera not used
I. Button → Enter Password(Default Value: 1111) →
Button
II. Setup → Camera → Camera Mode → Select Automatic (or
On)
III. Button → Finish
IV. Camera Channel → 0 Channel → → Finish
※ ‘1.Auto’ is recommended for camera operation mode.
2. Viewing with Camera
Check if camera is properly working from the terminal.
I. Button → Enter Password(Default Value: 1111) →
Button
II. Setup → Camera → Camera View
III. Button → Finish
→ Enter Password → → → → → ( or ) →
→ Finish → → → Finish
CADENACIO User Manual
www.bioinsec.com 35
※ Screen is normal if it is showing the screen in the direction of 90 degrees to the right.
: If an image does not appear on the screen, the camera is not properly working.
Please inquire the dealer.
7. Display
This is the LCD setup menu.
1. Lighting Hours
Proximity sensor works in the terminal with camera option.
Default value is 10 seconds. If a person approaches the camera, it turns on in 10 seconds and
automatically turns off after 10 seconds.
I. Button → Enter Password(Default Value: 1111) →
Button
II. Setup → Monitor → BackLight Time → Input Desired
Lighting Hours (0=Always On, 1~255 seconds)
III. Button → Finish
→ Enter Password → → → → → → Finish
CADENACIO User Manual
www.bioinsec.com 36
LCD Always On Setup => Input ‘0’ as Lighting Hour
2. Contrast
I. Button → Enter Password(Default Value: 1111) →
Button
II. Setup → Monitor → LCD Contrast → Change with
Button
III. Button → Finish
3. Brightness
I. Button → Enter Password(Default Value: 1111) →
Button
II. Setup → Monitor → LCD Brightness → Change with
Button
III. Button → Finish
→ Enter Password → → → → → → →
→ Enter Password → → → → → Input Lighting
Hours (0=Always On, 1~255 seconds) → → Finish
CADENACIO User Manual
www.bioinsec.com 37
4. Black / White Mode (Daylight Mode)
Due to the characteristic of color LCD, it cannot be viewed well under daylight. In this case, if you
select black/white mode, the main screen turns to black & white screen.
I. Button → Enter Password(Default Value: 1111) →
Button
II. Setup → Monitor → Black / White Mode → Select Yes
III. Button → Finish
※ While the authorization screen changes to black & white mode, the menu does not change.
5. Set Time
This is the menu for setting the time indication format.
1. 12 hour : Displays time in AM/PM with 12 hour format. ( 예 07:00PM )
2. 24 hour : Displays time in 24 hour format. (Ex) 19:00 )
I. Button → Enter Password(Default Value :1111) →
→ Enter Password → → → → → → → Finish
→ Enter Password → → → → → Change
→ → Finish
CADENACIO User Manual
www.bioinsec.com 38
Button
II. Setup → Monitor → Set Time → Select 12 Hours (or 24
Hours)
III. Button → Finish
6. Set Date
This is the menu for setting the date format on the screen.
1. No : Screen is not displayed
2. MM/DD : Displays the date in the format of ‘8/13 FRI’
3. DD MON : Displays the date in the format of ’13 AUG FRI’
I. Button → Enter Password(Default Value :1111) →
Button
II. Setup → Monitor → Set Date → Select MM/DD (or MM
month DD date )
III. Button → Finish
→ Enter Password → → Select → → → ( or )
→ → Finish
CADENACIO User Manual
www.bioinsec.com 39
7. Language
For language, it only supports English and Korean. If the language changes, voice also automatically
changes.
I. Button → Enter Password(Default Value: 1111) →
Button
II. Setup → Language → Select English
III. Button → Finish
※ Only English and Korean is supported.
8. SD Memory Backup & Restore
Micro SD Memory size supported is only 1GB or 2GB. (Unable to support more
than 2GB)
The function is supported only when the following folders are created in the
SD memory card. Please inquire the dealer for contents going into each
folder.
→ Enter Password → → → → → → Finish
→ Enter Password → → Select → → → ( or )
→ → Finish

CADENACIO User Manual
www.bioinsec.com 40
Firmware
Icon
Ment
User
1. SD Memory Function
1. Auto log data backup function(in text format)
2. Store Camera Capture Image(Up to 10,000 images)
3. User Data Backup and Recovery
4. Terminal Setup Information Backup and Recovery
5. Firmware Update
6. Import Resource Files(Voice & Icon Files)
2. Auto Log Data Backup Function
Once you insert the SD memory into the terminal, text files are automatically created for each month,
and are automatically saved without any setup process.
Log data : Save log data to SD memory
Image data : Save image data to SD memory ( Max 10K )
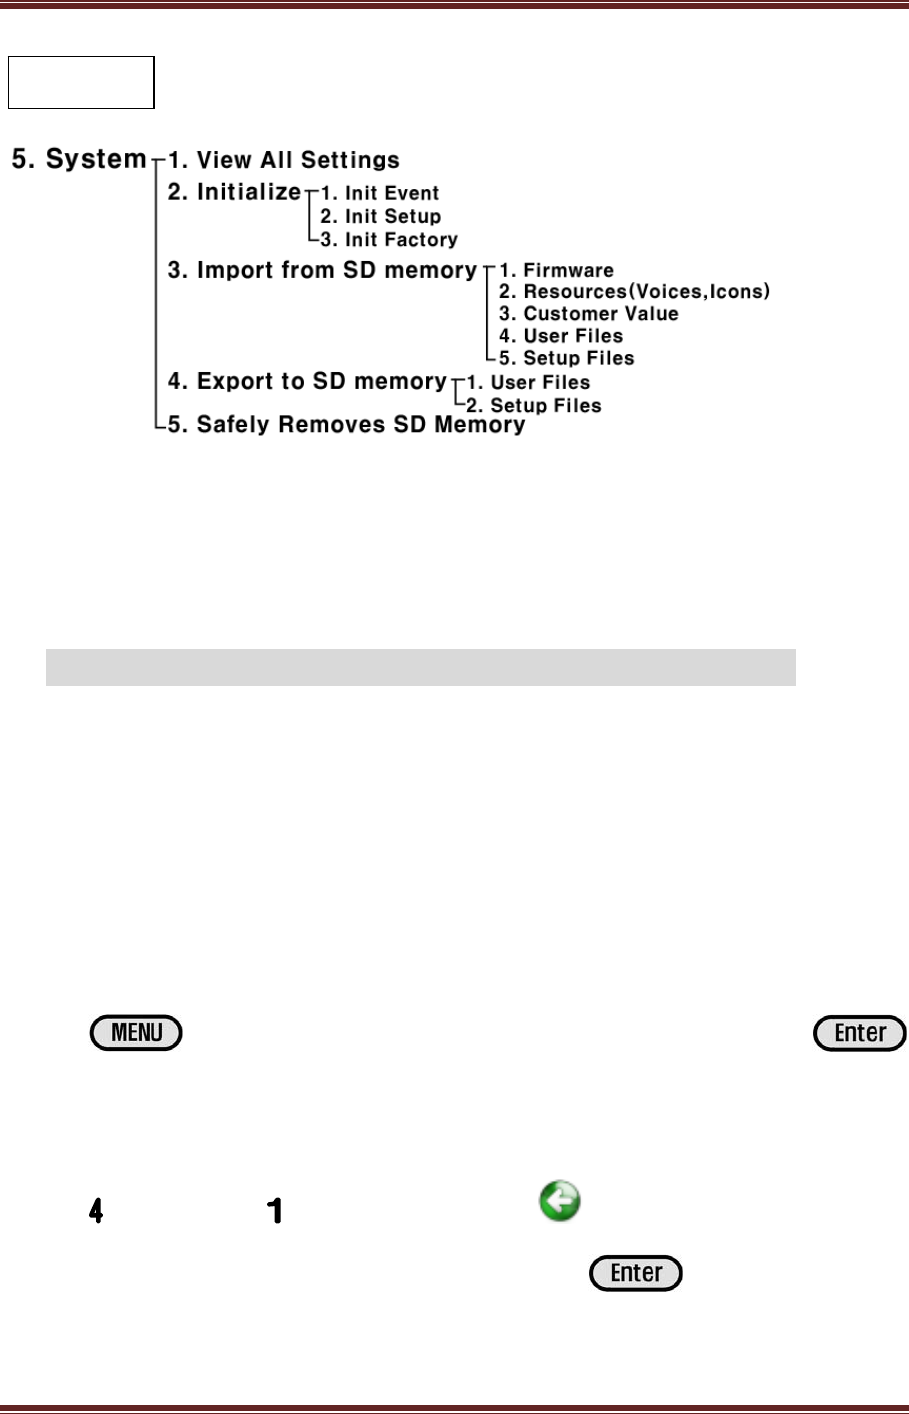
3. Import from SD memory
This function which allows you to save the SD memory data to terminal. The SD memory data
includes a firmware, resources files(Voices, Icons), Customer value, User Files and Setup Files.
2. Resources(Voices, Icons) : Voice and Icon files
3. Customer Value : T&A Item name, Printer setup value(Meal Model), Mifare
key value
CADENACIO User Manual
www.bioinsec.com 41
4. User Files : User data saved in terminal
5. Setup Files : Terminal setting value
I. Button → Enter Password(Default Value: 1111) →
Button
II. System → Import from SD Memory → ( Import Resources
(Voices, Icons) / Customer Value / User Files / Setup Files)
III. Button → Finish
Data in the terminal: User ID, Fingerprint/Card/Password (Name and company
number can be checked only in the program)
4. Export to SD Memory
This is a function which allows you to backup user data and terminal setup value saved in the terminal
to SD memory.
1. User Files : User data saved in SD memory
2. Setup Files : Terminal setup value in SD memory
I. Button → Enter Password(Default Value :1111) →
→ Enter Password → → → → ( Resources /
Customer Value / User Files / Setup Files ) → → Finish
CADENACIO User Manual
www.bioinsec.com 42
Button
II. System → Export to SD Memory → ( User Files / Setup Files)
III. Button → Finish
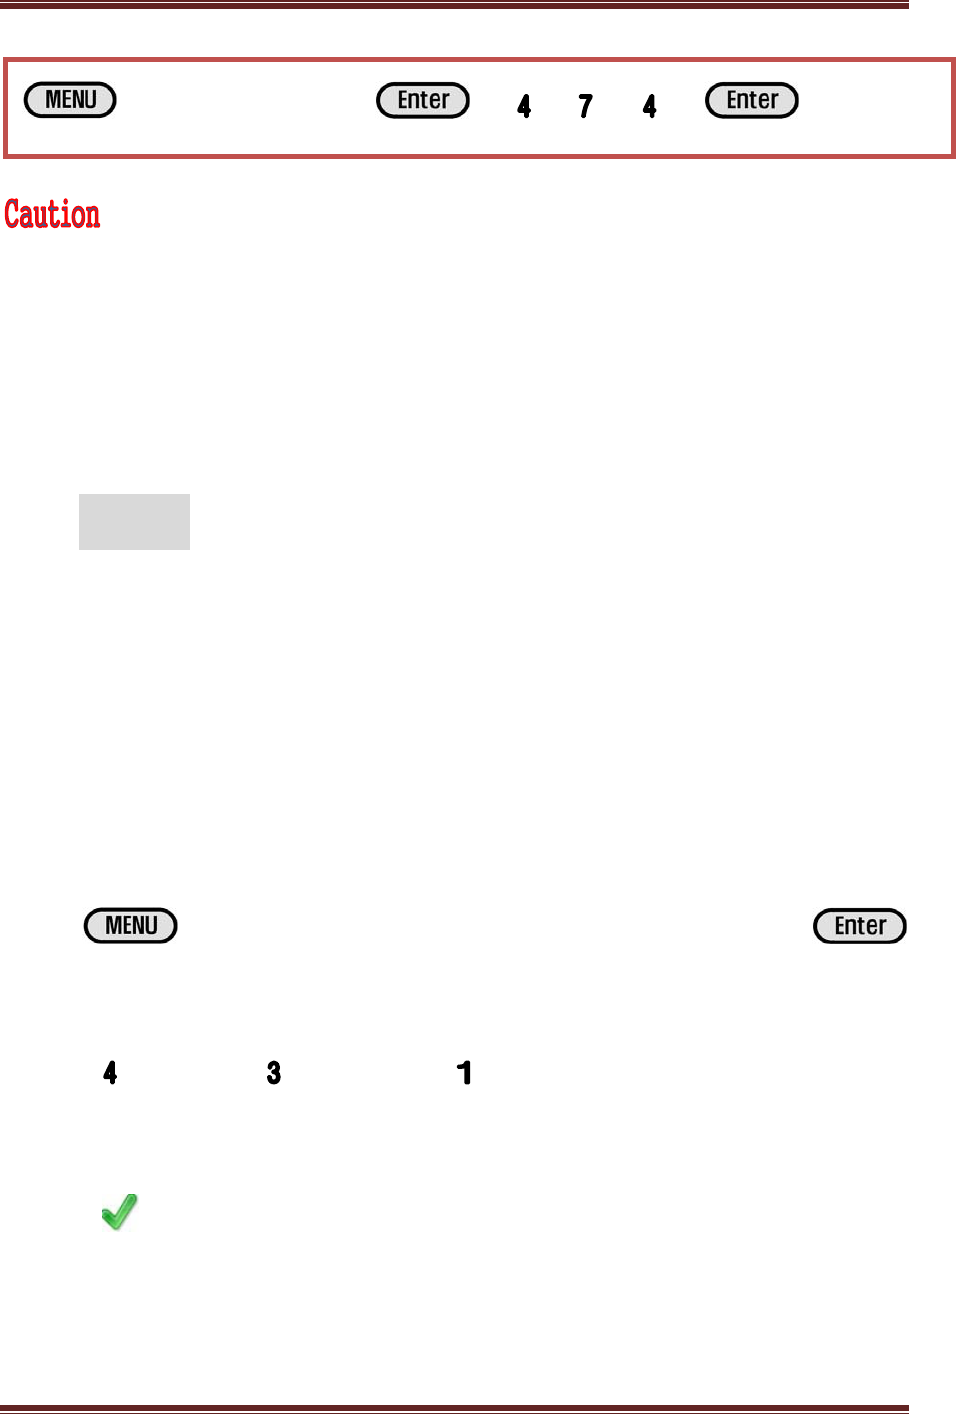
5. How to Update Firmware
Firmware update is used only when there are some problems in operating the terminal or when there
is an upgraded version. If the version is different, the registered data can be deleted.
I. Menu → Enter Password(Default Value: 1111) →
Button
II. System → Import from SD Memory → Firmware
III. Button → System Reboot → Finish
When there is a different version, setup values and data may be initialized. Please
inquire the dealer about which version it is.
9. Initialization
→ Enter Password → → → → → → Reboot →
→ Enter Password → → → → ( : User Files / :
Setup Files) → → Finish
CADENACIO User Manual
www.bioinsec.com 43
1. Init Event : Deletes only long event data
2. Init Setup : Resets only terminal setting to default values.
3. Init Factory : Deletes all the user, log, and setup values, and resets to default values.
I. Button → Enter Password(Default Value: 1111) →
Button
II. System → Initialize → Select out of ( Init Event / Init Setup /
Init Factory)
III. Button → System Reboot
IV. Button → Enter Password(Default Value :1111) →
Button
V. Setup → Language → Korean
VI. Button → Finish
10. Q&A
1. I cannot view the LCD screen from outdoors
2. Card is not authorized when using Serial PC device.
3. I want to know the Card number.
4. The fingerprint registered on the USB Fingerprint Device is not properly recognized.
→ Enter Password → → → → Select ( : Init Event /
Init Setup / Init Factory) → → Reboot → → Enter Password
→ → → → → → Finish
CADENACIO User Manual
www.bioinsec.com 44
5. The LCD screen keeps turning off and giving out a ‘beep beep’ sound.
1. I cannot view the LCD from outdoors.
Color LCD is not very visible under daylight conditions. It is just as a cellphone screen not visible
outdoors. If you set the main screen to black & white mode, the letters and time becomes a bit
clearer.
I. Button → Enter Password(Default Value: 1111) →
Button
II. Setup → Screen → Black / White Mode → Yes
III. Button → Finish
2. Card is not authorized when using Serial PC Device.
When using a Serial PC device, because the card data value and the terminal default value is
different, you have to set options.
I. Button → Enter Password(Default Value :1111) →
Button
II. Access Control → Readers Setup→ Mifare Card Reader →
Serial Number → Reverse order
III. Button → Finish
→ Enter Password → → → → → → → Finish
CADENACIO User Manual
www.bioinsec.com 45
3. I want to know the Card Number.
When you want to check the card number registered in the terminal, you can easily view it if you use
View Card Number in the menu.
I. Button → Enter Password(Default Value: 1111) →
Button
II. Access Control → Readers Setup → Mifare Card Reader →
Reading Card → Hold card close to keypad (or fingerprint sensor)
(Wiegand 리더기일 경우, Wiegand 리더기 안에 카드보기 메뉴가 있음)
III. Button → Finish
4. The fingerprint registered on the USB Fingerprint Device
is not properly recognized.
When registering a fingerprint, the fingerprint core must be in the taken image. Please re-register. In
addition, if there is difference in the level of exposure between the USB fingerprint device and the
→ Enter Password → → → → → →Touch Card →
→ Finish
→ Enter Password → → → → → → → →
Finish
CADENACIO User Manual
www.bioinsec.com 46
terminal, this may occur.
Please change the fingerprint sensor exposure value in the menu to ‘5.’
I. Button → Enter Password(Default Value: 1111) →
Button
II. Access Control → Readers Setup → FP Reader → Exposure
→ Set to ‘5’
III. Button → Finish
5. The LCD screen keeps turning off and giving out a ‘beep
beep’ sound.
This may happen if the proximity sensor is activated or if the terminal without a built-in proximity
sensor is set to use proximity sensor. Enter lighting hours to ‘0.’
I. Button → Enter Password(Default Value :1111) →
Button
II. Setup → Monitor → BackLight Time → Enter ‘0’
III. Button → Finish
→ Enter Password → → → → → fingerprint
exposure level → Set to ‘5’ → → Finish

CADENACIO User Manual
www.bioinsec.com 47
→ Enter Password → → → → → Enter ‘0’ →
→ Finish

CADENACIO User Manual
www.bioinsec.com 48
GLOSSARY
□ Administrator
- The administrator has the authority to modify or set all setup values of the terminal, and
register or delete new users.
- The first ID of the administrator is the number ‘0,’ and the first password of the terminal
is ‘1111.’
A NEW ADMINISTRATOR MUST CHANGE THIS VALUE.
□ 1 to 1 Verification
- This is a way to compare fingerprints among fingerprint recognition methods. It pre-
selects a user’s fingerprint with an ID or card and compares the fingerprints.
□ 1 to N Identification
- This is a method in which all the fingerprints registered in the terminal searches for the
user by comparing all fingerprints with fingerprints of an individual.
□ Authentication Grade
- This is a standard grade for determining the authentication according to the similarity of
fingerprints when comparing fingerprints. Generally, it is suitable to set it to ‘normal.’
□ Authentication Method
- This is a method of identifying a user using a fingerprint, password, and RF card. There
are various combinations from authenticating with each respective method to a method
of final authentication only when all the fingerprint, password, and RF card are
authenticated.
□ Function Key
- This refers to a key setting the current mode such as sign in, sign out, outing, and
returning to office upon user authentication in time & attendance mode. Each function
key is set from the menu. Furthermore, you can have this setting displayed on the basic
screen in the format of ‘F1' and ‘F2,’ or ‘sign in,’ and ‘sign out.’
□ IOMAN (optional)

CADENACIO User Manual
www.bioinsec.com 49
- When connecting additional I/O to Cadenacio, I/O MAN is connected. It is safe due to
encrypted communication with the terminal, and it can be interlinked with additional I/O
such as locks and fire sensors.
□ Link up with Key Phone (optional)
- This is a module installed inside the terminal. Once you install this board and connect to
the in-company key phone, you can connect to a phone by pressing the extension
number and have a phone conversation. It also has a function allowing the user to open
the door during a phone conversation using a dial button on the phone.
□ Camera (optional)
- This is a camera module built into Cadenacio. It takes photos when somebody attempts
to authenticate with a fingerprint, card, or password, and sends it to a server. When a
visitor rings the bell, you can check the person’s face with the program. Because there is
a NTSC camera port, it can be linked up to a DVR.
□ Proximity Sensor (included in camera option)
- It is a sensor built into the front side of the terminal. If a person approaches from a
distance of more than 1m, it sends up a signal to light up the LCD screen and
automatically activate the camera.

CADENACIO User Manual
www.bioinsec.com 50
PRODUCT SPECIFICATION
CPU 32bit Micro processor, 400MHz
Memory NAND Flash 128Mbyte, 64Mbyte RAM
Backup Memory(optional) Mini SD Memory 1Gbyte
LCD 2.8” color LCD
Sensor Optic, 500 DPI
NTSC Camera(optional) Built-in
Focal length : 3.7mm
Iris : fixed
Angle Of view : 92˚(D)
Proximity Sensor(optional) Camera automatically turns on in proximity
Size (W)149mm X (L)132mm X (D)52mm
Fingerprint data size 512 byte
Registered Personnel 1:N user: 3,000 persons
RF card : 10,000 persons
Log data : 100,000 data
IN/OUT port Input : Door sensor, Lock sensor
Output : Lock relay, Exit button
*When linked up to I/O MAN
Lock 2 port , Exit button, Fire alarm, Door sensor,
Lock sensor, Output 2 port, Spare I/O 5 port
Communication TCP/IP
Language/Voice Korea/ English (Support multi languages)
User can change voice file (Wave File only)
Key phone(option) Capable of extension call linked up with internal
switchboard(Key phone)
Power consumption 400mA
Built-in RF Mifare(13.56MHz, ISO14443A)
Built-in option Camera, Keyphone Call
Other option I/O MAN