BlackBerry RBM40GW Handheld Blackberry with GSM and Bluetooth User Manual
BlackBerry Limited Handheld Blackberry with GSM and Bluetooth
UserManual.wiki
>
BlackBerry
>
RBM40GW User Manual
>
User Manual
Contents
1.
User Manual
2.
Safety and Product Info
3.
Safety and Product Information
4.
USer Manual
User Manual
Navigation menu
Upload a User Manual
Namespaces
Wiki Guide
HTML
PDF
Info
Views
User Manual
Discussion / Help
Navigation

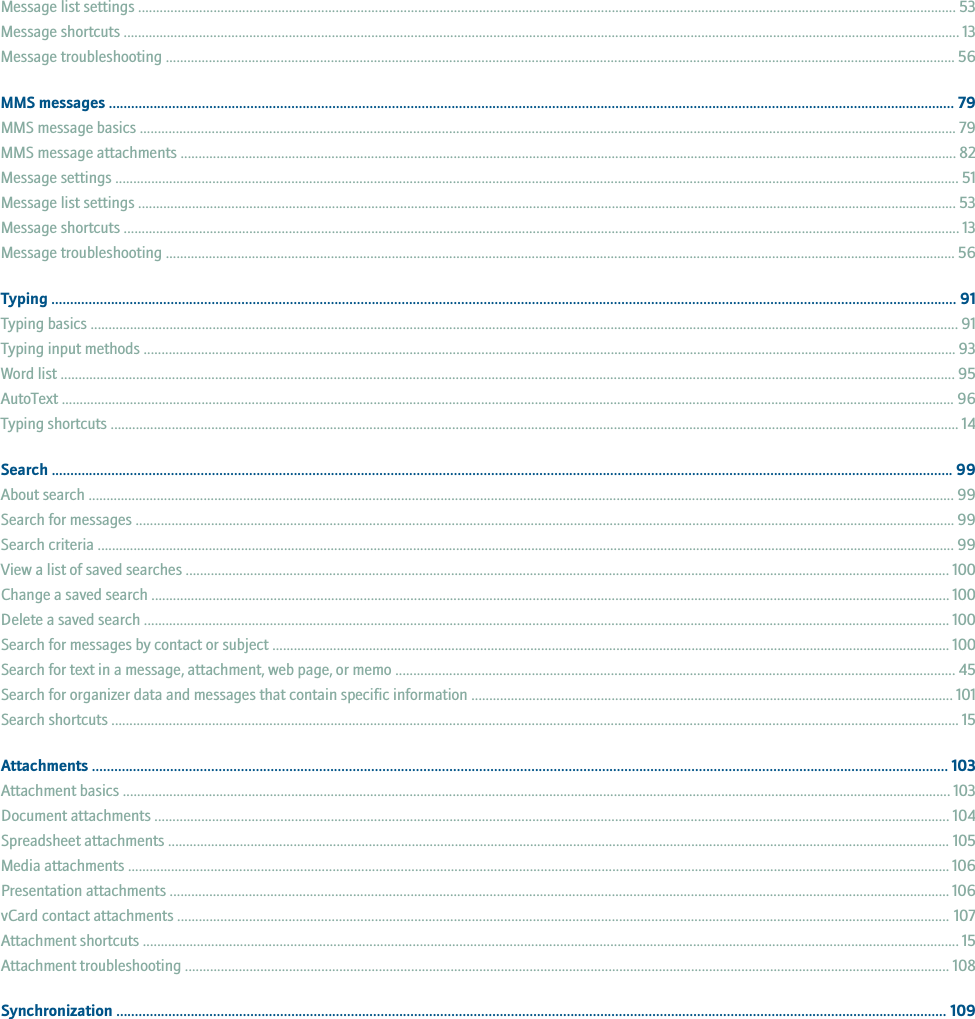


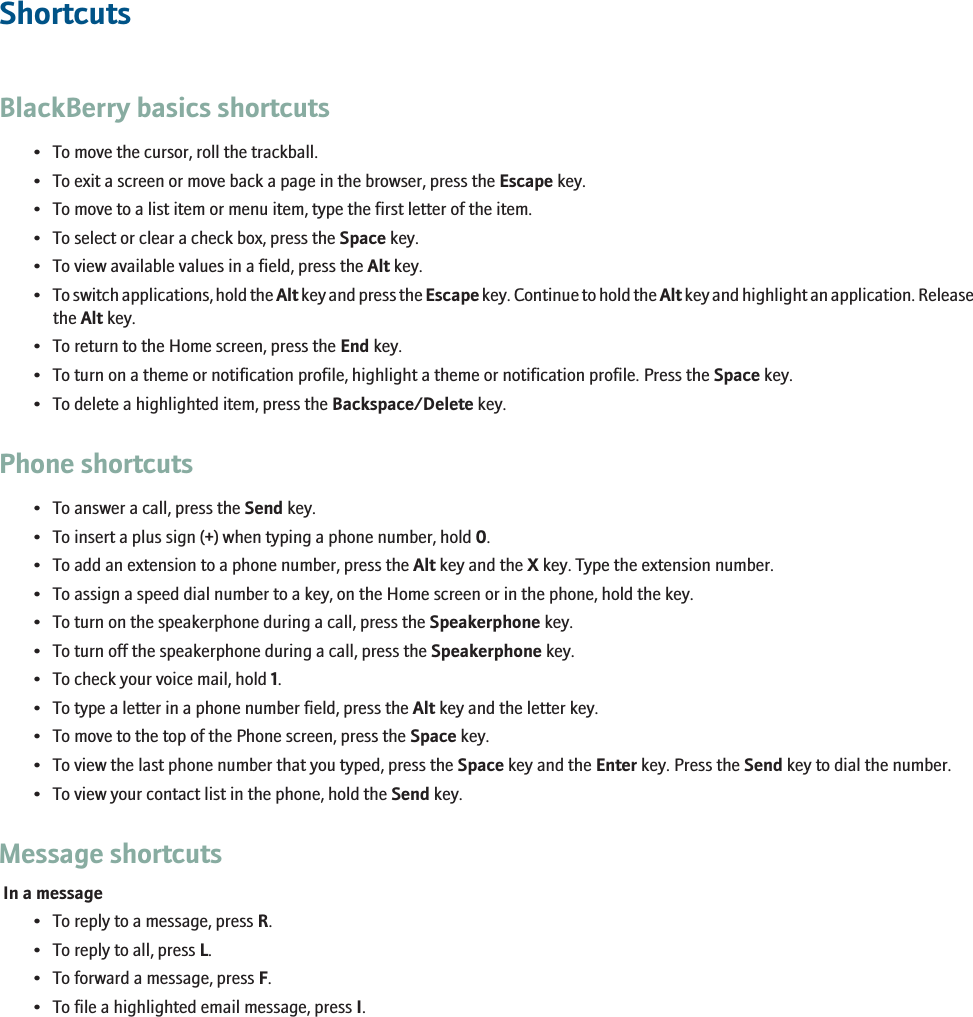


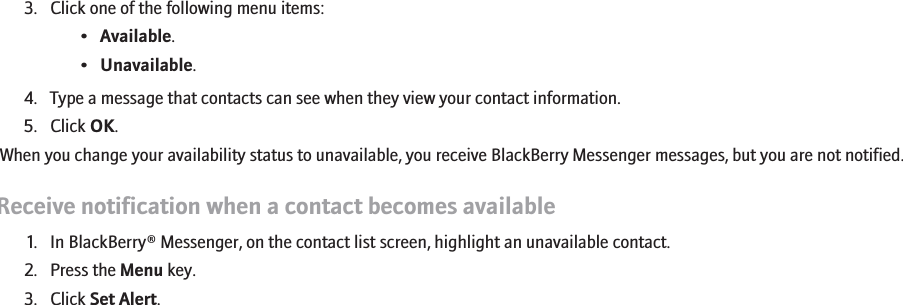
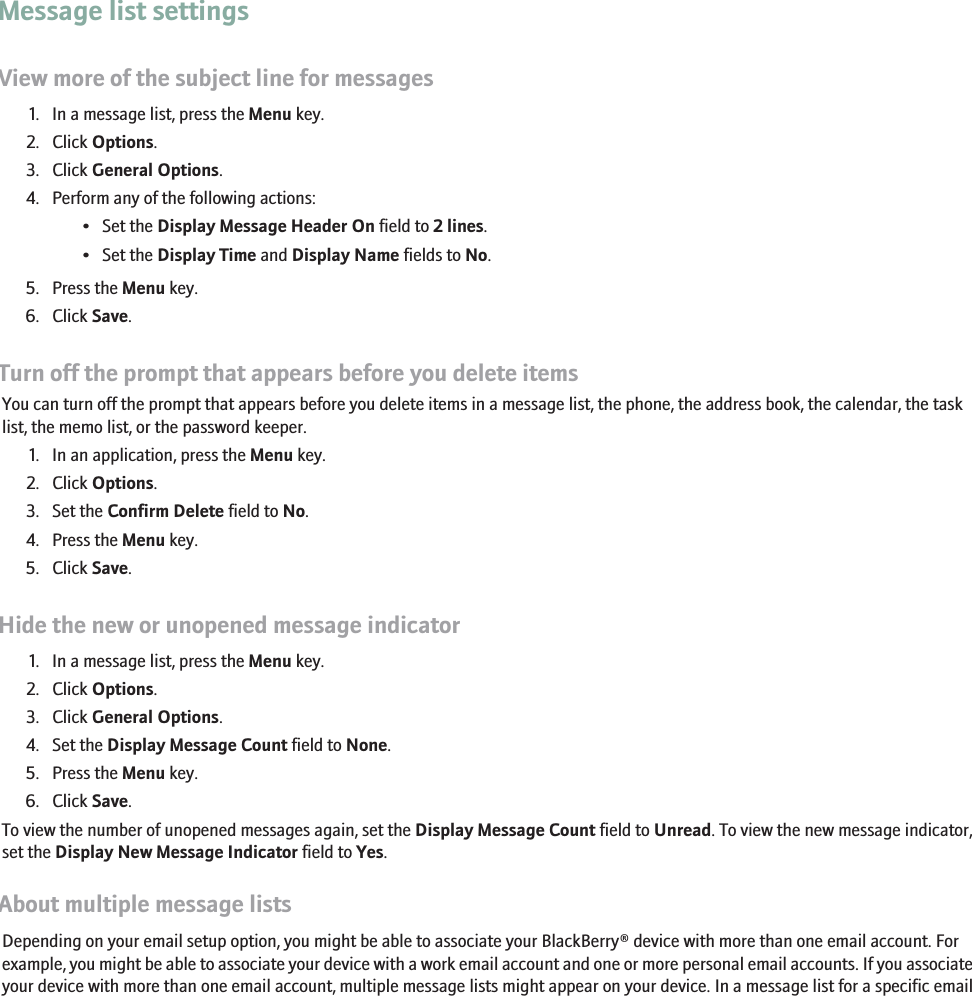
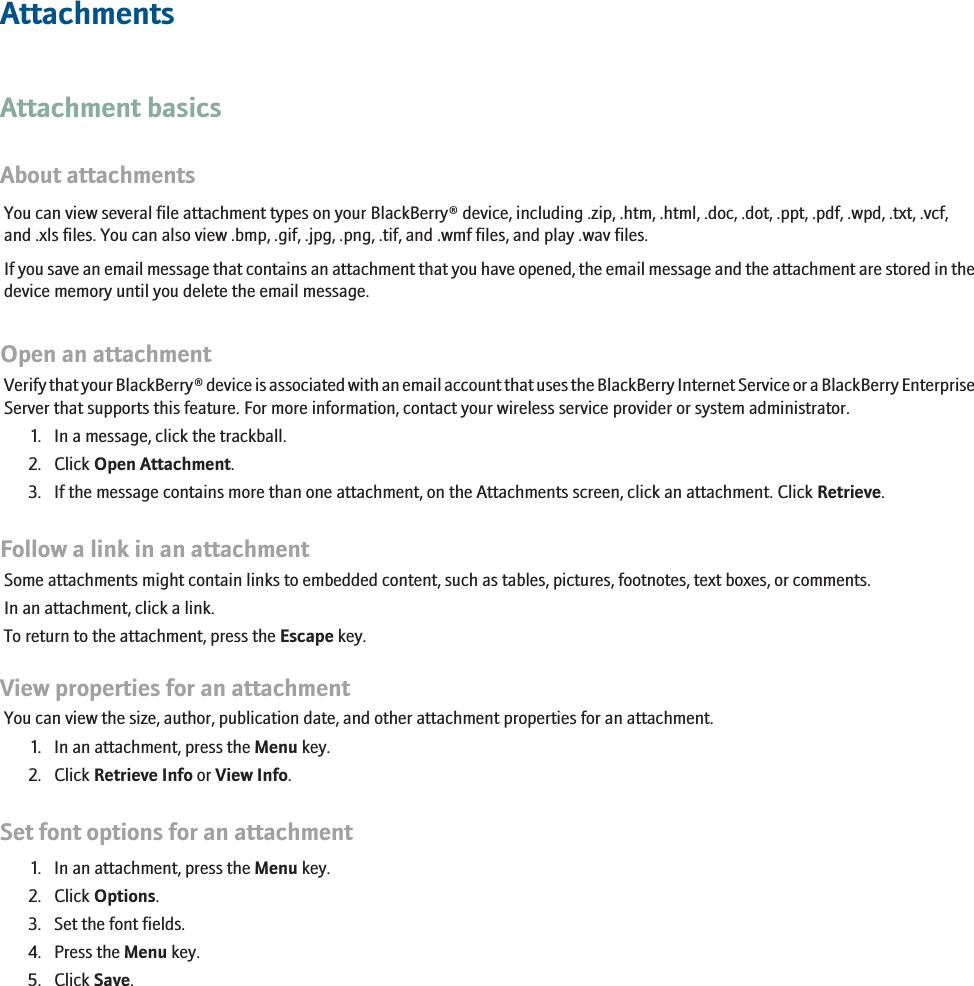
![SMS text messagesSMS text message basicsAbout SMS text messagesWith an SMS phone number, you can send and receive SMS text messages. An SMS phone number is a phone number that your wirelessservice provider sets up for SMS text messaging.You can send SMS text messages to contacts who have SMS phone numbers. You can also forward SMS text messages as PIN or emailmessages.Find your SMS phone numberOpen the phone.The My Number field displays your phone number. If your wireless service provider has set up your BlackBerry® device for SMS textmessaging, this number is also your SMS phone number.Open a messageIn a message list, click a message.Note: If your BlackBerry® device is associated with more than one email address, you might be able to open messages from the messagelist for a specific email address.Send an SMS text message1. In a message list, press the key.2. Click Compose SMS.3. Perform one of the following actions:•If the contact is not in your address book, click [Use Once]. Type an SMS phone number (include the country code and areacode) or an email address. Click the trackball.• If the contact is in your address book, click a contact.4. Type a message.5. Click the trackball.6. Click Send.Add a contact to an SMS text messageYou can send an SMS text message to up to ten recipients.1. When composing an SMS text message, press the Menu key.RIM Confidential - Internal Use Only.67](https://usermanual.wiki/BlackBerry/RBM40GW.User-Manual/User-Guide-757055-Page-69.png)

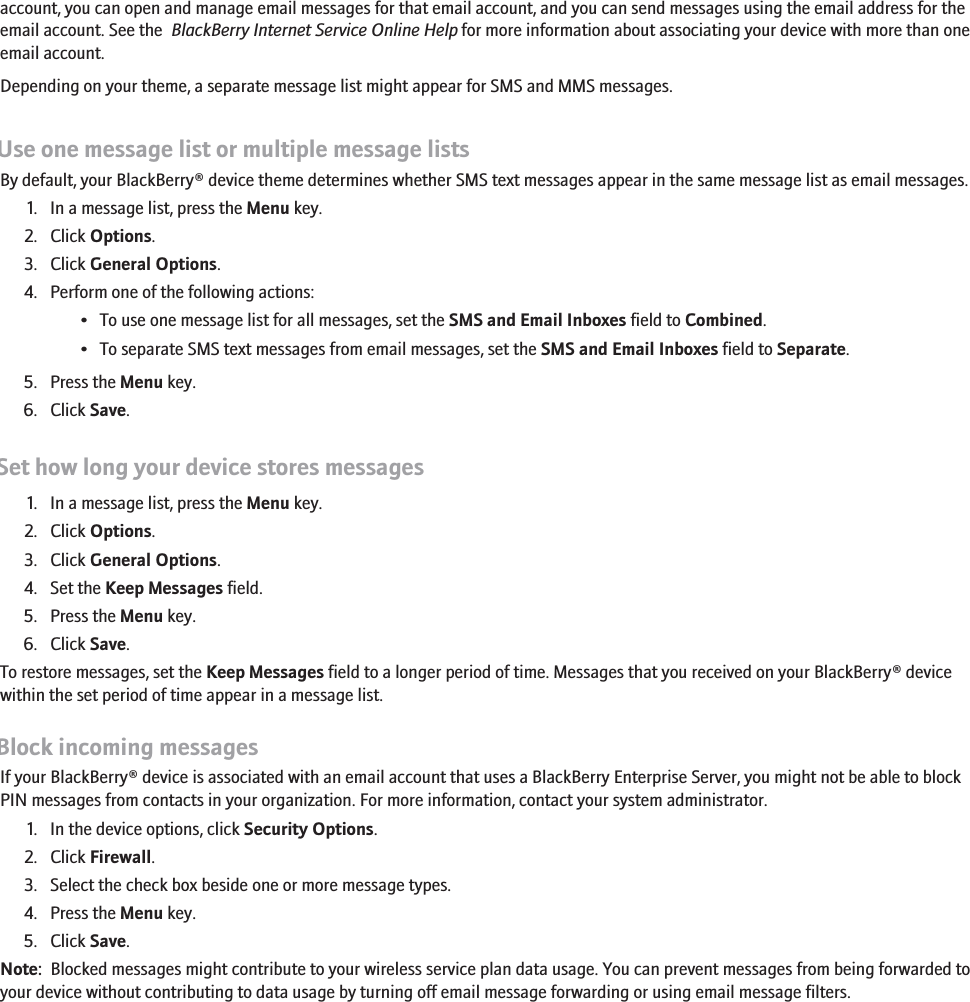


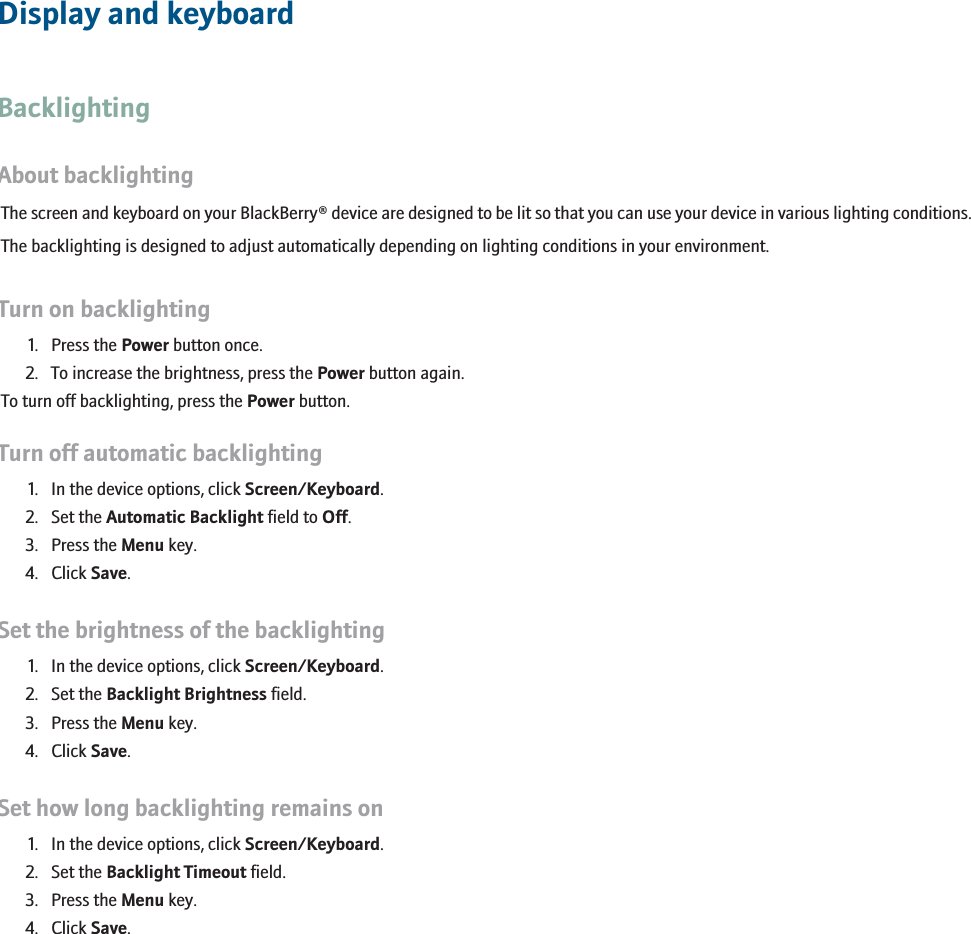
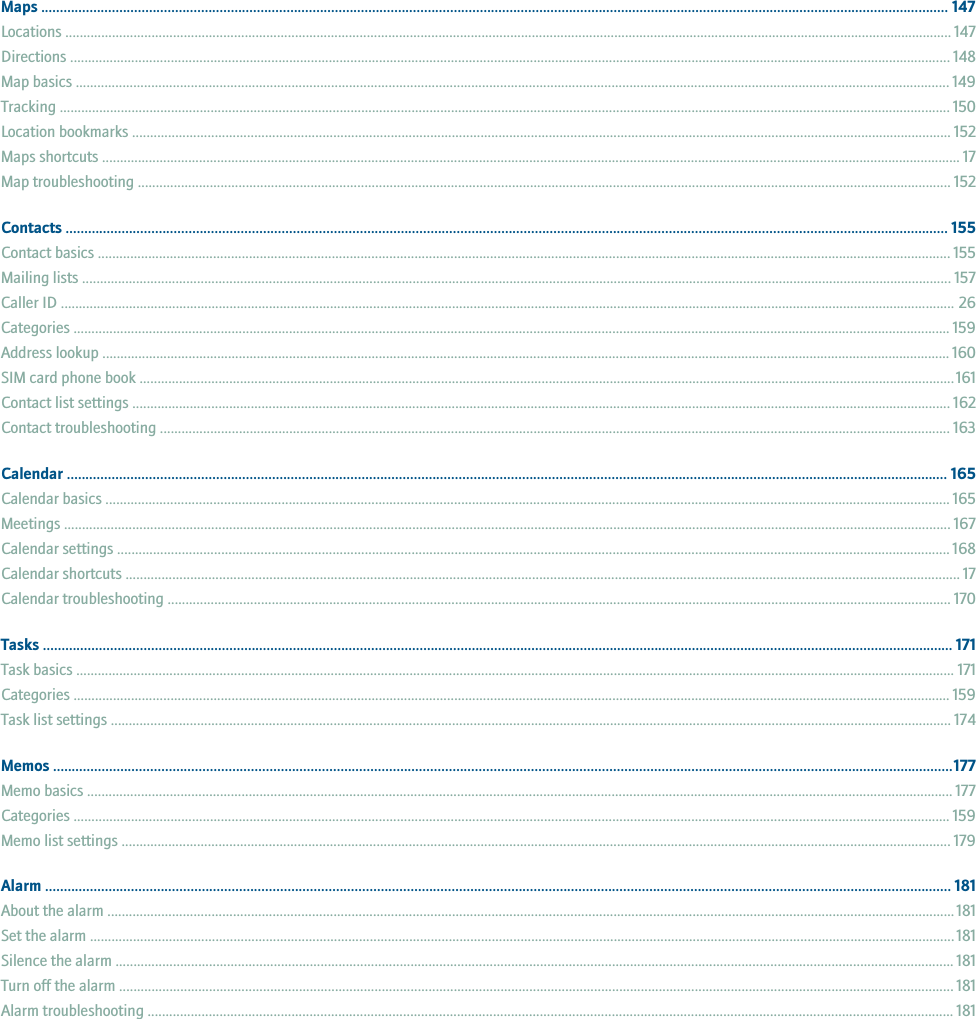
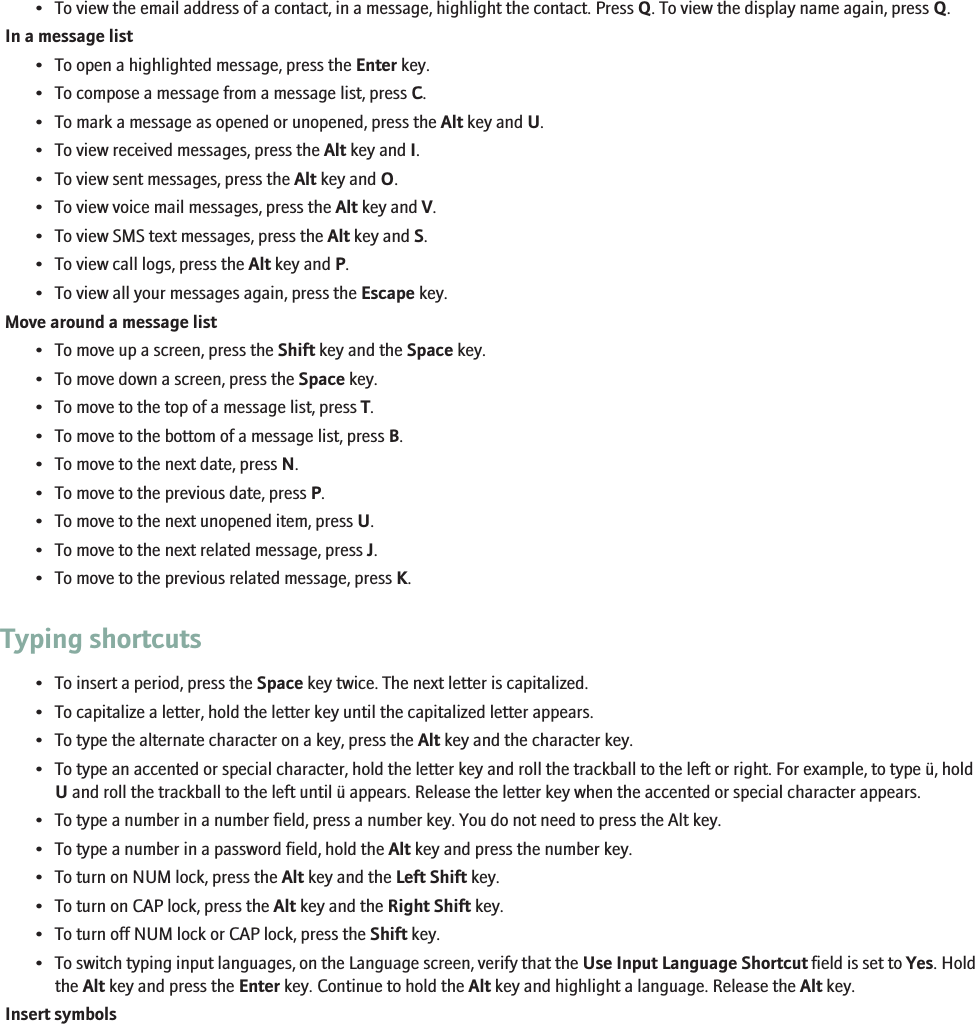
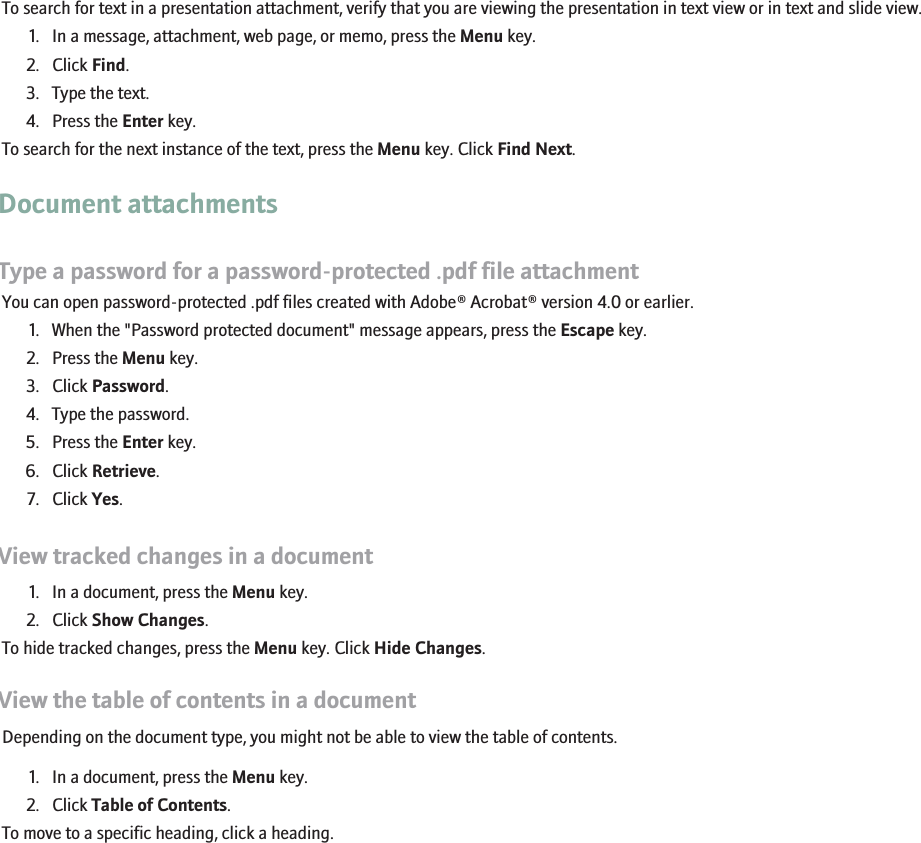
![•If the contact is not in your address book, click [Use Once]. Click Email or Phone. Type an email address or an MMS phonenumber. Click the trackball.• If the contact is in your address book, click a contact. Click an email address or MMS phone number.5. Type a message.6. Press the key.7. Click Send.Create a slide show in an MMS message1. When composing an MMS message, press the Menu key.2. Click Attach Picture or Attach Audio.3. Click a picture or an audio file.4. To add other pictures or audio files, repeat steps 1 through 3.5. To customize the slide show, perform any of the following actions:• To add text to a slide, highlight the blank field below the attachment. Type text.• To set how long a slide appears, set the Slide Duration field.• To move an item on a slide, click the item. Click Move Field. Roll the trackball to the new location. Click the trackball.Record and send a voice noteYou can record and send voice notes that are up to a minute long.1. In the voice notes application, click OK.2. Record a voice note.3. To pause recording, click the trackball. To resume recording, press the Escape key.4. When you finish recording, click the trackball.5. Click Send as MMS.Set the importance level for a message1. When composing a message, press the Menu key.2. Click Options.3. Set the Importance field.4. Press the Menu key.5. Click Save.Resend a message1. In a sent message, press the Menu key.2. Perform one of the following actions:RIM Confidential - Internal Use Only.80](https://usermanual.wiki/BlackBerry/RBM40GW.User-Manual/User-Guide-757055-Page-82.png)


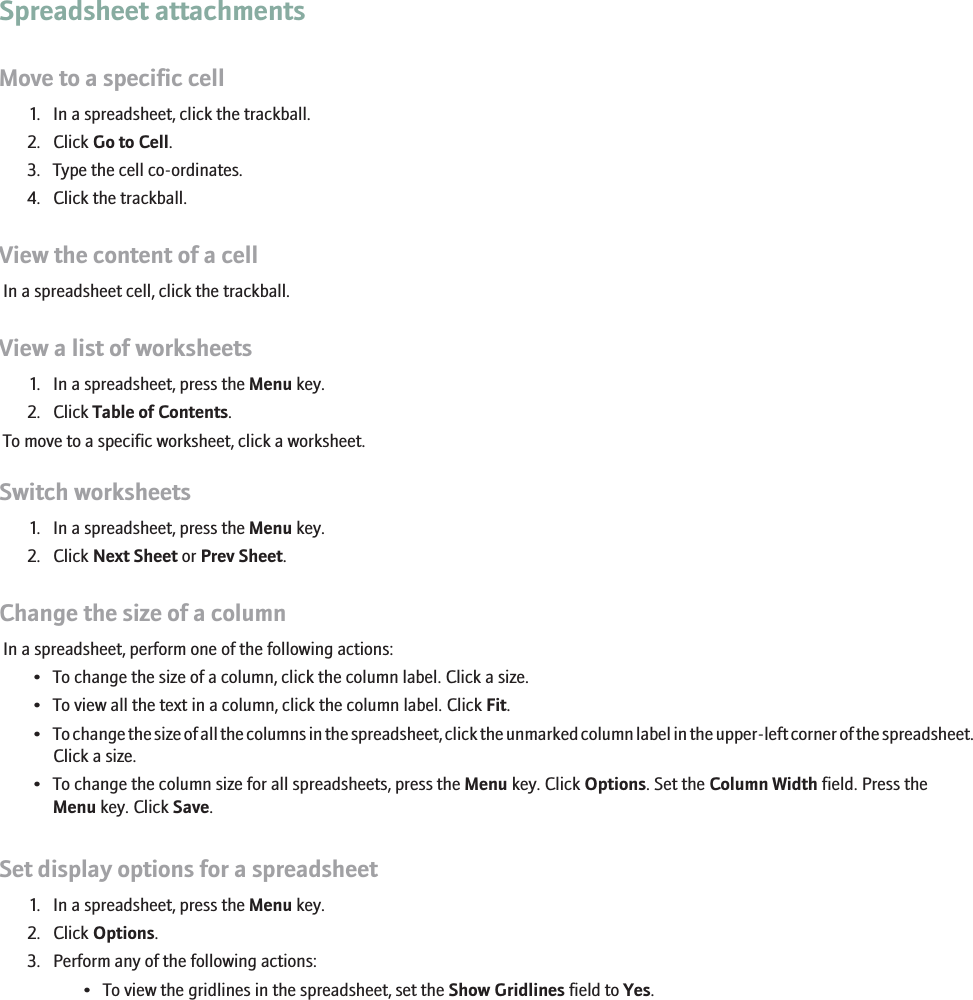


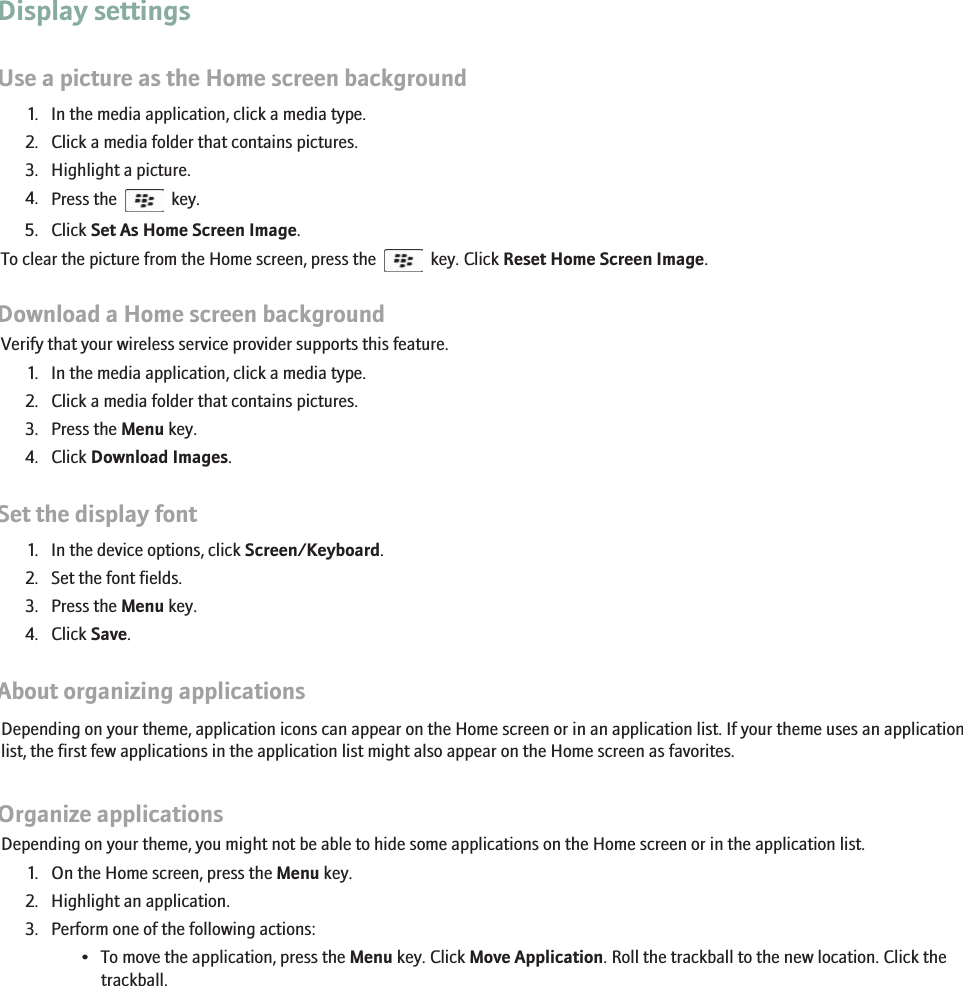
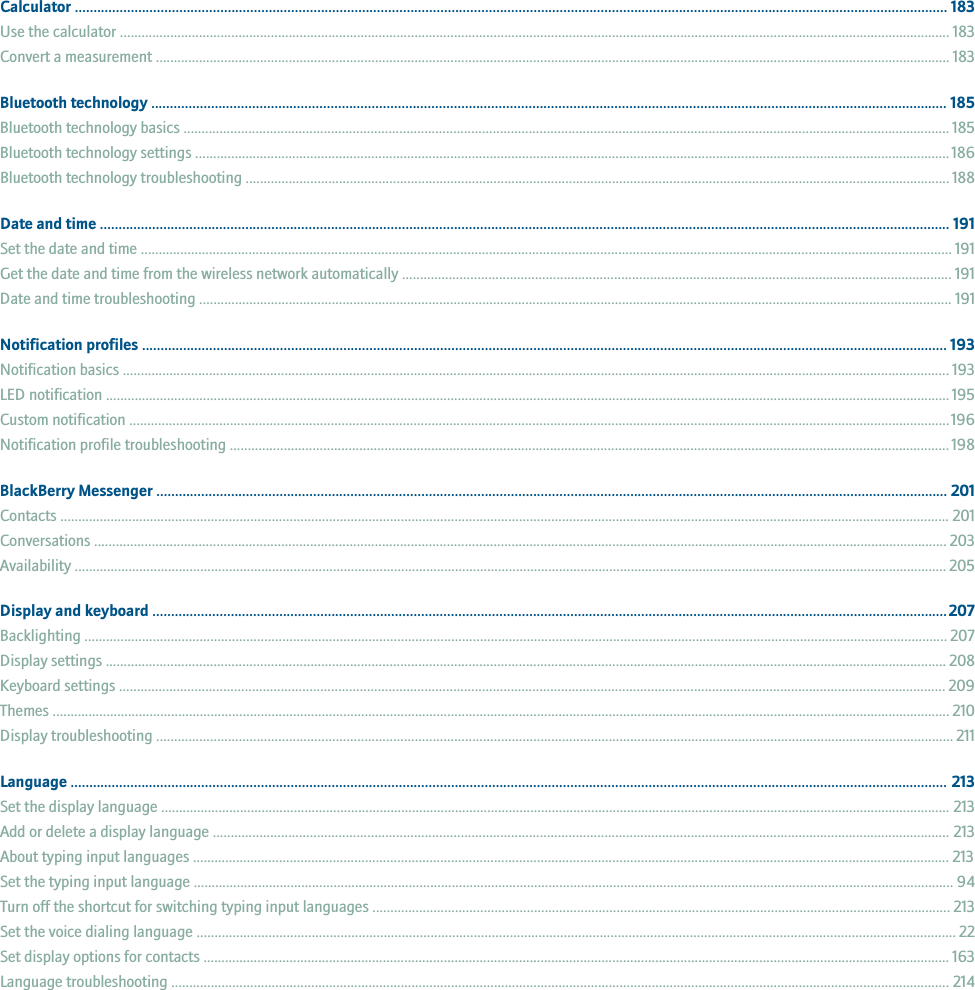
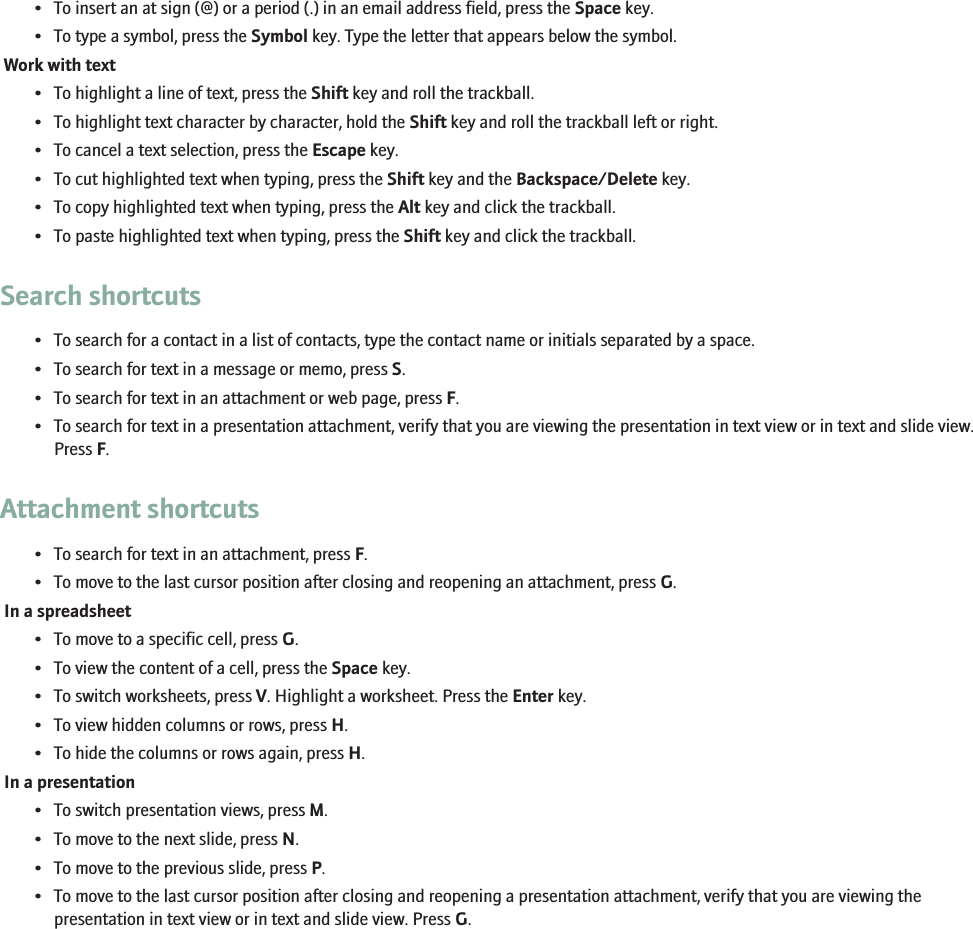
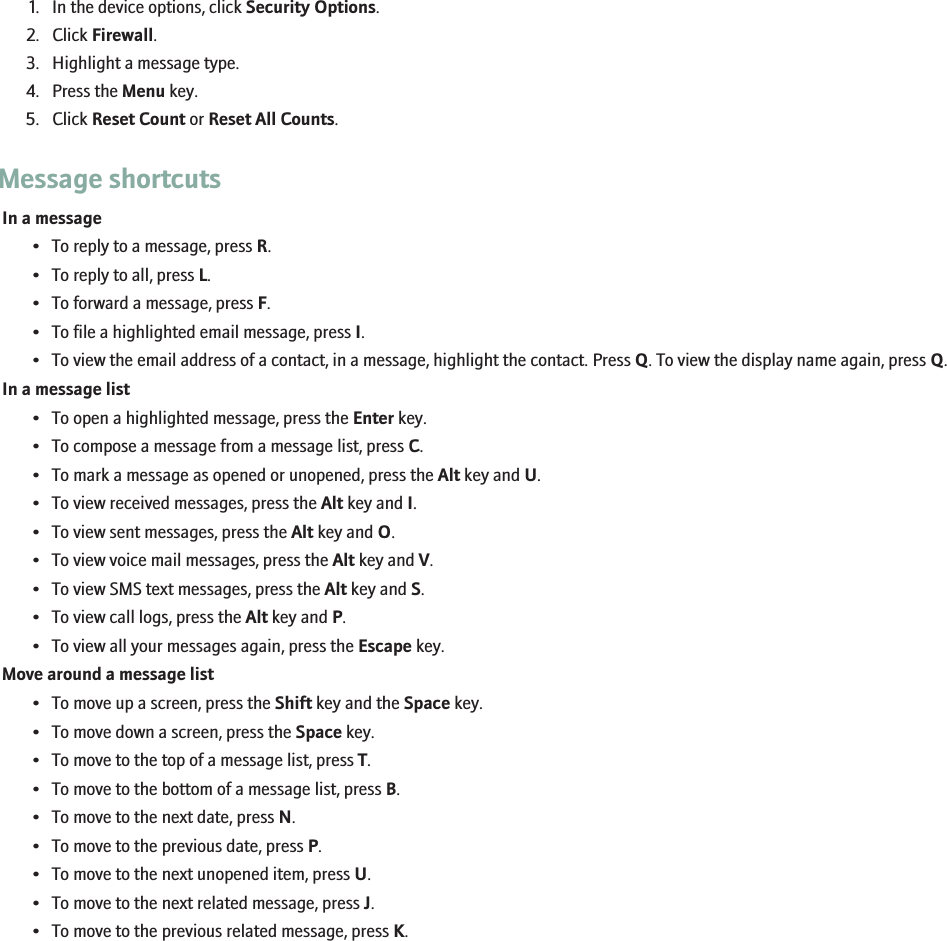
![BlackBerry MessengerContactsAdd a contactYou must invite contacts to use BlackBerry® Messenger before they are added to your contact list.1. In BlackBerry Messenger, on the contact list screen, press the Menu key.2. Click Add a Contact.3. Perform one of the following actions:• If the contact is not in your address book, highlight [Use Once]. Press the Menu key. Click Request by Email or Requestby PIN. Type an email address or PIN. Press the Enter key.• If the contact is in your address book, highlight a contact. Press the Menu key. Click Request (Email) or Request (PIN).4. Perform one of the following actions:• If you want to set a password, and have turned on invitation passwords, type a question and answer. Click OK.• If you do not want to set a password, and have turned on invitation passwords, click Cancel to proceed to the next step.5. Perform one of the following actions:• To add a custom message to your invitation, type a message. Click OK. Click OK.• To use the default invitation message, click OK. Click OK.Note: If you invite a contact using a PIN and the contact is in your address book, the contact's display name appears instead of the PIN.Turn on invitation passwordsIf you turn on invitation passwords, a question and password screen appear each time you invite a contact.1. In BlackBerry® Messenger, on the contact list screen, press the Menu key.2. Click Options.3. Set the Ask Password Question When Adding Contacts field to Yes.4. Press the Menu key.5. Click Save.Note: To turn off invitation passwords again, set the Ask Password Question When Adding Contacts field to No.Respond to an invitation1. In BlackBerry® Messenger, in the Requests group, highlight an invitation.2. Click the trackball.3. Click one of the following menu items:•Accept.RIM Confidential - Internal Use Only.201](https://usermanual.wiki/BlackBerry/RBM40GW.User-Manual/User-Guide-757055-Page-203.png)