BlackBerry RFF90LW Handheld Blackberry with GSM/EDGE 850/900/1800/1900, WCMDA/HSDPA Bands (FDD I, II, V, VI), LTE (Bands 2, 4, 5, 17), 802.11a/b/g/n, Bluetooth, NFC and GPS User Manual
BlackBerry Limited Handheld Blackberry with GSM/EDGE 850/900/1800/1900, WCMDA/HSDPA Bands (FDD I, II, V, VI), LTE (Bands 2, 4, 5, 17), 802.11a/b/g/n, Bluetooth, NFC and GPS
Contents
- 1. User Manual
- 2. User Manual II
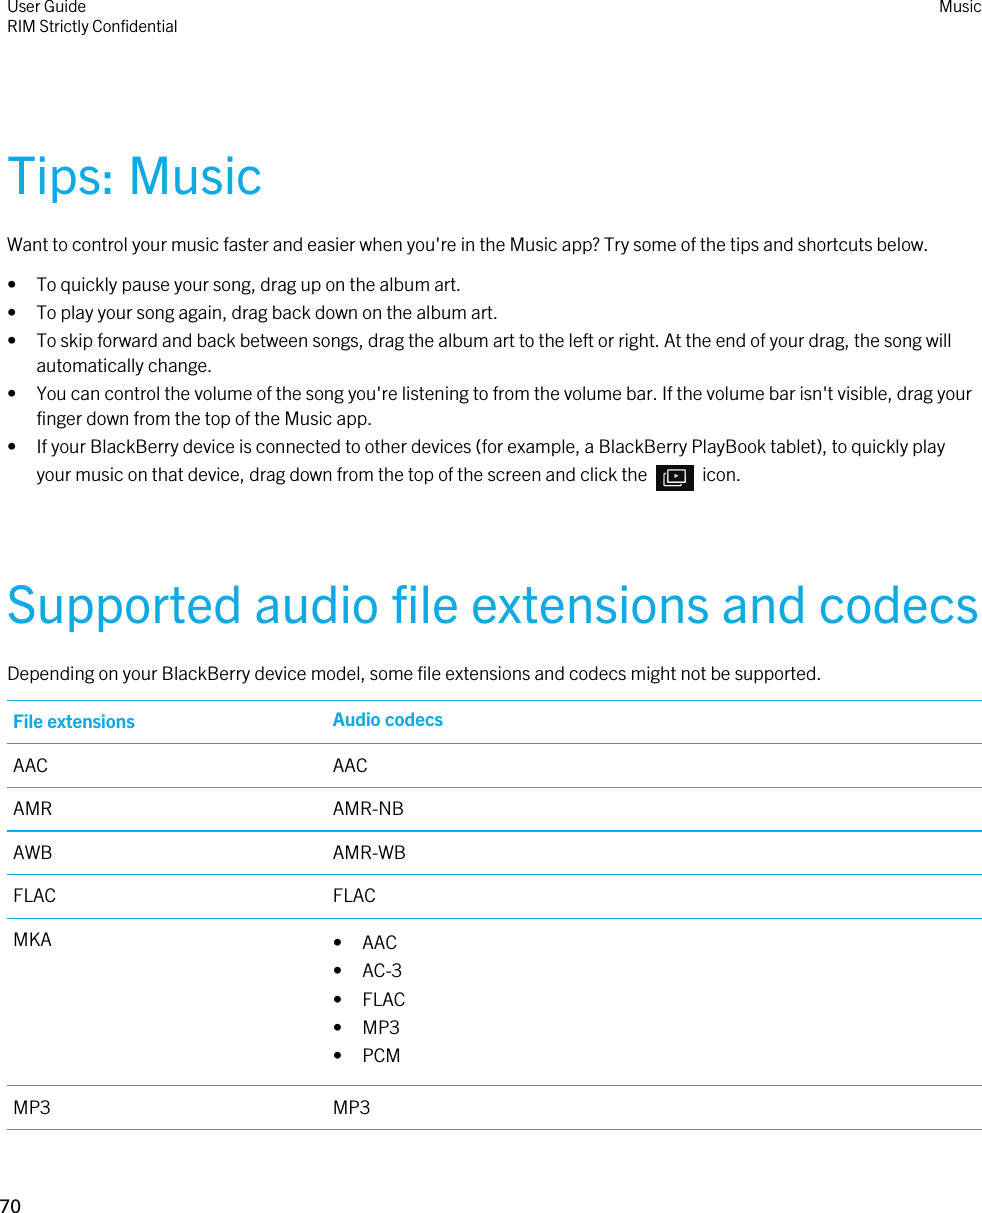
User Manual


![GamesCreate your profileTo show off your gaming skills you'll need to create a profile when you first enter the Games app. You can edit your profile at any time by swiping down and tapping Edit Profile.1. Follow the on-screen prompts to create a profile name.2. Add a picture by swiping through the images on your device and tap the one you want or tap [imageof camera icon] and take a new pic.Add a friendYou can add friends to the Games app to view their games, compare your stats, or to challenge them to a head to head match.You can add friends in lots of ways. Try any or all of these options:• In your timeline, tap a person.• Tap Friends to add a friend through your contacts list, by displaying a barcode or by looking at your existing friends' friends.Add a gameUse the Games app to discover your next favorite game. Find new games to download or purchase by trying any or all of the following:• In your timeline, tap a game.• Tap Discover and browse through new games, popular games and the games that your friends are playing.User GuideRIM Strictly Confidential Games88](https://usermanual.wiki/BlackBerry/RFF90LW.User-Manual/User-Guide-1871154-Page-88.png)
![Favorite a gameOnce you've discovered a game you love you can mark it as a favorite for fast and easy access.1. Tap a game.2. Tap [add favorite icon].3. If all three favorite spots are already full, you'll have to tap a game to replace it with your new favorite.Viewing and comparing statsContent coming soon.User GuideRIM Strictly Confidential Games89](https://usermanual.wiki/BlackBerry/RFF90LW.User-Manual/User-Guide-1871154-Page-89.png)


![LanguageChange your input or display languageYour BlackBerry device lets you change the language for different functions, so that if you want to display text in one language, but create emails in another language, you can. From the Language and Input settings screen you can change the input or display language for text input and other input methods as well as for your device's display.1. From the top of the all apps panel or the running apps panel, swipe down.2. Tap All Settings > Language and Input.Add a languageContent coming soonDelete a languageContent coming soon.Changing your input language as you typeIf you have languages available to switch to, [language switch icon] will appear on your keyboard. If you don't have any languages set, this key will instead show a punctuation character that is commonly used in your set input language.Change which languages are available to switch to as you typeContent coming soon.User GuideRIM Strictly Confidential Language122](https://usermanual.wiki/BlackBerry/RFF90LW.User-Manual/User-Guide-1871154-Page-122.png)

![SearchSearch your deviceWhen you search your BlackBerry device from the main search app, your results are categorized according to file and application type. If you search from within an application, your results are limited to items within the application.1. To search for an item on your BlackBerry device tap [search launch icon].2. Enter your search terms.If there are more than three results for a category, only the first three results are shown. To see all of the search results for a particular category, tap [image of dog ear icon] on the bottom right of the category group.Use voice enabled searchContent coming soon.Change the language for voice enabled searchContent coming soon.Filter your search resultsIf you have a lot of search results and you know the type of file you're looking for, you can use the search filter to narrow your results. It doesn't matter whether you turn on the search filter before or after you start your search, but the filter will be cleared the next time you enter the Search app.1. In the search application, tap [image of category button].2. Tap the category that you want search results for.User GuideRIM Strictly Confidential Search130](https://usermanual.wiki/BlackBerry/RFF90LW.User-Manual/User-Guide-1871154-Page-130.png)
![Change your search settingsContent coming soon.Search your email messagesIf you're searching for a specific email, you can find it more quickly by narrowing your search results by message field, such as To, From, or Subject.1. In the Messages app, swipe down from the top.2. Tap [more search options icon].3. Select the fields you want to search.4. Enter your search terms.User GuideRIM Strictly Confidential Search131](https://usermanual.wiki/BlackBerry/RFF90LW.User-Manual/User-Guide-1871154-Page-131.png)