Blackroc Technology IP31356 RFID Tag Reader User Manual IP3 1356
Blackroc Technology Ltd RFID Tag Reader IP3 1356
User manual
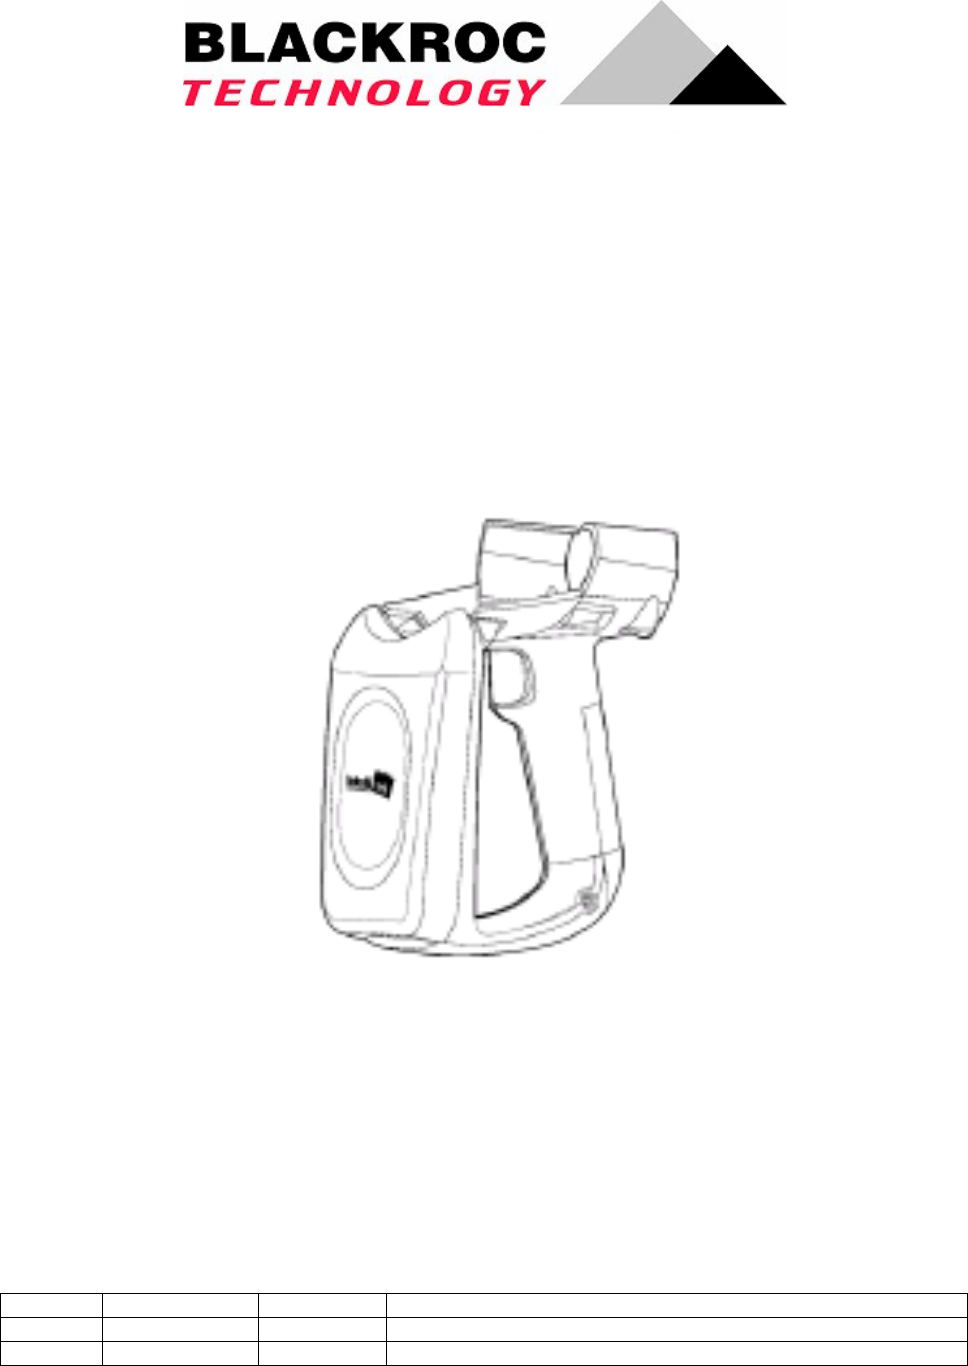
IP3 1356
Portable RFID Reader
Revision Date By Comment
A17 Jan 2005 G A Price Original Issue
Page 1 of 6
IP3 1356 Quick Start Guide
Packing List
Check to ensure that you receive these items:
• Blackroc IP3 1356 Portable Reader (9005-0001)
• Battery Pack (318-014-001)
• IR Reflector For Colour 700 (075115-001)
Setting up your 700 colour mobile computer
Install you Pocket PC application in accordance with the application instructions.
Connecting the portable reader to the 700 series colour
mobile computer
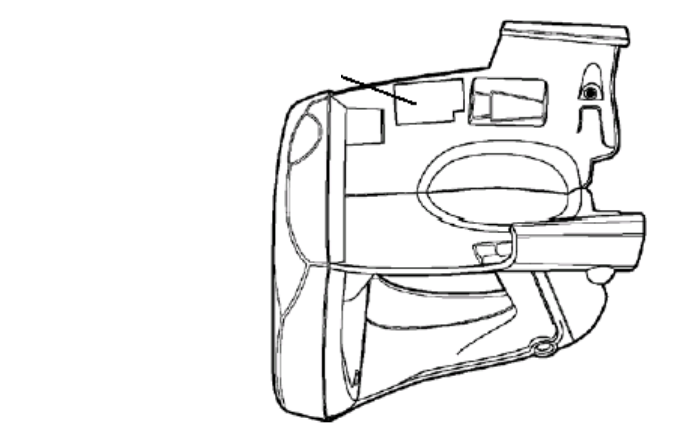
Note: DO NOT remove the reflective tape from the inside of the portable reader. This reflective
tape aids in the communication of the IrDA signal between the portable reader and your mobile
computer.
Reflective tape, DO NOT REMOVE
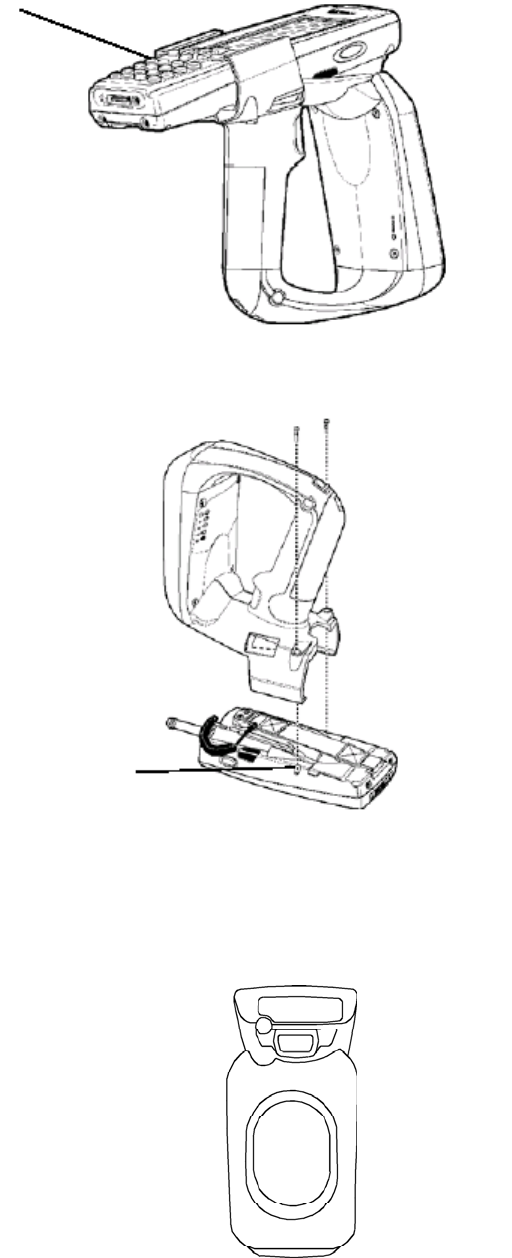
1. Slide your mobile computer into your portable reader.
2. Ensure it slides in all the way. Your mobile computer communicates with the reader via the
IrDA. Therefore, the IrDA signal passing from the portable reader must have a good IrDA
acceptance on the side of the mobile computer. You will hear a click when you have the mobile
computer completely inserted into the portable reader.
Page 2 of 6
IP3 1356 Quick Start Guide
Mobile Computer fully engaged
into Portable Reader
3. Attach two retaining screws. Ensure that they go straight into the mobile computer openings.
Ensure retaining screws
go straight into the slots on
the mobile computer.
4. Ensure that the colour 700 and the mobile reader are vertically aligned, so that an imaginary
vertical line would run through the centre of both units.
Page 3 of 6
IP3 1356 Quick Start Guide
Removing the 700 colour mobile computer from portable
reader
5. Remove the two retaining screws.
6. Grasp the 700 colour mobile computer at the display end, and simultaneously lift up (away from
the reader), then pull forward.
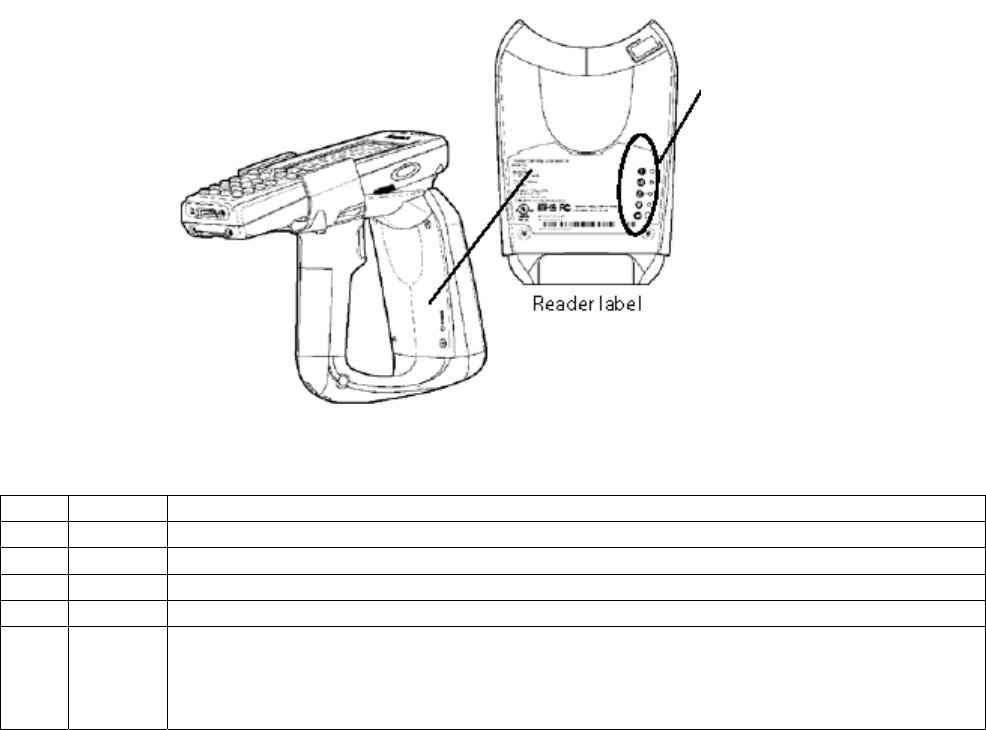
Portable reader LED location and explanation
LEDs 1 to 5
(top to bottom)
LED Name Description
1 1 Application controllable LED 1
2 2 Application controllable LED 2
3IR TX Reader is transmitting Infrared data
4IR RX Reader is receiving Infrared data
5Battery Indicates remaining battery capacity;
Green, more than 80%
Orange, between 80 and 20%
Red, less then 20%
Page 4 of 6
IP3 1356 Quick Start Guide
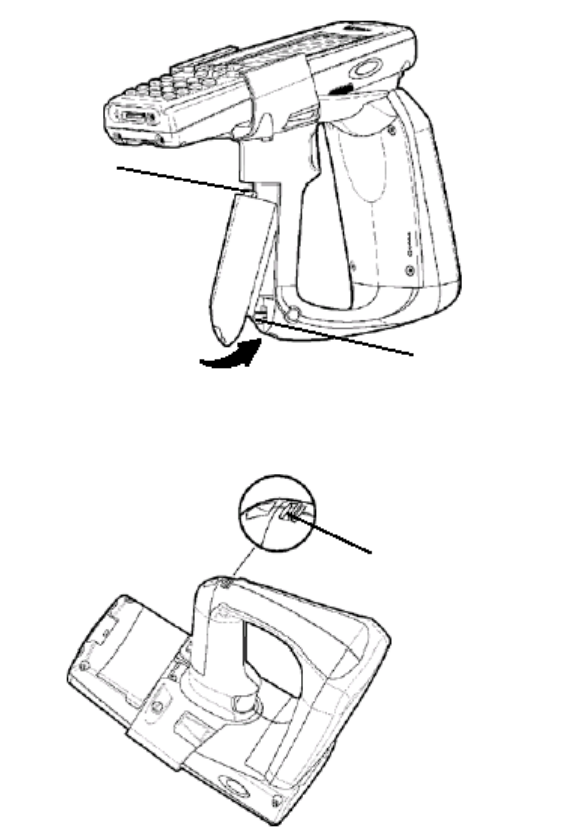
Battery installation and removal
To charge the battery contained in your portable reader, it is necessary to remove the battery from
the handle and place it in the IP3U Dual Battery Pack Charger. This charging unit charges the
battery in four hours.
1. To install the battery into the portable reader, insert the battery (tilt to fit into notch) into the
compartment opening and press in until the latch on the bottom of the battery snaps closed.
The battery tab on the top of the battery pack fits into the notch in the compartment.
Battery tab
Battery latch
2. To remove the battery pack, push the battery release latch forward and remove the battery
pack from the handle.
Battery release latch
Page 5 of 6
IP3 1356 Quick Start Guide
Using the portable reader
1. Charge battery for at least four hours before using for the first time.
2. Inset the battery into the reader.
3. After 5 seconds the battery indicator will settle and show the battery condition
4. Use the reader in accordance with the software application.
Specifications
Frequency 13.56MHz.
Output power 250mW.
Communication Interface Infrared to Colour 700 series of mobile computers.
Antenna Internal loop.
Read range Dependant on tag size, environment and orientation but up to
150mm to an ISO card size tag.
Power Removable Lithium-Ion battery pack
Tags supported ISO 15693, Texas Tag-it, Philips I-Code and Tagsys tags