Mouse Manual
2015-04-03
: Bluemic Mouse Manual mouse_manual mouse pdf
Open the PDF directly: View PDF ![]() .
.
Page Count: 5
Mouse
versatile
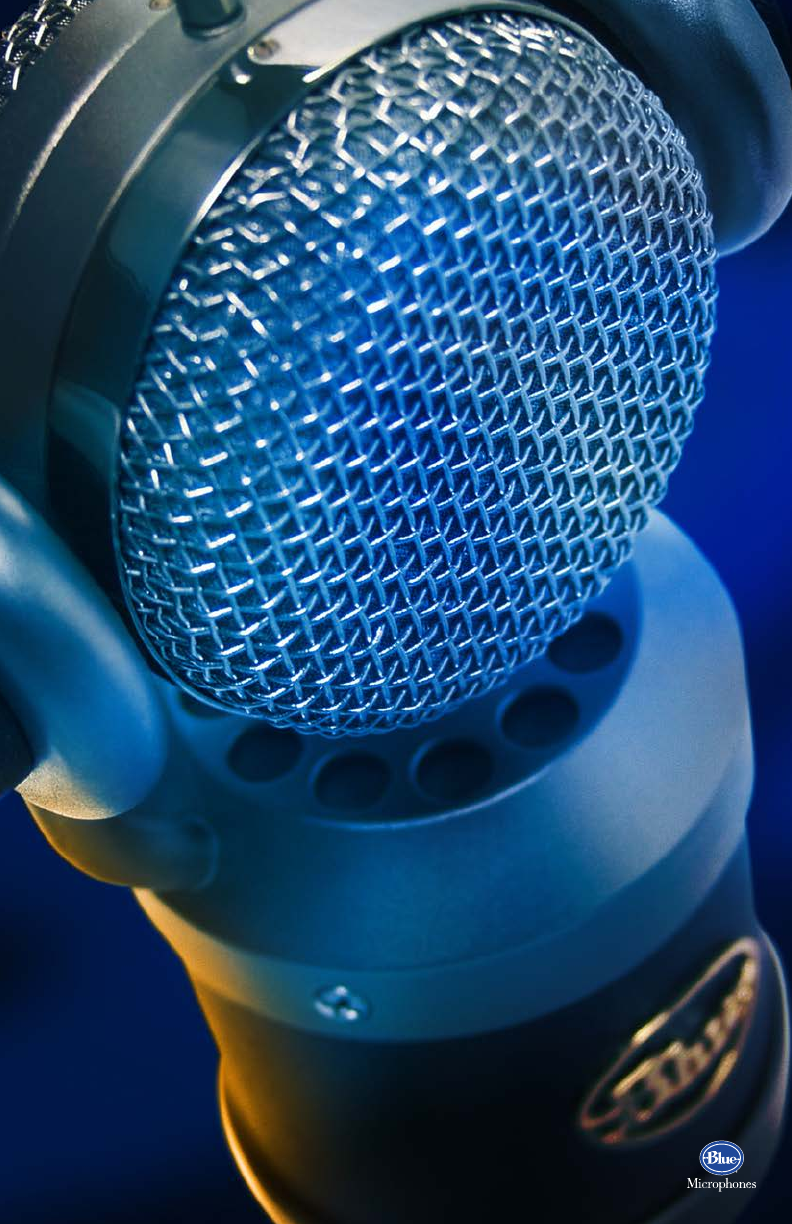
Congratulations on your purchase of the Blue Mouse, a classic
modern microphone made the old-fashioned way, without
compromise. The unique rotating capsule (also utilized on the Blue
Dragonfly) makes this one of the most versatile and snazzy-looking
mics you’ll ever lay eyes on. And beneath the handsome exterior,
you’ll find that the Mouse is a precision recording tool, combining
the low noise and superb transient response of top-grade modern
electronics with the crisp, airy high end magic of legendary vintage
vocal mics. In order to familiarize yourself with this microphone’s
specialized and unique features, please take the time to read this
manual, and be sure to try the suggested recording tips.
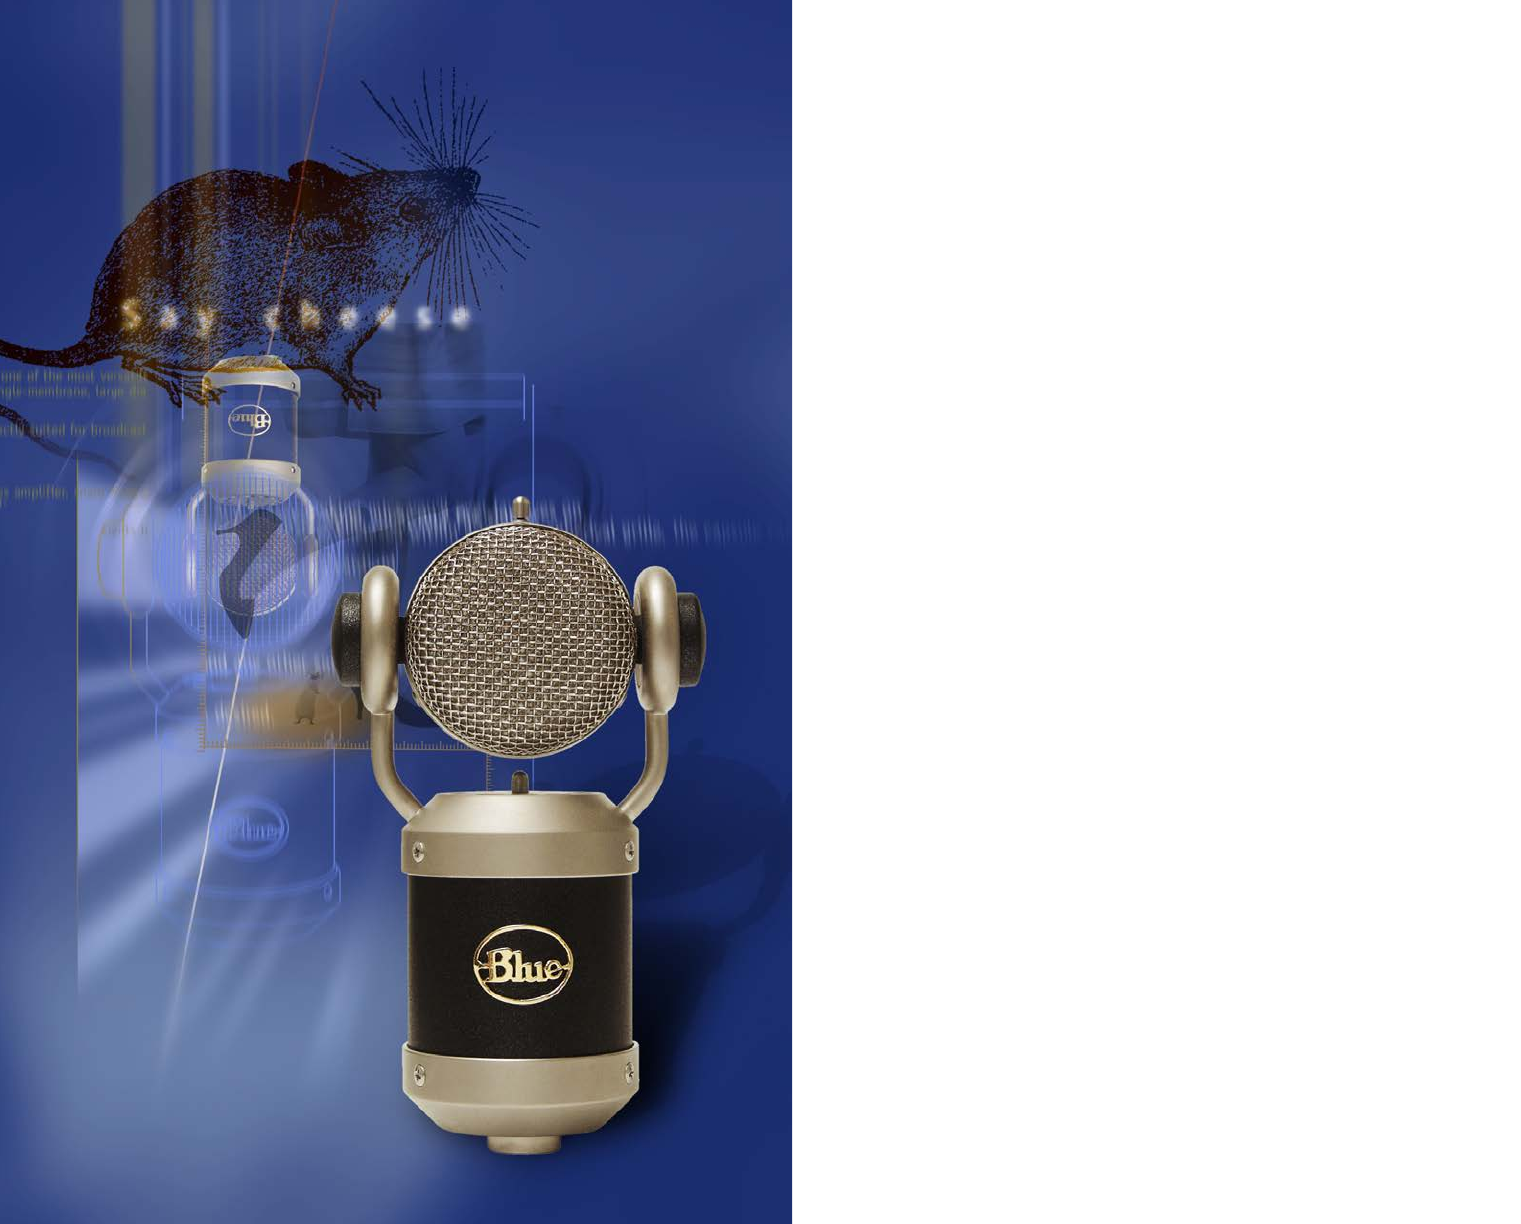
The Mouse is a pressure-gradient cardioid condenser microphone,
employing the Blue single-membrane, factory-tuned large
diaphragm capsule. For this hand-crafted diaphragm we have
selected a 6-micron mylar film, sputtered with a mixture of pure
gold and aluminum, and tensioned to our own hand-built brass
backplates. Enclosed within a rotating spherical grille, the capsule
can be positioned and adjusted in the smallest of spaces. This
innovative design offers fine-tuning and precise placement to please
the most discerning recordist, combined with an ease of use that is
without equal among either vintage or contemporary microphones.
First and foremost, the Mouse has been designed to provide
the commanding, intimate presence associated with the world’s
best (and most expensive) vintage vocal microphones. With its
shimmering, detailed highs, smooth mid-range, and minimized
proximity effect (a bass boost inherent in all unidirectional mics),
this capsule design excels at delivering a vocal right to the front
of the mix where it belongs. When processed with limiting and/or
compression, as is standard practice for most pop vocals, tracks
recorded with the Mouse will be free of pumping and low end
thumps. Acoustic guitar, hand percussion, drums, and other critical
high end sources also shine in front of the Mouse, gaining an extra
measure of “air” and presence that enables the most delicate
sounds to cut through a mix, even at very low levels.
The Mouse circuitry is based on a Class A, fully discrete circuit.
In plain English, this means that the sound which arrives at the
diaphragm is transduced (converted to electrical energy) as
accurately as possible, with no integrated circuits (a.k.a “IC’s”)
in the signal path. To this end, the Mouse utilizes hand-selected
electronic components of the highest quality (such as expensive
metal-film resistors), and there are no pad or low-cut filter switches
in the circuit.
To get the most out of this, or any quality microphone, it is
essential to pair it with a good microphone pre-amplifier. Most
professional recordists prefer to have outboard preamps on hand,
and will choose solid-state or vacuum tube models based on their
unique characteristics. To maintain the integrity of your signal,
try using Blue’s Quad or Dual high-definition mic cable along with
Blue’s outstanding Class-A vacuum tube mic preamp, Robbie. And,
whenever possible, connect the mic preamp output directly to your
recorder or A/D converter, bypassing the mixing board and any
unnecessary components.
To secure the delicate capsule during transport and storage, two
transit screws are provided. These screws go into the solid metal
ring around the circumference of the spherical grille, and should be
in place when you first take the mic out of its case. Remove them
before using the Mouse, and replace them at the end of the session.
The Mouse system includes Blue’s custom The Shock suspension
shockmount. The Shock is designed to isolate the Mouse
microphone body from low frequency vibrations when mounted on a
stand. To fit the Mouse into this assembly, first open the wire latches
on the upper and lower circular padded bands situated inside the
shockmount frame. Then simply slide the Mouse into the bands, and
close the wire latches to tighten the bands around the microphone.
The angle of the mount assembly can be swiveled and adjusted with
the large thrumbscrew, which will normally be positioned at the rear
of the mic. Once you have the Mouse secured in its shockmount, you
may find it easiest to attach the assembly to a stand by 1) loosening
the boom stand arm or threaded end of the mic stand, 2) grasping
the mount assembly in one hand, and 3) screwing the mic stand
threads into the mount, without over-tightening. This procedure will
eliminate any possibility of damage to the mic.
The Mouse shockmount is provided as an option, but should not
be necessary for most studio applications. Complete internal
shockmounting is built into the Mouse at two stages; first by
suspension of the capsule within the grille on three rubber stems,
and then by shockmounting of the grille assembly where it contacts
the U-shaped yoke. Also, don’t forget to check out The Pop, Blue’s
elegant and durable, adjustable universal windscreen.
The Mouse requires 48 volt phantom power, which is standard with
most mic preamps, mixing consoles, or separate phantom power
supplies. It is important to note that some units, though rated at 48
volts, may supply insufficient or unstable phantom power, which can
result in distortion and/or degraded performance when used with
the Mouse.
To avoid damage to audio components when connecting phantom
power, follow this simple procedure: 1) turn down the mic preamp
gain, headphones, and your studio monitors, 2) connect microphone
cable to the Mouse and microphone input jack, 3) turn on phantom
power, 4) turn up the mic preamp gain, etc. To disconnect or
re-route the Mouse, 1) turn down the mic preamp gain, headphones,
and your studio monitors, 2) turn off phantom power and wait ten
seconds before disconnecting the mic.
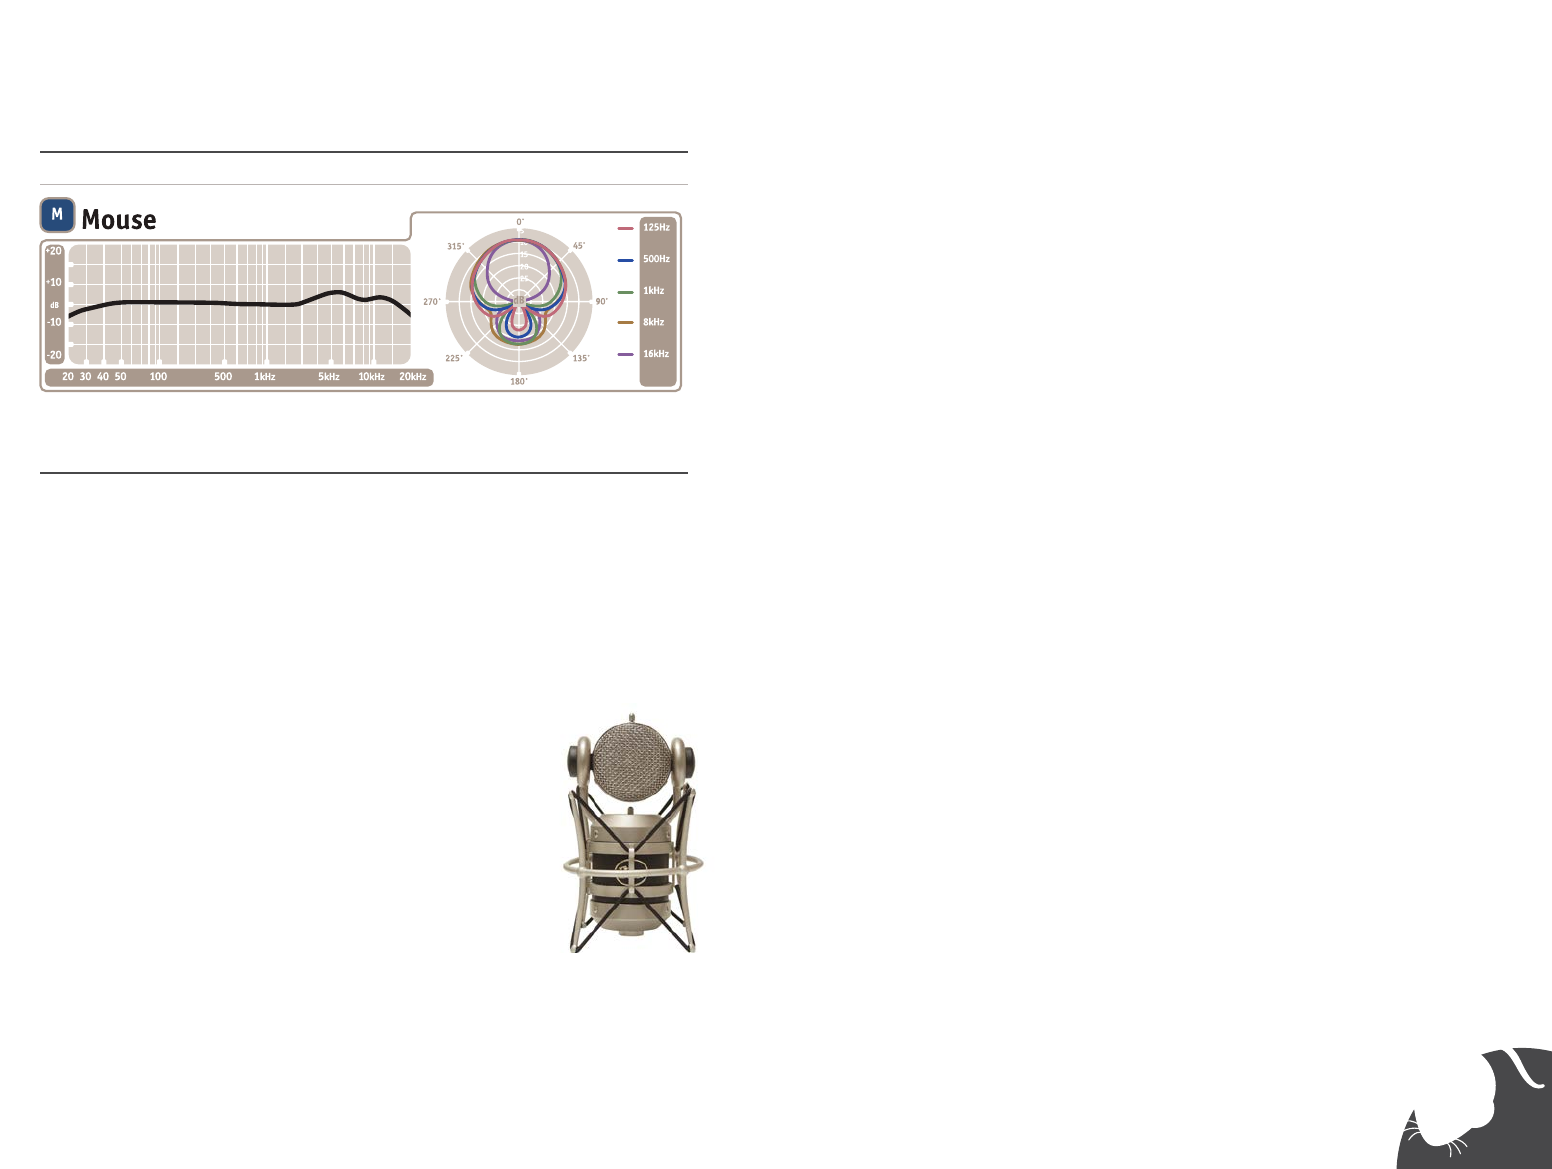
This frequency chart of the Mouse capsule is only a start. It gives the recordist a basis of the sound provided. How the microphone reacts in
a particular application will differ greatly because of many variables. Room acoustics, distance from sound source (proximity), tuning of the
instrument and microphone cabling are only a few of the interacting issues. For an artist or engineer, how the microphones are used creates the
basis of the sound.
Mouse with The Shock
Mouse Frequency & Polar Response Charts
thundering lows
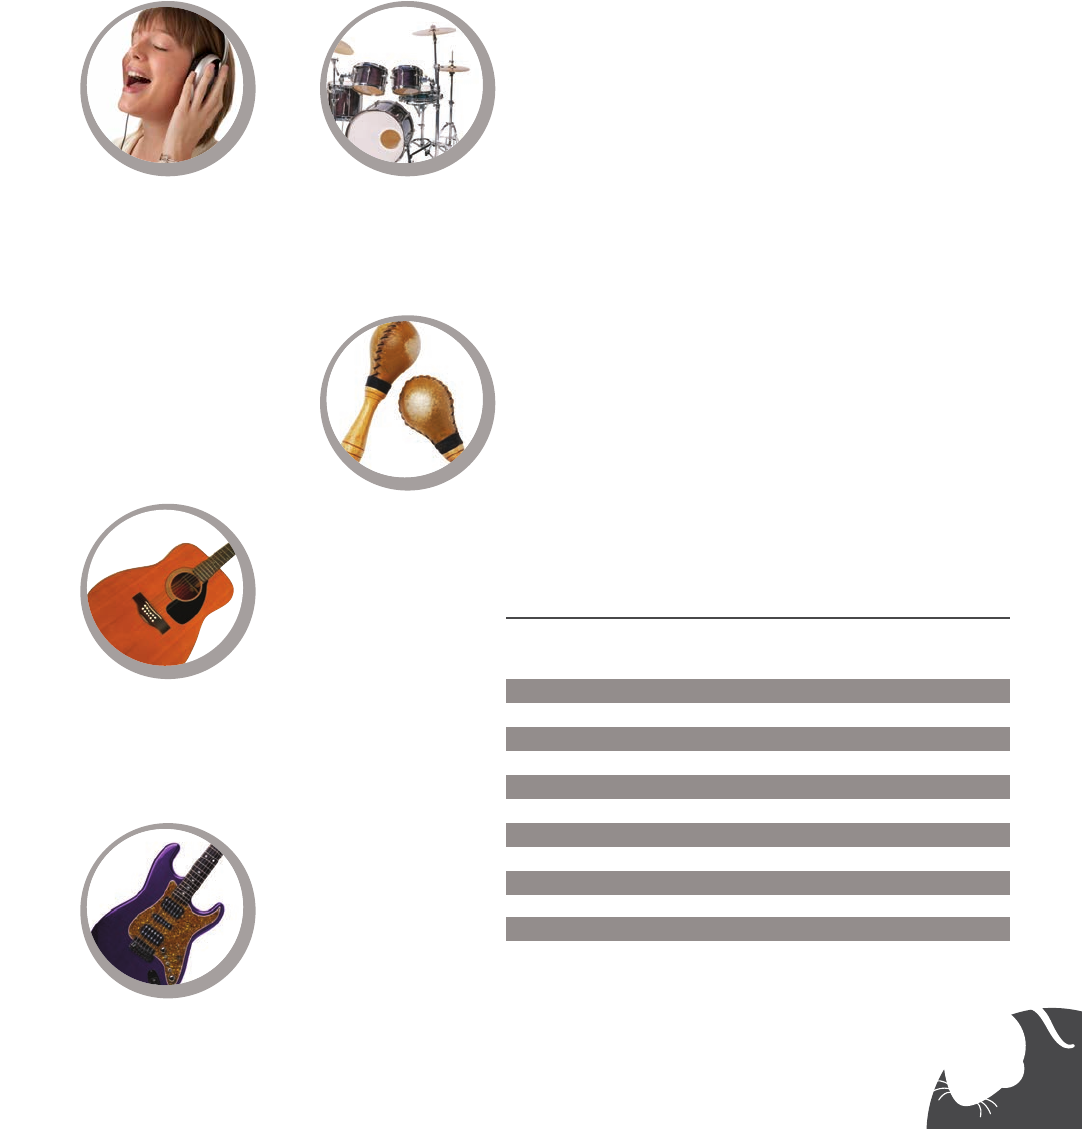
Vocals
Here’s a little-known secret— vocalists love singing into unique
and impressive mics. And in addition to its good looks, the Mouse
was developed especially to enhance the airiness and detail in
any voice, while diminishing the proximity-induced lows which
can cloud a mix or produce compression artifacts. Put it in front
of any singer and you are guaranteed to get a 110% inspired
performance that sits perfectly in the mix with little or no
additional equalization. The Mouse is also an outstanding choice
for narration and voiceover work.
For that “big” vocal sound with maximum presence, get the vocalist
within one to three inches of the capsule. There is no need to worry
about overloading the microphone capsule, but be sure to use The
Pop or a mesh windscreen to protect the diaphragm at this distance.
Mount the Mouse on a boom stand, and title the capsule up (toward
the forehead) for more projection and head tone, straight on at the
mouth for maximum brightness and intelligibility, or down toward
the chest for more robust lows and smoother highs.
Acoustic Guitar
Large diaphragm mics require careful placement when used on
acoustic guitar, but the transparency and superb transient response
of the Mouse are well-suited to this job. In fact, reviewers have
raved about the Mouse after trying it on acoustic guitar, resonator
guitar, and mandolin. For a balanced sound with plenty of sparkling
high end, position the microphone facing the guitar neck, right
where the neck joins the body (usually around the 12th- t=14th
frets). For starters, keep the mic as close as possible, and tile the
capsule toward the soundhole to capture a blend of low end and pick
sound. If you need more lows, move the microphone closer to the
soundhole. For more high end detail, move the Mouse farther from
the guitar, either at the same neck position, or above the instrument
up by the guitarist’s head.
Electric Guitar
The Mouse is an excellent mic for any clean amp sound, ranging
from bright rhythm chords to warm jazzy tones. Rotate the capsule
toward the center of the speaker to capture more highs, or turn the
capsule toward the edge of the cone for a fuller sound with more low
end. For overdriven or distorted tones, move the mic towards the
outer edge of the cone, or back it away from the amp a foot or more
to add a little room sound and soften the extreme high end.
Drums
The rotating capsule, superior sound pressure handling capability,
and fast transient response of the Mouse offer numerous
advantages when recording drums. For kit and hand drums, begin
by placing the microphone two to four inches above the rim or hoop
(where the head is secured to the shell). Angle the capsule toward
the player’s stick or hand to pick up more attack and definition.
Turning the capsule toward the shell will soften the sharp attack of
a hand drum, or pick up more of the bright, crackling buzz from a
snare. Moving the microphone closer to a drum generally increases
the low end, shell resonance, and separation form other sound
sources, while more distant placement emphasizes the interaction
of the drum and the environment, producing a blended, airier sound.
Percussion
On tambourine, shaker, bells, clave, and orchestral percussion the
Mouse offers astounding clarity and realism. And unlike most large
diaphragm microphones, the Mouse can be positioned quite close
to a percussive source without distortion or undue proximity effect.
Start by placing the microphone about a foot from percussive
instruments. Moving the mic closer will emphasize detail and tone,
as well as decreasing the proportion of ambient room sound on a
track. More distant placement will yield a natural, roomy sound that
blends easily enough with other rhythm instruments.
Enjoy!
Technical Specifications:
Transducer Type • Condenser, Pressure Gradient
Polar Pattern • Cardioid
Frequency Response • 20Hz – 20KHz
Sensitivity • 21.0mV/Pa at 1kHz (1Pa = 94dB SPL)
Output Impedance • 150Ω
Rated Load Impedance • >1 kΩ
Maximum SPL • 138 dB SPL (2.5kΩ, 0.5% THD)
S/N Ratio • 85 dB–A (IEC 651)
Noise Level • 8.0 dB–A (IEC651)
Dynamic Range • 130 dB (@2.5kΩ)
Power Requirement • +48V DC Phantom Power (IEC 268–15)
Weight • 520g
Dimensions • 235mm x 50mm x 30mm
Blue Microphones
5706 Corsa Avenue, Suite 102
Westlake Village, CA 91362
www.bluemic.com
Warranty
This Microphone or related part is warranted under the conditions outlined below to its original,
registered owner, provided the purchase was made from an authorized Baltic Latvian Universal
Electronics (BLUE) dealer. This Microphone or related part is guaranteed to remain free from
operating defects for three years from the date of purchase. In the event that service is required,
all necessary parts and labor will be furnished free of charge during the serial number had been
altered, removed or defaced. The warranty is void if the equipment is altered, misused, mis-
handled, maladjusted, or is serviced by any parties not authorized by Baltic Latvian Universal
Electronics (BLUE). The warranty does not include transportation costs incurred because of
the need for service unless arranged for in advance. Baltic Latvian Universal Electronics (BLUE)
reserves the right to make changes in design and improve upon its products without obligation
to install these improvements in any of its products previously manufactured. This warranty is in
lieu of any or all expressed or implied.
In keeping with our policy of continued product improvement, Baltic Latvian Universal Electronics (BLUE) reserves the right to alter
specifications without prior notice.
©2012 Blue Microphones. All rights reserved.
Blue Microphones, Blueberry, Robbie the Mic Pre, Series 2 Shock, The Pop
and
Blueberry,
Cranberry
&
Kiwi Cables
are trademarks or registered trademarks of Blue Microphones, Inc. All other trademarks contained herein are
the property of their respective owners.
Included Accessories:
• Elegant wood storage box
•
The Shock
— customer shockmount
Recommended Optional Accessories:
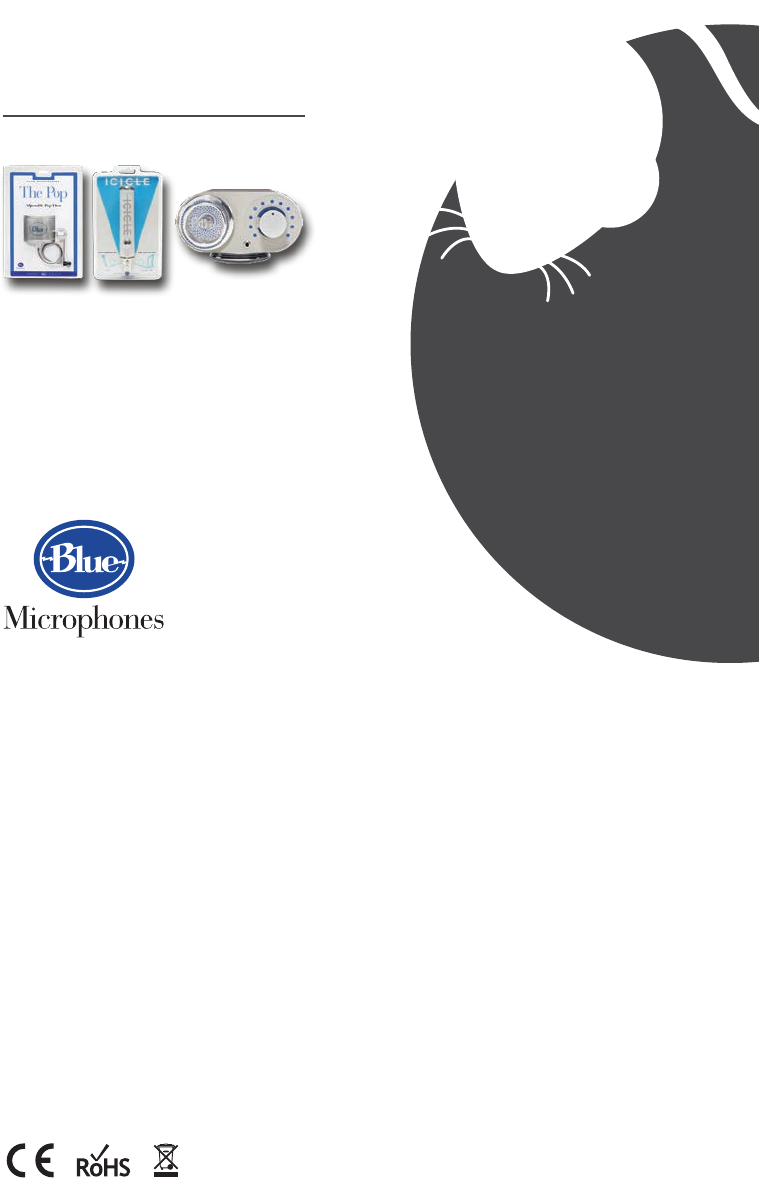
•
The Pop
— adjustable pop filter
•
The Icicle
— XLR to USB converter and pre-amp
•
Robbie the Mic Pre
— Class–A vacuum tube mic
preamplifier
