Brightstar A785X Mobile Phone User Manual
Brightstar Corporation Mobile Phone
UserManual.wiki
>
Brightstar
>
A785X User Manual
User manual
Navigation menu
Upload a User Manual
Namespaces
Wiki Guide
HTML
PDF
Info
Views
User Manual
Discussion / Help
Navigation
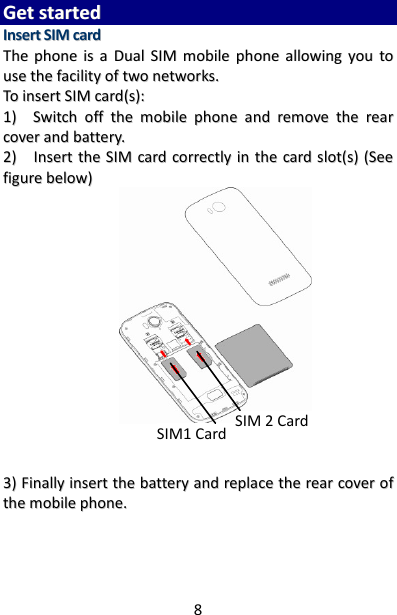

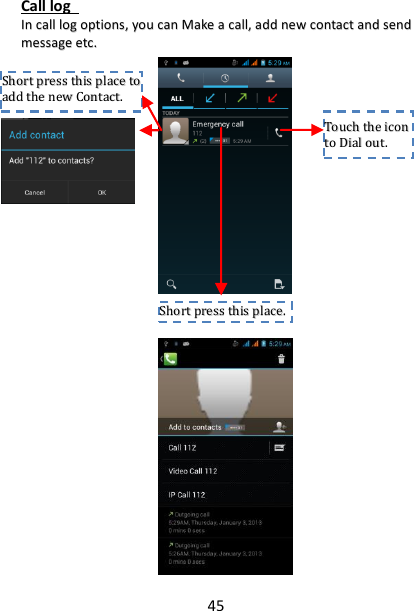
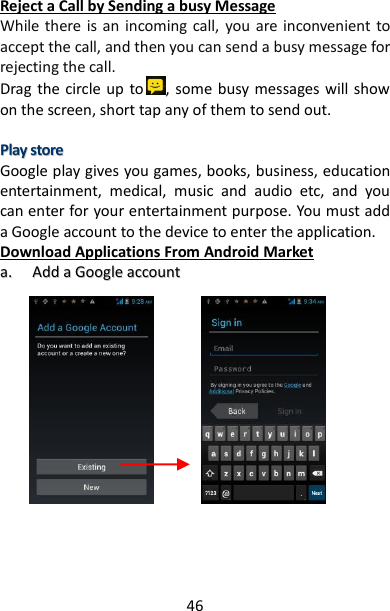
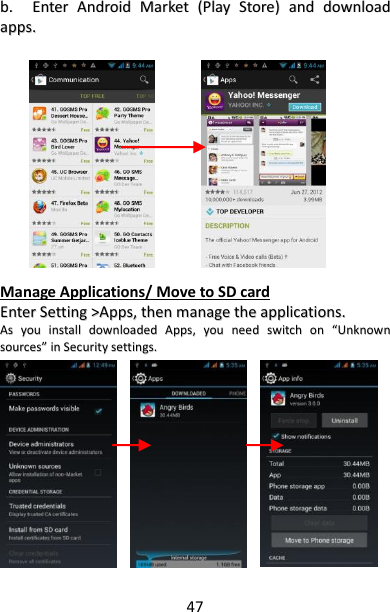
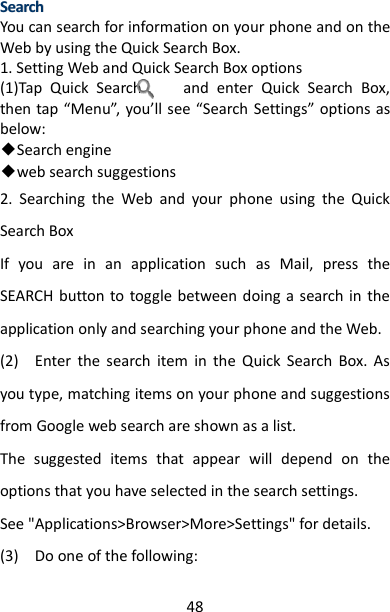
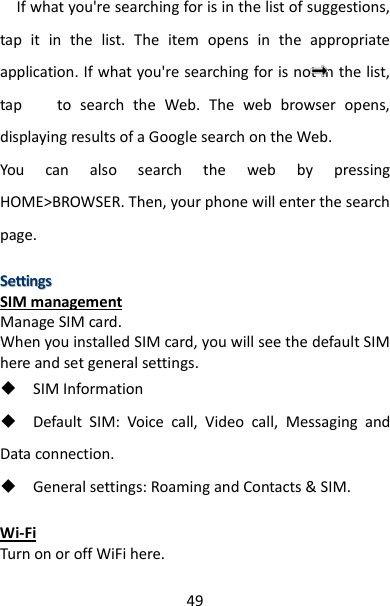


![70 Calendar event. In the Calendar's Day view, Agenda view, or Week view, press and hold the event. Contact. On the People screen's All tab, press and hold the contact, and then tap Send contact as vCard. Tap the down arrow icon, and then select Bluetooth from the displayed list. 4. If you are prompted to turn on Bluetooth, tap Yes. 5. Tap the name of the receiving device. 6. If prompted, accept the connection on the receiving device, and enter the same password on both your phone and the other device, or confirm the auto-generated password. 7. On the receiving device, accept the file. The location where the information is saved depends on the type of information and the receiving device. If you send another file type to a Windows computer, it is normally saved in the Bluetooth Exchange folder within your personal document folders. On Windows XP, the path may be: C:\Documents and Settings \[your username]\ My Documents\ Bluetooth Exchange On Windows Vista, the path may be: C:\Users\[your username]\Documents If you send a file to another device, the saved location may depend on the file type. For example, if you send an image file to another mobile phone, it may be saved in a folder named "Images". Receiving information from another device Your device is capable of receiving a wide variety of file](https://usermanual.wiki/Brightstar/A785X/User-Guide-2072516-Page-70.png)