Brightstar FX1900P CDMA PHONE User Manual for FX1900P
Brightstar Corporation CDMA PHONE for FX1900P
UserManual.wiki
>
Brightstar
>
FX1900P User Manual
Users Manual
Navigation menu
Upload a User Manual
Namespaces
Wiki Guide
HTML
PDF
Info
Views
User Manual
Discussion / Help
Navigation
![26 3. Press “Menu/Ok” Key to confirm, select List OK to edit the message text to send. Note: 1. You can delete or edit the phone numbers of the list. 2. You can [Resend] or [Abort] the number which is failed to send. 6.5 Delete Messages Enter "Messages", select Erase Messages and then Entire Inbox / Entire Outbox / Old Inbox. 6.6 Preset Messages There are some common messages stored in your terminal for you to select and send directly, or send after editing. You can also insert it as writing a message. The operation of inserting the message is as below: 1. Enter "Messages", select Create Message . 2. Input the text and then press “Menu/Ok” Key and “►” Key to select Pref Msg , select the desired messages. 3. Select Continue to input the phone number of receiver, press Continue Send to send the message or select the phone number from Contacts and then press “Menu/Ok” Key to send. 6.7 Voice Mail Please consult your network service provider before use. If a new voice message is received, the system will send a text message to your terminal automatically. View the message and dial the number to listen to the voice mail. Hold to dial the voice mail number to read the voice mail. 27 Note: The function requires network support. 6.8 Short Message Settings You can set the short message functions based on your own needs. Voice Mail Number Note: Consult your network service provider for the specific number. 1. Enter "Messages", select Message Settings Voice Mail Number . 2. Select Yes to add the number and then press “Menu/Ok” Key . Message Alert Set alert mode when a new message comes. You may select Alert Once or Alert & Remind . z Alert Once : Only alert once when a new message comes. z Alert & Remind : When a new message is not acknowledged, the terminal will ring per minute to remind the user until it is acknowledged. Note: The message alert can be set in [Sound] of [Settings]. "Vibe+Ringer" and "vibration" can only be used as incoming call alert. Auto Erase Inbox When Enable is activated and the inbox is full, the messages read earliest will be automatically deleted when a new message comes.](https://usermanual.wiki/Brightstar/FX1900P/User-Guide-1079485-Page-14.png)

![36 Note: 1. Set the alarm ringing in the specified time. The alarm can work only when the terminal is turned on. 2. Select [OFF] to turn off the alarm when it is ringin; select [Snooze] 9.4 Scheduler 9.4.1 Add New Scheduler 1. Enter "Extra", and then select Scheduler Add Event. 2. Input the name of new scheduler, press “Menu/Ok” Key to confirm. 3. Select Next , then press “▲/▼” to set the beginning time of scheduler,press “◄/►” to switch between hour and minute. 4. Press “◄/►” to select Duration, then press “▲/▼” to set the period of events. 5. Press “◄/►” to select Alarm, then press “▲/▼” to set time quantum of alarm or turn off the alarm. 6. Press “Menu/Ok” to confirm the settings, input the contents of events and then select Next. 9.4.2 View the Scheduler View the scheduler per day or per month. View Day View the scheduler per day. Enter "Extra", and select Scheduler View Day. Press “◄/►” Key to select the desired date, press “▲/▼” to select scheduler, then press “Menu/Ok” Key to view the details. View Month View one day in different months. Enter "Extra", and select Scheduler View Month . 37 Press “◄/►” or “▲/▼” to select the desired date, and then press “Menu/Ok” to enter. Press “▲/▼” to select the date you want to view and enter it. 9.4.3 Modify the Scheduler 1. Enter the desired scheduler to view (see section "View the Scheduler"). 2. Press “◄/►” to select Edit to enter. 3. Modify the correlative contents in the scheduler, press “Menu/Ok” to save it. 9.4.4 Delete the Scheduler 1. Enter the desired scheduler to view (see section "View the Scheduler"). 2. Press “◄/►” to select Erase to enter. 3. Select Yes to delete the scheduler. 9.4.5 Set Options Set the default options of the scheduler. Enter "Extra", and then select Scheduler Options: Set Work Hours Set working time, namely, the beginning and ending time of work in scheduler every day. Auto Delete Delete the record time for event after the event happened. Default Alarm Set the default of alarm when you add the scheduler.](https://usermanual.wiki/Brightstar/FX1900P/User-Guide-1079485-Page-19.png)
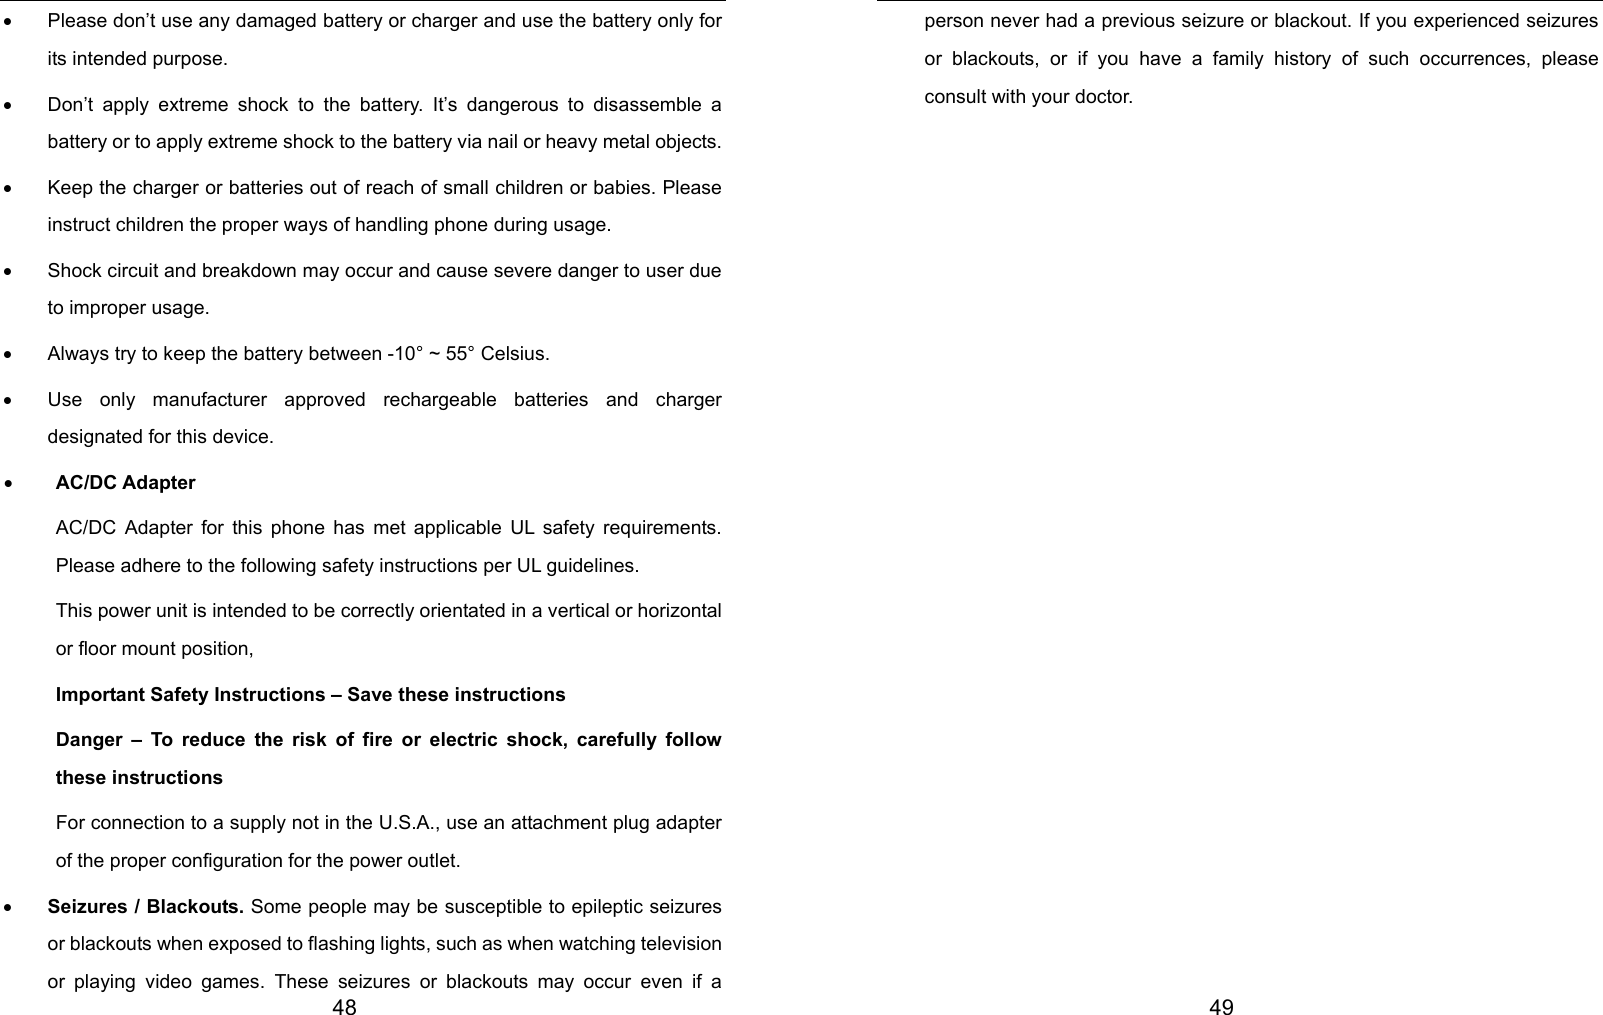
![42 11. FAILURE ANALYSIS Symptoms Possible Causes Solutions Inadequate battery power Charge the battery Power- on Failure Poor battery contact Re-install the batteryAutomatic power- off Seriously poor battery power Recharge the batteryDeceasing of battery performance Replace the battery Inadequate standby time Poor network signal Move to other placesPoor network signal Move to other placesNetwork connection failure Out of the service area Confirm whether it is in the CDMA network service areaCall drop during a call Poor network signal Move to other placesNo ring for a incoming call The terminal is set to Silence, or the volume for incoming call ringtone is set to 0. Enter [Settings] and set the mode as non-mute; or check ringtone volume. Prompt to input PUK UIM card is locked due to successive inputting false PIN code for three times. Contact with operators. 43 12. TECHNICAL INFORMATION 12.1 Specific Absorption Rate Data This model meets international guidelines for exposure to radio waves. Your mobile device is a radio transmitter and receiver. It is designed not to exceed the limits for exposure to radio waves recommended by international guidelines. These guidelines were developed by the independent scientific organization ICNIRP and include safety margins designed to assure the protection of all persons, regardless of age and health. The guidelines use a unit of measurement known as the Specific Absorption Rate, or SAR. The ICNIRP SAR limit for mobiles devices used by the general public is 2 W/kg and the highest SAR values for this device when tested, were Body: <value> W/kg, Head: <value> W/kg.>* As SAR is measured utilizing the device’s highest transmitting power, the actual SAR of this device while operating is typically below that indicated above. This is due to automatic changes to the power level of the device to ensure it only uses the minimum level required to reach the network. While there may be differences between the SAR levels of various phones and at various positions, they all meet the governmental requirements for safe exposure. Please note that improvements to this product model could cause differences in the SAR value for later products; in all cases, products are designed to be within the guidelines. The World Health Organization has stated that present scientific information does not indicate the need for any special precautions for the use of mobile devices. They note that if you want to reduce your exposure then you can do so by limiting the](https://usermanual.wiki/Brightstar/FX1900P/User-Guide-1079485-Page-22.png)