Brightstar GP851T Fixed Wireless Phone User Manual WVB GP851T
Brightstar Corporation Fixed Wireless Phone WVB GP851T
UserManual.wiki
>
Brightstar
>
GP851T User Manual
manual
Navigation menu
Upload a User Manual
Namespaces
Wiki Guide
HTML
PDF
Info
Views
User Manual
Discussion / Help
Navigation
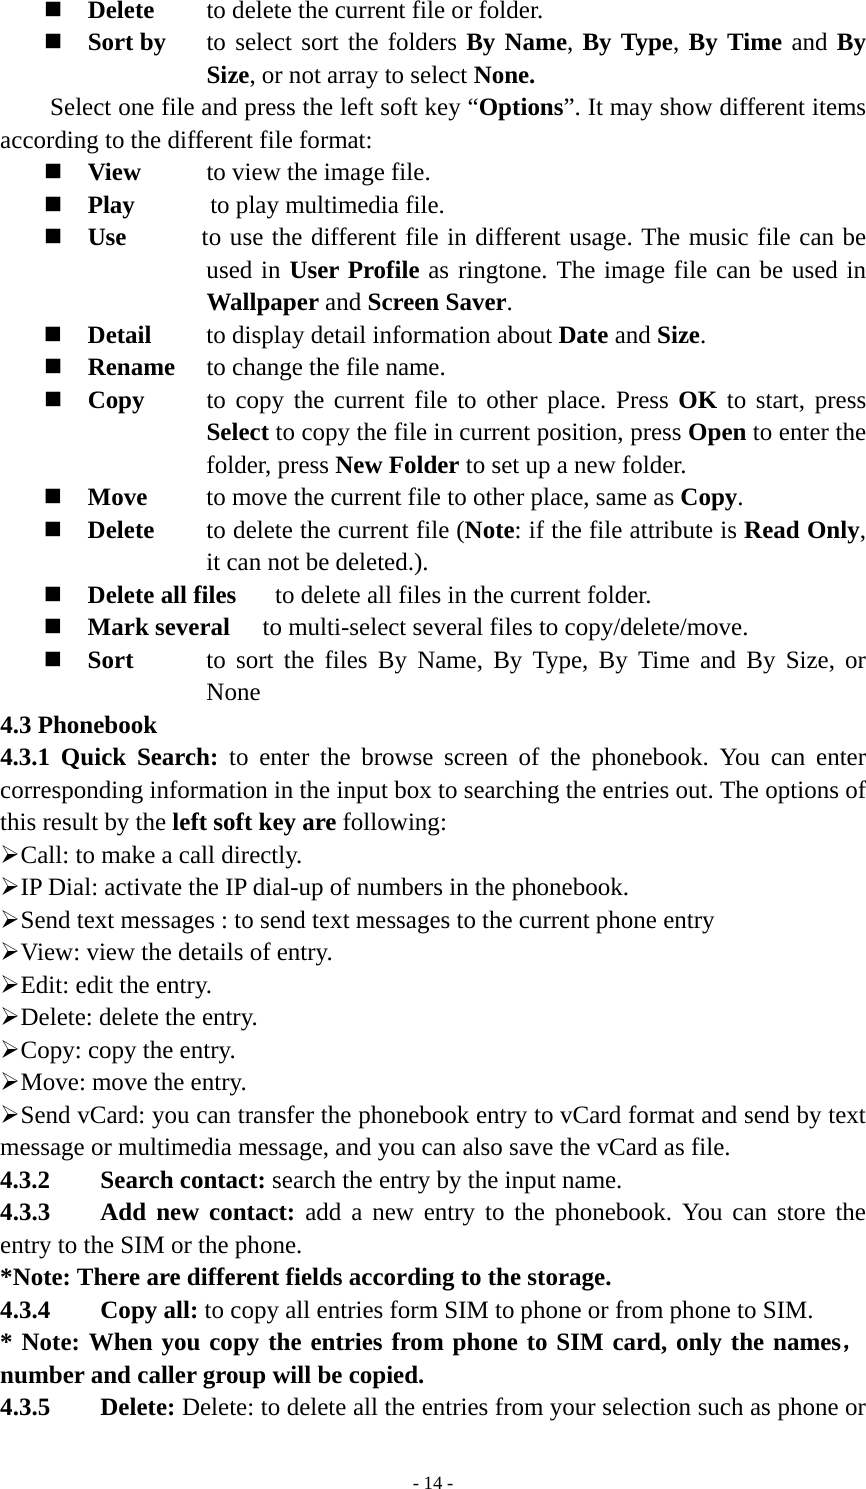
![- 15 -SIM. One by one: to delete the entries one by one. 4.3.6 Caller Groups: the phone is programmed with 5 caller groups. You can make some individual settings for each group, such as rename, ring type, incoming call picture and each group member’s personal setting. 4.3.7 Extra numbers*: to set “Owner number”, “Service dialing number” and “SOS number”. *Note: Some simcard may not support to set all these 3 numbers. 4.3.8 Settings: set the phonebook in five categories: Memory status, Preferred storage, Fields, My Card and vCard version. ¾ Memory status: view the memory of the SIM and the phone. ¾ Preferred storage: choose the preferred storage location, the phone or the SIM card. ¾ Fields: set the fields for content of the entries in the phonebook. ¾ My Card: edit or send my vcard. ¾ vCard version: set the vcard version. 4.3.9 Caller Ring tone: choose a ring tone for an incoming call. 4.4 Fun & Games In this menu there are three games (Mahjong、Puzzle and VSMJ) for your leisure time entertainment. 4.5 Extra 4.5.1 Calculator Your mobile phone provides a calculator with 4 basic functions to facilitate simple calculations. Enter the “Calculator” submenu to display the operation interface of the calculator: Use the Number keys from 0 to 9 to enter the numbers you wish to enter, use the # key to enter the decimal point. Press the up/down keys and left/right keys to enter the symbols for the four mathematical operators +, –, x or ÷. By pressing the right soft key “Clear” you can delete the latest entry or result, press the right soft key, “Back”, to exit the calculator, press the left soft key “OK” or touch “=” to calculate the result. Note: The precision of this calculator is limited so that rounding errors may occur, especially in the case of indivisibility. 4.5.2 Currency converter Allow you to perform simple conversions from one type of currency to another. Input a currency rate and then the local currency value to perform the function. 4.5.3 Stopwatch Typical stopwatch Features [Split timing] for measuring each player’s record from the start, and [Lap timing] to measure each lap record. The saved timing records can be displayed by selecting [View record] from the menu. nWay stopwatch Uses four navigation keys or tap icons to measure, short press left soft key to stop timing, long press center key to delete the data.](https://usermanual.wiki/Brightstar/GP851T/User-Guide-1307330-Page-15.png)
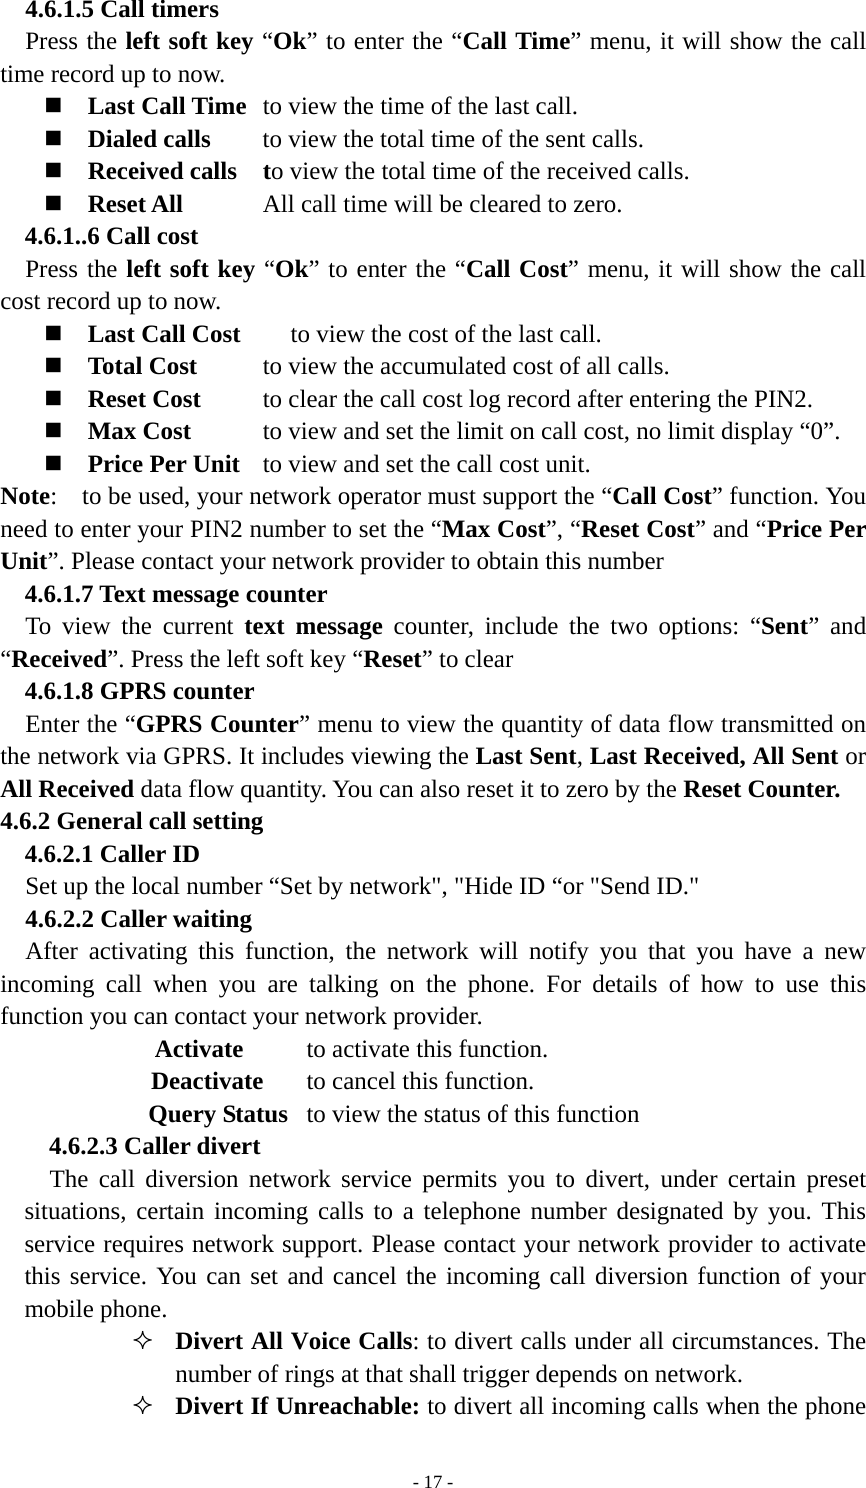
![- 16 -4.5.4 Ebook reader This function may help you to read the TXT file. You need to put the files to the [Ebook] folder, and enter the Ebook reader to read. Press the left soft key “option” carrying on the following option operation: ¾ Open E-book Reading chooses the document content. ¾ Cleanup Bookshelf Reorganizes in folder's document. ¾ Global Settings Set the font style, font size, storage location information and so on. ¾ Book Info displays the size and the document format information content. ¾ Delete to delete the current file. ¾ Delete All Files to delete all file in the E-Book Reader. ¾ Sort to sort files, By Name, By Type, By Time and By Size, or not array to select None. ¾ Apply Global Settings Application system preinstall establishment content. ¾ Help 0-9 numeric keyboard's in electricity classical philosophical works browsing process quick operating instructions. 4.6 Call center 4.6.1 Call history 4.6.1.1 Missed calls Enter the menu of “Missed Calls”, it will show the phone number or name (if this number has been stored in phone book with name) of missed calls. Select a record, press the left soft key “Ok” to view details, it will show date, time, name of the call, phone number and the times of incoming call. Press the left soft key “Options”, include options as follows: Delete: to delete the current record. Save to Phone book: to save the current number to phone book. Call: to call the current number. Edit: to edit and save number to phone book. Send text message: to send a text message to this number. Send multimedia message: to send a multimedia message to this number. 4.6.1.2 Dialed calls Enter the menu of “Dialed Calls”, it will show the dialed calls list. Select a record, press the left soft key “Ok” to view the call information. Press the left soft key “Options”, and the menu is the same as “Missed Calls”. 4.6.1.3 Received calls Enter the menu of “Received Calls”, it will show received calls list. Select a record, press the left soft key “Ok” to view the call information. Press the left soft key “Options”, and the menu is the same as “Missed Calls”. 4.6.1.4 Delete call logs Press the left soft key “Ok” to enter the “Delete Call Logs” menu. When the record is not empty, you can delete it, or select the “Delete All” option to delete all call record.](https://usermanual.wiki/Brightstar/GP851T/User-Guide-1307330-Page-16.png)
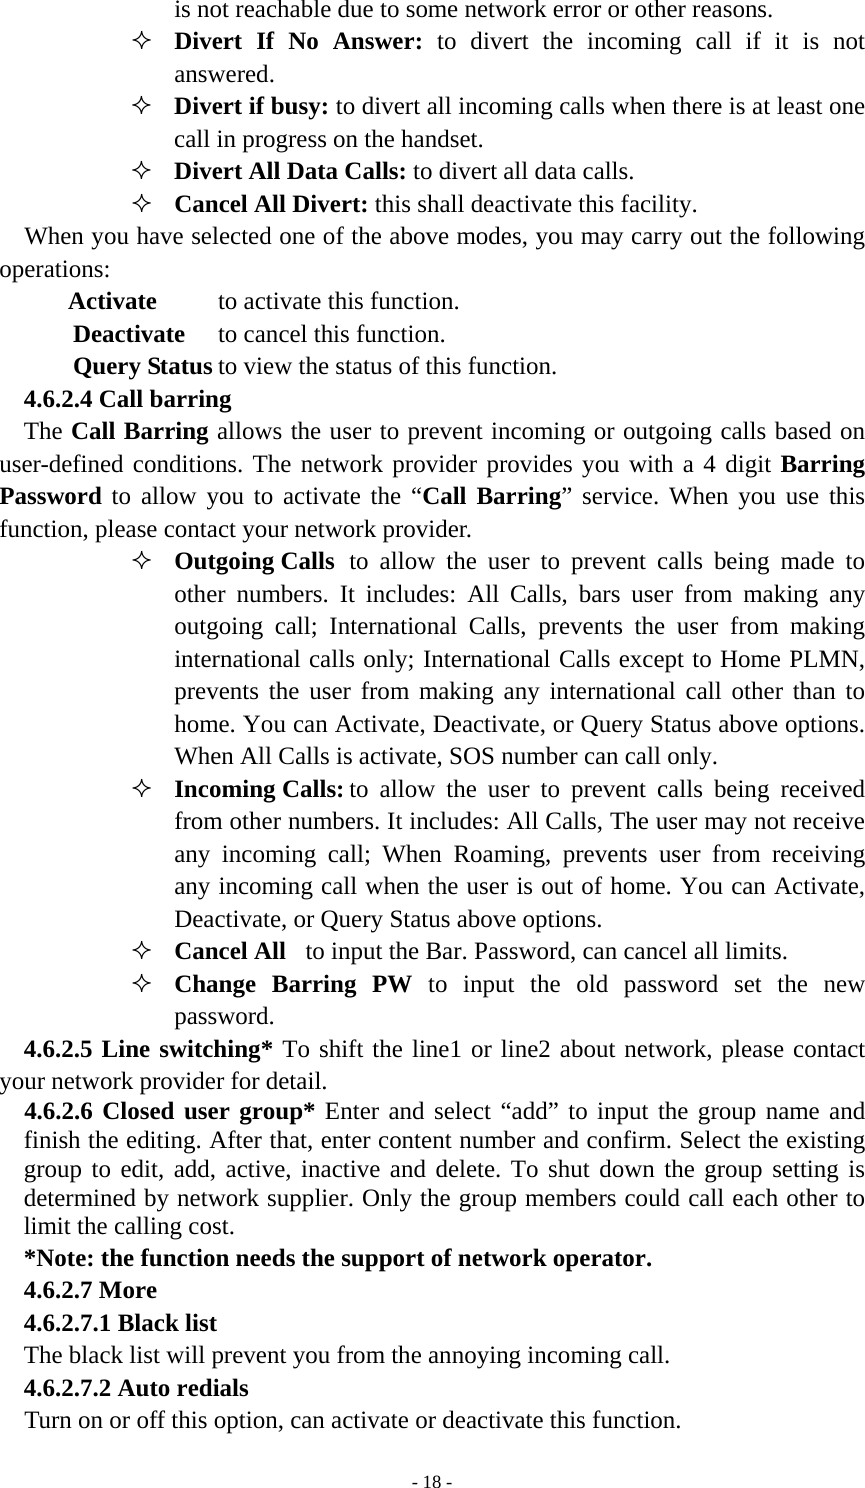
![- 24 -of TV are following: Add to My Channel:to add the current channel to your favorite channel list; Channel List:to display valid channels through searching; My Channel:to display your favorite channel list; Channel Search: To search for TV channels; Search Area:to select the area where you are; Play Effect:to set the special effect when you playing the TV. 4.8.2.2 How to Use the TV? First, please set the Search Area; then do a Channel Search operator; When the searching is complete, TV will automatically televise and update the play list in the Channel list. When the TV is playing, you can change the Channel by “left/right keys” in the screen. 4.8.3 Audio player In the Audio Player screen, press the up key to control the player to play and pause, press the down key to stop, press the left/right key to play the previous/next music, long press the left/right key to backward and forward the current music, press the Volumen key to adjust the volume. In the Audio Player screen, press the left soft key “List” to display the list of music, press the left soft key “Options” to enter the option menu: ¾ Play: play the selected music. ¾ Details: check the details of the music. ¾ Add to ringtones: add the music to the ringtone. ¾ Add*: to add music to the playlist, only when you turn off the List auto gen. ¾ Remove*: to remove the music from the playlist, only when you turn off the List auto gen. ¾ Remove all*: to remove all music of the playlist, only when you turn off the List auto gen. ¾ Refresh list: refresh the playlist. ¾ Settings: Pre. Play list: to set the default position of the music files, normally you should always set it as Memory card. List auto gen.: if on, the player will automatically generate the playlist with all the music files from the [My Music] folder. If off, you will see Add/Remove/Remove all in the Options menu and you can set the playlist by yourself. Repeat: to change the repeat mode, set Off (not repeat), One (repeat one music) and All (circularly play all music). Shuffle: to change playing order, set On (random) or Off (play one by one). Background Play: if On, the mobile-phone will play the music in other screens (except in Camera, Video Recorder and sound recorder etc.). Sound Effects: to set the sound effect from Normal, Bass, Dance, Classical, Treble, Party, Pop and Rock. Lyrics display: to display lyric when you playing the music. The](https://usermanual.wiki/Brightstar/GP851T/User-Guide-1307330-Page-24.png)
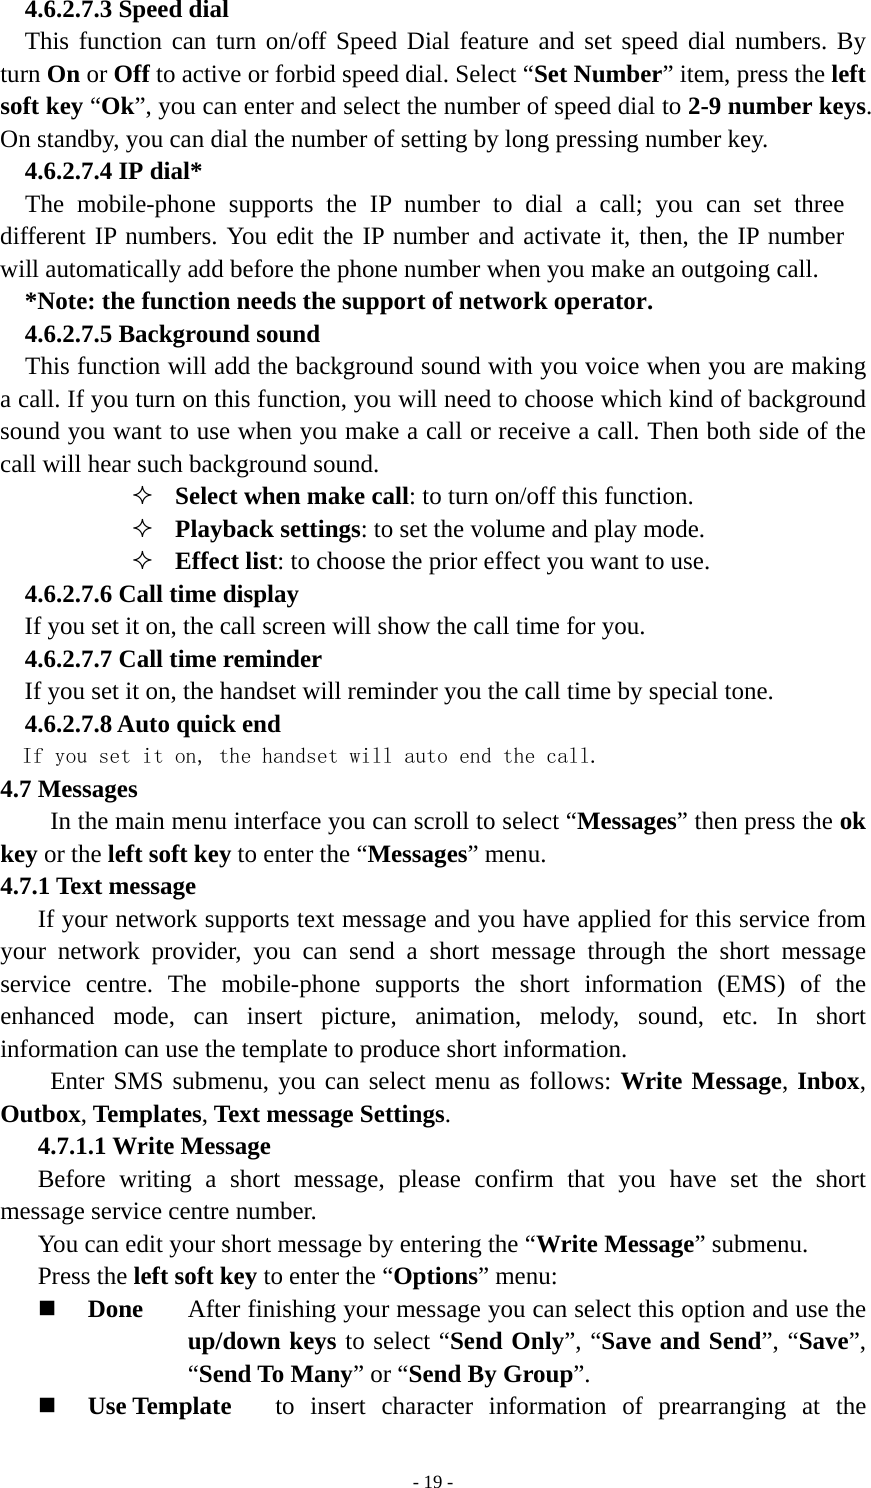
![- 25 -lyric file must be put in the same folder as the music file and the filename should be the same. 4.8.4 Sound recorder In this menu, mobile-phone can record sound. The format will be AMR, WAV or AWB. Press the Up key to start the recorder. When recording, press the left soft key to select “Pause” or “Cont.”, can pause or continue record, press the right soft key to select “Stop”, can edit and save the file. The record file is saved in [Audio] folder. Press the left soft key to select “Options” and access the following options: ¾ New record: to record a new sound. ¾ Play: to play the current record. ¾ Append: for AMR and AWB format, you can append the record to the current file, and save it as the same file. ¾ Rename: to change the name of the sound file. ¾ Delete: to delete the sound file. ¾ Delete all files: to delete all sound files. ¾ Settings : to change the file format. You can select AMR, WAV or AWB by the left/right key. ¾ Use: to set the current record file as the ringtone in the User Profile. ¾ Send: to send the current record file by MMS. 4.8.5 FM radio Enter this menu, press Volumen key to adjust the volume, press Left/right Nnavig’ation keys to adjust the channel, press OK key to control the Fm radio to play. Press left key “option” can select the operation as follows: ¾ Channel list You can set 20 FM channels at most. ¾ Manual input You can input the frequency of FM radio. ¾ Preset auto search The auto search will get the valid FM radio frequencies and establish the channel list. ¾ Settings to set the background play. 4.9 Services 4.9.1 STK* Press the up/down keys to select “STK”. Press the left soft key to enter the “STK” main menu. Here you can use the value-added services provided by your network operator. Your mobile phone supports STK functions. This service is provided by your network operator. If your SIM card and network operator do not provide this service, then you will not be able to use this function. For more information please contact your network operator 4.9.2 Data Account 4.9.2.1 GSM Data In this menu, the mobile-phone will show the Data Account list of GSM data. You can select and edit the GSM data: Account Name: to edit specify a name for the account. Number: to the phone number to dial for connecting to the account server.](https://usermanual.wiki/Brightstar/GP851T/User-Guide-1307330-Page-25.png)