User Manual
WARNING:
CHOKING HAZARD -Small parts.
Not suitable for children under 3 years.
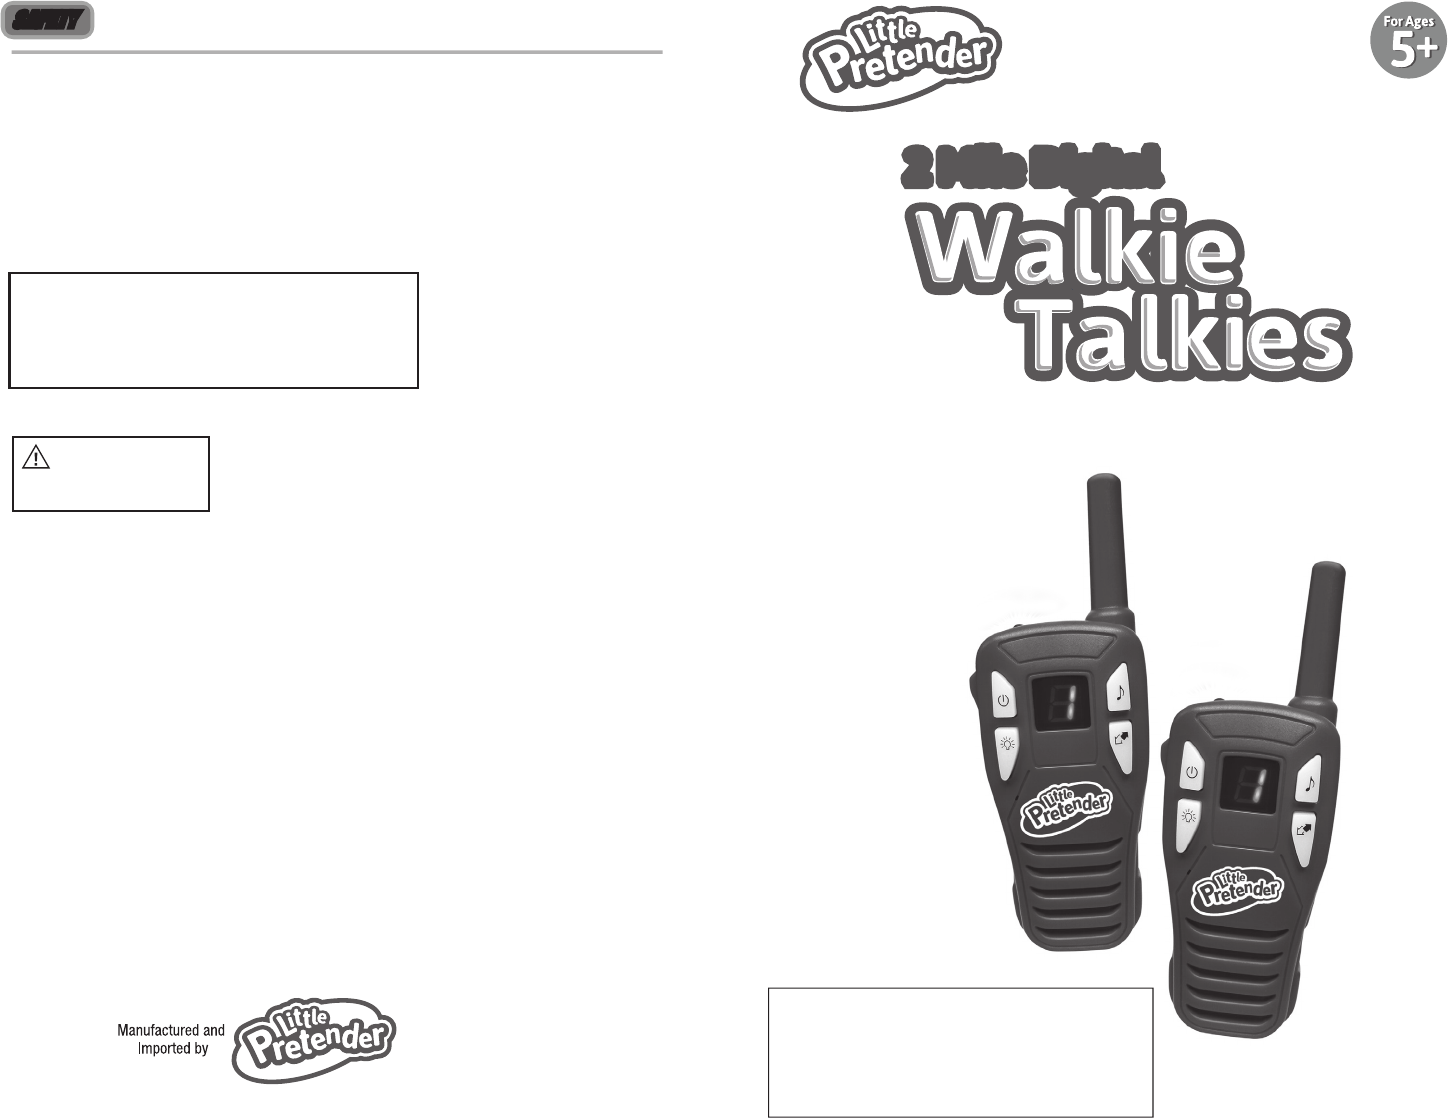
2 Mile Digital
Owner’s Manual
Item # 0598
BROOKLYN, NY 11211
www.littlepretender.com
© 2016 LITTLEPRETENDER
SAFETY
• Only adults should replace the batteries.
• Do not mix battery types or old and new batteries together.
• Remove exhausted batteries from walkie talkies.
• The supply terminals are not to be short circuited.
• Packaging should be kept as it may contain important information.
• All packaging to be removed before giving to child.
NOTE: The working range for these walkie talkies
are 2 miles. They work best in open areas however
the weather and environment can also effect the
range.
Warning: Changes or modifications to this equipment not expressly approved by the party responsible for
compliance could void the user’s authority to operate the equipment.
NOTE: This equipment has been tested and found to comply with the limits for a Class B digital device,
pursuant to Part 15 of the FCC Rules. These limits are designed to provide reasonable protection against
harmful interference in a residential installation. This equipment generates, uses and can radiate radio
frequency energy and, if not installed and used in accordance with the instructions, may cause harmful
interference to radio communications.
However, there is no guarantee that interference will not occur in a particular installation. If this equipment
does cause harmful interference to radio or television reception, which can be determined by turning the
equipment off and on, the user is encouraged to try to correct the interference by one or more of the
following measures:
• Reorient or relocate the receiving antenna.
• Increase the separation between the equipment and receiver.
• Connect the equipment into an outlet on a circuit different from that to which the receiver is connected.
• Consult the dealer or an experienced radio/TV technician for help
For body worn operation, this handset has been tested and meets the FCC RF exposure guidelines when
used with the accessories supplied or designated for this product. Use of other accessories may not ensure
compliance with FCC RF exposure guidelines.
FCC ID: 2AE67-0598
This is device complies with Part 15 of the FCC Rules.
Operation is subject to the following two conditions:
(1) This device may not cause harmful interference, and
(2) This device must accept any interference received,
including Interference that may cause undesired operation.
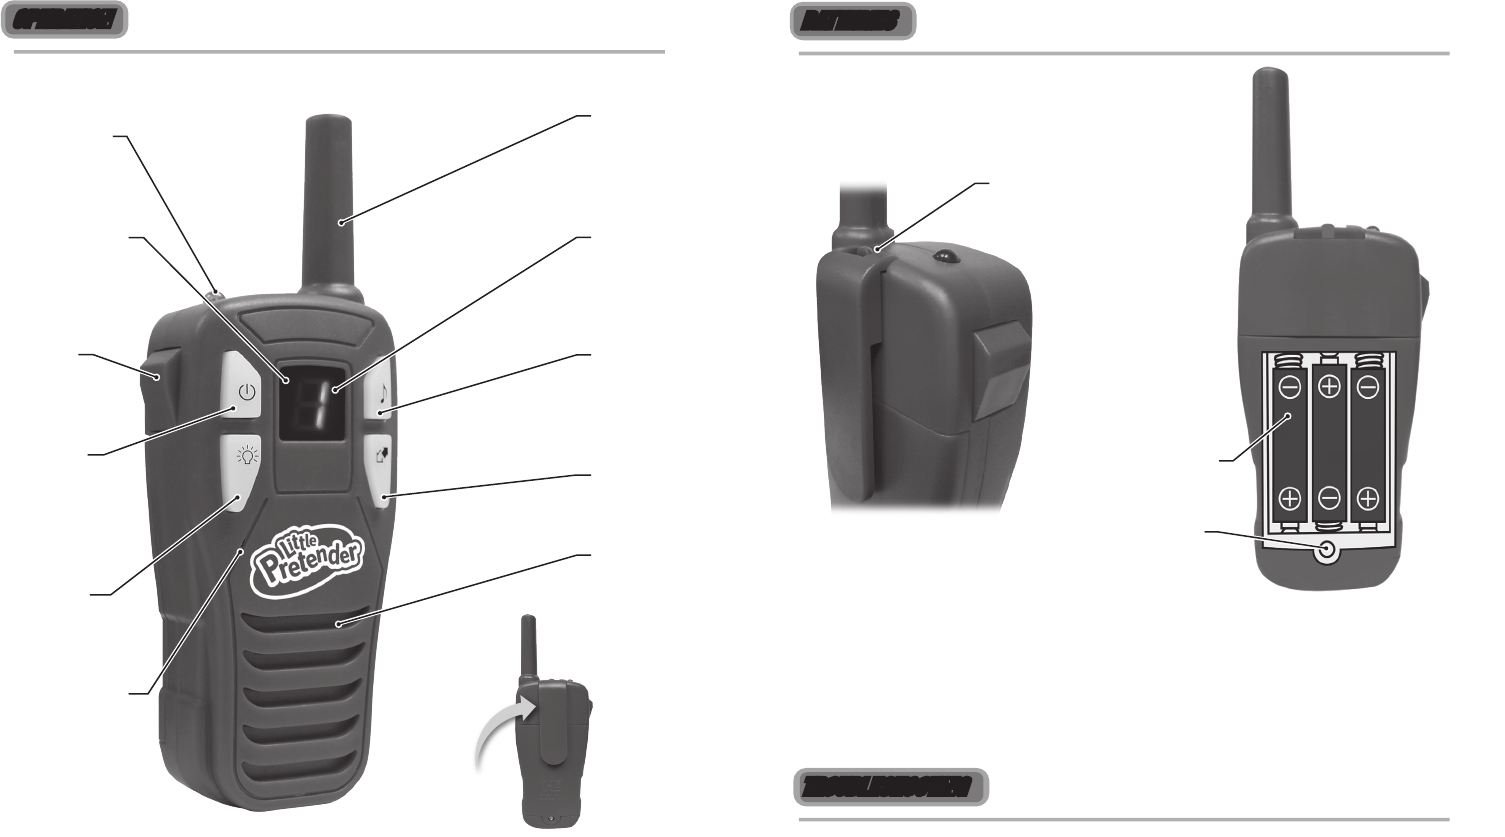
OPERATION BATTERIES
TROUBLESHOOTING
Belt Clip Locking
Release Clip
(3) AAA Batteries
Per Walkie Talkie
Battery Door
Screw Location
To install the batteries release the belt clip locking clip and slide the belt clip
vertically off the back of the walkie talkie body. Remove the battery
compartment screw and lift the battery door off. Insert (3) AAA batteries as
shown in illustration. Replace battery door and secure with screw. Replace
belt clip and ensure it’s secure.
If you are not receiving a message: make sure both walkie talkies are
switched on and the your not holding the Talk Button while waiting for a
message to be heard. If this doesn’t work check the batteries. They must be
properly installed and in good working order.
If a message is fading or you hear interference: make sure the antenna is
pointing up. Don’t get to close to buildings or large structures. Power lines can
also cause interference. Move closer if your out of range. Keep the walkie
talkie 1.5 - 2 inches from your mouth and speak in at a normal volume.
To power on press the On/Off Button. The Walkie Talkies switch on
automatically when the batteries are installed. The walkie talkie will beep and
the display will show the current channel number. Press the Call Button to ring
the other walkie talkie. To speak press the Talk Button. Hold the walkie talkie
approximately 1.5 - 2 inches from your mouth and speak at a normal volume.
Speaking to loud will cause distortion. Release Talk Button after speaking. To
change channels press the Channel Selector Button for 2 - 3 seconds. The
Channel Indicator will display the selected channel.
Belt Clip
LED
Flashlight
LCD Display
Push to
Talk
On/Off
Flashlight
On/Off
Microphone
Antenna
Channel
Indicator
Call
Channel
Selector
Speaker