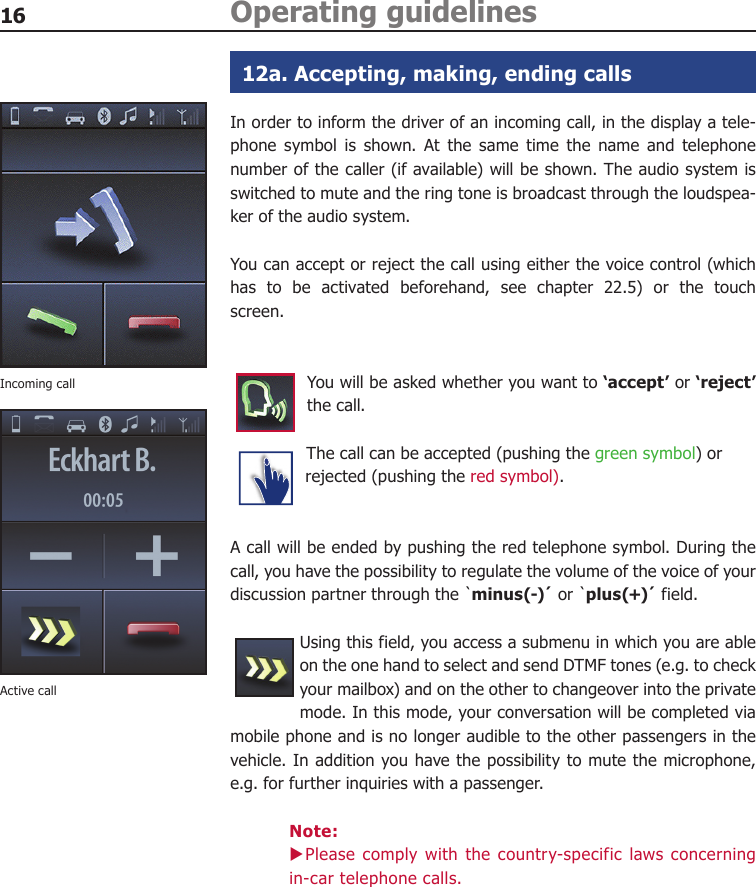
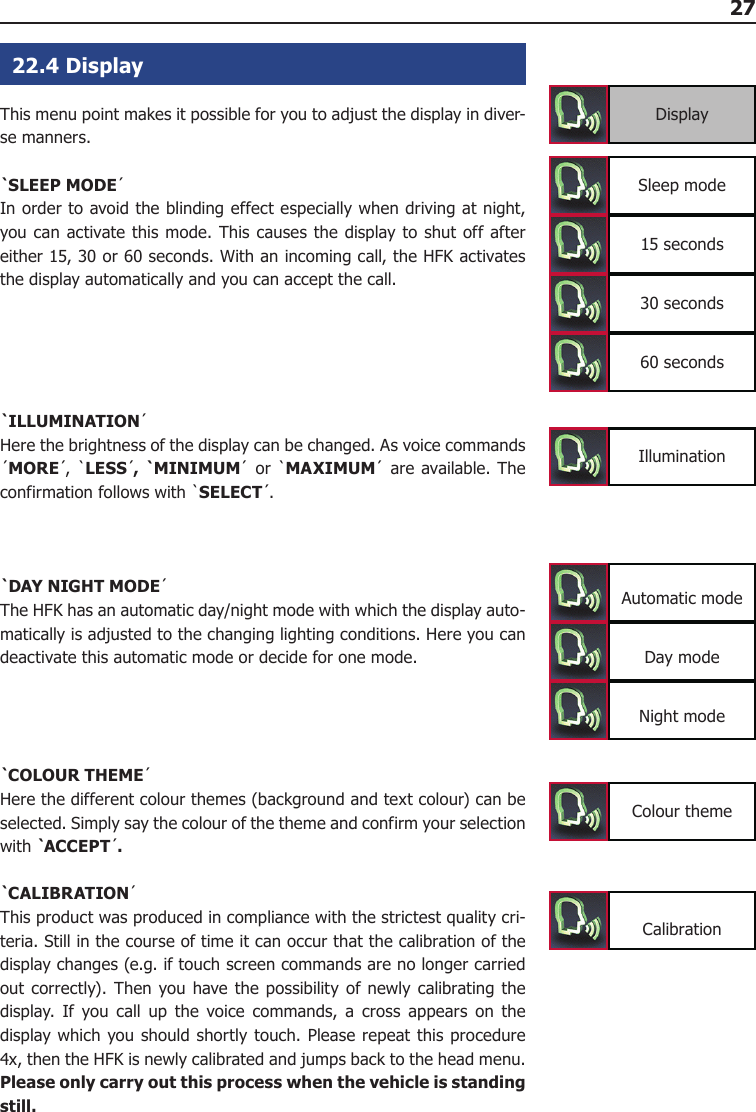
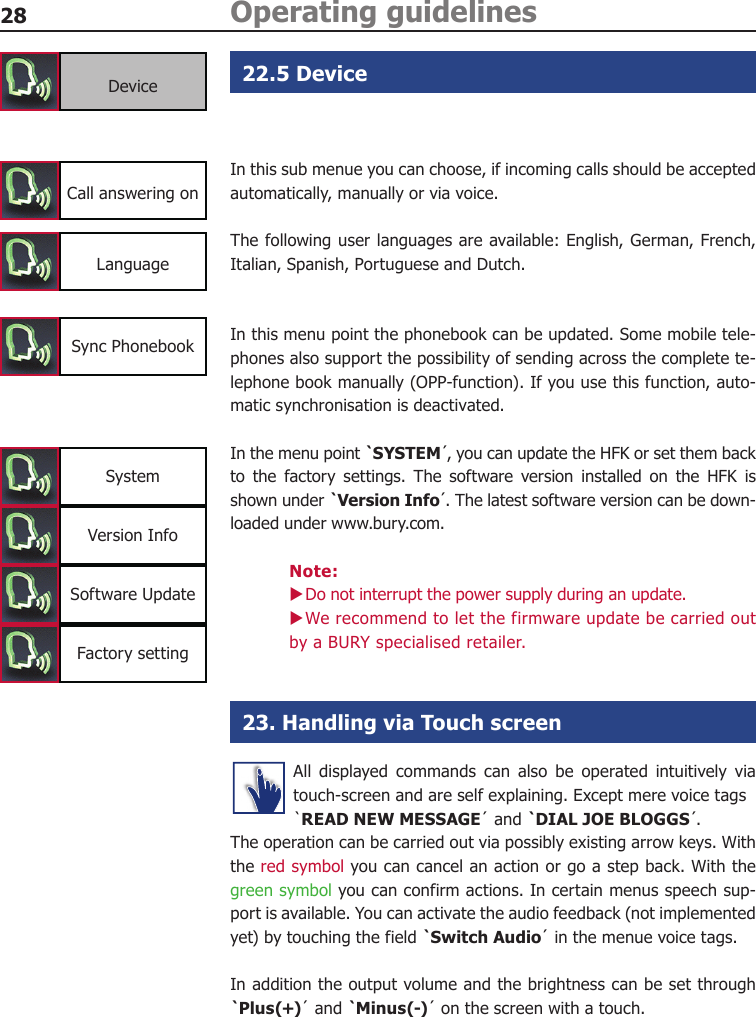
Bury and Co KG CC9060 Bluetooth Handsfree Carkit User Manual 25 1032 0 05 300608 A4 CC 9060 EN indd
Bury GmbH & Co KG Bluetooth Handsfree Carkit 25 1032 0 05 300608 A4 CC 9060 EN indd
UserManual.wiki
>
Bury and Co KG
>
CC9060 User Manual
User Manual
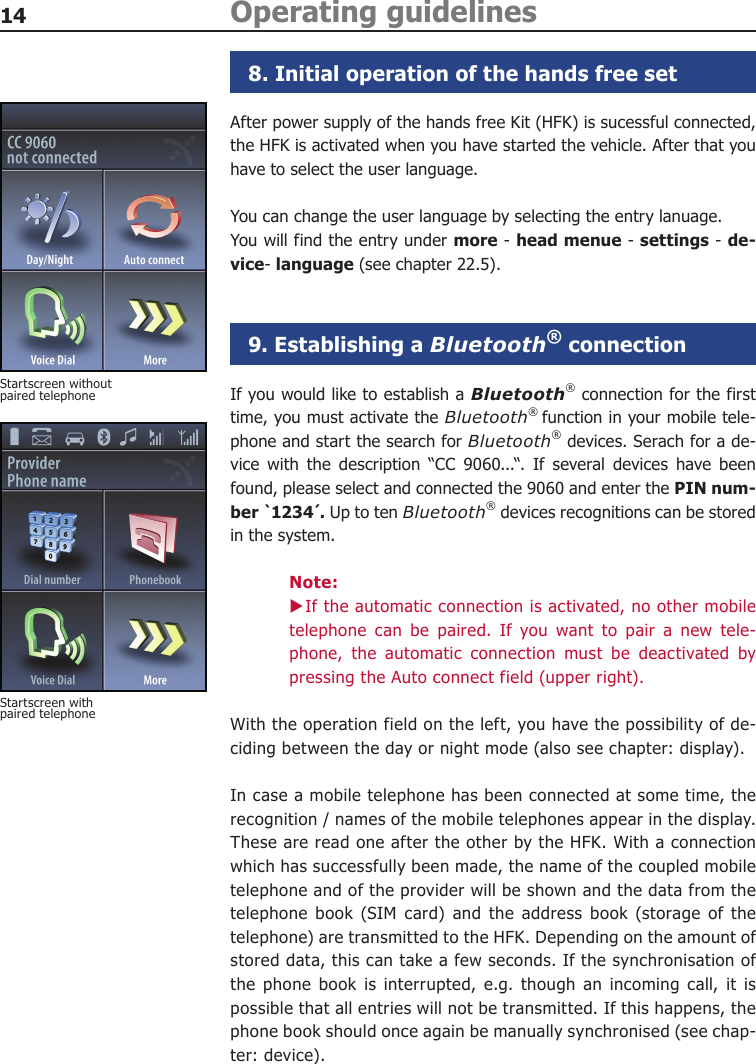
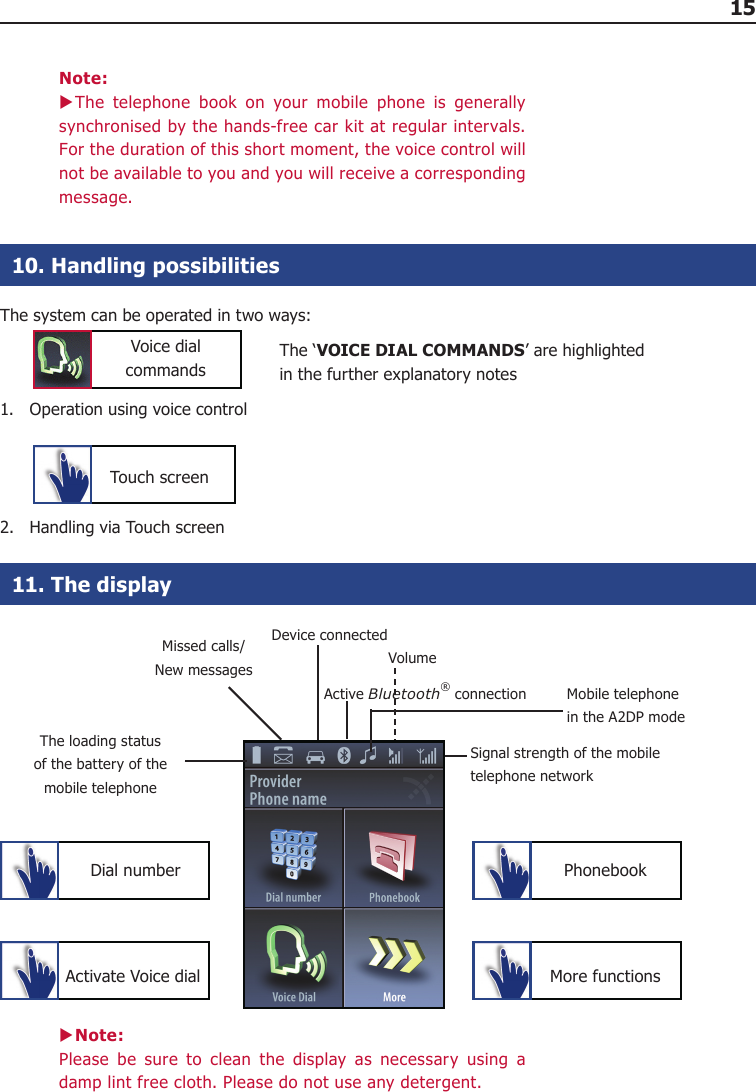
Navigation menu
Upload a User Manual
Namespaces
Wiki Guide
HTML
PDF
Info
Views
User Manual
Discussion / Help
Navigation