CCT 2-8527AH DECT PHONE(HANDSET PP) User Manual
CCT Marketing, Ltd DECT PHONE(HANDSET PP) Users Manual
UserManual.wiki
>
CCT
>
2 8527AH User Manual
Users Manual
Navigation menu
Upload a User Manual
Namespaces
Wiki Guide
HTML
PDF
Info
Views
User Manual
Discussion / Help
Navigation
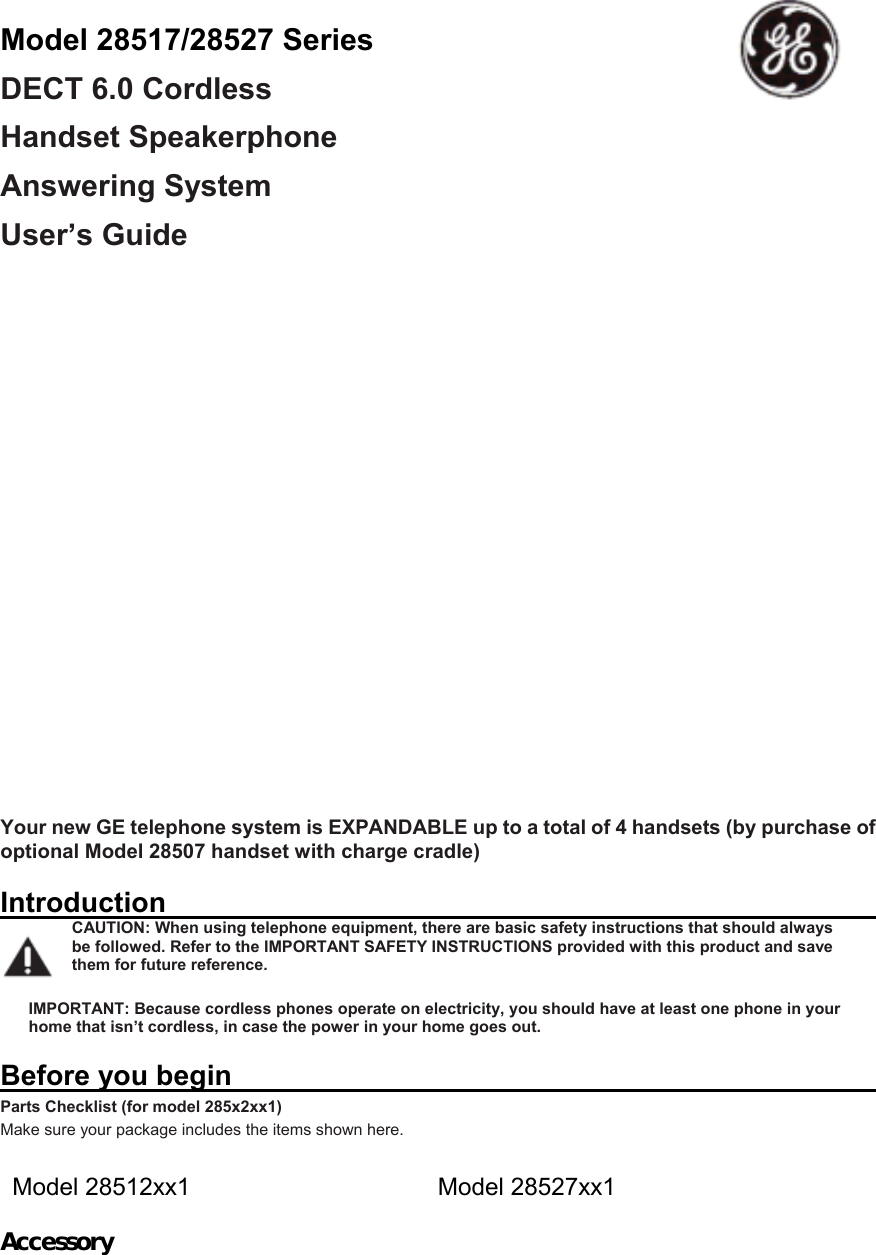
![ Turn on when answering machine on Blinking when there is new message Blinking when there is a missing call Turn on during review the call log and when is old record in call log Initial settings Display language You can select either “ENGLISH” or “ESPAÑOL” or “FRANCIS” as the display language. The default setting is “ENGLISH” 1. Press [ ], then 2. Press [ ]/[ ] to select “SETTINGS” and press [OK], then 3. Press [ ]/[ ] to select “LANGUAGE” and press [OK], then 4. Press [ ]/[ ] to select the desired setting, then 5. Press [ ] and [ ] to return idle Dialing mode If you cannot make calls, change this setting according to your telephone line service. The default setting is “TONE” 1. [ ] 2. [ ]/[ ]: “ADVANCED SET”→[OK] 3. [ ]/[ ]: “DIAL MODE”→[OK] 4. [ ]/[ ]: Select the desired setting 5. [ ] → [ ] Date and time 1. [ ] 2. [ ]/[ ]: “CLOCK&ALARM”→[OK] 3. [ ]/[ ]: “DATE & TIME”→[OK] 4. Enter the current year, month and date by selecting 2 digits. Example: May 16, 2010 [1][0][0][5][1][6] 5. Enter the current hour and minutes by selecting 2 digits. Example: 9:30 am [0][9][3][0]](https://usermanual.wiki/CCT/2-8527AH/User-Guide-1312534-Page-4.png)
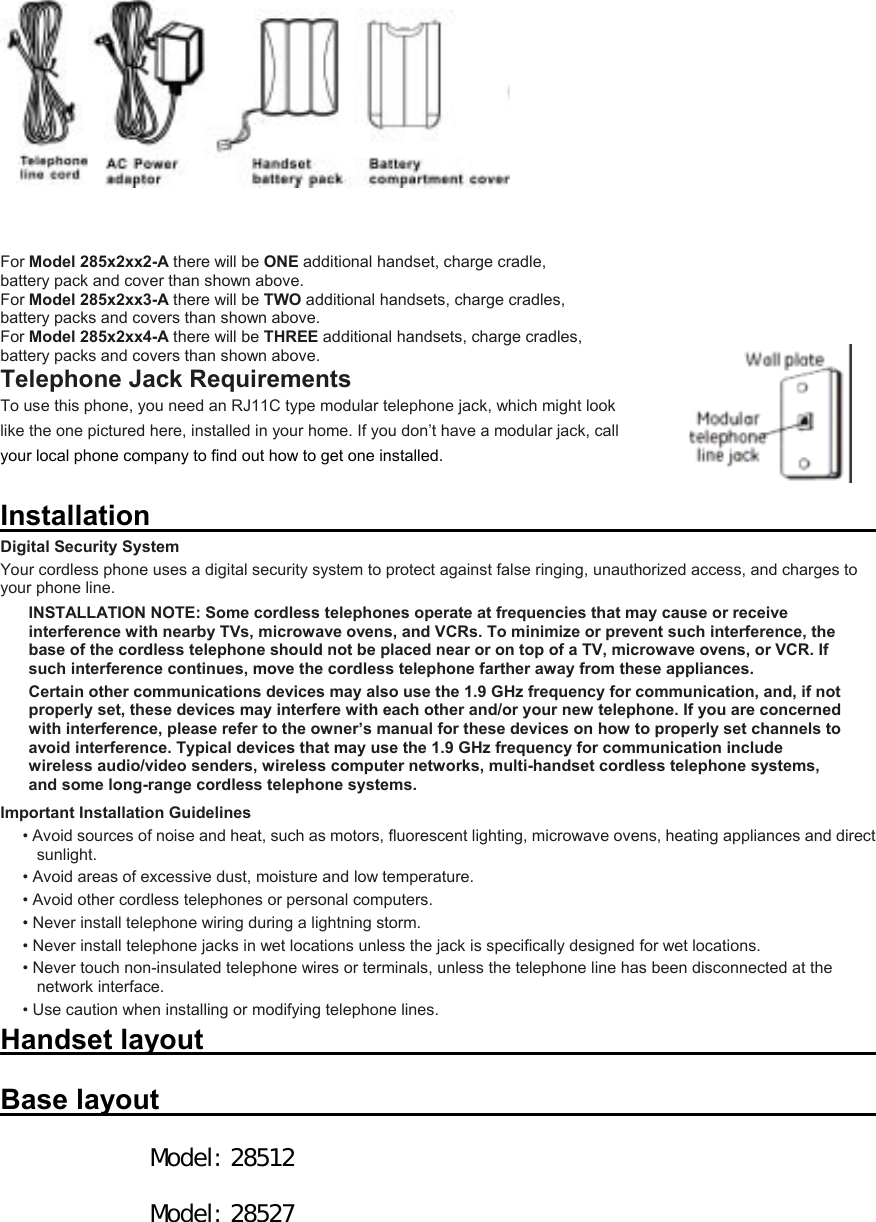
![[]/[ ]: Select am or pm 6. [ ] → [ ] Note: You can change date and time display format Date format 1. [ ] 2. [ ]/[ ]: “CLOCK&ALARM”→[OK] 3. [ ]/[ ]: “SET FORMAT”→[OK] 4. [ ]/[ ]: “DATE FORMAT”→[OK] 5. [ ]/[ ]: Select the desired setting (MM/DD OR DD/MM) 6. [ ] → [ ] Time format 1. [ ] 2. [ ]/[ ]: “CLOCK&ALARM”→[OK] 3. [ ]/[ ]: “SET FORMAT”→[OK] 4. [ ]/[ ]: “TIME FORMAT”→[OK] 5. [ ]/[ ]: Select the desired setting (12 HOURS OR 24 HOURS) 6. [ ] → [ ] Ringer Volume 1. [ ] 2. [ ]/[ ]: “SETTTINGS”→[OK] 3. [ ]/[ ]: “HANDSET TONE”→[OK] 4. [ ]/[ ]: “RINGER VOLUME”→[OK] 5. [ ]/[ ]: Select the desired setting (VOLUME 1 to 4 and OFF) 6. [ ] → [ ]](https://usermanual.wiki/CCT/2-8527AH/User-Guide-1312534-Page-5.png)
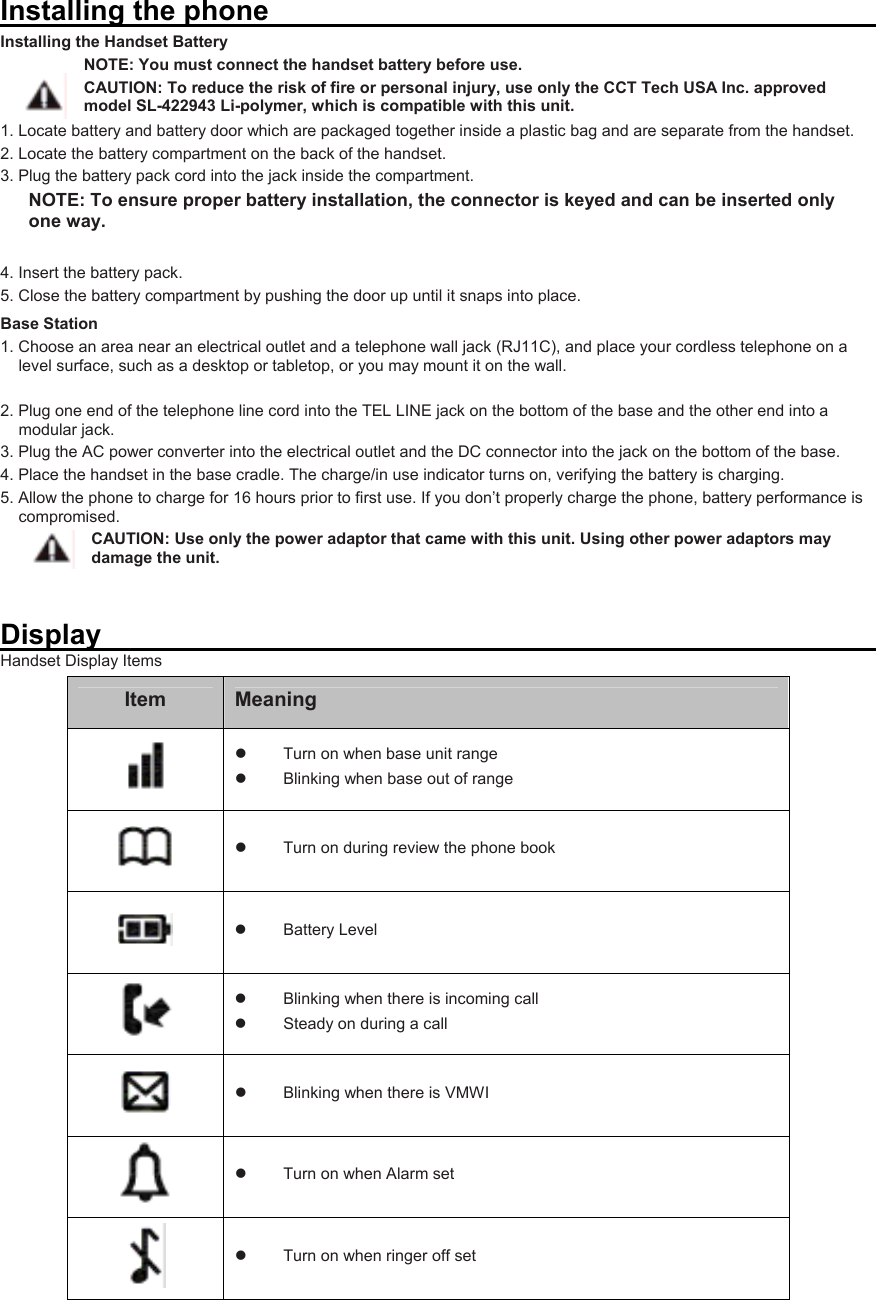
![Note: You can set ringer off when handset in standby 1. Long press [ ] to activate 2. To deactivate ringer off, long press [ ] again LCD will show “RINGER OFF” when ringer off feature activated Ringer Tone 1. [ ] 2. [ ]/[ ]: “SETTTINGS”→[OK] 3. [ ]/[ ]: “HANDSET TONE”→[OK] 4. [ ]/[ ]: “RINGER TONE”→[OK] 5. [ ]/[ ]: Select the desired setting (MELODY 1 to 10) 6. [ ] → [ ] Answering System Setup (Availiable for 28527) This section shows you how to set up your answering system to receive incoming calls. Before you begin the set up process, you must turn on the answering system. • Press the ans on/off button to turn the answering system on and off. The MESSAGES indicator lights when the answering system is on. The indicator blinks when you have new messages. Setting the Voice Prompt Language You can select either “ENGLISH” or “ESPAÑOL” or “FRANCIS” as the voice prompt language of the answering system. The default setting is “ENGLISH” To change the answering system’s voice prompt language, 1. [ ] 2. [ ]/[ ]: “ANSWERER”→[OK] 3. [ ]/[ ]: “SETTINGS”→[OK] 4. [ ]/[ ]: “LANGUAGE”→[OK] 5. [ ]/[ ]: Select the desired setting 6. [ ] → [ ] Speaker Volume Use the [ ] buttons to adjust speaker volume on the base to a comfortable level. L1 is the minimum](https://usermanual.wiki/CCT/2-8527AH/User-Guide-1312534-Page-6.png)
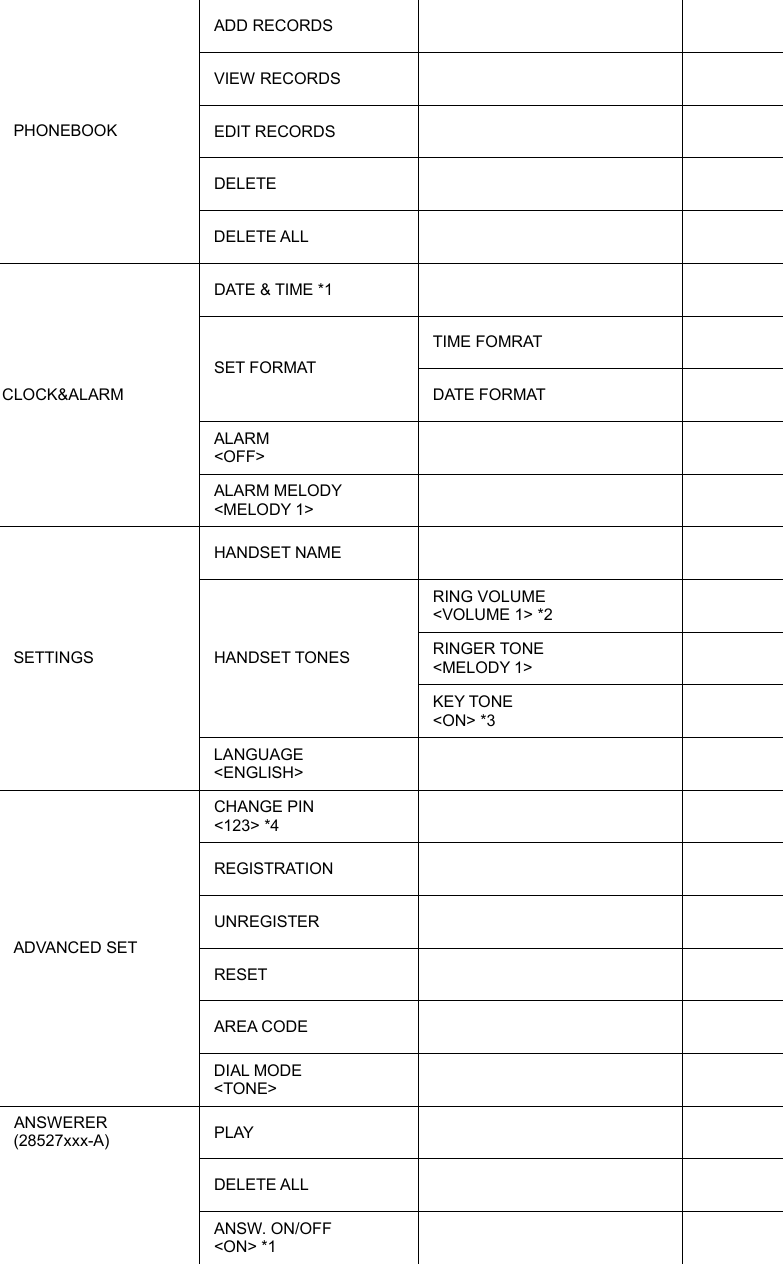
![speaker volume and L8 is the maximum. Outgoing Announcement When the unit answers a call, an outgoing message is played to callers You can use either: - your own outgoing message - a pre-recorded outgoing message Recording Outgoing Announcement You can record the outgoing message through the base microphone or handset microphone Base: 1. Press and hold [ ] 2. After a beep sounds, you should move 9 inches from the base microphone and speak clearly into the base microphone. (2 minutes max) 3. Release [ ] to stop recording Handset: 1. [ ] 2. [ ]/[ ]: “ANSWERER”→[OK] 3. [ ]/[ ]: “RECORD OGM”→[OK] 4. [ ]/[ ]: “RECORD MSGS” OR ‘ANSWER ONLY”→[OK] 5. [ ]/[ ]: “RECORD OGM”→[OK] 6. After a beep sounds, hold the handset about 8 inches away and speak clearly into the microphone (2 minutes max.) 7. Press [ ] to stop recording 8. [ ] Using a pre-recorded Outgoing Announcement If you erase or do not record your own outgoing message, the unit plays a pre-recorded message asking callers to leave a message. Resetting to a pre-recorded Outgoing Announcement If you want to use a pre-recorded outgoing message once you record your own greeting message, you need to erase your own outgoing message. 1. [ ] 2. [ ]/[ ]: “ANSWERER”→[OK] 3. [ ]/[ ]: “RECORD OGM”→[OK] 4. [ ]/[ ]: “RECORD MSGS” OR ‘ANSWER ONLY”→[OK] 5. [ ]/[ ]: “DELETE”→[OK] 6. The handset shall play back the pre-recorded outgoing message 7. [ ]](https://usermanual.wiki/CCT/2-8527AH/User-Guide-1312534-Page-7.png)
![Making calls 1. Lift the handset and dial the phone number To correct a digit, press [ ] 2. Press [ ] 3. When you finish talking, press [ ] or place the handset on the base unit or charger. Using handset speakerphone 1. Dial the phone number and press [ ] 2. When you finish talking, press [ ] Note: To switch back to receiver mode, press [ ] Adjusting the receiver or speaker volume Press [ ] or [ ] repeatedly while talking Making a call using the redial list The last 5 number dialed are stored in the redial list (each 24 digits max) 1. Press [ ] 2. press [ ] / [ ]: Select the desired phone number 3. Press [ ] or [ ] Erasing a number in redial list 1. Press [ ] 2. Press [ ] / [ ]: Select the desired phone number→[ ] 3. [ ]/[▼]: “DELETE” or “DELETE ALL→[ ] 4. Press [ ] to confirm Answering calls When a call is being received, the LCD and keypad backlight flash rapidly 1. Lift the handset and press [ ] or [ ] when the unit rings 2. When you finish talking, press [ ] or place the handset on the base unit or charger Other Feature during a call Mute While mute is turned on, you can hear the other party, but the other party cannot hear you. 3. Press [ ] during the call](https://usermanual.wiki/CCT/2-8527AH/User-Guide-1312534-Page-8.png)
![4. To return the call, Press [ ] again Note: LCD will show “MUTE ON” when mute feature activated For Call waiting or Call Waiting Caller ID service subscriber To use call waiting, you must subscribe to call waiting from your service provider. This feature allows you to receive calls while you are already talking on the phone, you will hear a call waiting tone. If you subscribe to both Caller ID and Call Waiting with Caller ID services, the 2nd caller’s information is displayed after you hear the call waiting tone on the handset. 1. Press [ ] to answer the 2nd call 2. To switch between calls, press [ ] Conference To join the conversation, press [ ] or [ ] when other handset is on an outside call. Note: A maximum of 3 parties (including 1 outside party) can join a conversation using 2 extensions. Ringer Off To activate ringer off. 5. Long press [ ] in standby 6. To deactivate ringer off, long press [ ] again Note: LCD will show “RINGER OFF” when ringer off feature activated Phonebook Adding record 1. [ ] 2. [ ] / [ ]: “PHONEBOOK”→ [ ] 3. [ ] / [ ]: “ADD RECORDS”→ [ ] 4. Enter the name (max. 12 character) →[ ] 5. Enter the number (max. 24 digits) →[ ] 6. [ ] Character Table for the entering names Key Character [1] Space 1 < > * [2] A B C 2 [3] D E F 3 [4] G H I 4](https://usermanual.wiki/CCT/2-8527AH/User-Guide-1312534-Page-9.png)
![[5] J L K 5 [6] M N O 6 [7] P Q R S 7 [8] T U V 8 [9] W X Y Z 9 [0] 0 - / ||| # + Correct the mistake Press [ ] to delete the characters or numbers View record 1. [ ] 2. [ ] / [ ] : “PHONEBOOK”→ [ ] 3. [ ] / [ ] : “VIEW RECORDS”→ [ ] 4. Press [ ] to view the name and number 5. Press [ ] or [ ] to dial out if necessary 6. [ ] OR Press [ ] at idle and repeat step 3 Make a call from phonebook 1. [ ] 2. [ ] / [ ] : Select the desired record 3. [ ] or [ ] Searching by first character 1. [ ] 2. Press [1] – [9] which contains the character you are searching for (Page ?) 3. [ ] / [ ] : Select the desired record if necessary 4. [ ] or [ ] Editing entries 1. Find the desired record → [ ] 2. [ ] / [ ] : “EDIT RECORDS](https://usermanual.wiki/CCT/2-8527AH/User-Guide-1312534-Page-10.png)
![3. Edit the name if necessary → [ ] 4. Edit the number if necessary → [ ] 5. [ ] Erasing entries 1. Find the desired record → [ ] 2. [ ] / [ ] : “DELETE 3. Press [ ] to confirm 4. [ ] Chain dial This feature allows you to dial phone numbers in the phonebook while you are on a call. 1. During an outside call, press [ ] 2. [ ] / [ ]: Select the desired record 3. Press [ ] to dial the number Programming the Telephone Standby Screen The handset displays the handset number, date and time. Programmable settings You can customize the unit by programming the following features using the handset. Programming by scrolling through the display menus 1. [ ] 2. Press [ ] or [ ] to select the desired main menu.→ [ ] 3. Press [ ] or [ ] to select the desired item in sub-menu 1.→ [ ] In some cases, you may need to select from sub-menu 2. → [ ] 4. Press [ ] or [ ] to select the desired setting.→ [ ] This step may vary depending on the feature being programmed To exit the operation, press [ ] Note: In the following table, <> indicates the default setting Main Menu Sub-menu 1 Sub-menu 2 Page](https://usermanual.wiki/CCT/2-8527AH/User-Guide-1312534-Page-11.png)
![RECORD MSGS RECORD OGM ANSWER ONLY ANSWER MODE <RECORD MSGS> *1 RING DELAY <5 RINGS> *1 REMOTE ACC. <DEACTIVATE> *1 SETTINGS LANGUAGE <ENGLISH> *1 * 1 If you program these settings using one of the handsets, you do not need to program the same item using another handset * 2 When the ringer volume is turned off, “RINGER OFF” is displayed and the handset does not ring outside calls. However even when the ringer volume is set to off, the handset still rings for paging and intercom calls. * 3 Turn this feature off if you prefer not to hear key tons while you are dialing or pressing any keys. * 4 This menu will only available on the answering machine model (28527xxx). Registering a handset Additional handset Up to 4 handsets can be registered to the base. Important: The unit shall able to register with 28502xxx-A only Registering a handset to the base unit The supplied handset and base unit are pre-registered. If for some reason the handset is not registered to the base unit, re-register the handset. Handset: 1. [ ] 2. [ ] / [ ] : “ADVANCED SET”→ [ ] 3. [ ] / [ ] : “REGISTRATION”→ [ ] 4. Handset will show “PRESS FIND KEY FOR 5S” . Base: 5. Press and hold the [ ] for 5 seconds. For 28527, the base LED will blinking rapidly. Handset: 6. Handset will have a long beep when success register Note: An error tone will emit when the registration not success](https://usermanual.wiki/CCT/2-8527AH/User-Guide-1312534-Page-13.png)
![Deregistering a handset 1. [ ] 2. [] / [ ]: “ADVANCED SET”→ [ ] 3. [] / [ ]: “UNGISTRATER”→ [ ] 4. [] / [ ] : Select the desired handset → [ ] 5. [ ] Using Caller ID service IMPORTANT: In order to use this unit’s Caller ID features, you must subscribe to either the standard Name/Number Caller ID Service or Call Waiting Caller ID Service. To know who is calling while you are on the phone, you must subscribe to Call Waiting Caller ID Service. This unit receives and displays information transmitted by your local phone company. This information can include the phone number, date, and time; or the name, phone number, date, and time. Receiving CID Records When you receive a call, the Caller ID information is transmitted between the first and second ring. The Caller ID information appears on the display while the phone rings, giving you a chance to monitor the information and decide whether or not to answer the call. Storing CID Records (In CID Memory) If you are not at home or cannot answer, your telephone’s Caller ID memory stores the data for the 10 most recent calls you received so you can see who called while you were unavailable. When the 11th call is received, the oldest Caller ID record (1st call) is automatically deleted. Reviewing CID Records and call back As calls are received and stored, the display is updated to let you know how many calls have been received. To scroll CID records: 1. [] 2. Press [] to search from the most recent call, or [] to search from the oldest call. 3. To Call back, press [ ] or [ ] To Exit, press [ ] Editing a caller’s phone number calling back You can edit a phone number in the caller list by removing its area code and/or the long distance code “1” 1. [] 2. [] / [ ]: Select the desired record → [ ] 3. If the desired record is a name, Press [ ] to show the number](https://usermanual.wiki/CCT/2-8527AH/User-Guide-1312534-Page-14.png)
![4. Press [ ] repeatedly until the phone number is shown in the desired format Local phone number Example: 123-4567 Area code – Local phone number Example: 317-123-4567 1 – Area code – Local phone number Example: 1-317-123-4567 5. [ ] or [ ] OR You can edit the number you want 1. [ ] 2. [ ] / [ ]: Select the desired record → [ ] 3. [ ] / [ ]: “EDIT RECORDS” → [ ] 4. Enter the number if necessary 5. Press [ ] to save the new number in the record or Press [ ] or [ ] dial out the number Delete a CID record 1. [ ] 2. [] / [ ]: Select the desired record→[MENU] 3. [] / [ ]: “DELETE” or “DELETE ALL” →[OK] 4. Press [ ] to confirm 5. [ ] Store a CID record 1. [ ] 2. [] / [ ]: Select the desired record → [ ] 3. [] / [ ]: “SAVE NUMBER” →[ ] 4. Enter the name and number → [ ] 5. [ ] Answering system (Available for 28527) The answering system can answer and record calls for you when you are unavailable to answer the phone](https://usermanual.wiki/CCT/2-8527AH/User-Guide-1312534-Page-15.png)
![Important: Only 1 person can access the answering system at a time. When callers leave messages, the unit records the day and time of each message. Make sure the date and time have been set correctly Recording capacity (including the outgoing message) The total recording capacity is about 12 minutes. A maximum of 59 messages can be record Answer mode There are two answering mode. “RECORD MSGS” mode means the answering system will record message when no one pick up the call. “ANSWER ONLY” mode means the answer system will play the outgoing message only but not record the message. To select the answering mode 1. [ ] 2. [] / [ ]: “ANSWERER”→ [ ] 3. [] / [ ]: “ANSWER MODE”→ [ ] 4. [] / [ ]: Select the desired setting 5. [ ] → [ ] Turning the answering machine on/off Base unit: Press [ ] to turn on/off the answering system Handset: 1. [ ] 2. [] / [ ]: “ANSWERER”→ [ ] 3. [] / [ ]: “ANSW. ON/OFF”→ [ ] 4. [] / [ ]: Select the desired setting 5. [ ] →[ ] Note: Turn on and off will not change answer mode of the answering system When the answering system is turned on, the LED on the base light up Call screening 1. When the answering system answers the call, listen while the caller leaves a message (to determine who is calling). 2. To speak to the caller, press the [ ] or [ ].](https://usermanual.wiki/CCT/2-8527AH/User-Guide-1312534-Page-16.png)
![The answering system automatically stops recording when you activate the handset or pick up an extension phone. Note: To turn off the call screening, Press [ ] to set the volume off Playback the messages using the base unit When the new message have been recorded, the message indicator on the base unit flashes Press [ ] If new messages have been recorded, the base plays new messages If there are no new messages, the base unit plays all messages Operating the answering system during playback Key Operation Adjust the speaker volume Play or Stop message Repeat message Skip message Erase currently playing message Erasing all messages Long Press [ ] while the unit is not in use Playback the messages using the handset When the new messages have been recorded 1. [ ] 2. [] / [ ]: “ANSWERER”→ [ ] 3. [] / [ ]: “PLAY”→ [ ] 4. [ ]: Select the operation during playback Note: To switch to the receiver, press [ ] Erasing all messages 1. [ ] 2. [] / [ ]: “ANSWERER”→[OK] 3. [] / [ ]: “DELETE ALL”→[OK]](https://usermanual.wiki/CCT/2-8527AH/User-Guide-1312534-Page-17.png)
![4. Press [ ] to confirm 5. [ ] Memo Recording Using the [Memo] button on the base, you can record the memo as a new message. 1. Press and hold [ ] 2. After a beep sounds, you should move 9 inches from the base microphone and speak clearly into the base microphone. (2 minutes max) 3. Release [ ] to stop recording Remote operation Using a touch-tone phone, you can call your phone number from outside and access the unit to listen to messages or change answering system setting. Remote access code A 3 to 8 digits remote access code must be entered when operating the answering system remotely. This code prevents unauthorized parties from listening to your messages remotely. The default setting is “123” To set the remote access code: 1. [ ] 2. [] / [ ]: “ADVANCED SET”→ [ ] 3. [] / [ ]: “CHANGE PIN” →[ ] 4. Input the old remote access code →[ ] 5. Input the new remote access code →[ ] 6. A beep sound emit Using the answering system remotely 1. Dial your phone number from a touch-tome phone. If the answering system is on: 2. After the outgoing message finish, Press [ ] and the answering system will ask you input the remote access code. Please input the remote access code after the message played. If the answering system is off: 3. The answering system will ask you input the remote access code. Please input the remote access code after the message played. Remote commands You can press dial keys to access certain answering system functions. Keys Description [1] Skip to the previous message [2] Play the message [3] Skip to the next message [6] Delete the playing message [7] Turn on the answering machine [8] Stop message playback [9] Turn on/off the answering machine](https://usermanual.wiki/CCT/2-8527AH/User-Guide-1312534-Page-18.png)
![Answering system settings Number if rings before the unit answers a call You can select the number of rings you want the phone to ring before the answering system answers a call. 1. [ ] 2. [] / [ ]: “ANSWERER”→ [OK] 3. [] / [ ]: “SETTINGS” → [OK] 4. [] / [ ]: “RING DELAY” → [OK] 5. [] / [ ]: Select the desired setting → [OK] 6. [ ] NOTE: If you select Toll Saver (TS) the unit answers after the 3rd ring if there are NEW messages, OR the unit answers after the 5th ring if there are NO new messages. This allows user to access their answerer from another location and then hang up after 4 rings to save long distance charges. Voice mail service The [ ] on LCD flash when you receive a new message from your service provider. IMPORTANT: In order to use this unit’s Visual Message Waiting Indicator (VMWI) feature, you must subscribe to this service from your phone company. Intercom Intercom calls can be made between handsets Note: If you receive an outside call while talking on the intercom, you hear beep. To answer the call with the handset, long press [*] to switch the outside call and intercom While paging a handset, the paged handset beeps for 1 minute. Making an intercom call 1. [ ] 2. Select the handset you want to page by pressing the desired handset number ([1] –[4]) or you can page all handset by pressing [ ] 3. When you finish talking, press [ ] Answering an intercom call 1. Press [ ] or [ ] to answer the page 2. When you finish talking, press [ ] Handset locator](https://usermanual.wiki/CCT/2-8527AH/User-Guide-1312534-Page-19.png)
![You can locate a misplaced handset by paging it. 1. Base unit: [ ] All register handsets beep for 1 minute. 2. To stop paging: Base Unit: Press [ ] Handset: Press [ ] Transferring calls Outside calls can be transferred or a conference call with an outside party can be made between 2 handsets. 1. During outside call, press [ ] 2. Select the handset you want to page by pressing the desired handset number ([1] –[4]) or you can page all handset by pressing [ ] 3. Press [ ] 4. The call will transfer to the paged handset Changing the Battery___________________________________ Changing the Battery CAUTION: To reduce the risk of fire or personal injury, use only the CCT Tech USA Inc. approved model SL-422943 Li-polymer battery (Ni-MH), which is compatible with this unit. 1. Make sure the telephone is OFF (not in TALK mode) before you replace the battery. 2. Remove the battery compartment door. 3. Disconnect the cord attached to the battery pack and remove the battery pack from the handset. 4. Insert the new battery pack and connect the cord to the jack inside the battery compartment. 5. Put the battery compartment door back on. 6. Place handset in the base or handset charge cradle to charge. Allow the handset battery to properly charge (for 16 hours) prior to first use or when you install a new battery pack. If you do not properly charge the phone, battery performance will be compromised. NOTE: The RBRC seal on the battery used in your CCT Tech USA Inc. product indicates that we are participating in a program to collect and recycle the rechargeable battery (or batteries). For more information go to the RBRC web site at www.rbrc.org or call 1-800-8-BATTERY or contact a local recycling center. Battery Safety Precautions_______________________________ • Do not burn, disassemble, mutilate, or puncture. Like other batteries of this type, toxic materials could be released which can cause injury. • To reduce the risk of fire or personal injury, use only the Li-ploymer battery listed in the User’s Guide. • Keep batteries out of the reach of children. • Remove batteries if storing over 30 days. Troubleshooting Guide__________________________________ Telephone General Use Problem Cause/solution The handset does not turn on even after installing battery pack. - Place the handset on the base unit or charger to turn on the handset The unit does not work. - Make sure the battery pack is installed correctly. - Fully charge the battery. Check the connections. (for 16 hours) - Unplug the base unit's AC adaptor to reset the unit. Reconnect the adaptor and try again. - The handset has not been registered to the base unit. Register the handset.](https://usermanual.wiki/CCT/2-8527AH/User-Guide-1312534-Page-20.png)