CCT 2132AH DECT PHONE (HANDSET PP) User Manual
CCT Marketing, Ltd DECT PHONE (HANDSET PP) Users Manual
UserManual.wiki
>
CCT
>
2132AH User Manual
Users Manual
Navigation menu
Upload a User Manual
Namespaces
Wiki Guide
HTML
PDF
Info
Views
User Manual
Discussion / Help
Navigation
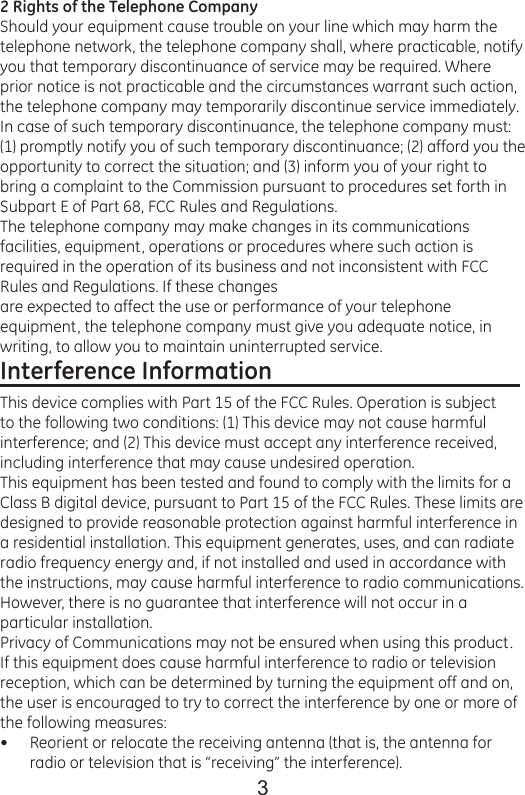

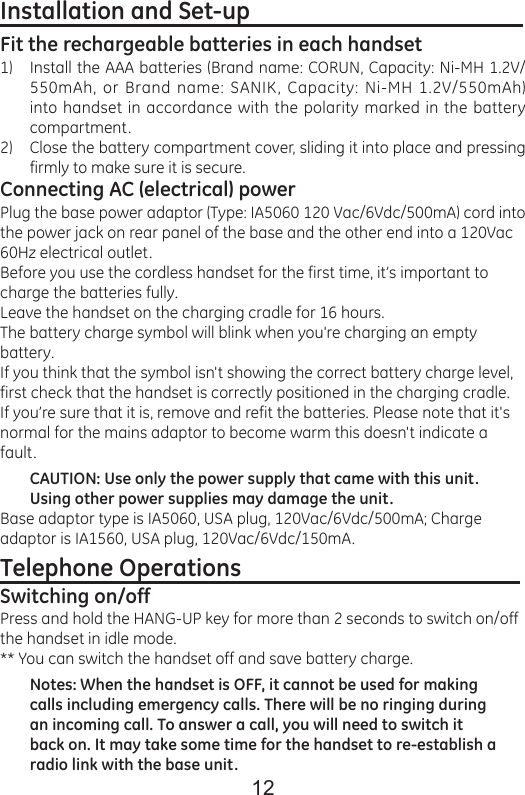
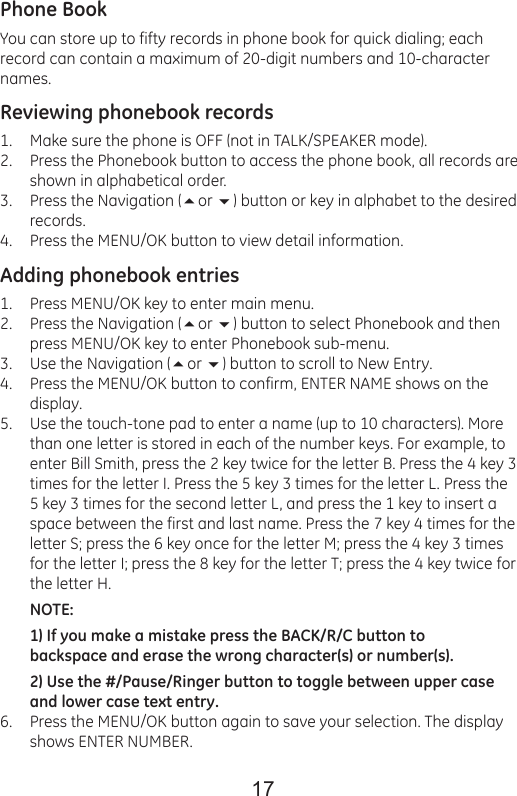
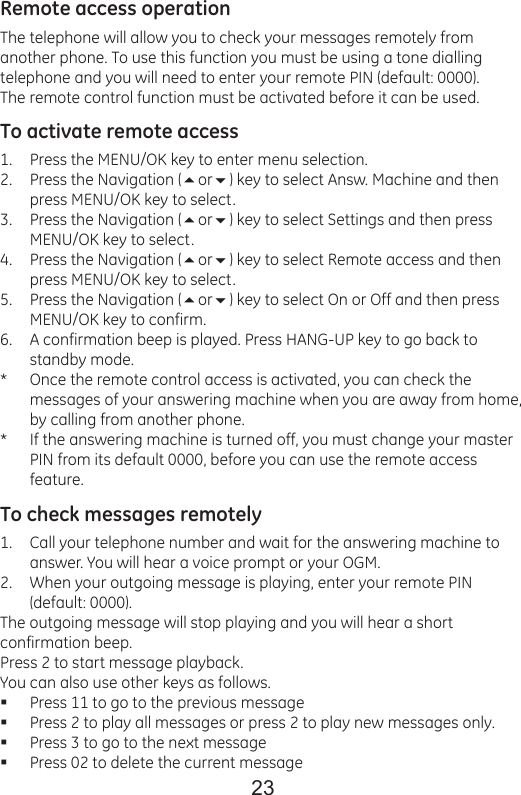
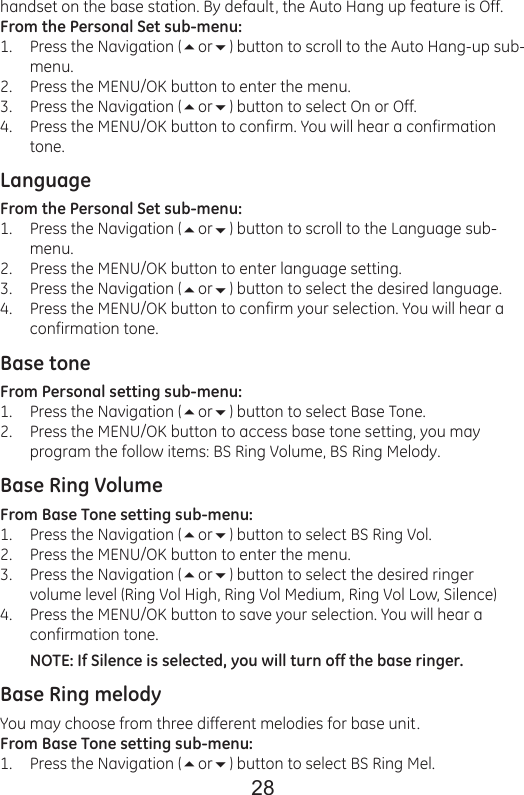
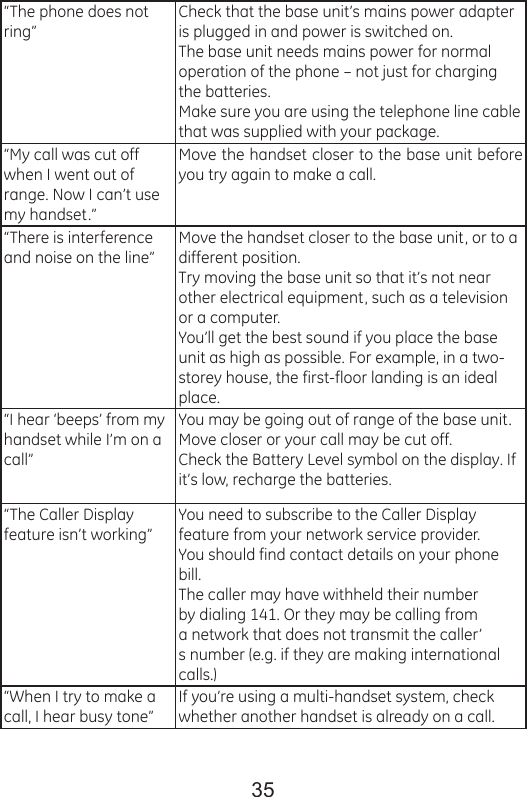
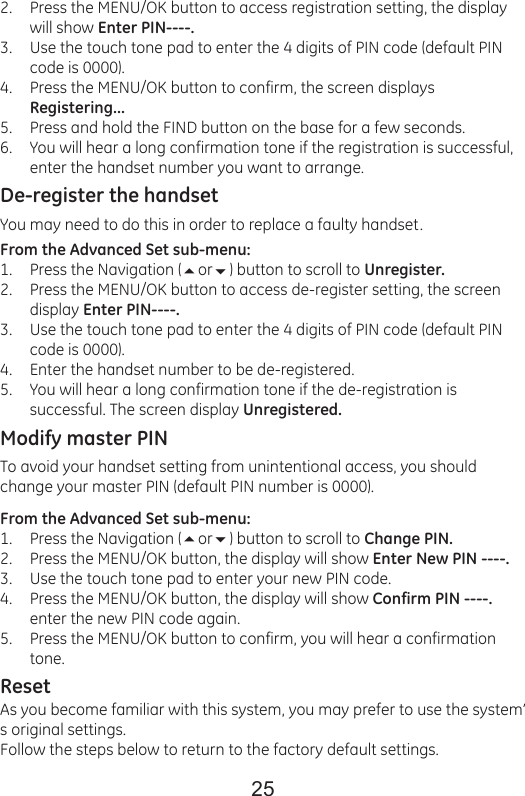
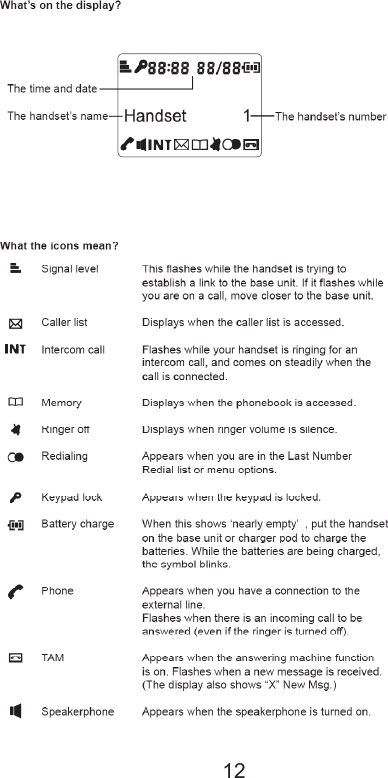
![13Keypad lockTo lock the cordless handset’s keypad:Press and hold [*] button for 2 seconds until you hear a beep tone, when the keypad lock is activated, shows on the display.To unlock the keypad:Press and hold [*] button for 2 seconds until you hear a beep tone. Or simply replace the handset on the charger cradle.Charge/in use Indicator on BaseThe charge/in use indicator on the base will flash to alert you to an incoming call, the indicator will remain lit when a handset is in the base charging or when the line is in use.IMPORTANT: In order to use this unit’s Visual Message Waiting Indicator (VMWI) feature, you must subscribe to this service from your phone company.Set time and dateNote: If you subscribe to the Caller Display service, the time and date will be set automatically when you receive a call.Press MENU/OK key to enter main menu.Press the Navigation (or) button to select Set Date/Time and then press MENU/OK key to select.The display shows 00:00 01/01, enter the current date and time, then press MENU/OK key to confirm. A confirmation beep is played.Speakerphone OperationNOTE: If you are using the speakerphone, remain close to handset so the party you are speaking to can hear you.To switch the speakerphone on or off during a call, press the TALK/SPEAKER button.When the speakerphone is on, the speaker symbol appears on handset display.Press the TALK/SPEAKER button again to switch from speakerphone to earpiece mode. Press the HANG UP button to end conversation.1.2.3.](https://usermanual.wiki/CCT/2132AH/User-Guide-1334957-Page-13.png)
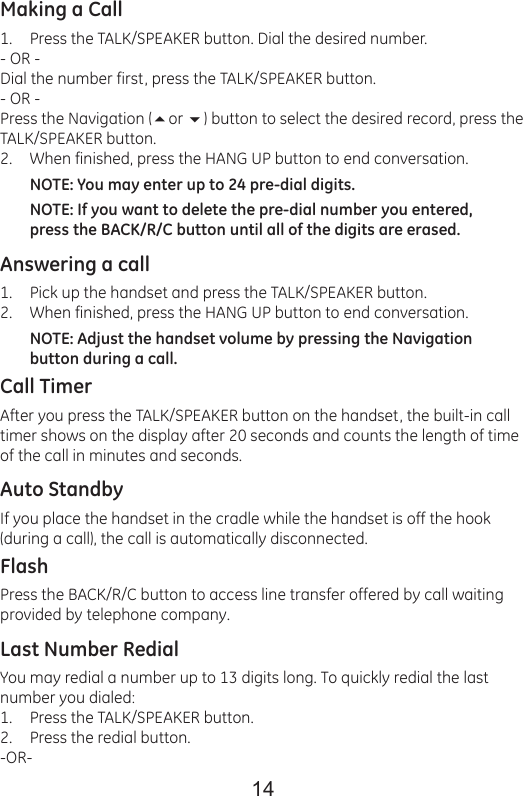
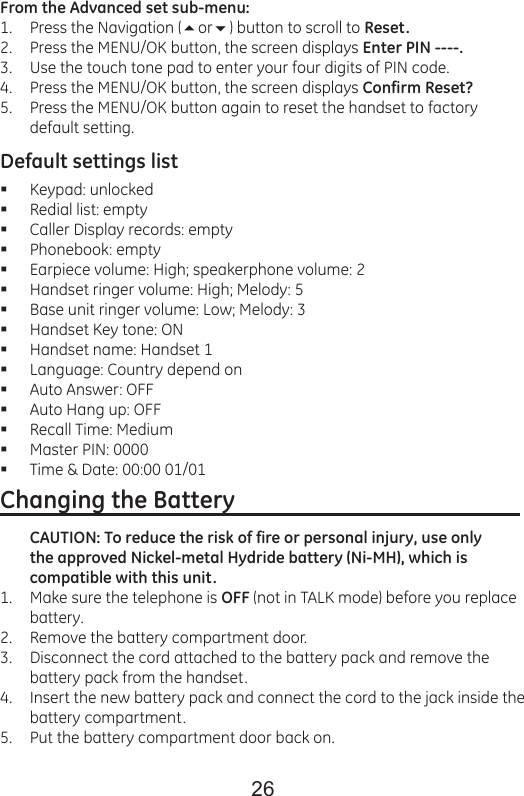

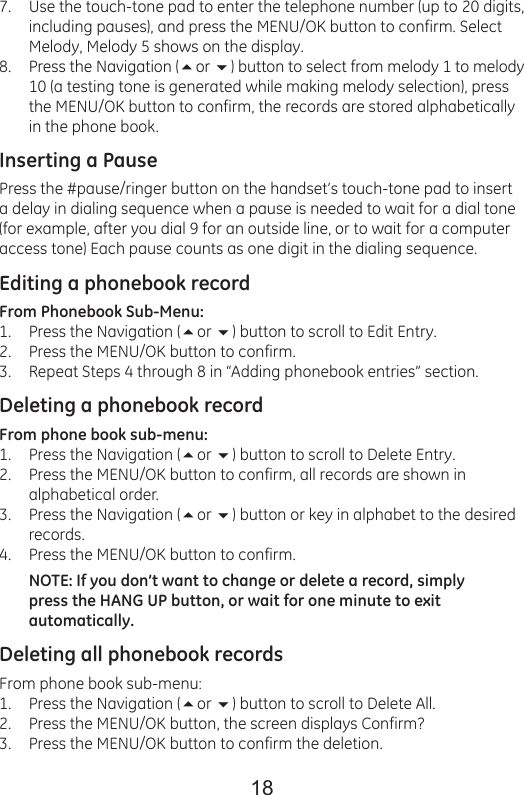
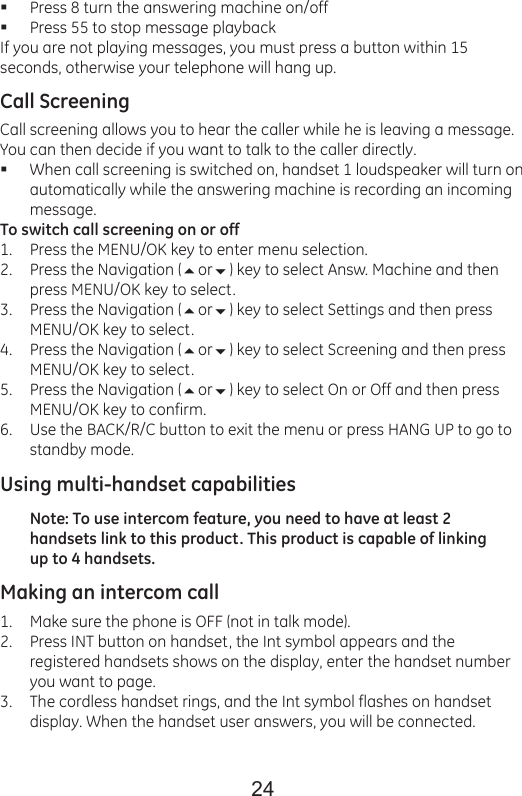
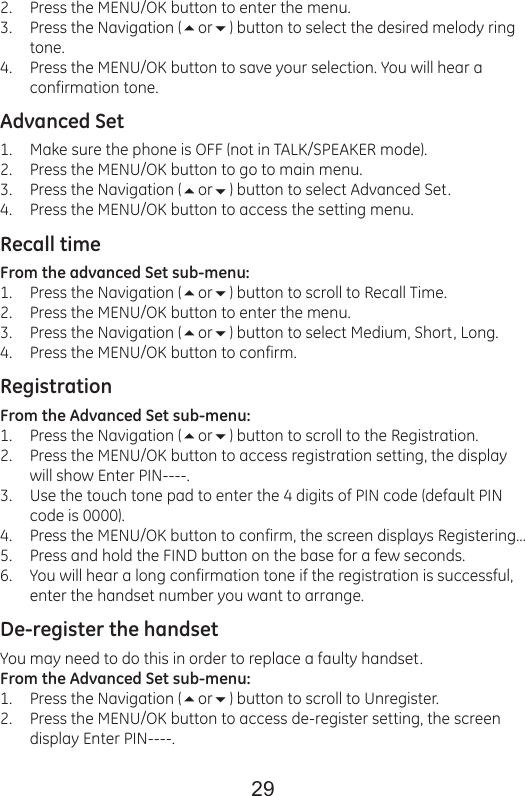
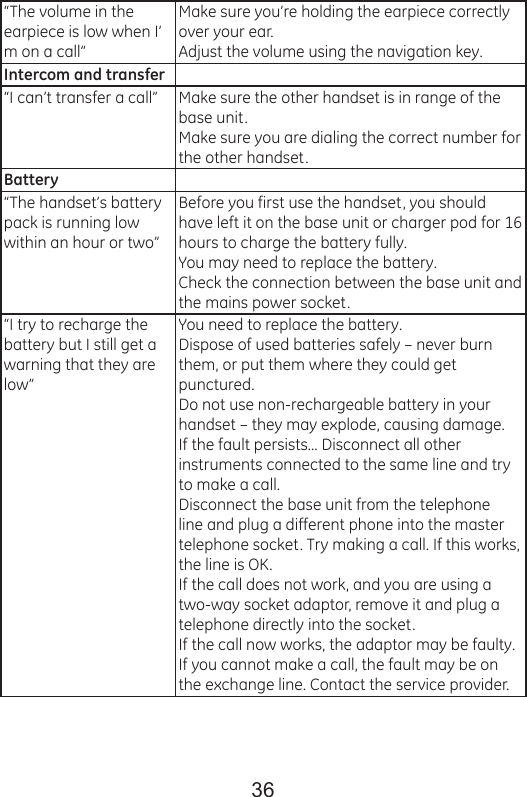
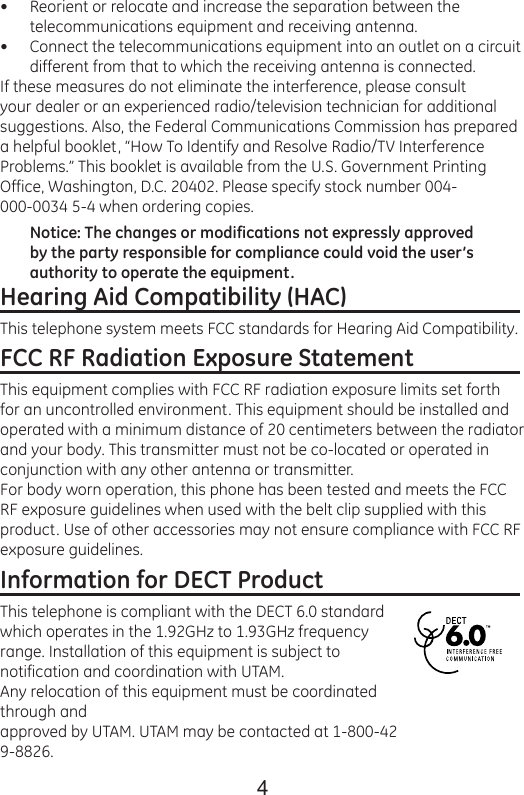
![14an incoming call. To answer a call, you will need to switch it back on. It may take some time for the handset to re-establish a radio link with the base unit.Keypad lockTo lock the cordless handset’s keypad:Press and hold [*] button for 2 seconds until you hear a beep tone, when the keypad lock is activated, shows on the display.To unlock the keypad:Press and hold [*] button for 2 seconds until you hear a beep tone. Or simply replace the handset on the charger cradle.Charge/in use Indicator on BaseThe charge/in use indicator on the base will flash to alert you to an incoming call, the indicator will remain lit when a handset is in the base charging or when the line is in use.IMPORTANT: In order to use this unit’s Visual Message Waiting Indicator (VMWI) feature, you must subscribe to this service from your phone company.Set time and dateNote: If you subscribe to the Caller Display service, the time and date will be set automatically when you receive a call.Press MENU/OK key to enter main menu.Press the Navigation (or ) button to select Set Date/Time and then press MENU/OK key to select.The display shows 00:00 01/01, enter the current date and time, then press MENU/OK key to confirm. A confirmation beep is played.Speakerphone OperationNOTE: If you are using the speakerphone, remain close to handset so the party you are speaking to can hear you.To switch the speakerphone on or off during a call, press the TALK/SPEAKER button. When the speakerphone is on, the speaker symbol appears on handset display. 1.2.3.](https://usermanual.wiki/CCT/2132AH/User-Guide-1334957-Page-48.png)