Casio ZX483/484(E)*p155(T) Chapter 12 PV Application E EN
User Manual: Casio Chapter 12 PV Application PV-200, PV-100 | Pocket Viewer | Manuals | CASIO
Open the PDF directly: View PDF ![]() .
.
Page Count: 10

155
The System menu provides you with a number of items that you can use to
set up the unit to suit your particular needs.
Note that the System menu is available on the menu bar while the Mode
Menu is on the display.
Chapter
12 Configuring the Unit
12
Setting the Date, Time, and Auto Power Off Interval................ 156
Turning Sound On and Off .......................................................... 157
Setting a Daily Alarm Time.......................................................... 158
Setting the Date, Time, Calendar, and Keyboard Formats ....... 159
Setting the System Language ....................................................... 160
Adjusting Display Contrast.......................................................... 161
Calibrating the Touch Screen ...................................................... 161
To calibrate the touch screen .................................................................... 161
Checking Memory Capacity ........................................................ 162
To check memory capacity ....................................................................... 162
Memory Management .................................................................. 162
To perform memory management ............................................................ 163
156
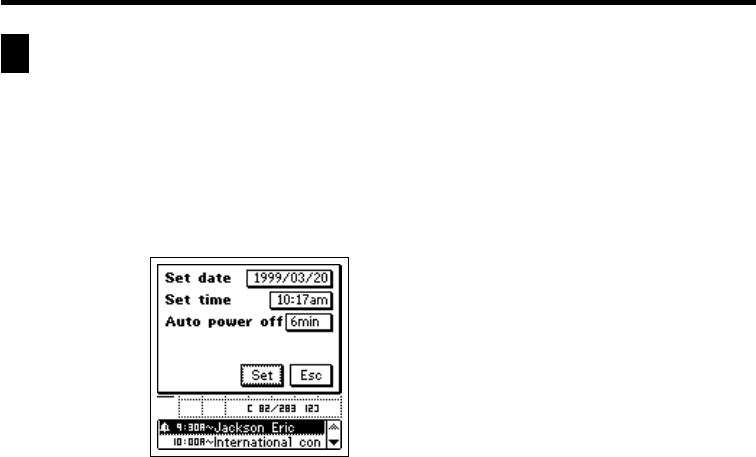
Setting the Date, Time, and Auto Power Off
Interval
1. Tap the Menu Bar icon to display the menu bar, and then tap System –
Set date/time.
• You can also display the date/time setting screen by tapping the clock
on the pop up tool screen (page 102).
2. Tap the date next to Set date. This causes a date keyboard to appear.
3. Use the date keyboard to input the date you want to set, and then tap
NEXT.
• You can specify a date within the range of January 1, 1901 to December
31, 2099.
4. After setting the date, tap the time next to Set time. This causes a time
keyboard to appear.
5. Use the time keyboard to input the time you want to set, and then tap
NEXT.
6. After setting the time, tap the value next to Auto power off.
• Each tap of the value changes it in the cycle: 1 fi 3 fi 6 fi 1, etc.
• The value you set specifies how many minutes the unit allows to pass
without any operation being performed. After the specified number of
minutes, power is turned off automatically.
7. Tap Set to register your settings.
157
Chapter 12 Configuring the Unit
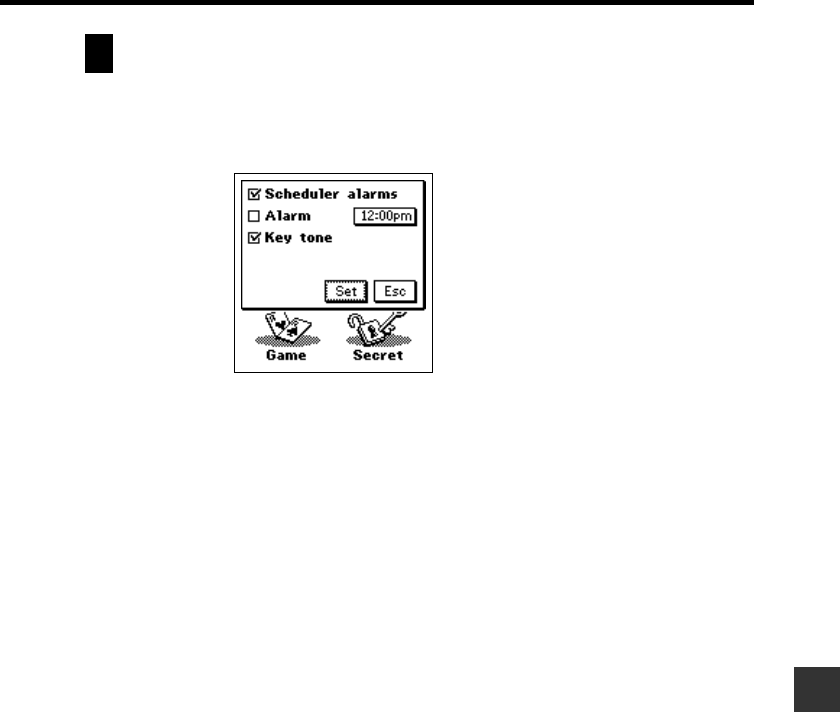
Turning Sound On and Off
1. Tap the Menu Bar icon to display the menu bar, and then tap System –
Sound.
2. Tap a check box to toggle the corresponding item’s sound on (checked)
and off (unchecked).
•Scheduler alarms turns all Scheduler Mode alarms on and off.
•Alarm turns the daily alarm on and off.
•Key tone turns the key input confirmation tone on and off.
• See “Setting a Daily Alarm Time” on page 158 for details about setting
the alarm time.
3. Tap Set to register your settings.
158
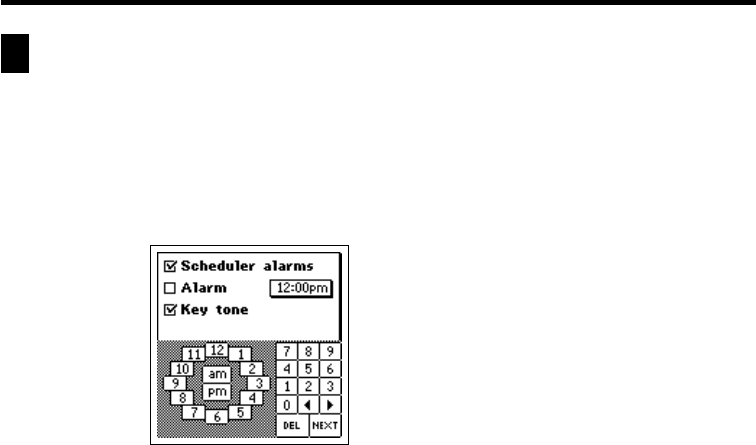
Setting a Daily Alarm Time
1. While the sound on/off setting screen is on the display in the above
procedure, tap on the time to the right of the Alarm item.
• You can also display the alarm setting screen by tapping the alarm
indicator on the pop up tool screen (page 102) or the clock screen
(page 103).
2. Input the time you want to set, and then tap NEXT.
• While the Daily Alarm is turned on, a tone sounds for about 20 seconds
at the preset time each day.
• You can stop a sounding alarm by tapping anywhere on the screen.
159
Chapter 12 Configuring the Unit
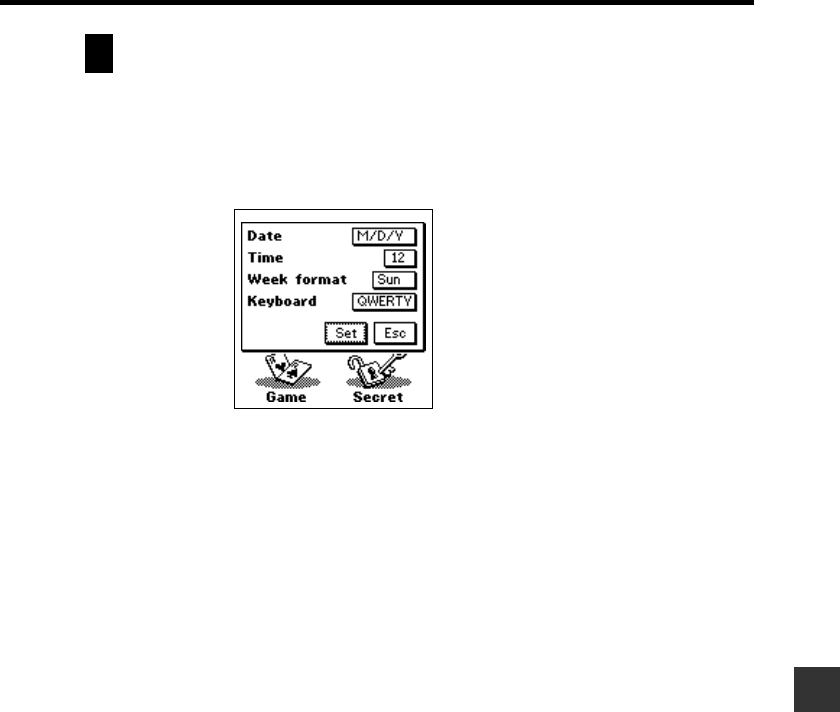
Setting the Date, Time, Calendar, and Keyboard
Formats
1. Tap the Menu Bar icon to display the menu bar, and then tap System –
Format.
2. Tap the date format next to Date.
• Each tap of the date format changes it in the cycle:
M/D/Y fi D/M/Y fi Y/M/D fi M/D/Y, etc.
3. After setting the date format, tap the time format next to Time.
• Each tap of the time format toggles it between 12 and 24.
4. After setting the time format, tap the day of the week next to Week
format.
• Each tap of the day of the week toggles it between Sun and Mon.
5. After setting the calendar format, tap the keyboard format next to
Keyboard.
• Each tap of the keyboard format changes it in the cycle:
QWERTY fi AZERTY fi QWERTZ fi QWERTY, etc.
6. Tap Set to register your settings.

160
Setting the System Language
1. Tap the Menu Bar icon to display the menu bar, and then tap System –
Language.
2. Tap the button next to the language you want to select as the system
language.
3. Tap Set to register your setting.
• All on-screen text messages appear in the language you set as the system
language.
Note
• The system language you set also affects the keyboard format (page 169)
and the code keyboard contents (page 142).
161
Chapter 12 Configuring the Unit
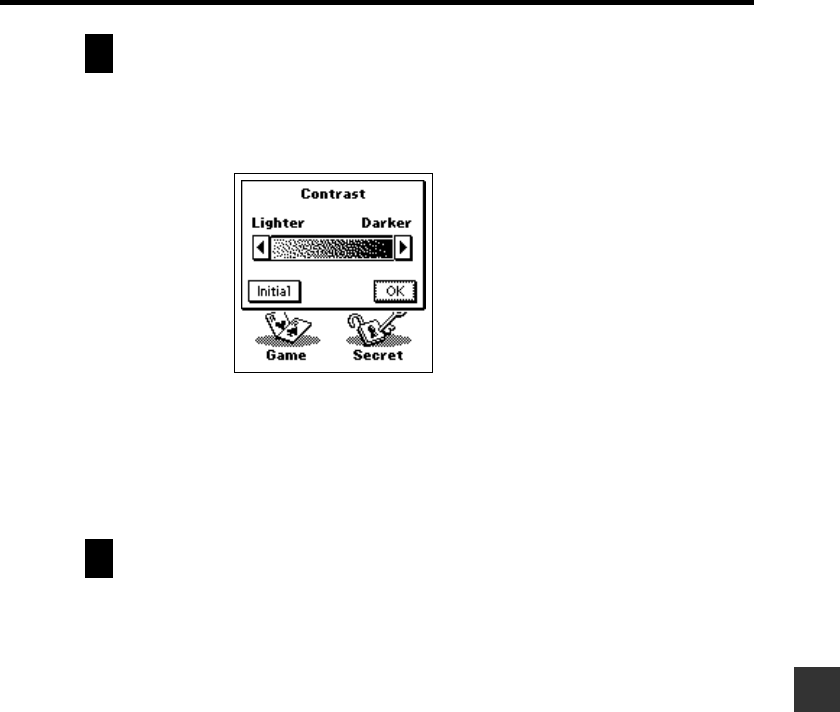
Adjusting Display Contrast
1. Tap the Menu Bar icon to display the menu bar, and then tap System –
Contrast.
2. Tap H to make the figures on the screen lighter, or J to make them
darker.
3. To return to the initial default contrast setting, tap Initial.
4. After the setting is the way you want it, tap OK.
Calibrating the Touch Screen
Use the following procedure to calibrate the touch screen after initializing the
unit, or if you feel that the function performed when your tap the screen does not
match the button or command you tapped.
To calibrate the touch screen
1. Tap the Menu Bar icon to display the menu bar, and then tap System –
Touch Panel Alignment.
2. Tap the center of each of the four cross marks as they appear on the
screen.
162
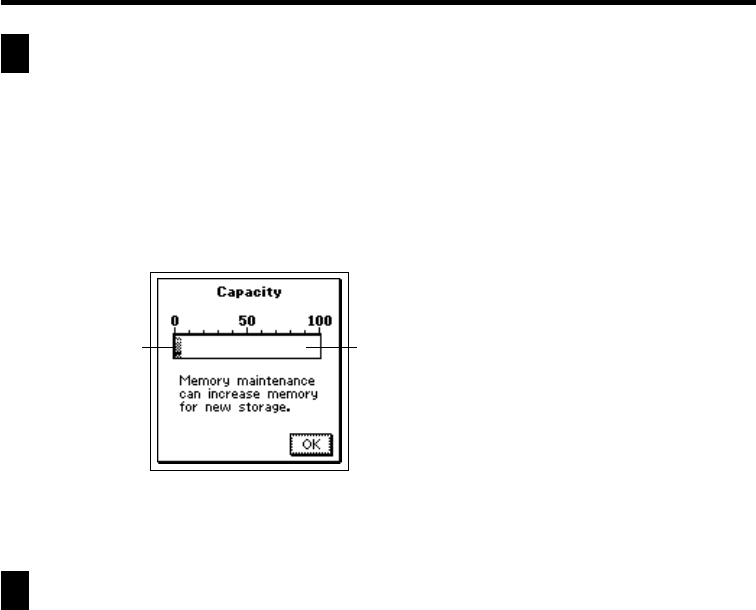
Checking Memory Capacity
Use the following procedures when you want to check current memory capacity.
To check memory capacity
1. Tap the Menu Bar icon to display the menu bar, and then tap System –
Capacity.
2. Tap OK to clear the memory capacity screen.
Memory Management
The memory of your PV Unit is designed to make your normal data input and
recall operations as quick and efficient as possible. After repeated storage and
deletion of data, however, you may find that you are unable to store new data,
even after you have deleted some data from memory. When this happens, you
need to perform the following “memory management” procedure, which cleans
up and rearranges unused memory to make it available for storage of more data.
Note
• When you need to perform memory management depends entirely on how
often you delete data from memory and store new data. The more you delete
and store, the sooner you will need to perform the memory management
procedure.
Memory used Memory still available
163
Chapter 12 Configuring the Unit
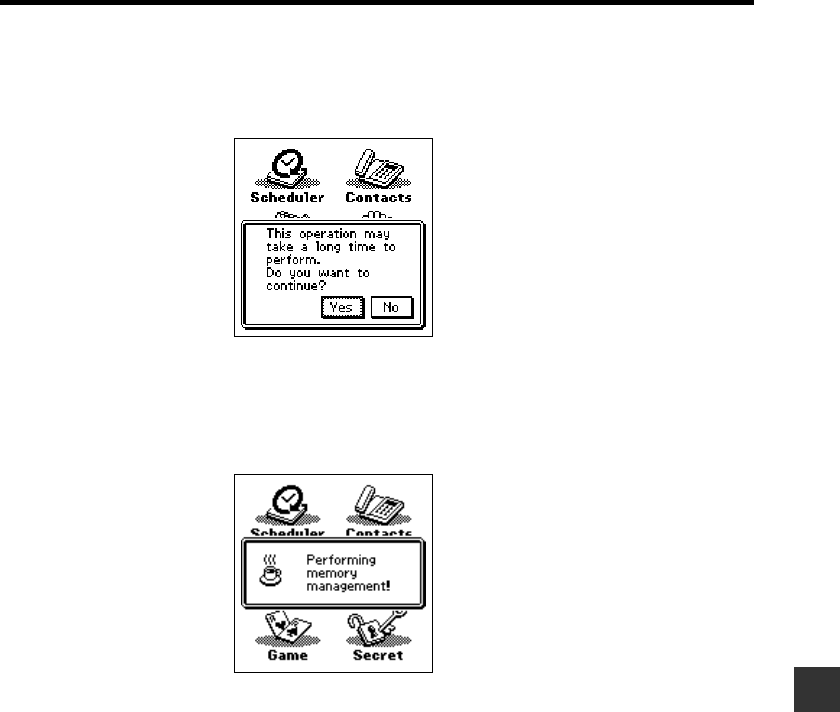
To perform memory management
1. Tap the Menu Bar icon to display the menu bar, and then tap System –
Memory management.
2. In response to the message that appears, tap Yes to start memory
management or No to close the dialog box without doing anything.
• The message shown below appears after you tap Yes to start memory
management.
• You can tap Esc at any time to interrupt the memory management
procedure.
