Cellon Communications Technology PCD3031 GSM850/900/1800/1900 UMTS850/1900 GPRS,EDGE,BT Mobile Phone User Manual C3031 UserMan
Cellon Communications Technology (Shenzhen) Co.,Ltd. GSM850/900/1800/1900 UMTS850/1900 GPRS,EDGE,BT Mobile Phone C3031 UserMan
User Manual


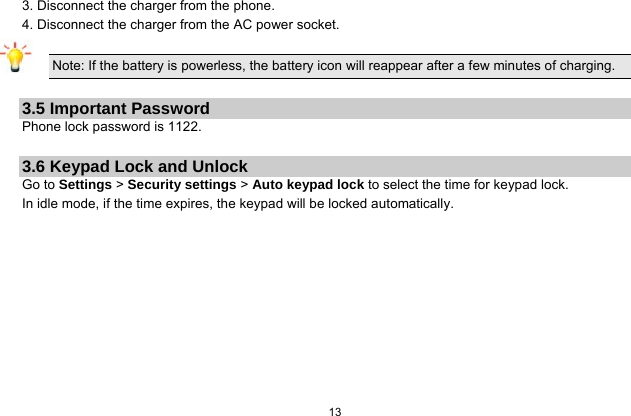
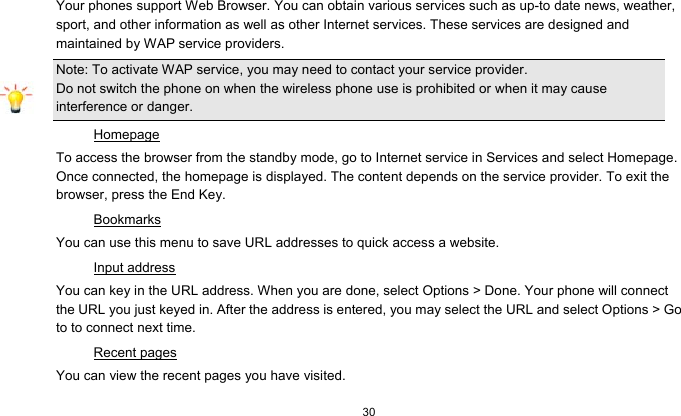
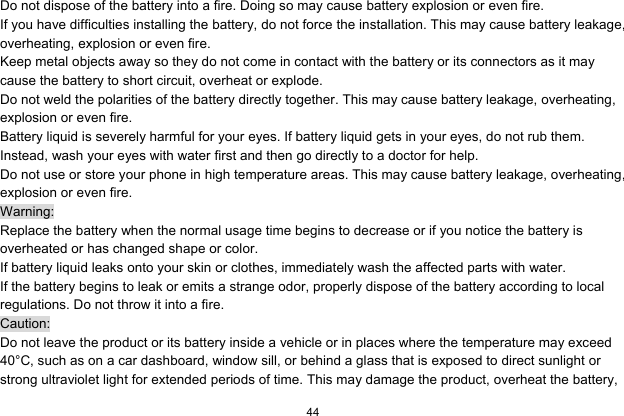
![14 4 Text Entry 4.1 Input Method 4.1.1 Changing the input modes During text editing, you can press the # Key to switch input modes, or press the Left Soft Key [Options] and choose Input Method to select different input modes. 4.1.2 Entering Symbols In any input mode, press the * Key to open the symbols input screen. Use the navigation key to choose the desired symbol and the OK key to select it. 4.2 Predictive text entry Letters and symbols represented by each key are as follows: 2 to 9 Press to input letters. 0 Press 0 to enter a space. 1 Press to input symbol. ◀/▶ Press to browse the previous or next available word. ▲/▼ Press to browse the available words in previous or next line. Left Soft Key Select the letter or word. OK Key Press to confirm the letter or word. Right Soft Key Press to clear a letter, press and hold to clear all entries.](https://usermanual.wiki/Cellon-Communications-Technology/PCD3031/User-Guide-1571093-Page-15.png)
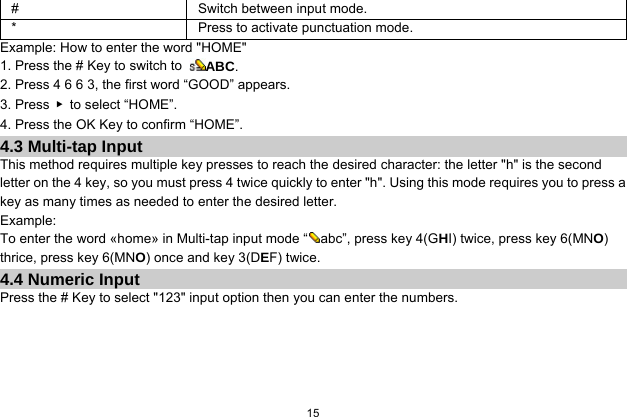
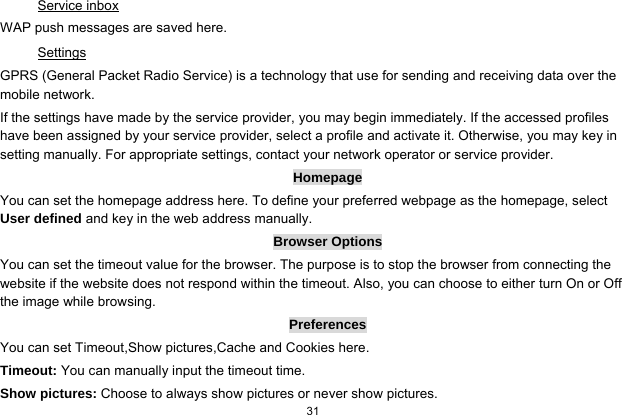
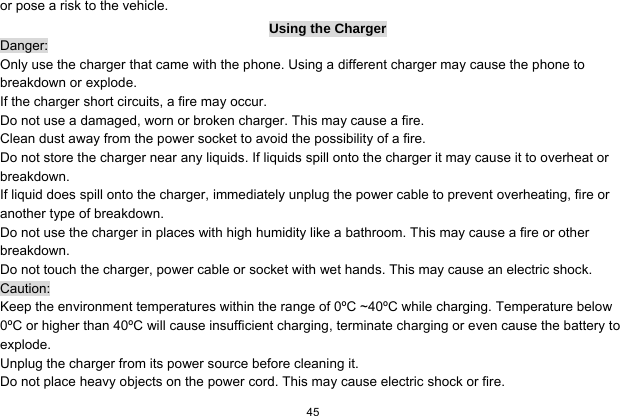
![17 6 Menu Functions 6.1 How To Use 6.1.1 Select Menu Press the OK Key to enter main menu in idle mode. Press the Navigation Key to choose desired menu and press the OK Key to enter the selected menu. You can exit a menu and return to idle mode by pressing the Right Soft Key [Back] or the End/Power Key. 6.2 Main Menu Call center STK Fun & Games Multimedia Phonebook Messaging Organizer Services Settings](https://usermanual.wiki/Cellon-Communications-Technology/PCD3031/User-Guide-1571093-Page-18.png)
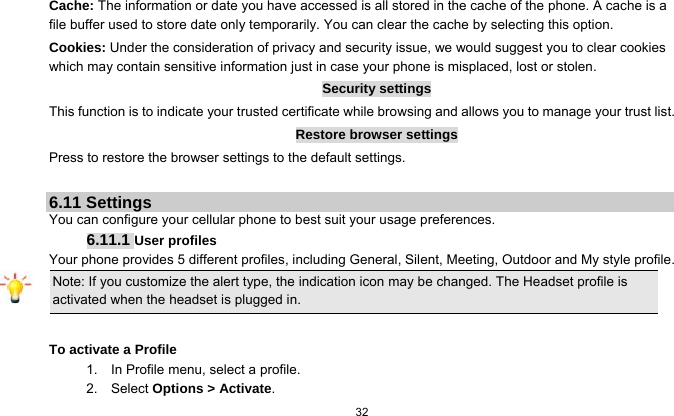
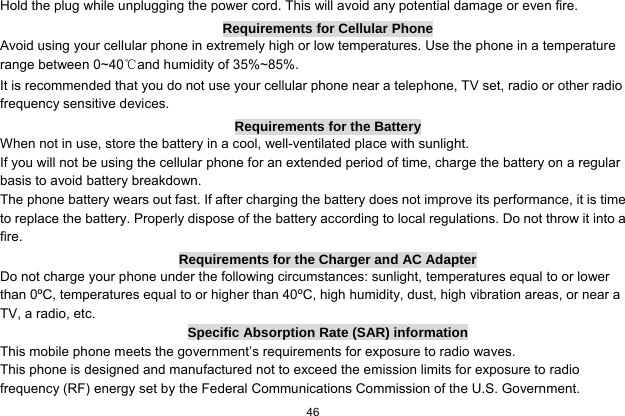
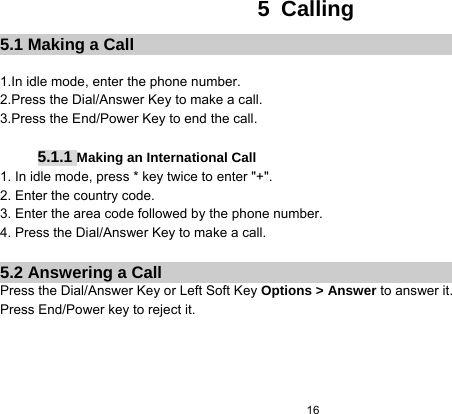
![19 6.6 Multimedia 6.6.1 Camcorder Your cellular phone features a camera that allows you to take pictures and record short videos. The pictures and videos can be saved in memory card or phone.Please ensure that the camera lens is clean before you take pictures and , as small dust particles can strongly affect the picture quality. Take a photo Launch Camera From idle mode, press the OK Key to enter the main menu then select Multimedia > Camcorder Take a picture Press Navigation Down Key to Camera mode. Press the OK Key to take a picture. After taking, the picture will be saved as JPG format in Menu > Multimedia > File Manager > Phone / Memory card > Photos menu automatically. Exit Press the End/Power Key or the Right Soft Key [Back]. Record a video Launch Video From idle mode, press the OK Key to enter the main menu then select Multimedia > Camcorder Record a video Press Navigation Down Key to Video record mode. Press the OK Key to take a picture.](https://usermanual.wiki/Cellon-Communications-Technology/PCD3031/User-Guide-1571093-Page-20.png)
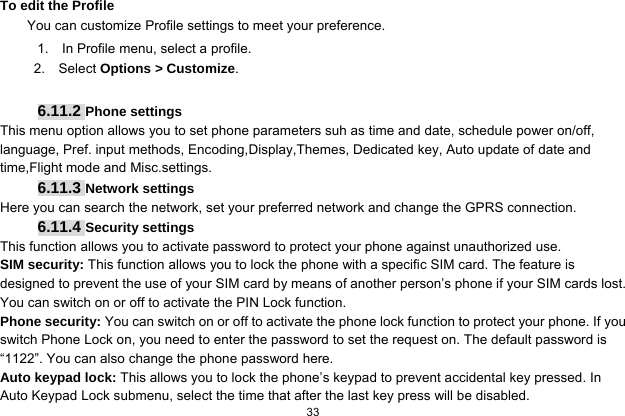
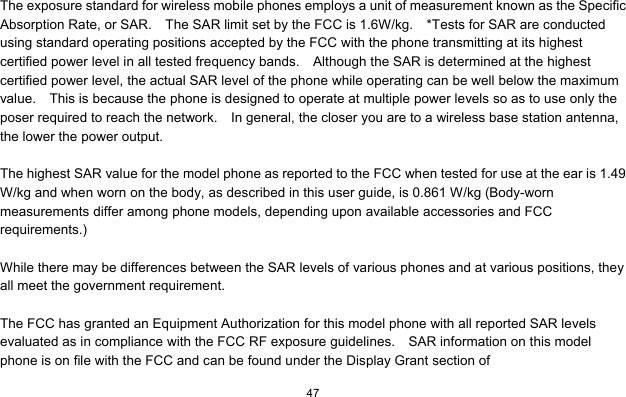
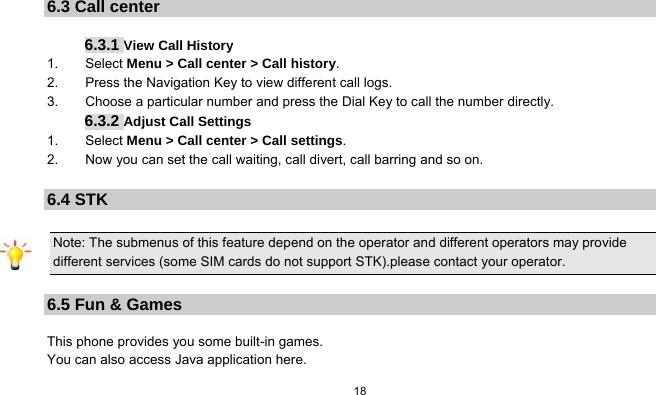
![21 After a certain video clip is selected, press OK key to play. 6.6.4 Audio player Keys Operation The keypad operations during music playback are as follows: Key Description The OK Key List the audio file from the storage you set. Navigation Key ▼ Press to stop the music. Navigation Key ◀ or ▶ Short press to select the previous song/next song. Press and hold to rewind/fast forward the track during playback. *, # Adjust volume. Left Soft Key [List] List the audio file from the storage you set. Right Soft Key [Back] Return to previous menu. Navigation Key Up ▲ Press to Start/Pause/resume the current music. In the music list screen, you can press the Left Soft Key [Options] and select Settings > Pre.playlist to change the storage. MPEG Layer-3 audio coding technology licensed from Fraunhofer IIS and Thomson.](https://usermanual.wiki/Cellon-Communications-Technology/PCD3031/User-Guide-1571093-Page-22.png)
![22 Supply of this product does not convey a license nor imply any right to distribute MPEG Layer-3 compliant content created with this product in revenue-generating broadcast systems(terrestrial, satellite, cable and/or other distribution channels), streaming applications(via internet, intranets and/or other networks), other content distribution systems(pay-audio or audio-on-demand applications and the like) or on physical media(compact discs, digital versatile discs, semiconductor chips, hard drives, memory cards and the like). An independent license for such use is required. For details, please visit http://mp3licensing.com. 6.6.5 Sound Recorder 1. Select Menu > Multimedia > Sound recorder. 2. Press the Left Soft Key [Options] and select Settings to set your storage and file format. 3. Back to the previous menu, select New record. 4. In the recording screen, you can press the Left Soft Key to pause or continue. 5. If you have finished, press the Right Soft Key [Stop] to stop recording. 6. Press the Left Soft Key [Yes] to save the file you just recorded. Note: Saved sound files can be found in the Menu > File Manager > Phone/ Memory card > Audio menu according to your storage setting. 6.6.6 FM Radio](https://usermanual.wiki/Cellon-Communications-Technology/PCD3031/User-Guide-1571093-Page-23.png)
![23 Note: The FM radio will not work unless the headset is attached. Attach the headset to the USB port located at the bottom of the phone. To operate the radio: 1. Select Menu >Multimedia >FM radio. 2. If the FM is off, press the Navigation Down Key to activate or deactivate the FM radio. 3. Press the * / # Key to adjust the volume. 4. Press the Navigation Up Key to activate or deactivate Auto search. 5. Press the Navigation Right/Left Key to switch the channels. If auto search is activated, pressing the Navigation Right/Left Key will skip to the previous or next available searched channels; if auto search is deactivated, pressing the Navigation Right/Left Key will skip to the channel varying by 0.1 intervals. 6. Press the OK Key to record if you want. 7. Press the Left Soft Key [Options] to access the FM settings. Channel list: Allows you to bookmark radio stations by entering the channel name and frequency. You are allowed to play, delete, or edit a selected radio station frequency. Manual input: Allows you to key in the radio station frequency manually. Auto search: Allows you to auto scan the radio station. The station searched will be memorized in the channel list. Settings: Allows you to access the settings. Record: Allows you to record your favorite program. Append: Allows you to resume the file you have recorded and continue to record on the same file.](https://usermanual.wiki/Cellon-Communications-Technology/PCD3031/User-Guide-1571093-Page-24.png)
![24 File list: Allows you to list the radio program you have recorded. 6.6.7 File Manager 1. Select Menu > File Manager. 2. Press the Left Soft Key [Options] and select Open to view different folders. Note: If you have inserted a T-Flash card (external memory card), here you can view its files. 6.7 Phonebook Your phonebook list is saved either on the SIM card’s memory or Phone’s memory. You can also choose to list both. 6.7.1 Search contact 1. In standby mode, press the Left soft Key to enter the main menu, and then select Phonebook. Now you can search contacts saved in the Phonebook 2. Key in full name or first character of contact person’s name, the phonebook list will automatically jump to the character you have entered or the matched contact will be displayed. 6.7.2 Add New Contact](https://usermanual.wiki/Cellon-Communications-Technology/PCD3031/User-Guide-1571093-Page-25.png)
![25 To create a new SIM/phone contact: 1. Select Menu > Phonebook > Add New Contact. 2. Then enter all related information about the contact. 3. Press the OK Key or Done to save the contact details. 6.7.3 Others In this Phonebook menu, you can also view the Caller groups. Select “Menu > Phonebook, press Options to select Phonebook settings can set the preferred storage for the contacts. 6.8 Messaging 6.8.1 Creating a text message 1. Select Menu > Messaging > Write message > Text message. 2. Write a message, please refer to the Text entry section of this manual for detailed information. 3. After entering text, you can press the Left Soft Key [Options] and then select Send to. 4. Enter the recipient number, or choose a contact from phonebook. Note: Make sure the SMS Centre Address in the activated profile is correct; otherwise, you cannot send or receive the messages.](https://usermanual.wiki/Cellon-Communications-Technology/PCD3031/User-Guide-1571093-Page-26.png)
![26 6.8.2 Creating a multimedia message 1. Select Menu > Messaging > Write message > Multimedia message. 2. Edit the content of the message. You can add pictures, sound, and other objects to the multimedia message. You can also insert a new slide, preview the message, and set the slide duration. 3. After you have completed inserting content, press the Left Soft Key [Options] and select Send to. 4. Enter the recipient, or choose a contact from phonebook. Note: Make sure the activated profile is correct; otherwise, you cannot send or receive the multimedia messages. 6.8.3 Broadcast Message 1. Select Menu > Messaging > Broadcast message. 2. Press the Left Soft Key [On] to activate this function. 3. Press the Navigation Down Key to select Channel settings to enter the channel number. Note: To obtain the codes corresponding to the different types of messages, you must contact your operator. 6.8.4 Others In this “Messages” menu, you can view the message you have sent, saved, unsent or received in the Inbox, Drafts, Outbox,.Sent messages,](https://usermanual.wiki/Cellon-Communications-Technology/PCD3031/User-Guide-1571093-Page-27.png)
![28 8. Press Done to save the event. 6.9.2 Tasks You can also view, edit or delete the tasks from the options under this feature. For the first-time user, you will need to follow the steps below: 1. Select Add in the Task List. Then choose the task type. 2. Edit your Task by entering date, time, Subject, alarm, repeat and other information. 3. You can choose to turn the alarm on as the reminder. 4. Select Done and Yes to save your task. 6.9.3 Set an alarm 1. Select Menu > Organizer > Alarm. 2. Select an alarm and then press the Left Soft Key [Edit] to create. 3. Press the Navigation Left / Right Key to turn it on or off. 4. Enter other information, such as time, repeat, and so on. 6.9.4 World clock You can view the local date and time via selecting the GMT and city. When the cross points out a certain city, it will show the local date and time. 6.9.5 Calculator](https://usermanual.wiki/Cellon-Communications-Technology/PCD3031/User-Guide-1571093-Page-29.png)
![29 Calculator applies simple calculator function such as addition, subtraction, multiplications and division. To start using 1. Go to Organizer and select Calculator. 2. Enter the number with keypad, and then click the “+” for addition, or click the “-“for Subtraction, or click the “*” for Multiplication, or click the “/” for Division. 3. Click Left soft key or Navigation key to calculate. 4. To exit calculator, press the End Key or the Right soft Key. 6.9.6 Currency converter This application allows you to convert currency. First, input the rate, press the # Key to enter a decimal point, then input the local value. Press the Left Soft Key [OK] to view the foreign value. 6.10 Services This menu allows you to access services supplied with your network, such as news, sports, weather, etc. Please contact your operator for more information.](https://usermanual.wiki/Cellon-Communications-Technology/PCD3031/User-Guide-1571093-Page-30.png)