Cellon Communications Technology PCD5550 MOBILE PHONE User Manual CL252 C5550 UM EN V1 0 051211
Cellon Communications Technology (Shenzhen) Co.,Ltd. MOBILE PHONE CL252 C5550 UM EN V1 0 051211
UserManual.wiki
>
Cellon Communications Technology
>
PCD5550 User Manual
Users Manual
Navigation menu
Upload a User Manual
Namespaces
Wiki Guide
HTML
PDF
Info
Views
User Manual
Discussion / Help
Navigation


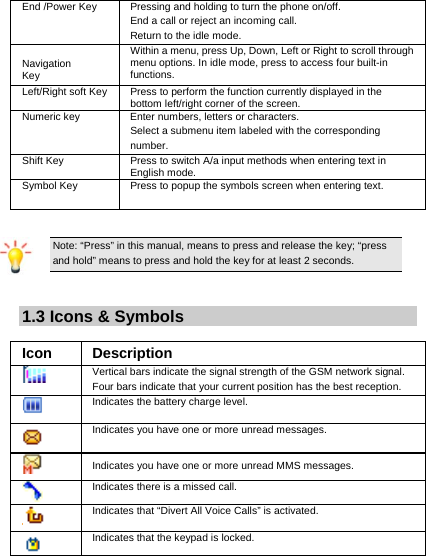

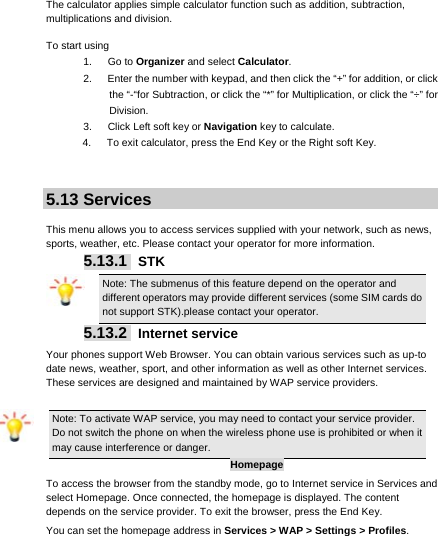
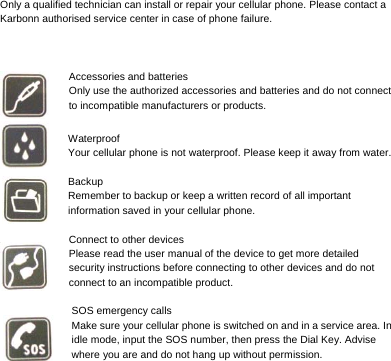
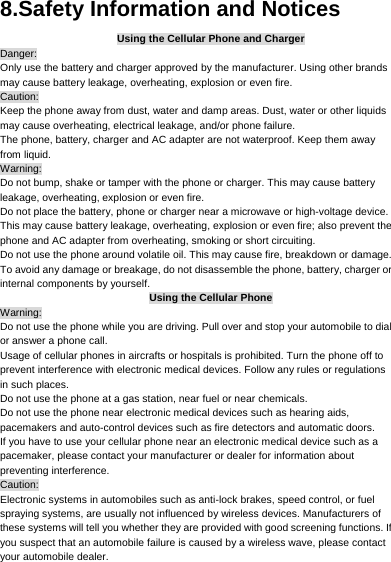
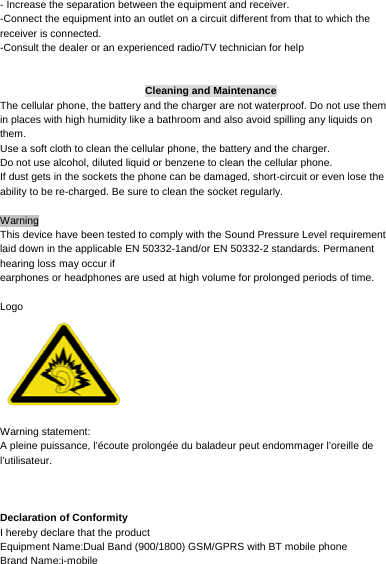
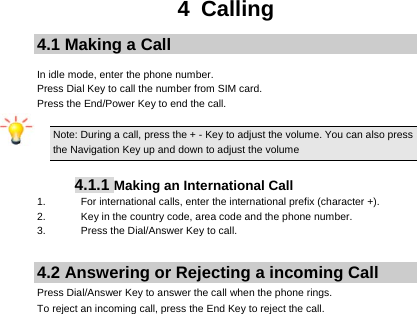
![3Text Entry 3.1 Input Method Your cellular phone supports several input methods, which include: ABC/Abc/abc/ Numeric(123) 3.1.1 Changing the input modes During text editing, you can press the Shift Key to switch input modes. or press the Left Soft Key [Options] and choose Input Method to select different input modes. For input method of “ABC”,you have to change to the input method to “abc” first,then press the Shift Key to swtich it to “ABC/Abc”. 3.1.2 Entering Symbols In any input mode, press the Symbol Key to open the symbols input screen. Use the Navigation key to choose the desired symbol and press the Ok key to select it. or press the Left Soft Key [Options] and choose Input Method and then Insert Symbol to select symbol of choice. 3.2 Key Input Letters and symbols represented by each key are as follows: Key FunctionAll related keys Press to input letters FN Key Activate FN mode to enter digits or characters printed on the top part of the keys, Press the FN Key once to activate it once, press the FN Key twice can activate FN mode all the time, in this case, to deactivate the FN mode, press the FN key. Space Key Press to input space Enter Key Press to input in a new line Delete Key Press to clear a letter Shift Key Press to switch A/a input methods when entering text in English mode.](https://usermanual.wiki/Cellon-Communications-Technology/PCD5550/User-Guide-1516362-Page-11.png)

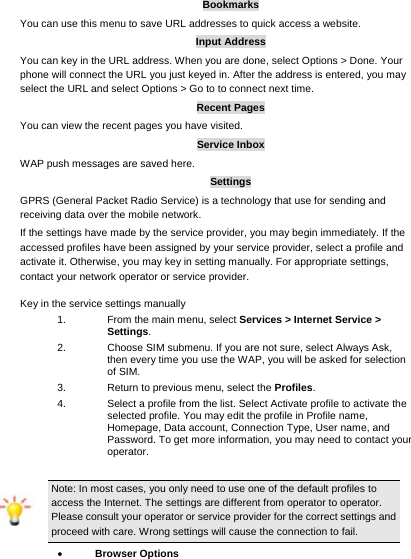
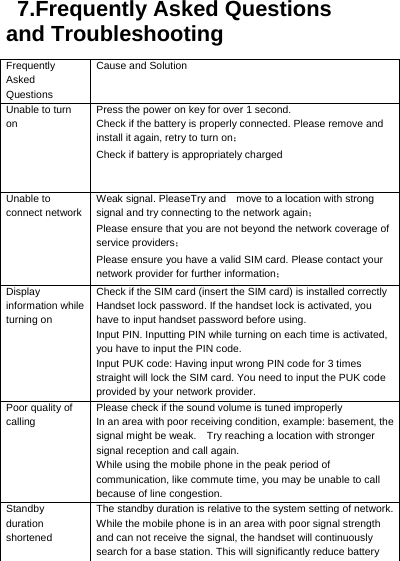
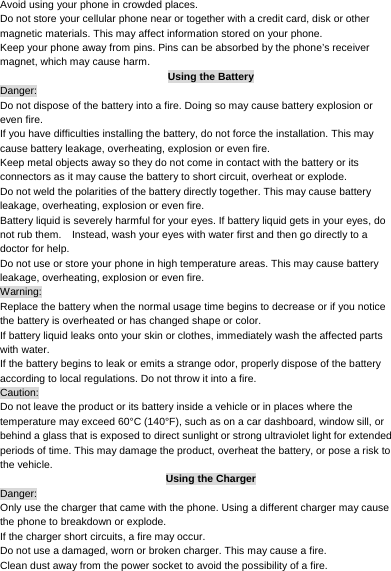
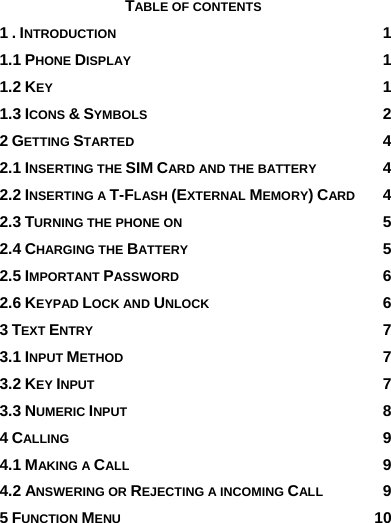
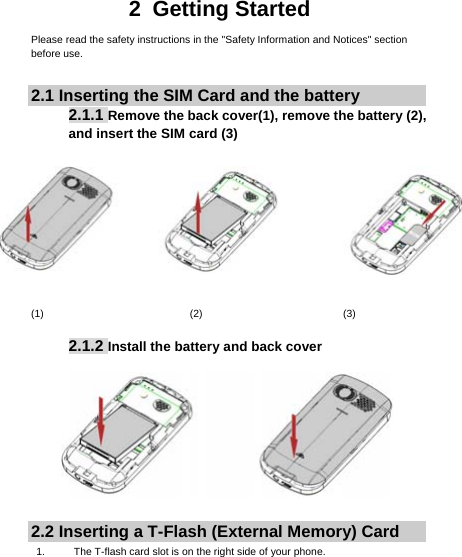
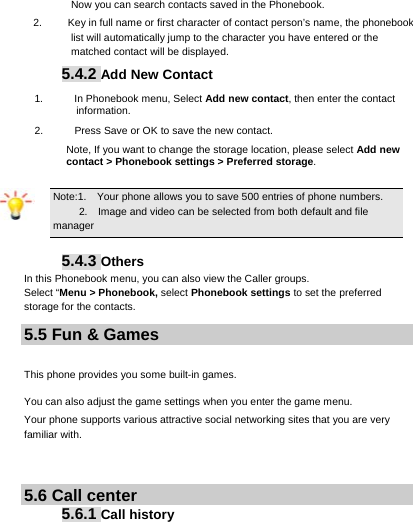
![5 Function Menu 5.1 How To Use 5.1.1 Select Menu 1. Press the Left soft Key to enter main menu in idle mode. 2. Use the Navigation Key to choose desired operation and press the Left soft Key [Ok] to enter the selected operation. 3. You can exit a menu and return to idle mode by pressing the Right soft Key [Back] or the End Key. 5.2 Main Menu File manager Phonebook Fun & Games Call center Messaging Multimedia Organizer Settings User profiles Extra Services WLAN 5.3 File manager 1. Select Menu > File Manager. 2. Press the Left soft Key [Options] and select Open to view different folders. You can also just press OK Key,it can open the folders quickly. Note: If you have inserted a T-Flash card (external memory card), here you can view its files. 5.4 Phonebook Your phone features two phonebooks. The SIM phonebook is located on your SIM card and the number of entries you can store depends on the SIM card. The second phonebook (Smart phonebook) is integrated in the phone memory. 5.4.1 Search contact 1. In standby mode, press the Left soft Key to enter the main menu, and then select Phonebook.](https://usermanual.wiki/Cellon-Communications-Technology/PCD5550/User-Guide-1516362-Page-14.png)


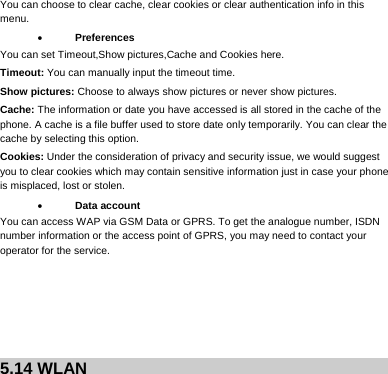
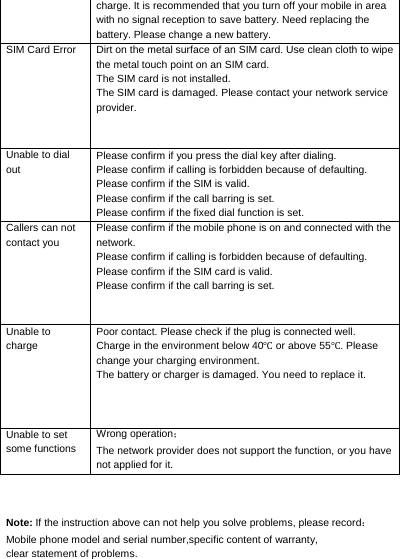
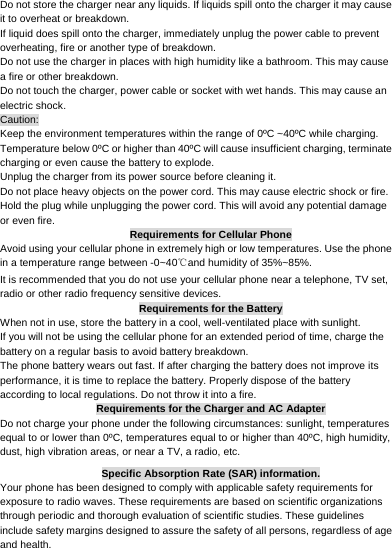
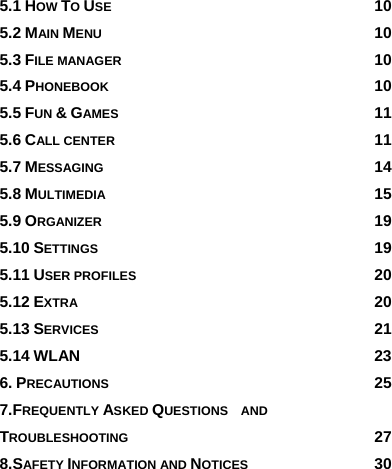
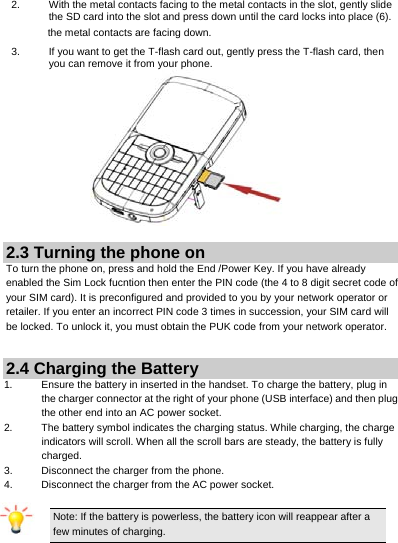
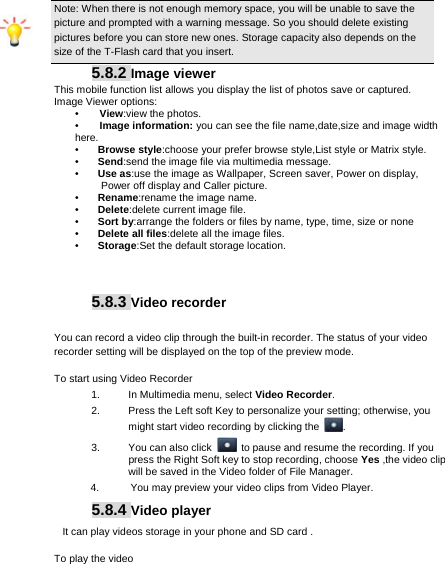
![ IP dial: Call time display:Allows you to enable or disable the call time display on the phone screen Call time reminder: Allows you to set a time reminder during a call. Auto quick end:Allows you to set it on or off. If it is on and you set the time(between 1 and 9999 second),your phone will auto disconnect when the call lasts the set time. Answer mode:If it is on,you can choose Any key ,Auto answer when headset mode here. 5.7 Messaging 5.7.1 Creating a text message 1. Select Menu > Messaging >Write message >Text message. 2. Write a message, please refer to the Text entry section of this manual for detailed information. 3. After finished, select Options and then Send to. 4. Add the recipient by inputting the number manually or searching them in the phonebook. 5. Finally, select Options and select the send option to send the message. 5.7.2 Creating a multimedia message 1. In idle mode, press the Left Soft Key [Menu] to enter the main menu. 2. Select Messageing > Write Message >Multimedia message,The multimedia message editing screen will appear. 3 When you have finished writing the multimedia message,press the Left Soft Key Options > Send to. 5.7.3 Broadcast Messages 1. Select Menu > Messaging > Broadcast messages. 2. Press the Left soft Key [On] to activate this function. 3. Use the Navigation Key Down to select Channel settings to enter the channel number.](https://usermanual.wiki/Cellon-Communications-Technology/PCD5550/User-Guide-1516362-Page-18.png)

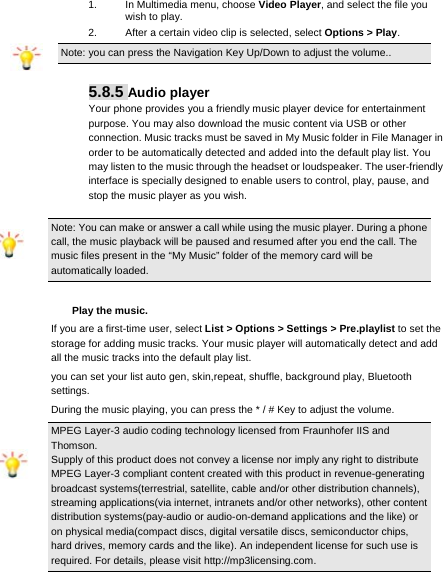
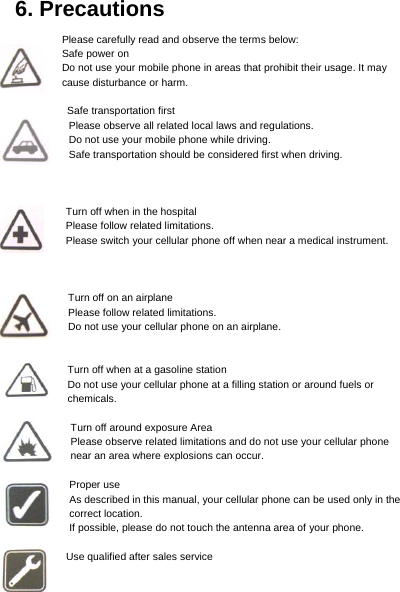
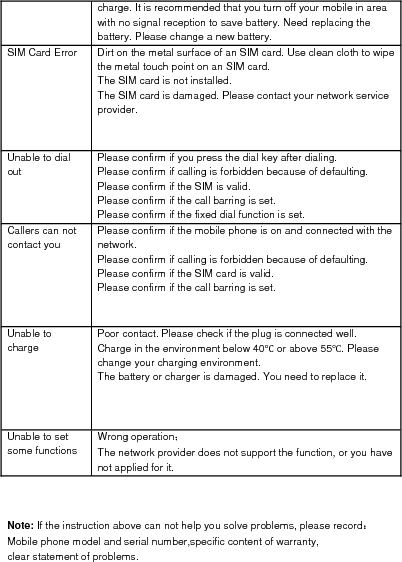
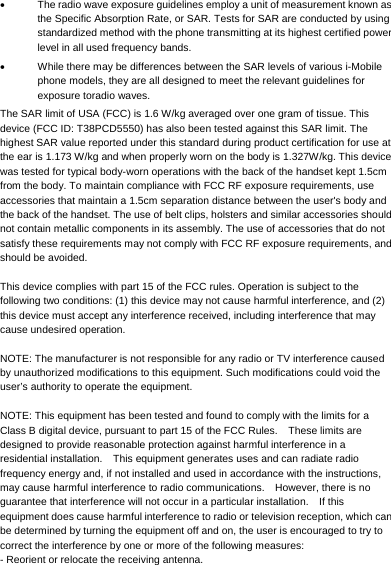
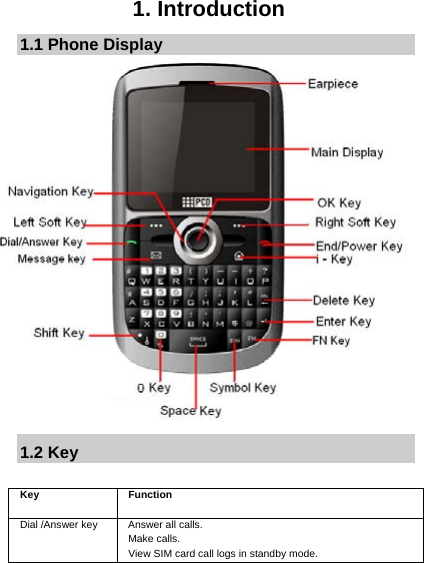
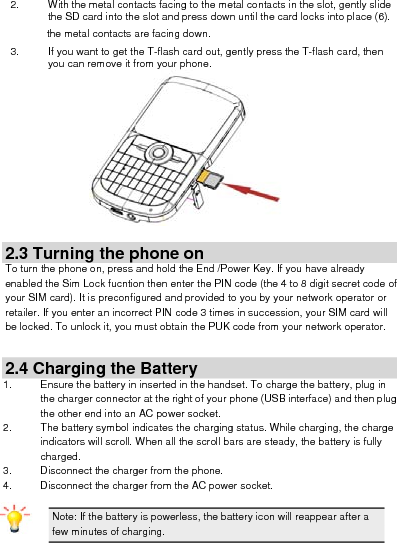
![5.8.6 Sound Recorder 1. Select Menu > Multimedia > Sound Recorder. 2. Press the Left soft Key [Options] and select Settings to set your preferred storage and file format. 3. Back to the previous menu, select New Record. 4. In the recording screen, you can press the Left soft Key to pause or continue. 5. If you have finished, press the Right soft Key [Stop] to stop recording. 6. Rename the file by choosing rename from options. 7. Press the Left soft key [Options] and select Done. Note: Saved sound files can be found in the Menu > File Manager > Phone/ Memory card > Audio menu according to your storage setting. 5.8.7 FM radio Note: The FM radio will not work unless the headset is attached. Attach the headset to the headset port located on the bottom of the phone. To start using 1. From main menu, choose Multimedia >FM Radio. 2. If FM is off, click OK Key to turn on the FM radio. 3. You can choose to either turn on or off the auto search by clicking the Navigation Up Key. 4. Click the Navigation key left or Navigation key right to start searching. 5. You can click Navigation Down Key to record the FM radio. Your phone provides the following selections for your option: Channel list:Allows you to bookmark up to 9 radio stations by entering the channel name and frequency. You can have quick access to 9 radio stations by Numeric Key. You are allowed to play, delete or edit a selected radio station frequency. Manual input:Allows you to key in the radio station frequency manually. Auto Search:Allows you to auto scan the radio station without having to click the search icon all the time, and the station searched will be memorized in the channel list.](https://usermanual.wiki/Cellon-Communications-Technology/PCD5550/User-Guide-1516362-Page-22.png)
![ Settings:Allows you to change the settings of background play, Skin, loudspeaker, record format, audio quality or record storage. Record:Allows you to record your favorite program. Append:Allows you to resume the file you have recorded and continue to record at the same file. File List:Allows you to list the radio program you have recorded. You may send the file to your friends. 5.9 Organizer This menu contains features and options designed to keep you organized and informed while on the go. 5.9.1 Set an alarm 1. Select Menu > Organizer > Alarm. 2. Select an alarm and then press the Left soft Key [Edit] to create. 3. Use the Navigation Key to turn it on or off. 4. Enter other information, such as time, repeat, and so on. 5.9.2 World clock You can view the local date and time via selecting the GMT and city. When the cross points out a certain city, it will show the local date and time. 5.10 Settings 5.10.1 Phone Settings This Menu option allows you to set phone parameters suh asTime and date Schedule power on/off, Language,Pref. input methods ,Display and Themes 5.10.2 Network settings This features allows you to automaticaly or manually choose your preferred network operator.You can set Network selection,Preferences,Preferred mode ,GPRS connection here. 5.10.3 Security settings This function allows you to activate password to protect your phone against unauthorized use. You can set SIM security Phone security,Auto keypad lock and Certificate manager here.](https://usermanual.wiki/Cellon-Communications-Technology/PCD5550/User-Guide-1516362-Page-23.png)