Cellon Communications Technology UT2050 GSM & GPRS Mobile Phone User Manual GPT380 C2050 091017 V1 0
Cellon Communications Technology (Shenzhen) Co.,Ltd. GSM & GPRS Mobile Phone GPT380 C2050 091017 V1 0
UserManual.wiki
>
Cellon Communications Technology
>
UT2050 User Manual
Users Manual
Navigation menu
Upload a User Manual
Namespaces
Wiki Guide
HTML
PDF
Info
Views
User Manual
Discussion / Help
Navigation

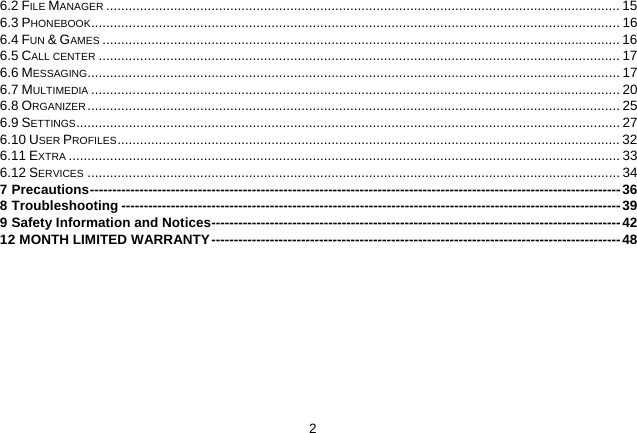
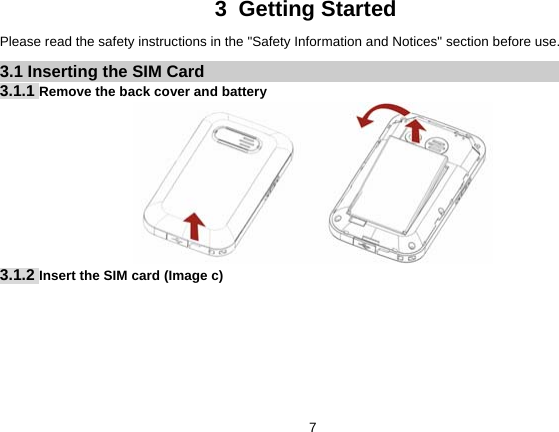
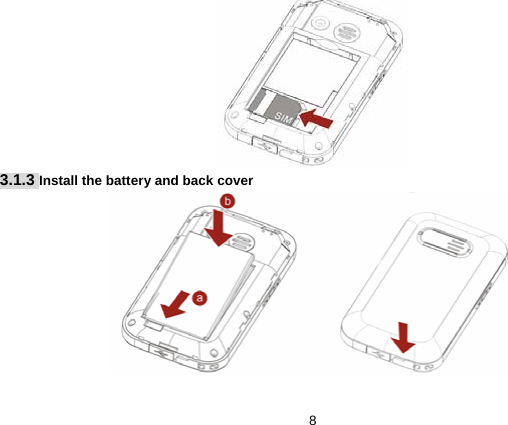
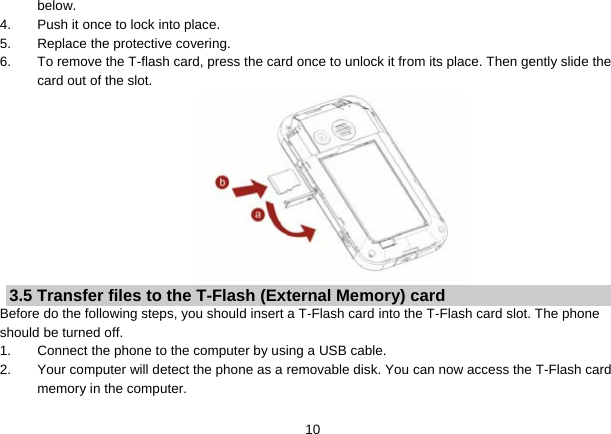

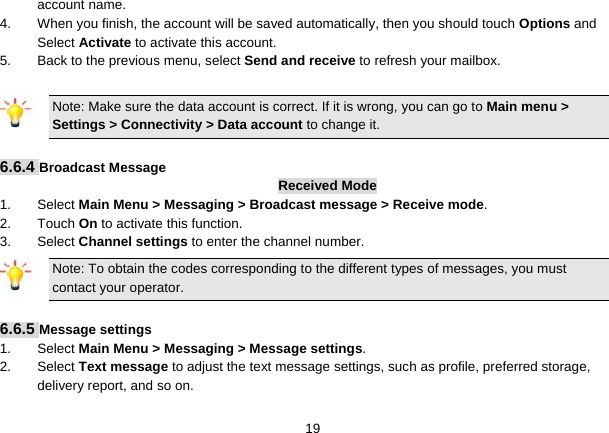
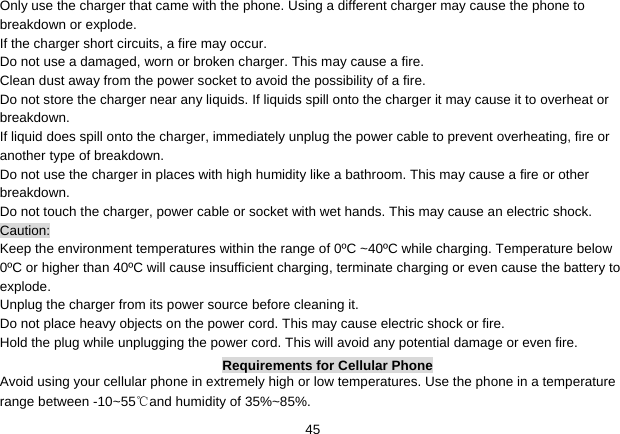
![203. Select Multimedia message to adjust the multimedia message settings, such as profile, slide time, creation mode, signature, and so on. 6.7 Multimedia 6.7.1 Camera Your cellular phone features a digital camera that allows you to take pictures, store them, set them as wallpaper or send them to your friends. Please ensure that the camera lens is clean before you take pictures, as small dust particles can strongly affect the picture quality. How to Launch Camera From idle mode, press the MENU Key to enter the main menu then select Multimedia > Camera Zoom out/in Touch the zoom icon on the top of the screen Adjust EV Touch the EV icon on the top of the screen Settings Touch this icon to access the camera settings. Take a picture Press the MENU Key or touch this icon. After taking, the picture will be saved to File Manager. The picture will be saved in JPEG format. Exit Press the Hang-Up Key or the Right Soft Key [Back]. Camera Option Menu When the camera mode is activated you can change a number of settings by touching Options before taking a picture. Then you can set the image size, quality, scene mode, photo storage, and so on.](https://usermanual.wiki/Cellon-Communications-Technology/UT2050/User-Guide-1195807-Page-21.png)
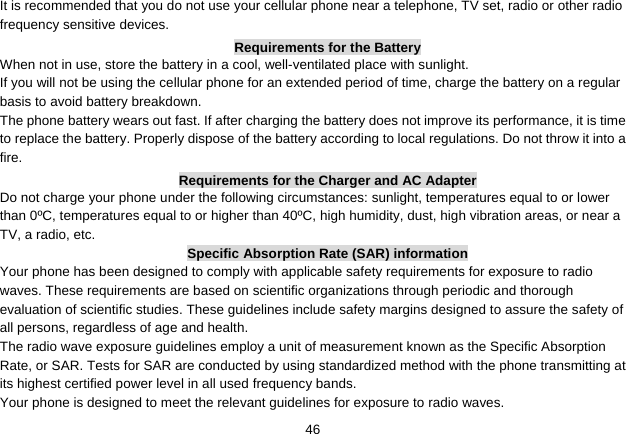
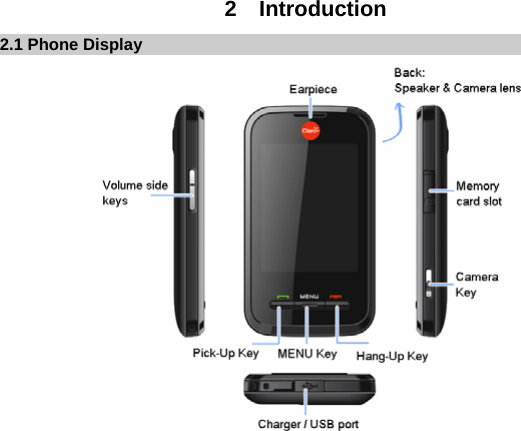
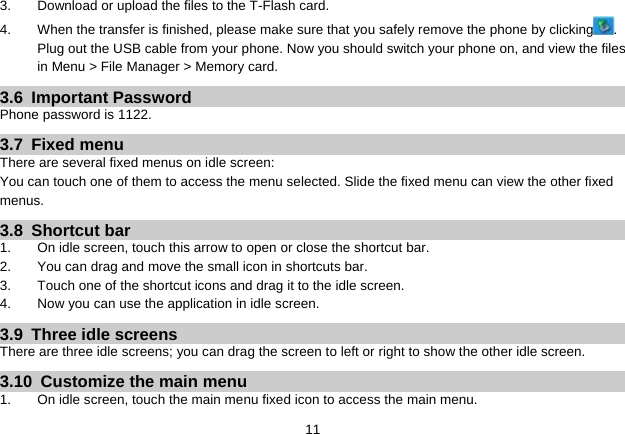
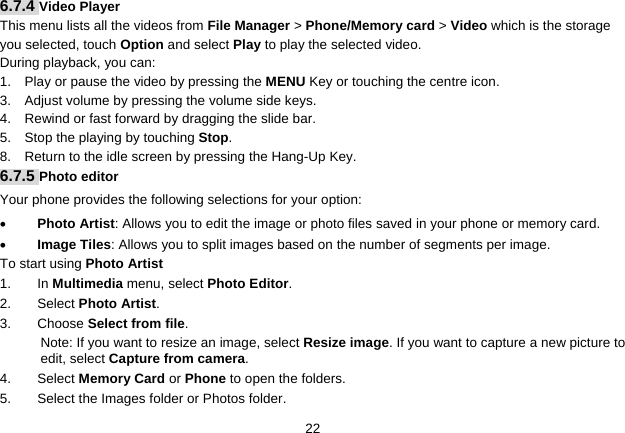
![21Note: When there is not enough memory space, you will not be able to save the picture and you will be prompted with a warning message. You must delete existing pictures before you can store new ones. 6.7.2 Image Viewer This menu lists the picture from File Manager > Phone/Memory card > Photos according to its storage setting. You can touch Options to change browser style, choose storage, and so on. If the size is too large, your cellular phone cannot view it. 6.7.3 Video Recorder This option allows you to record short videos. You can play the video and store it in the memory card or the phone. You can also send the video to your friends via MMS or Bluetooth. How to Launch Video In idle mode, press the MENU Key to enter the main menu. Select Multimedia > Video Recorder. Adjust brightness Touch the EV icon Zoom out / in Touch the zoom icon Settings Touch this icon to access the camera settings. Record a video Press the MENU Key or touch this icon to record. Press the MENU Key again to pause. Touch this icon to stop recording. To save the video, touch Yes. It will be stored in File Manager. Exit Press the Hang-Up key or the Right Soft Key [Back].](https://usermanual.wiki/Cellon-Communications-Technology/UT2050/User-Guide-1195807-Page-22.png)
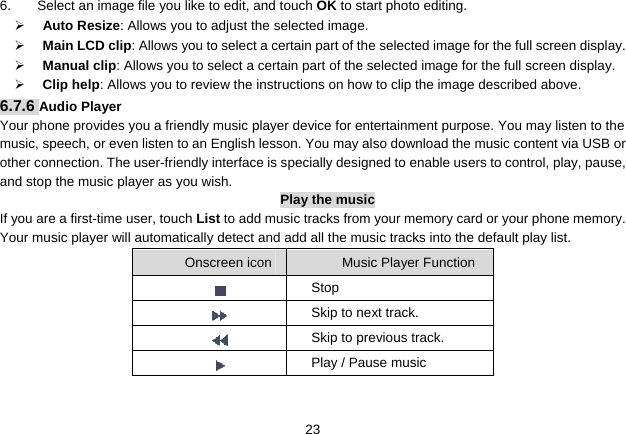
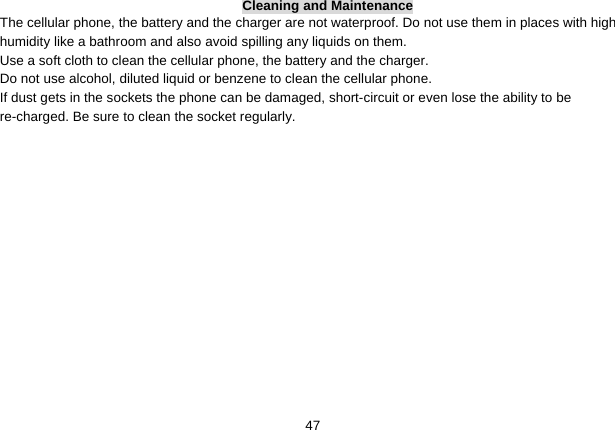
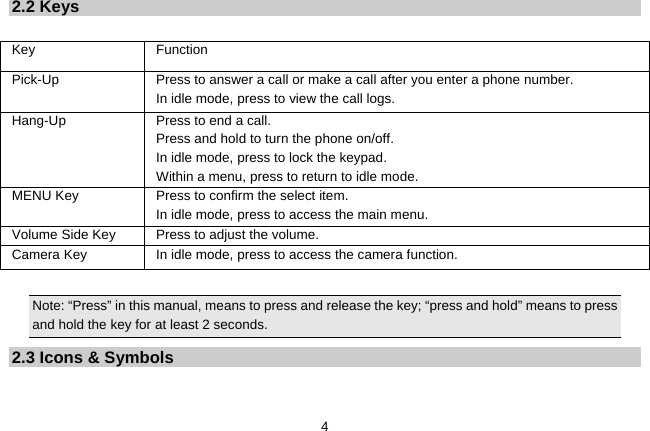
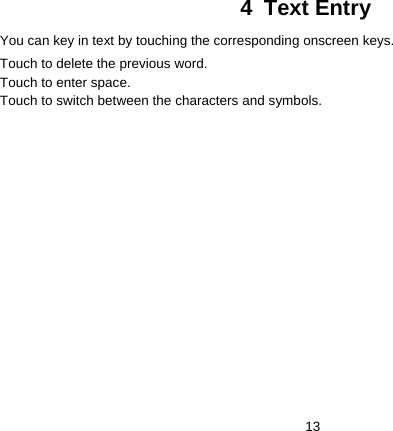
![26This menu contains features and options designed to keep you organized and informed while on the go. 6.8.1 Calendar Current day is filled in blue color; the days that have events will be filled in yellow color. Add new event 1. Select Menu > Organizer > Calendar. 2. Select a date. 3. Press the Left Soft Key [Option] and select Add event. 4. Select the task type. 5. Enter the task information. 6. Press the Right Soft Key [Done] to save it. 6.8.2 Tasks This menu allows you to create, store and manage tasks in your organizer. Create New Task To create a new task: 1. If there is no event, touch Add to create a new task. If there is already an event, touch Option and select Add to create a new task. 2. Select the task type. 3. Edit the different task fields, such as date, time, subject, Alarm, Repeat. 4. Touch Done to save the task. Note: A new task cannot be saved with a blank subject. 6.8.3 Alarm](https://usermanual.wiki/Cellon-Communications-Technology/UT2050/User-Guide-1195807-Page-27.png)


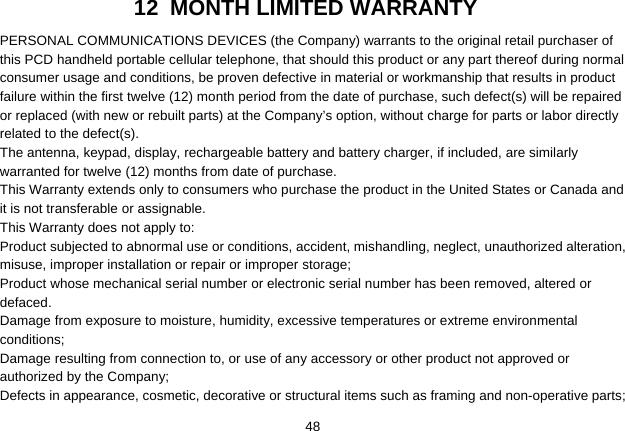
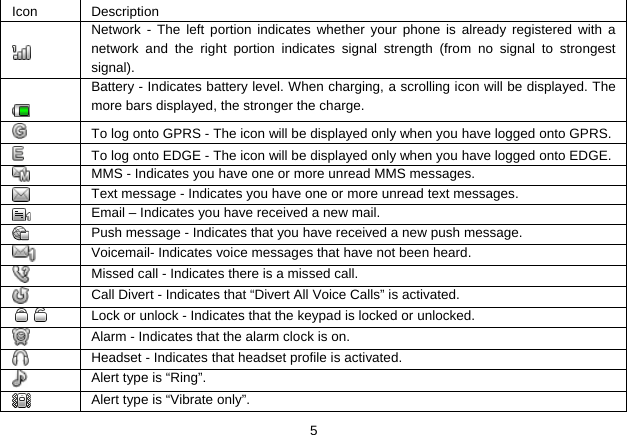
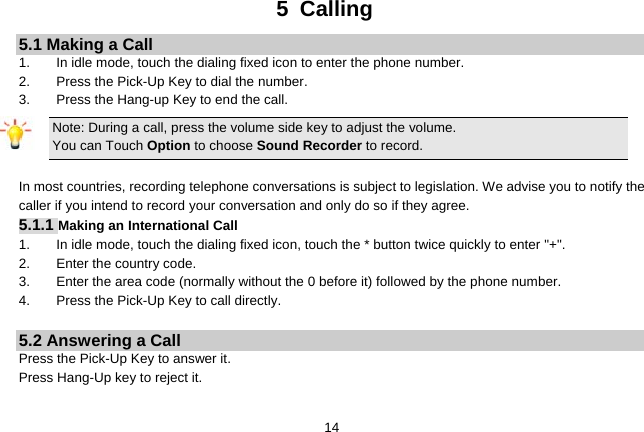
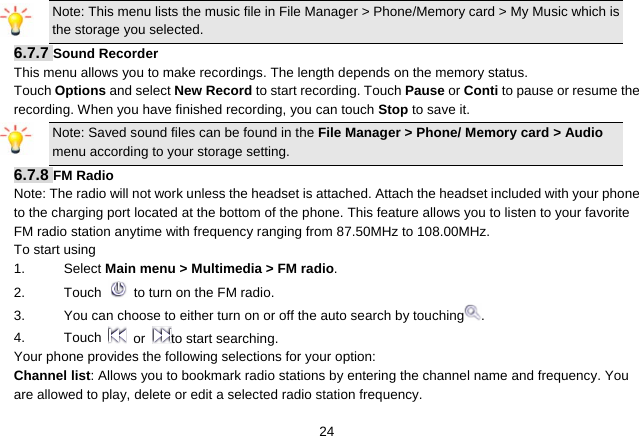
![33 Extra Tone: Touch On/Off to activate or deactivate such tones as Warning, Error, Camp on and Connect. Note: Headset profile can only be activated by plugging in a headset. Bluetooth profile can only be activated while the Bluetooth headset is connected. 6.11 Extra Your cellular phone also provides you with other tools for extra use. 6.11.1 Calculator Your cellular phone has a built in calculator. 1. Select Main menu > Extra > Calculator. 2. Enter the number with the onscreen keypad, and then touch “+” for addition, touch “-“for Subtraction, or touch “x” for Multiplication, or touch “ ” for Division. 3. To clear calculator, touch Clear. 4. Finally, touch “=” to calculate. 6.11.2 Currency Converter This application allows you to convert currencies. First, input the rate and then input the local value. Press the Left Soft Key [Ok] to view the foreign value. 6.11.3 Stopwatch Typical Stopwatch Split Timing: Allows you to record no more than 20 groups of split time while timing. The start time is 00:00:00, every record will continue with the timing. Lap Timing: Allows you to record no more than 20 groups of lap time while timing. The start time of every](https://usermanual.wiki/Cellon-Communications-Technology/UT2050/User-Guide-1195807-Page-34.png)
![34record is 00:00:00. View Record: Select to view, delete, or delete all saved records. nWay Stopwatch You can touch four arrow icons to record four different groups of data. 6.12 Services This menu allows you to access services supplied by your network, such as news, sports, weather, etc. Please contact your operator for more information. STK Services Note: The submenus of this feature depend on the operator and different operators may provide different services (some SIM cards do not support STK), which cannot be modified. Please contact your operator. Internet service Homepage: Select to access the homepage directly. You can also set the homepage address in Services > Internet service > Settings menu. Bookmarks: Select to save the current web page or the web pages that you frequently visit in the Bookmark list, where you can manage and organize them. When you enter the menu, bookmark entries are displayed. To connect to the web address of a particular bookmark entry, touch it and then choose Go to. Recent Pages: Select to view the history of recent pages. Offline Pages: Select to view the history of offline pages. Input address: Select to enter a web address then press the Left Soft Key [Option] and choose Done to](https://usermanual.wiki/Cellon-Communications-Technology/UT2050/User-Guide-1195807-Page-35.png)