Centrica Hive MD11 Alertme Wireless Motion Detector 1-1 User Manual Manual web based
AlertMe.com Ltd Alertme Wireless Motion Detector 1-1 Manual web based
UserManual.wiki
>
Centrica Hive
>
MD11 User Manual
>
Manual web based
Contents
1.
Manual web based
2.
Manual Printed
Manual web based
Navigation menu
Upload a User Manual
Namespaces
Wiki Guide
HTML
PDF
Info
Views
User Manual
Discussion / Help
Navigation
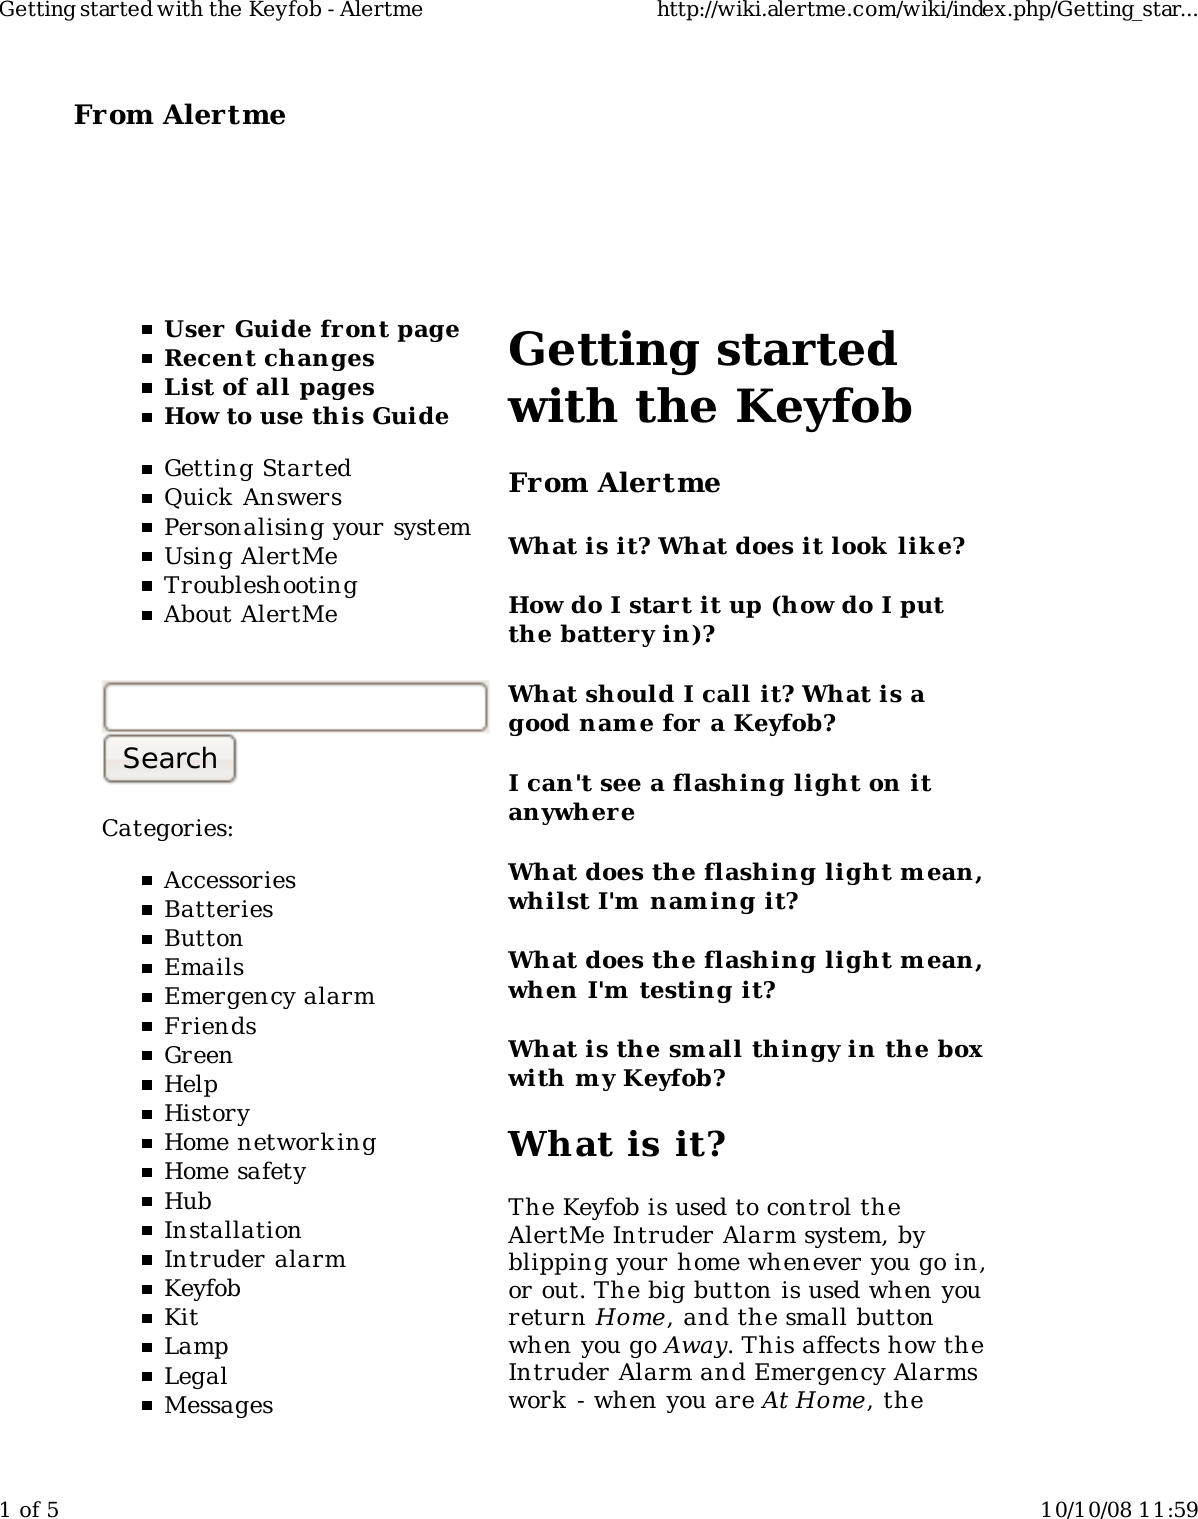
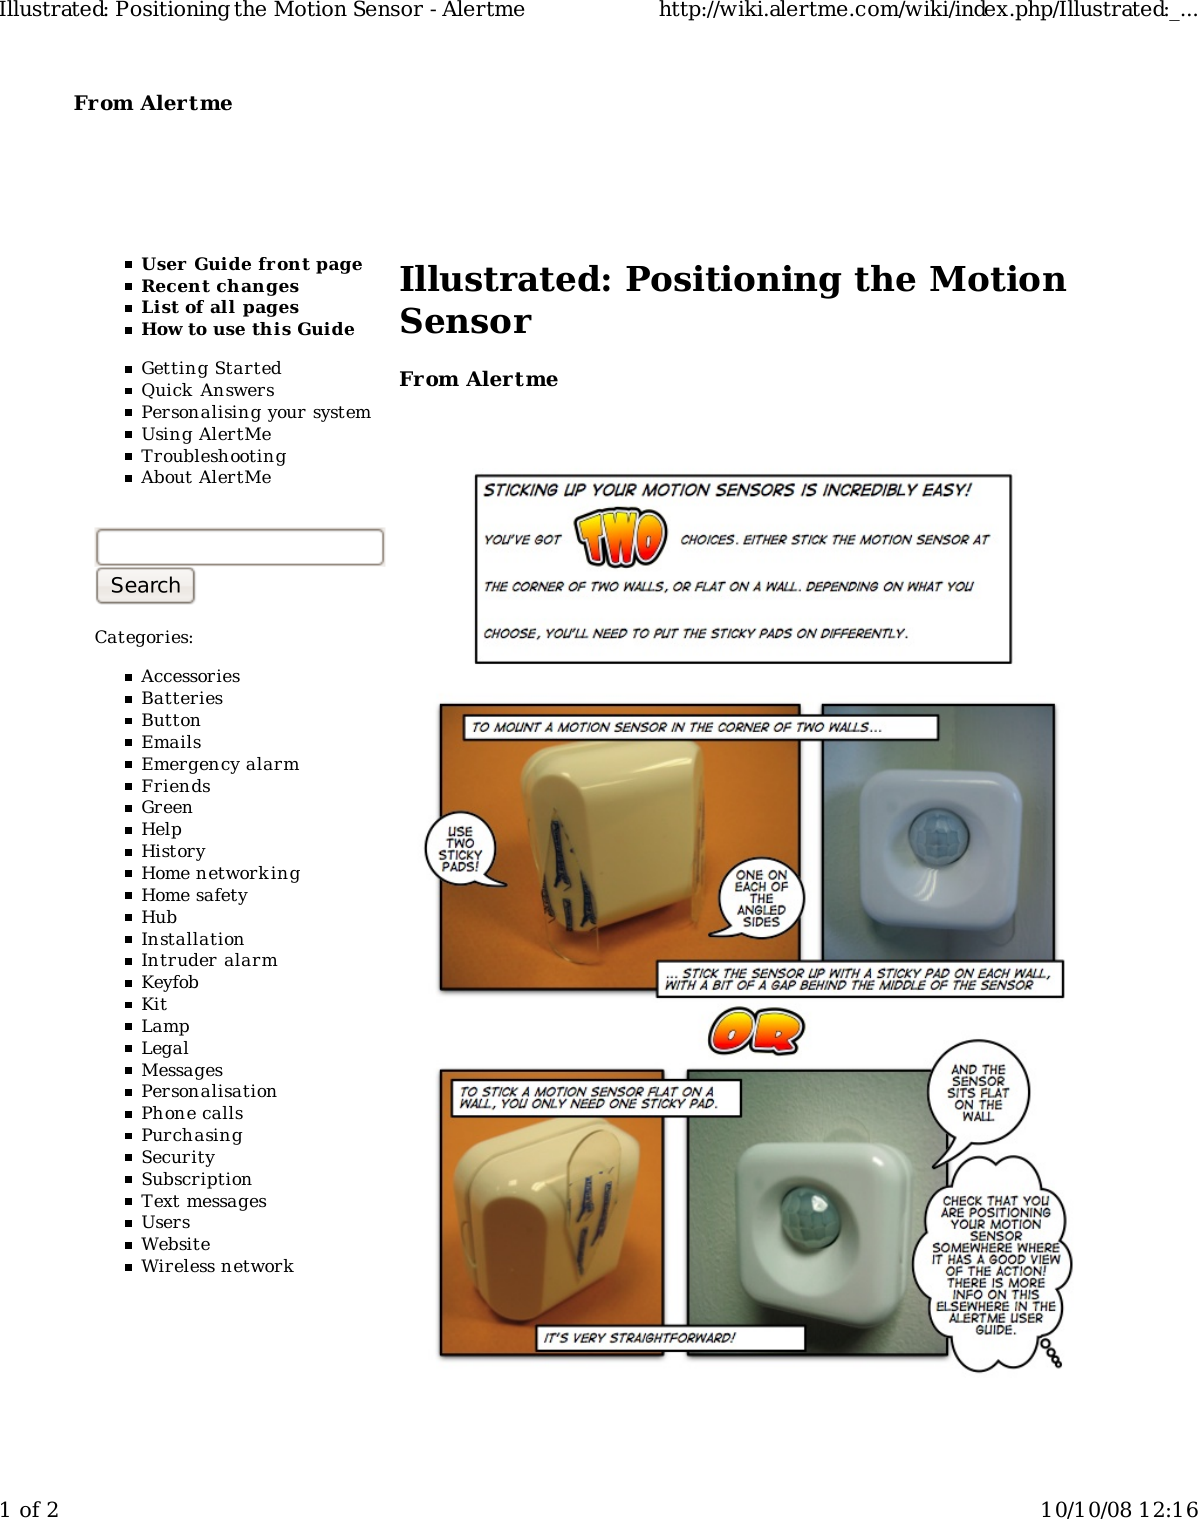
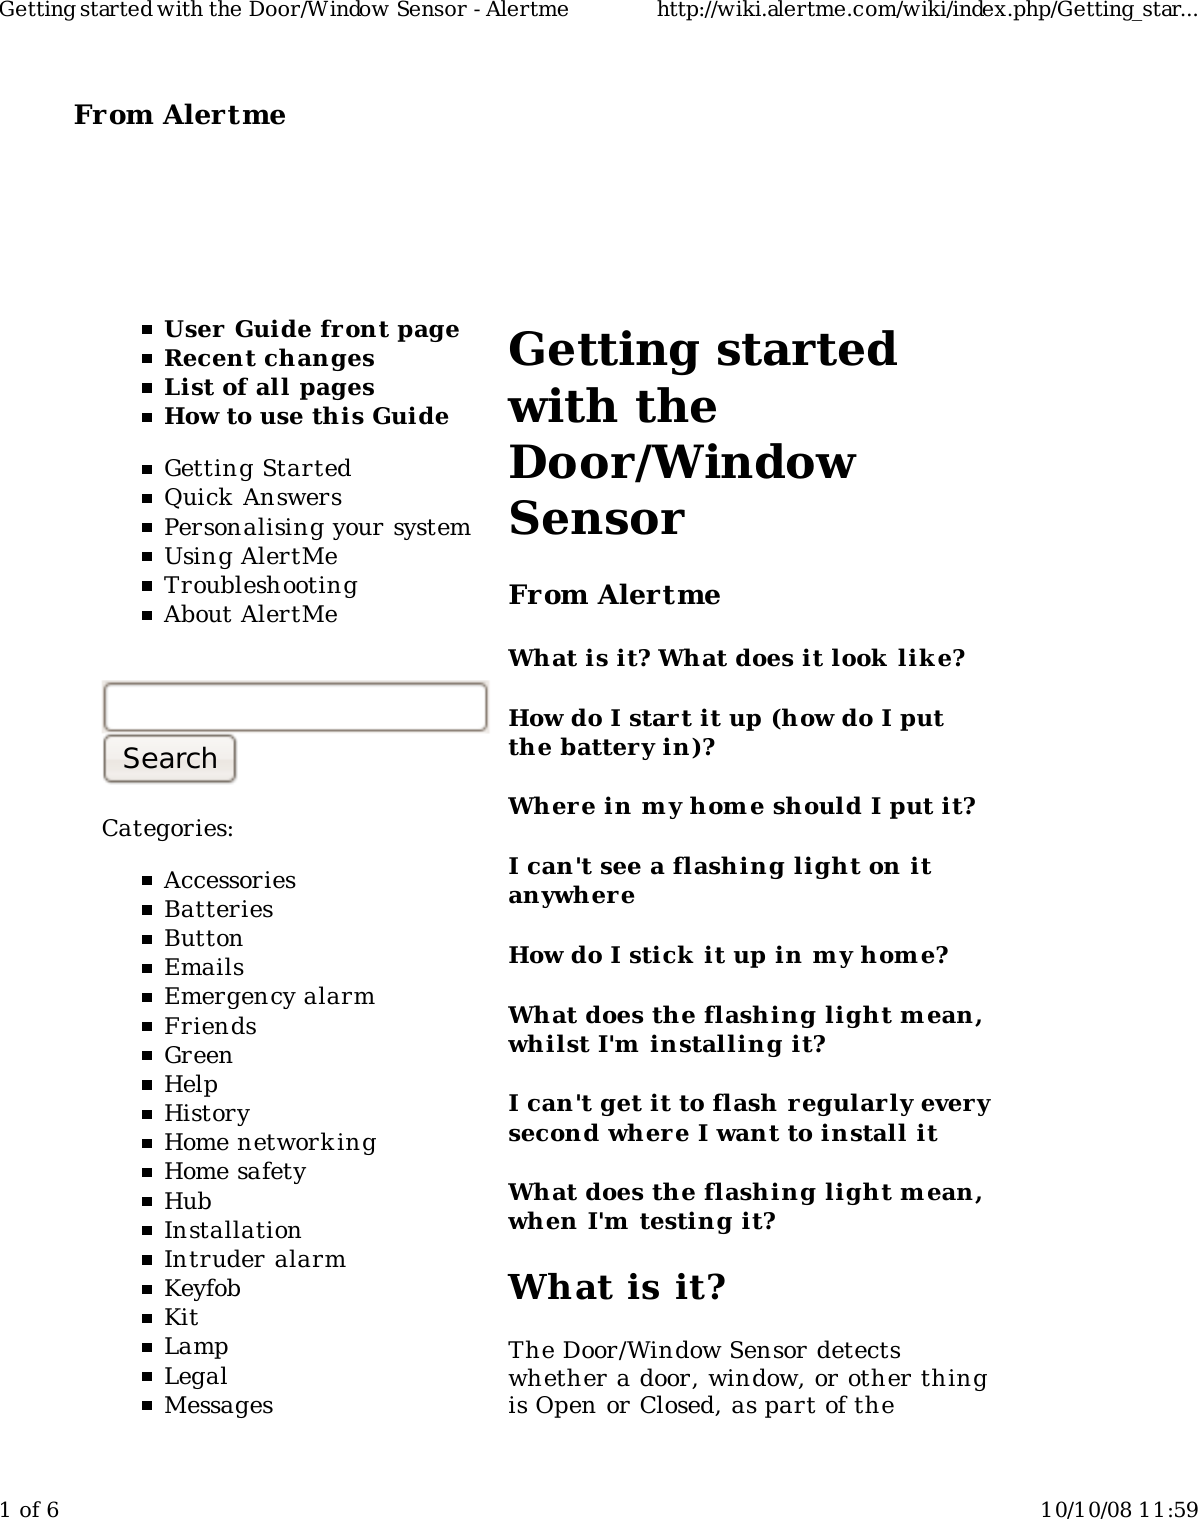
![From Alertme User Guide front pageRecent changesList of all pagesHow to use this GuideGetting StartedQuick AnswersPersonalising your systemUsing AlertMeTroubleshootingAbout AlertMeCategories:AccessoriesBatteriesButtonEmailsEmergency alarmFriendsGreenHelpHistoryHome network ingHome safetyHubInstallationIntruder alarmKeyfobKitLampLegalMessagesRegulatoryComplianceFrom AlertmeFCCIn the United States radio-frequencyequipment is regulated by the FederalCommunications Commission (FCC). Thefollowing Alertme.com accessories aredefined by the FCC as Class B DigitalDevices and Intentional Radiators. Eachis subject to Certification by the FCCand has a unique FCC Identifier:[see FCC rules 15.3 (i) (k) (o) (z), 2.907,2.926]Alarm Detector (FCC ID WJHAD11)Window / Door sensor (FCC IDWJHWD11)Button (FCC ID WJHB11)Lamp (FCC ID WJHL21)Key Fob (FCC ID WJHKF11)Motion Detector (FCC IDWJHMD11)Starter Hub (FCC ID WJHSH12)Hub (FCC ID WJHH12)The following statements containimportant information applying toeach of your Alertme accessories:Regulatory Compliance - Alertme http://wiki.alertme.com/wiki/index.php/Regulatory...1 of 3 16/10/08 16:51](https://usermanual.wiki/Centrica-Hive/MD11.Manual-web-based/User-Guide-1029955-Page-6.png)
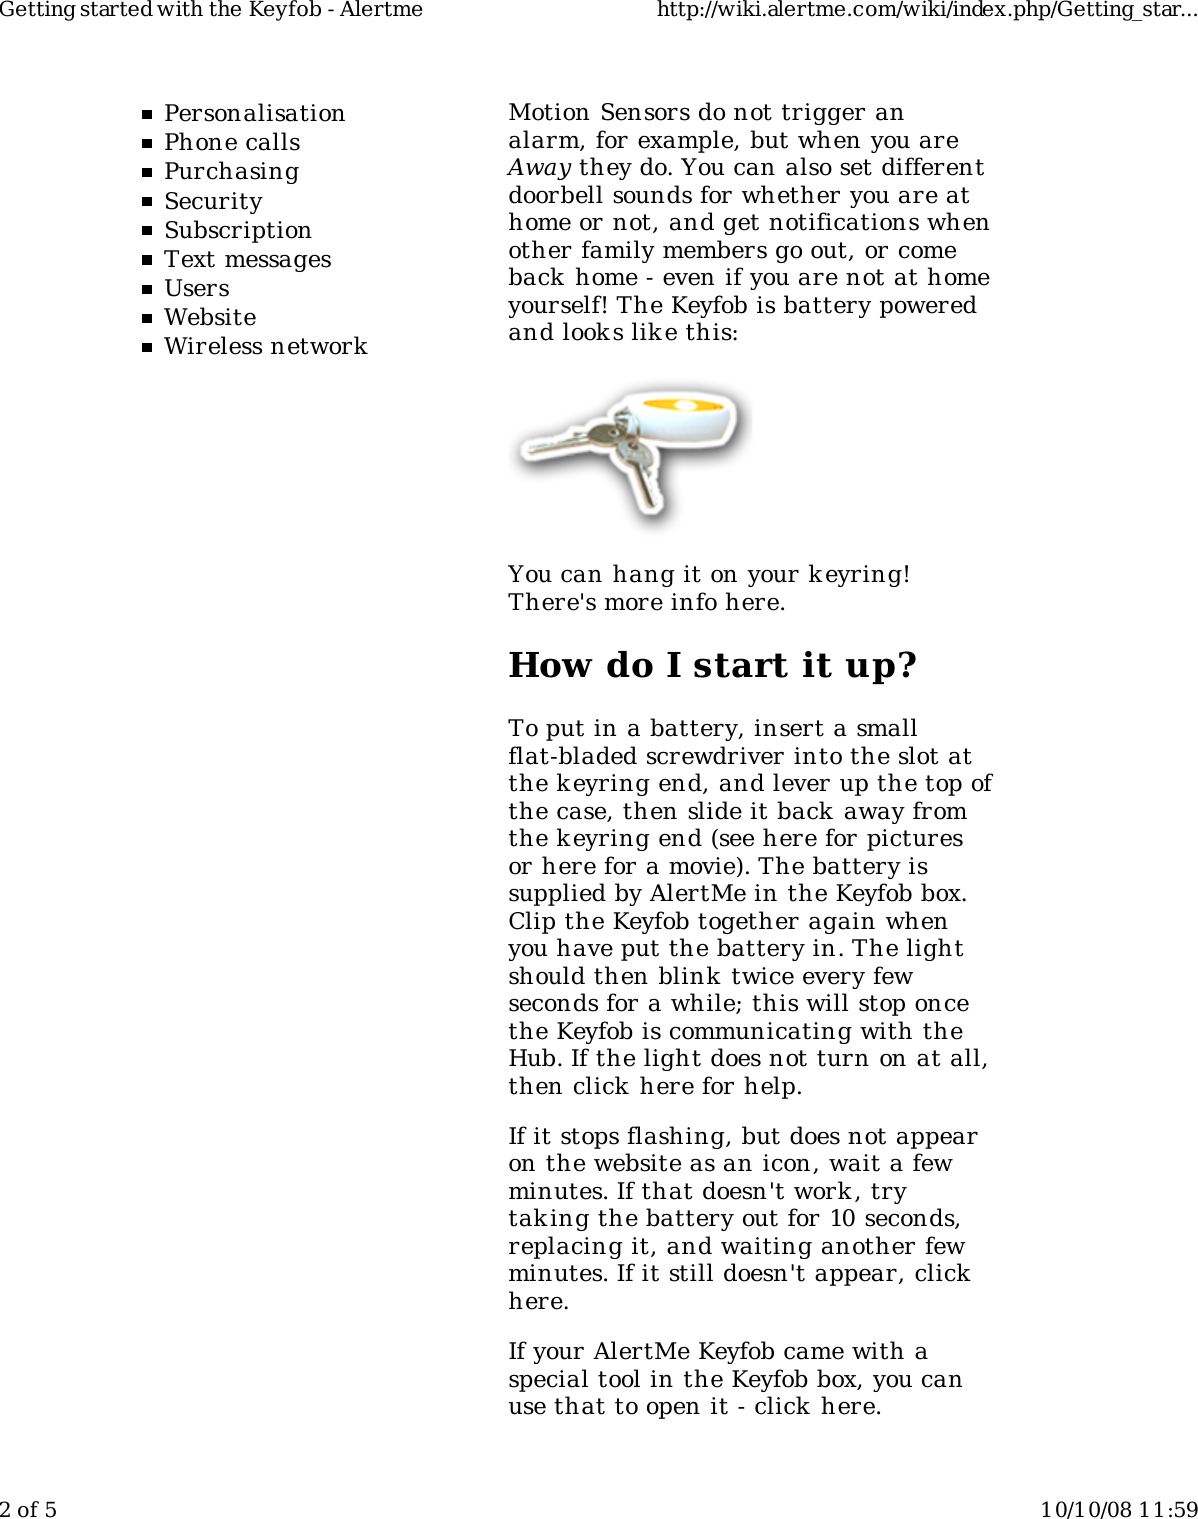
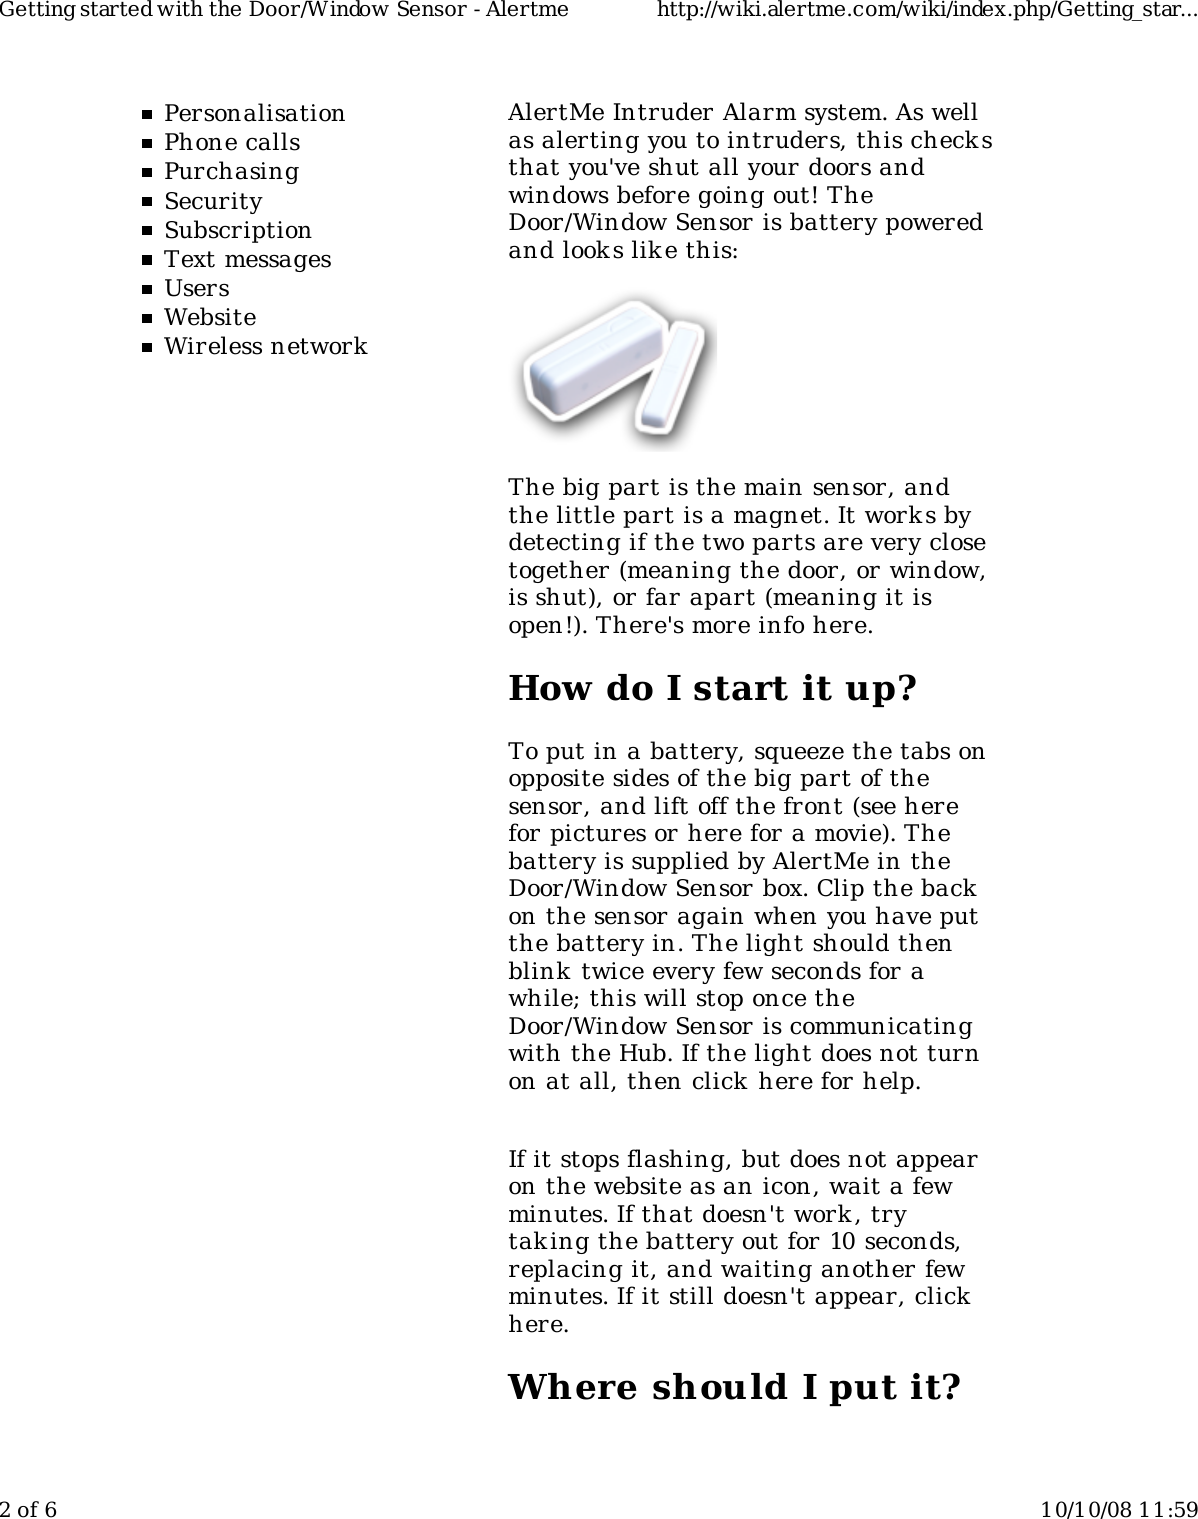
![PersonalisationPhone callsPurchasingSecuritySubscriptionText messagesUsersWebsiteWireless networkArticleDiscussionEditHistoryMoveWatchUpload fileSpecial pagesThis device com plies with Part 15of the FCC Rules. Operation issubject to the following twoconditions: (1) this device m ay notcause harm ful interference, and(2) this device must accept anyinterference received, includinginterference that m ay causeundesir ed operation.[see FCC rule 15.19 (3) (5)]Caution!Changes or modifications not expresslyapproved by Alertme.com could voidyour authority to operate thisequipment.[see FCC rule 15.21]NOTE: This equipment has been testedand found to comply with the limits fora Class B digital device, pursuant toPart 15 of the FCC Rules. These limitsare designed to provide reasonableprotection against harmful interferencein a residential installation. Thisequipment generates, uses and canradiate radio frequency energy and, ifnot installed and used in accordancewith the instructions, may causeharmful interference to radiocommunications. However, there is noguarantee that interference will notoccur in a particular installation. Ifthis equipment does cause harmfulinterference to radio or televisionreception, which can be determined byturning the equipment off and on, theuser is encouraged to try to correct theinterference by one or more of theRegulatory Compliance - Alertme http://wiki.alertme.com/wiki/index.php/Regulatory...2 of 3 16/10/08 16:51](https://usermanual.wiki/Centrica-Hive/MD11.Manual-web-based/User-Guide-1029955-Page-7.png)
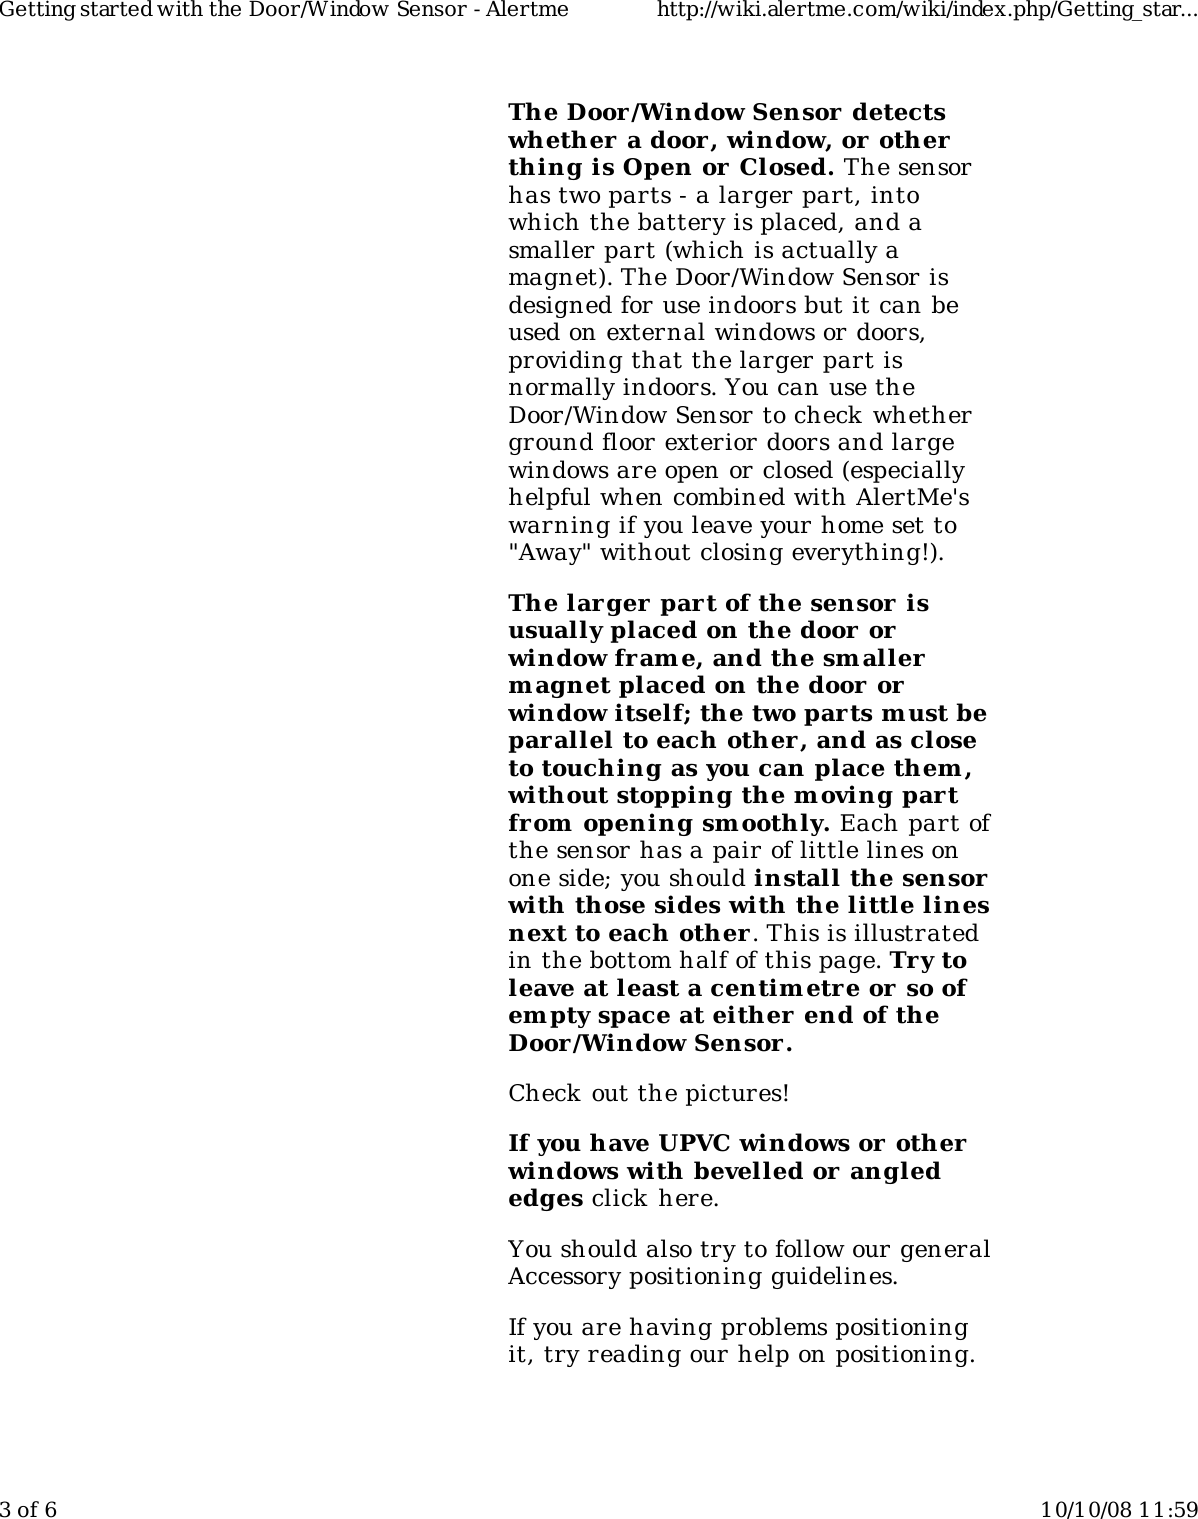
![following measures:Reorient or relocate the receivingantenna.Increase the separation betweenthe equipment and receiver.Connect the equipment into anoutlet on a circuit different fromthat to which the receiver isconnected.Consult the dealer or anexperienced radio/TV technicianfor help.[see FCC rule 15.105 (b)]Retrieved from "http://wiki.alertme.com/wik i/index.php/Regulatory_Compliance"This page was last modified 15:18, 16 October 2008.This page has been accessed 3 times.Content is available under GNU Free Documentation License 1.2.Privacy policyAbout AlertmeDisclaimersRegulatory Compliance - Alertme http://wiki.alertme.com/wiki/index.php/Regulatory...3 of 3 16/10/08 16:51](https://usermanual.wiki/Centrica-Hive/MD11.Manual-web-based/User-Guide-1029955-Page-8.png)