Cheng Uei Precision Industry QB57 MOBILE PHONE User Manual QB57L25 FCCversion
Cheng Uei Precision Industry Co., Ltd. MOBILE PHONE QB57L25 FCCversion
UserManual.wiki
>
Cheng Uei Precision Industry
>
QB57 User Manual
Users Manual
Navigation menu
Upload a User Manual
Namespaces
Wiki Guide
HTML
PDF
Info
Views
User Manual
Discussion / Help
Navigation


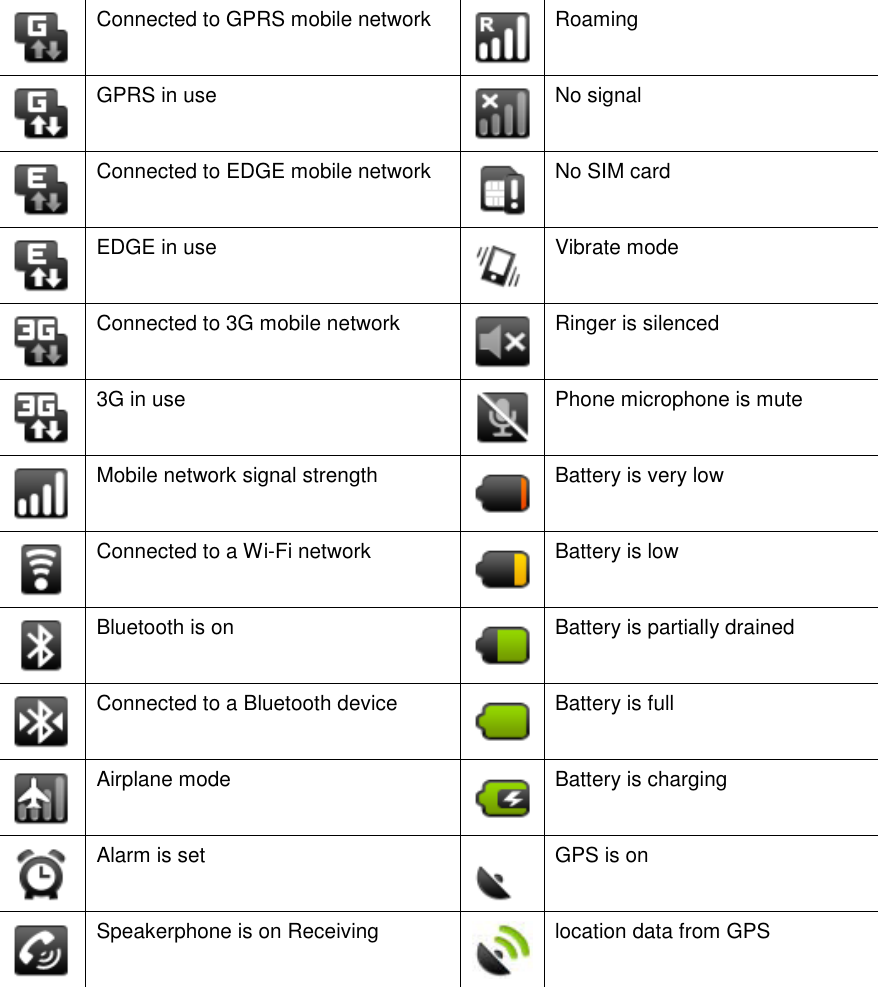
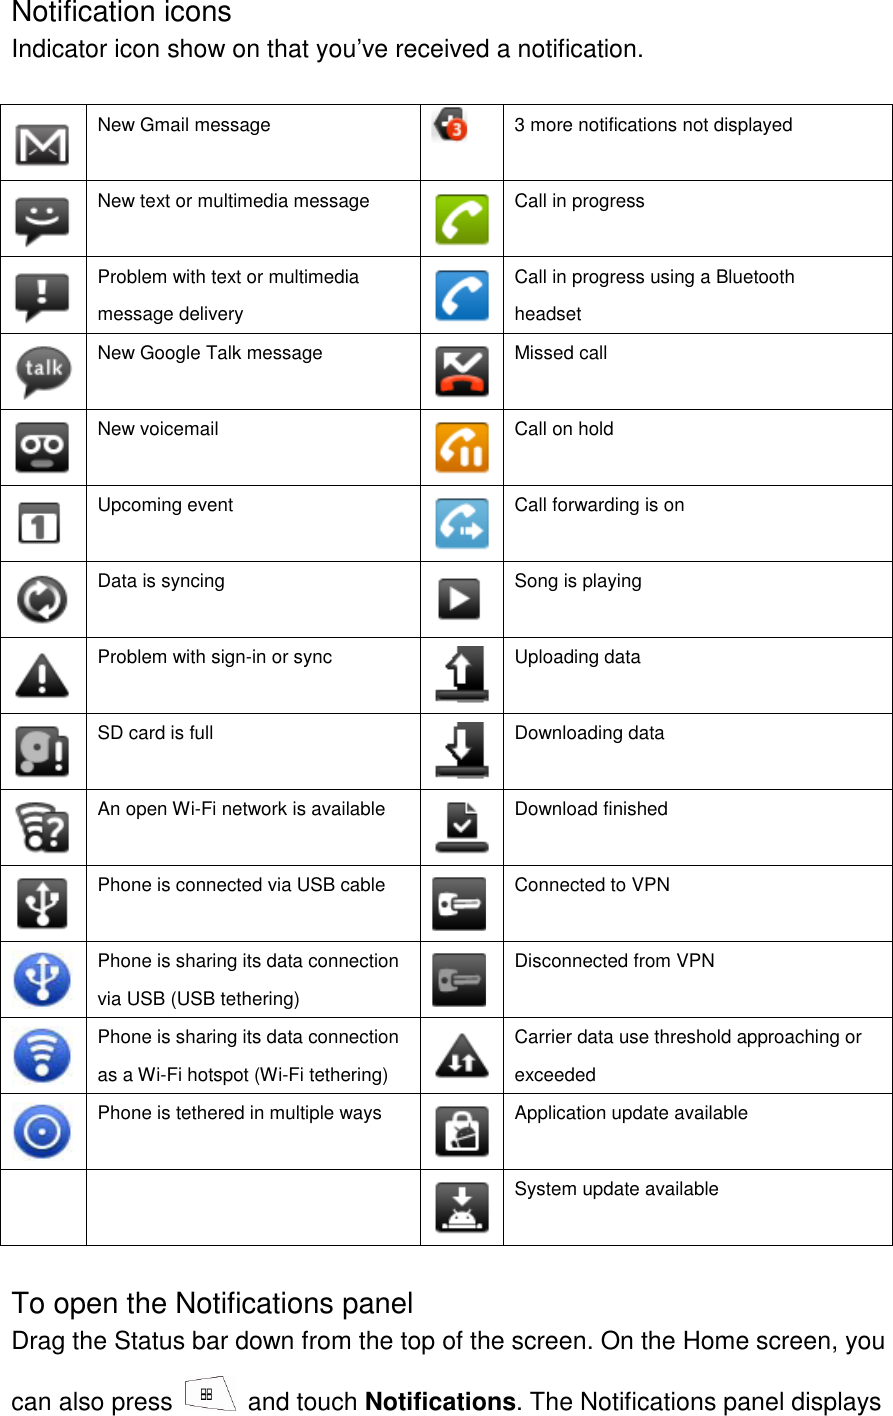
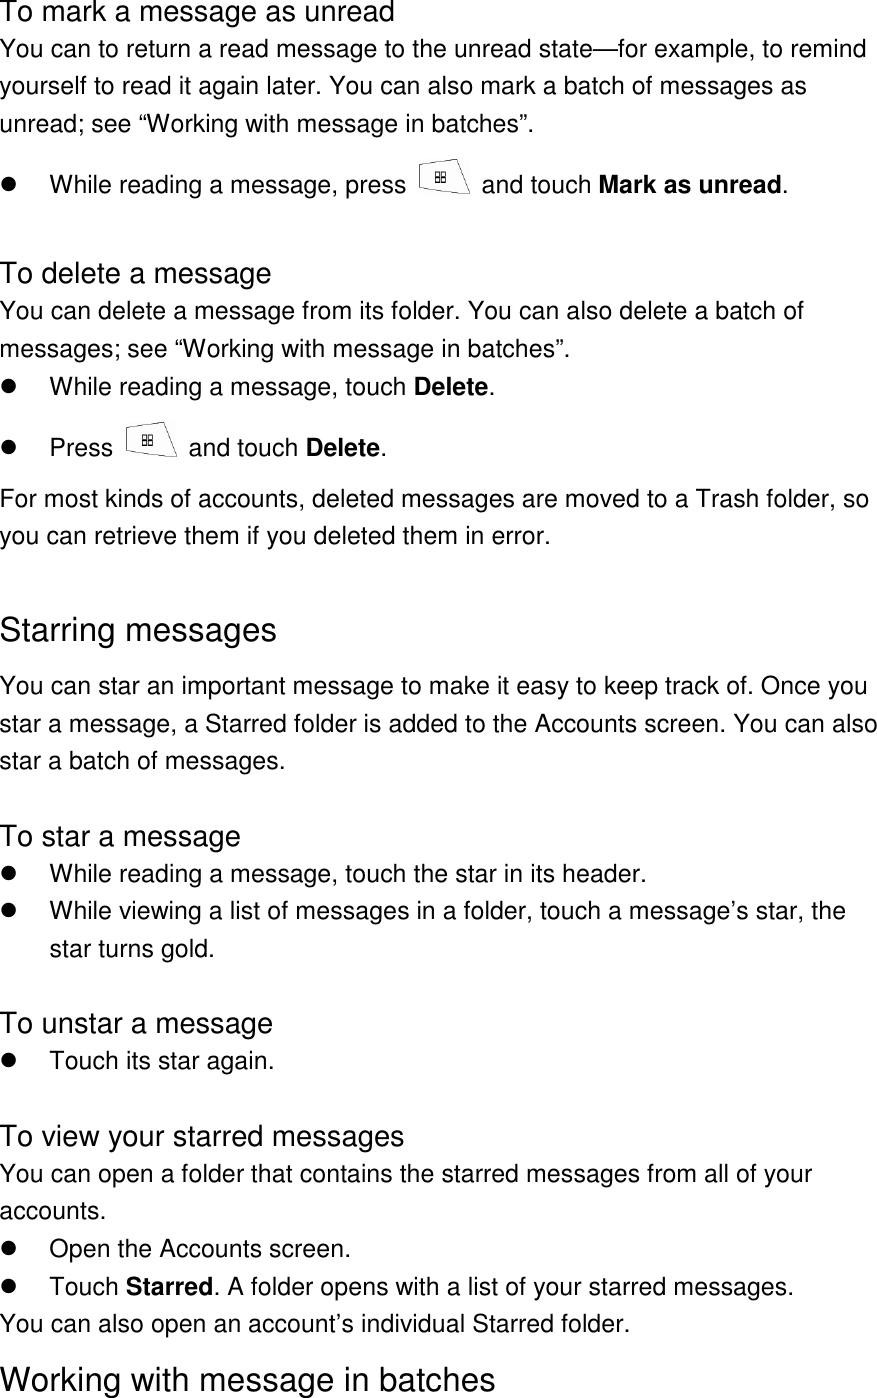
![[Note] 1. Please the SIM / SD card into the device with the gold-colored contacts facing down. 2. If you do not insert a SIM card you can only use non-network services and some menus. 3. Do not insert a memory card into the SIM card slot. 4. Do not insert / remove a memory card into device when device is running the application. Insert and remove the memory card when device is turn off. Charge the battery Before using the device for the first time, you must charge the battery. You can charge the device with the provide travel adapter or by connecting the device to a PC with USB data cable. 1. Plug the small end of the travel adapter into the USB jack 2. Plug the large end of the travel adapter into a power outlet. 3. When the battery is fully charger, the battery icon is no longer moving, unplug the travel adapter from the device and then from the power outlet [Note] 1. You can use the device while it is charging but it may take longer to fully charge the battery. 2. While charging the device may heat up. This is normal and should not affect performance of device. 3. Do not remove the battery before removing the travel adapter. Doing this may cause damage to the device. 4. You have to use the connection to USB interfaces with USB 2.0 version or higher. 5. Risk of explosion if battery replaced aced by an incorrect type. Dispose of used batteries according to the instructions. 6. Please make sure the temperature for adapter will not be higher than 40 ˚C](https://usermanual.wiki/Cheng-Uei-Precision-Industry/QB57/User-Guide-1524856-Page-12.png)


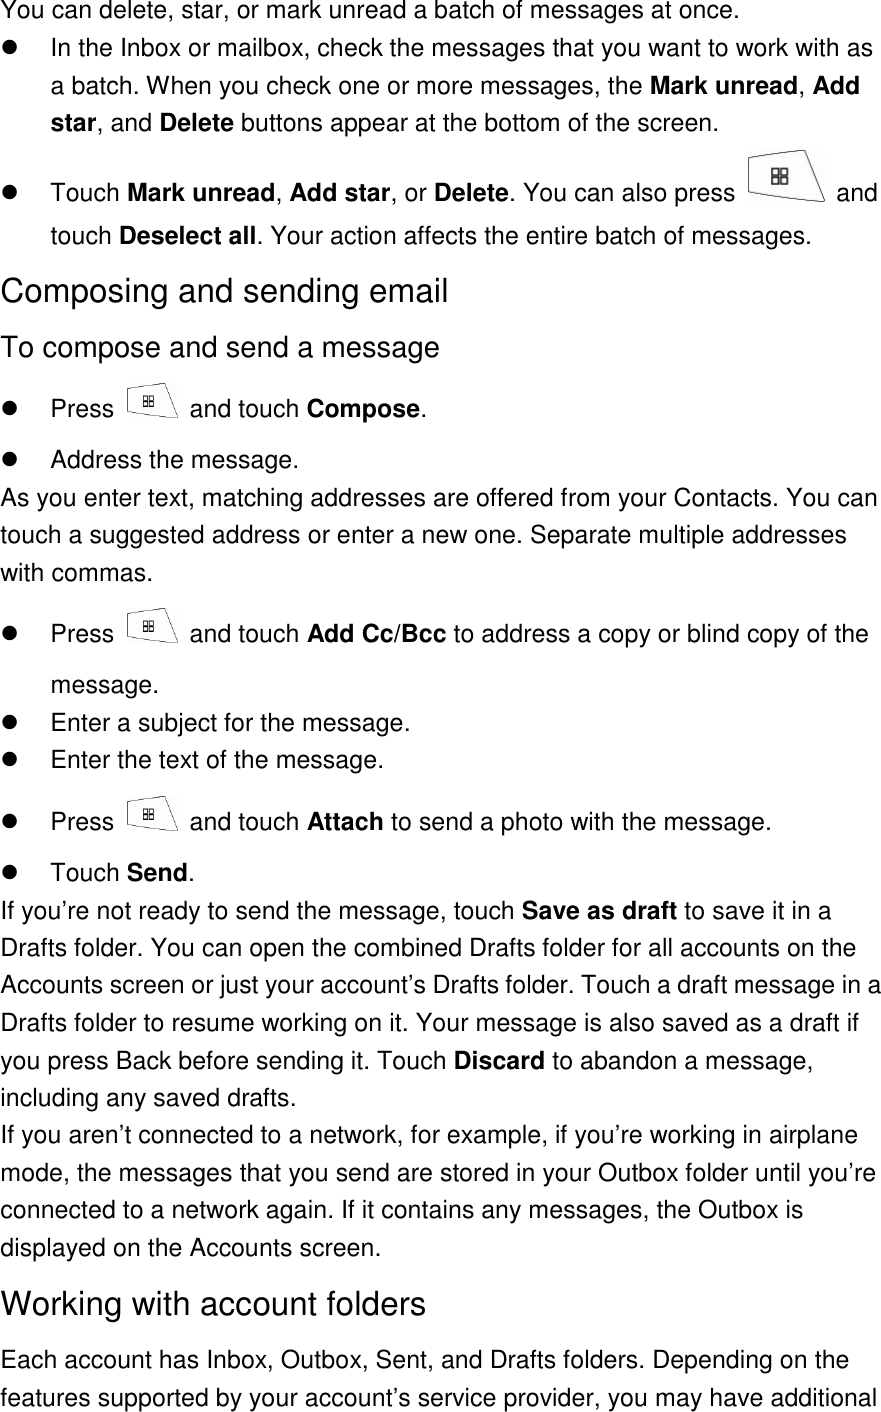


![roaming. Press Home, press , and touch Settings, to open the Settings application. Touch Wireless & networks > Mobile networks and uncheck Data roaming. With Data roaming unchecked, you can still transmit data with a Wi-Fi Connection. To limit your data connection to 2G networks You can extend your battery life by limiting your data connections to 2G networks (GPRS or EDGE). When you are connected to a 2G network, you may want to postpone activities that transmit a lot of data, such as sending, uploading, or downloading pictures or video, until you are connected to a faster mobile or other wireless network. [Note] The device is tested for typical body worn operation. The minimum distance between the user and/or any bystander and the radiating structure of the transmitter is 20cm. Press Home, press , and touch Settings to open the Settings application. Touch Wireless & networks > Mobile networks and check Use only 2G networks. To edit or create a new access point If you and your wireless service provider determine that you need to change the settings of your current access point name (APN) or to create a new one, you must obtain the APN and detailed settings from your provider. Press Home , press , and touch Settings to open the Settings application. Touch Wireless & networks > Mobile networks > Access Point Names. Touch an existing APN to edit it. Or press and touch New APN. Enter the APN settings that you obtained from your wireless service provider by touching each setting that you need to edit. When you’re finished, press and touch Save.](https://usermanual.wiki/Cheng-Uei-Precision-Industry/QB57/User-Guide-1524856-Page-87.png)