Chi Mei Communication Systems 0602DBS01 Smart Phone User Manual Debussy
Chi Mei Communication Systems, Inc. Smart Phone Debussy
UserManual.wiki
>
Chi Mei Communication Systems
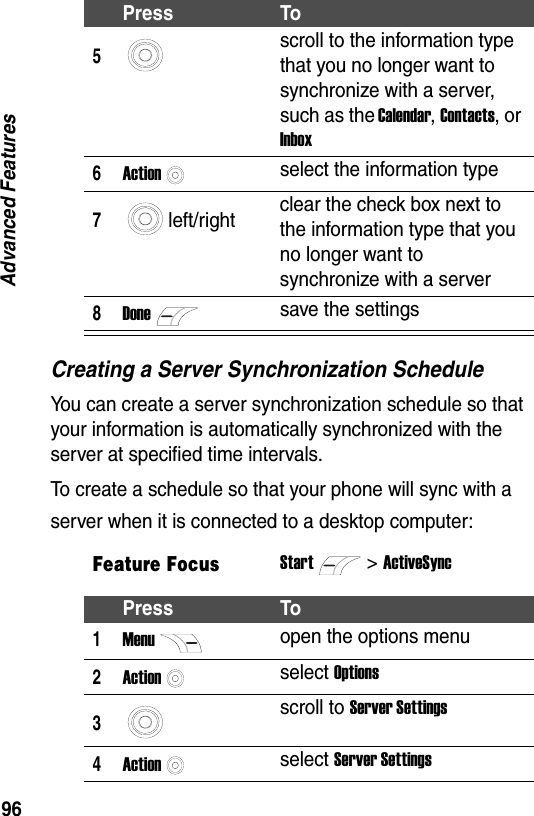
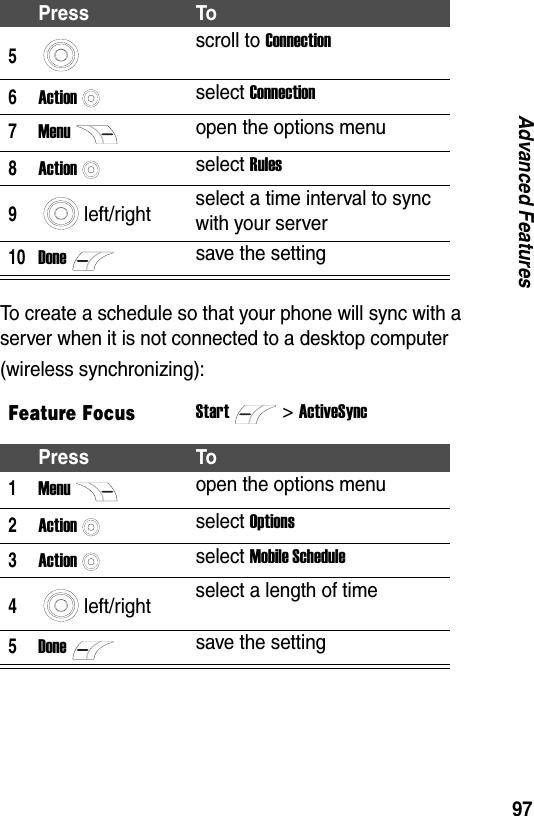
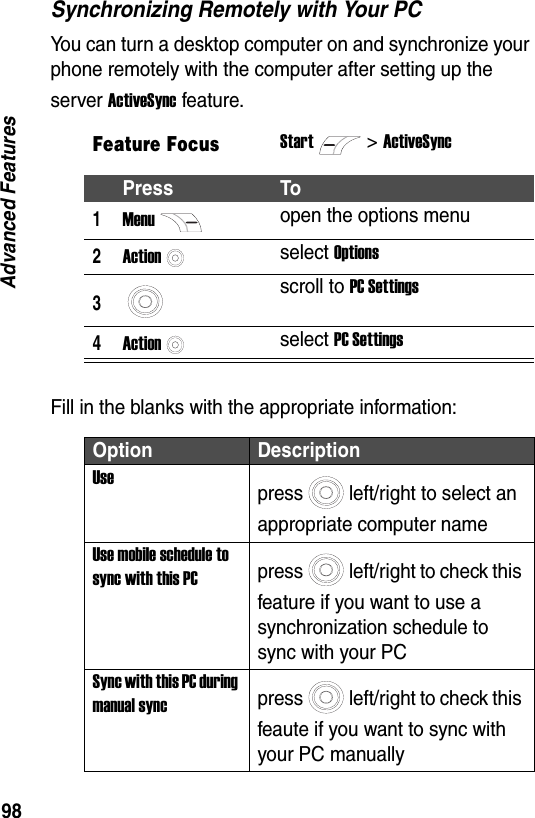
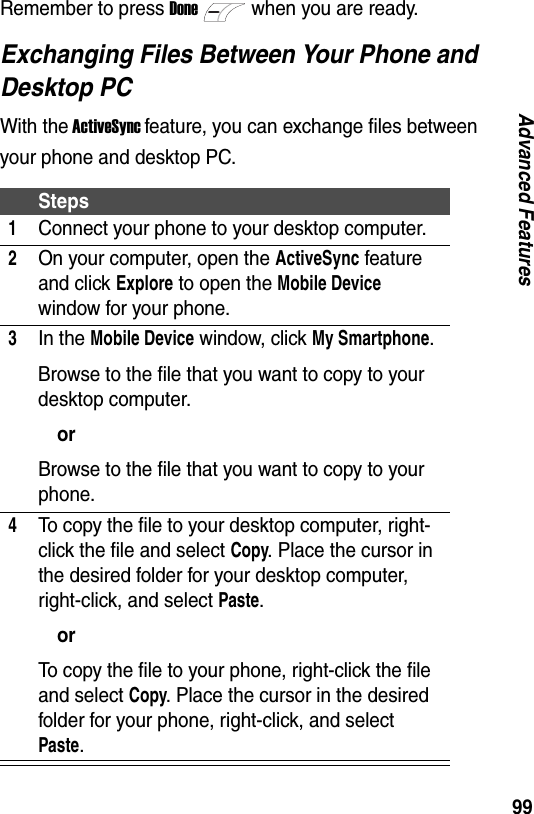
>
0602DBS01 User Manual
>
Manual
Contents
1.
Manual
2.
Revised Manual
Manual
Navigation menu
Upload a User Manual
Namespaces
Wiki Guide
HTML
PDF
Info
Views
User Manual
Discussion / Help
Navigation
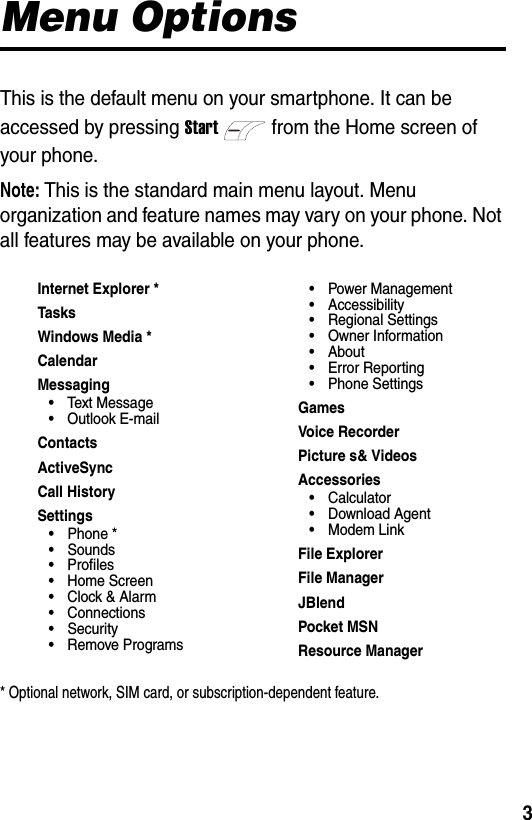


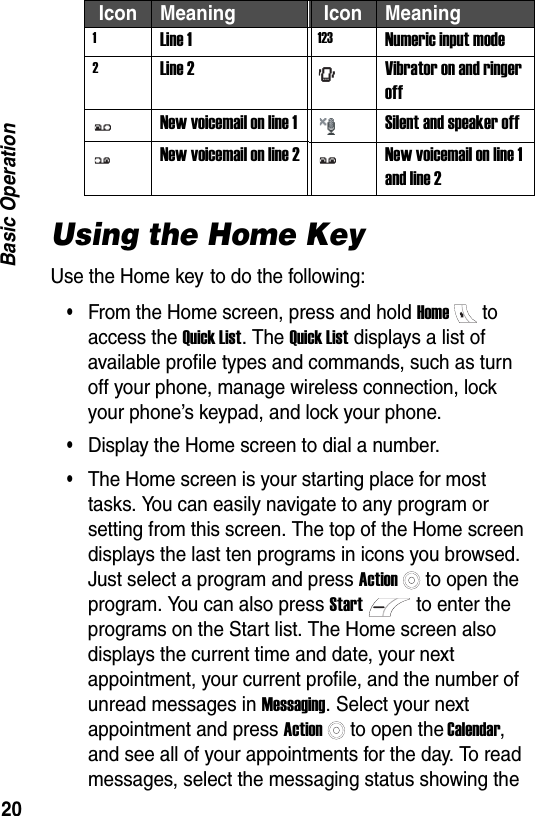

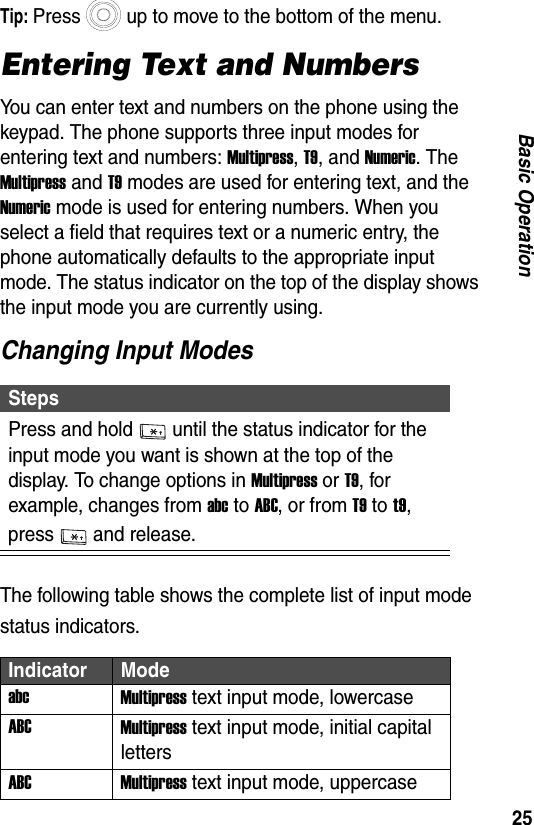
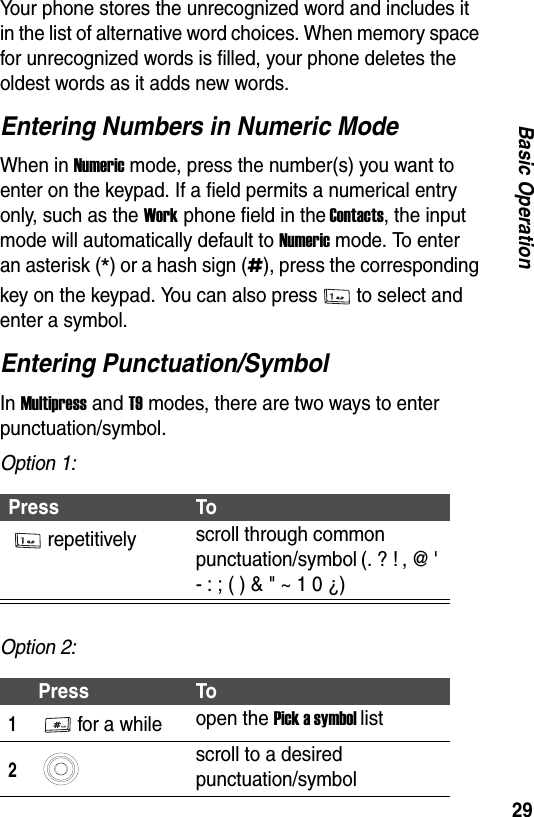
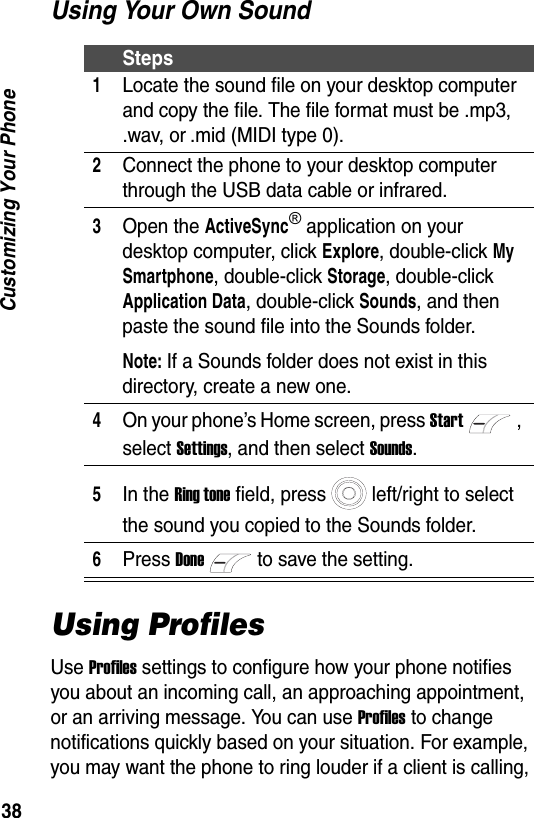
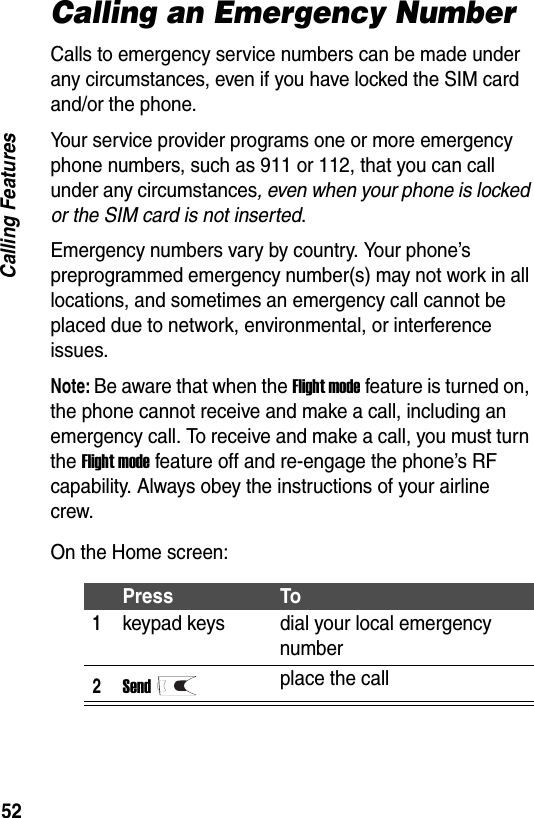
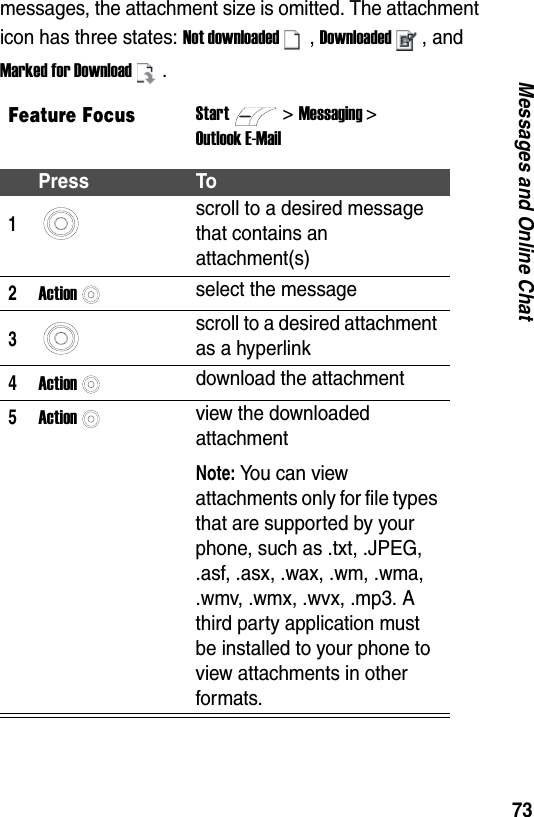
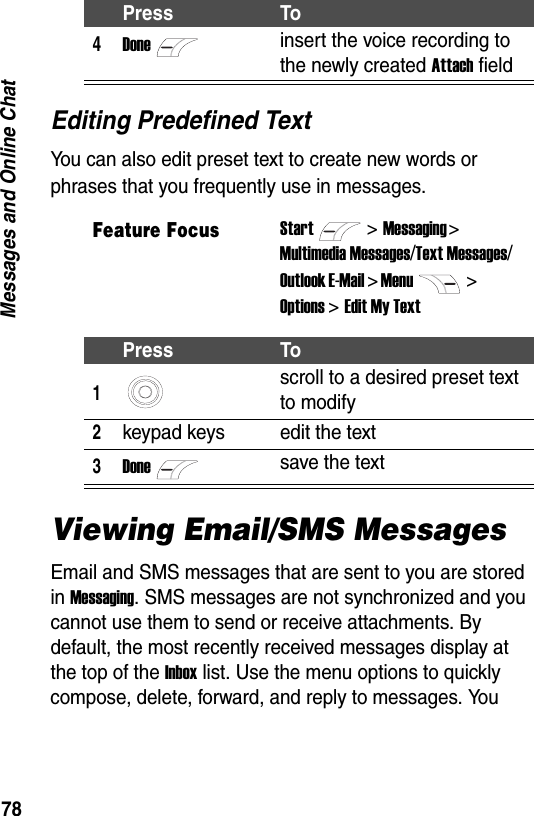
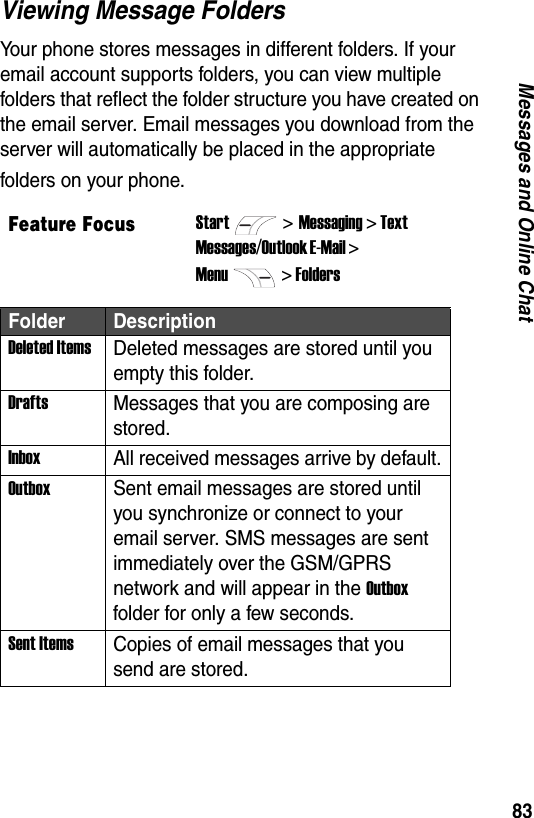
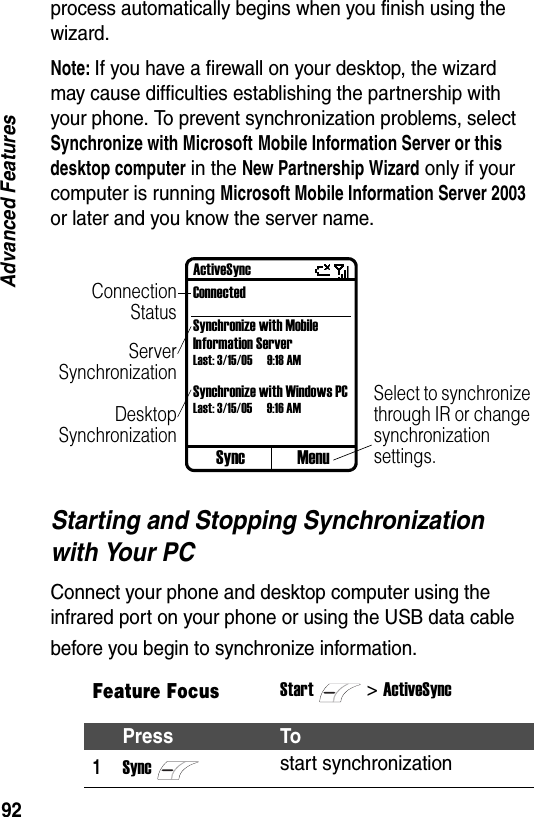
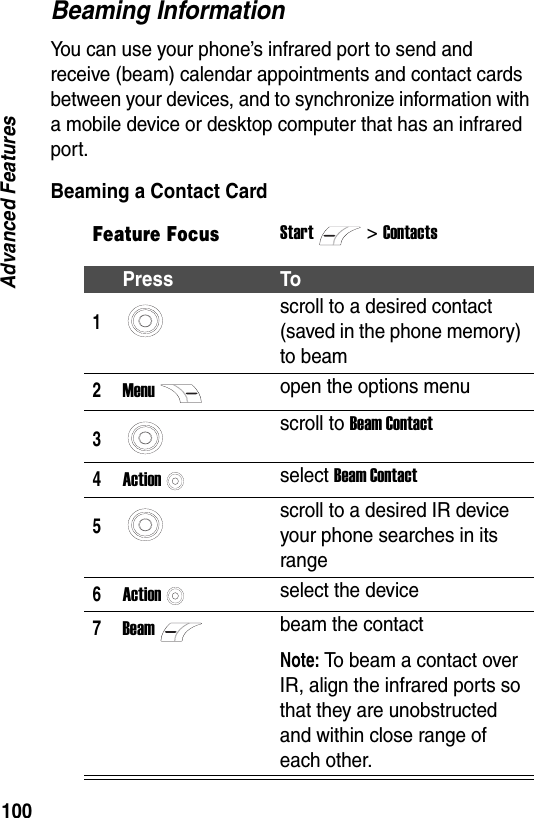
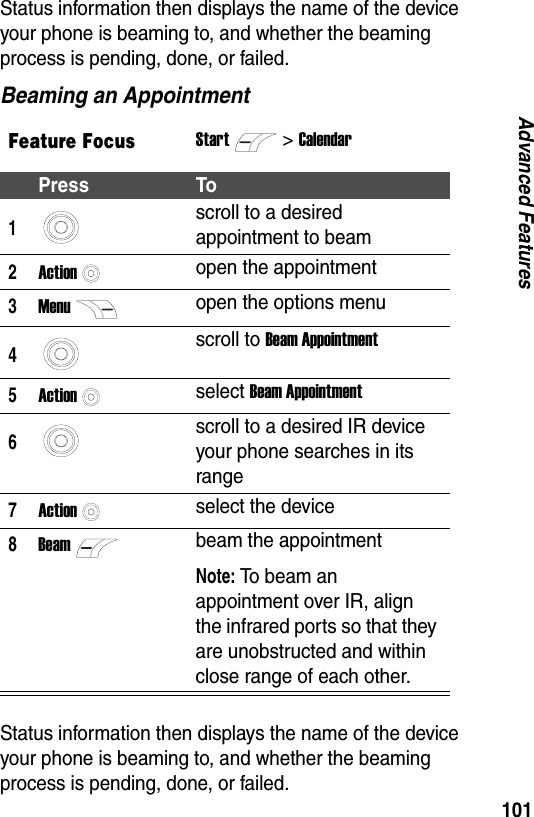
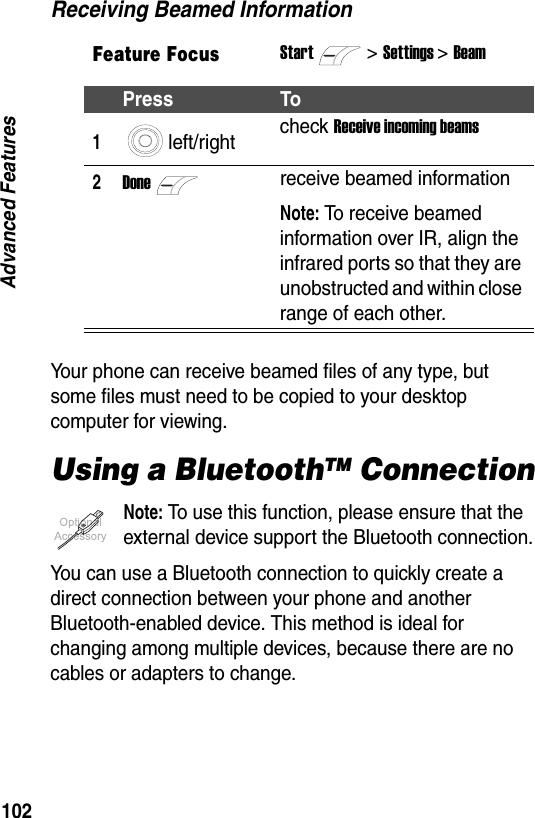
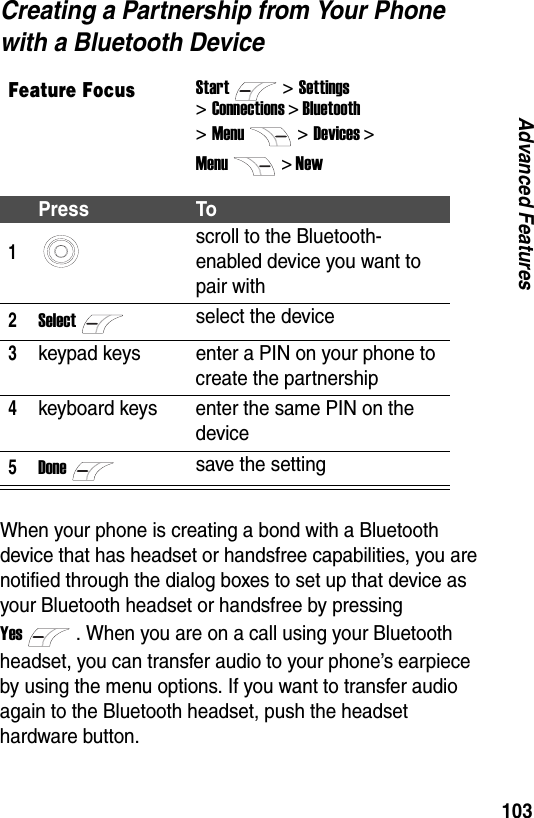
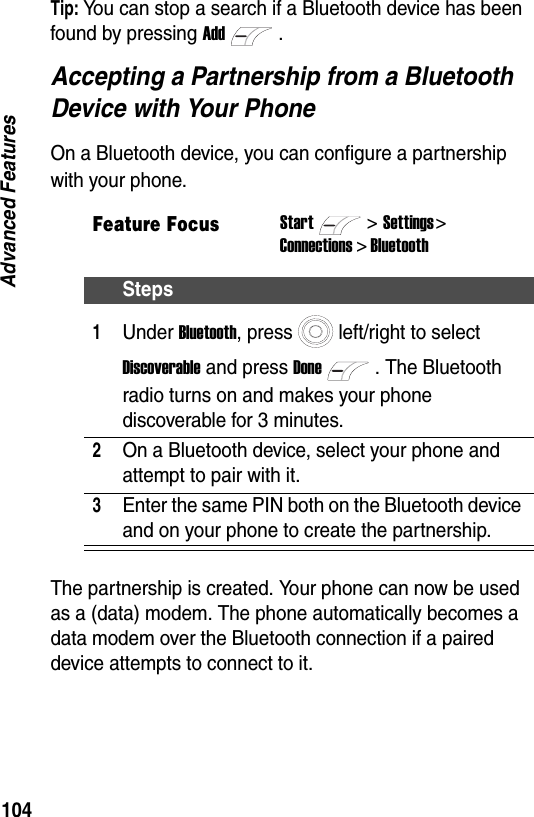
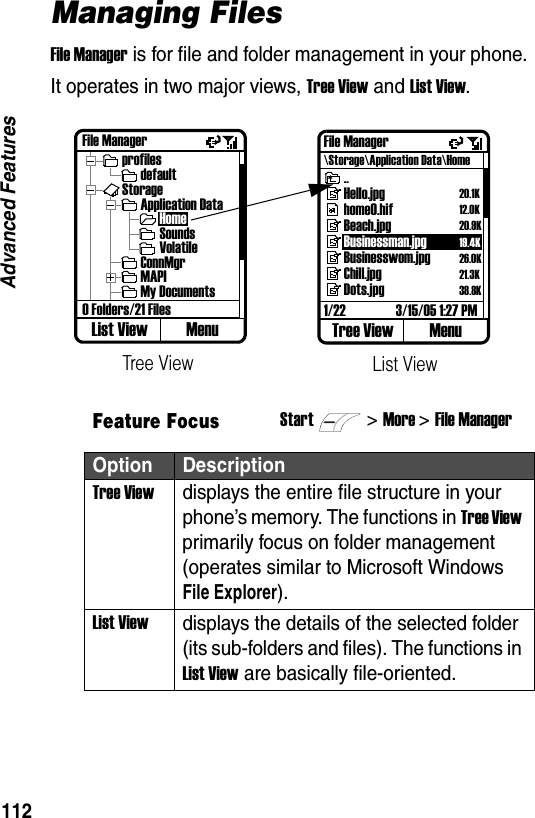
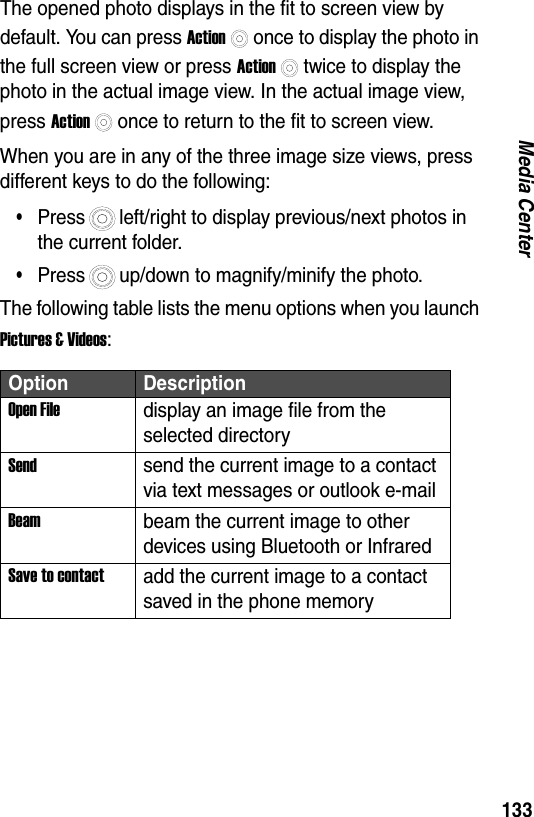
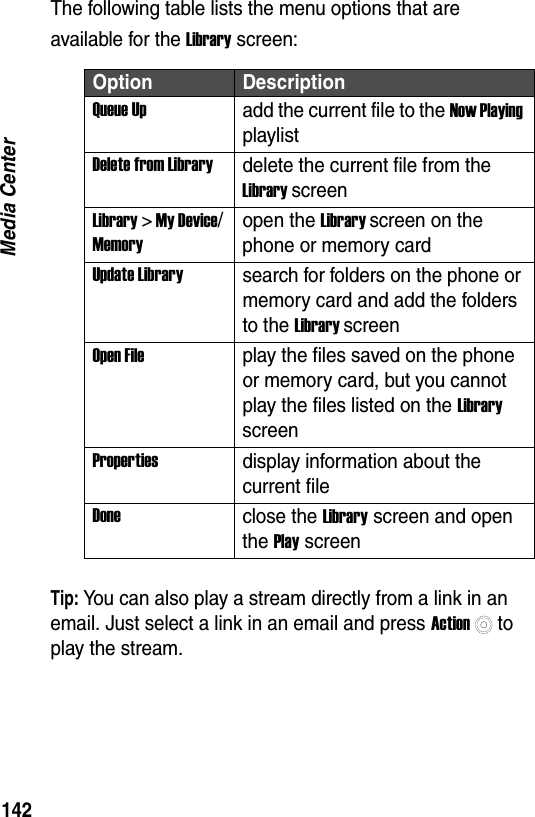
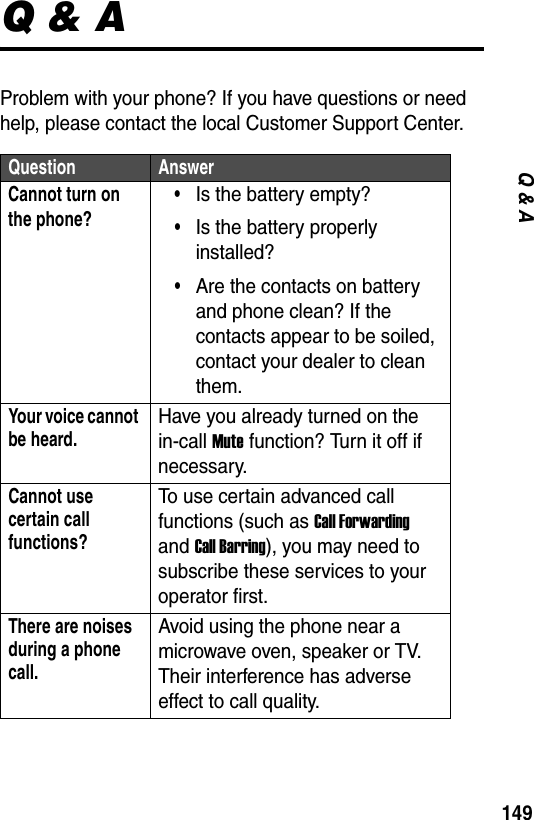
![39Customizing Your Phoneor you may not want the phone to ring at all, but want to hear calendar reminders. The default profile used with your phone is the Normal profile. The name of the current profile displays on the Home screen.Tip: You can either assign Profiles settings by selecting Profile: [Type] from the Home screen, or select a different profile using the Quick List by quickly pressing and releasing Poweror holding down Homefrom the Home screen.Note: When a headset is plugged into the phone, the Headset profile is activated automatically.Modifying a ProfileFeature FocusStart>Settings > ProfilesFeature FocusStart>Settings > ProfilesPress To1scroll to a desired profileDoneIndicates your current profile.Profiles1Normal2Silent3Meeting4 Outdoor5Automatic6 Headset7Car8SpeakerphoneMenu](https://usermanual.wiki/Chi-Mei-Communication-Systems/0602DBS01.Manual/User-Guide-645353-Page-45.png)