China Great Wall Computer D8112XX Digital Photo Frame User Manual DPF787A Manual
China Great-Wall Computer Shenzhen Co. Ltd. Digital Photo Frame DPF787A Manual
User Manual

Digital Photo Frame
User Manual

Safety Precautions
Be sure to read, understand and follow the safety precautions below when using
the frame, in order to prevent injury, burns or electrical shock to yourself and
others.
Warning
Avoid dropping or subjecting the frame to severe impacts.
Stop operating the equipment immediately if it emits smoke or noxious fumes.
Do not handle the power cord if your hands are wet.
Do not expose to moisture.
The LCD panel is made of glass and therefore is fragile and destructible to heavy
blow.
The compact power adapter and usb extended cable are designed for exclusive
use with your frame. Do not use others for this product.
1. This equipment has been tested and found to comply with the limits for a
Class B digital device, pursuant to Part 15 of the FCC Rules. These limits are
designed to provide reasonable protection against harmful interference in a
residential installation. This equipment generate, uses and can radiate radio
frequency energy and, if not installed and used in accordance with the instructions,
may cause harmful interference to radio communications. However, there is no
guarantee that interference will not occur in a particular installation. If this
equipment does cause harmful interference to radio or television reception,
which can be determined by turning the equipment off and on, the user is
encouraged to try to correct the interference by one or more of the following
measures:
-- Reorient or relocate the receiving antenna.
-- Increase the separation between the equipment and receiver.
NOTES
generates,

--Connect the equipment into an outlet on a circuit different
from that to which the receiver is connected.
--Consult the dealer or an experienced radio/TV technician for help.
2. Changes or modifications not expressly approved by the party responsible
for compliance could void the user's authority to operate the equipment.

Index
1. Packing list
2. Button, port and remote control instruction
3. Volume label list
4. Playback
4.1 picture
4.2 music
4.3 combo
4.4 movie
5. Text
6. Edit
7. Calendar
8. Setup
1. Components inside Box
Digital Photo Frame, Stand, Adapter, Remote control, USB Extended Cable, User Manual.
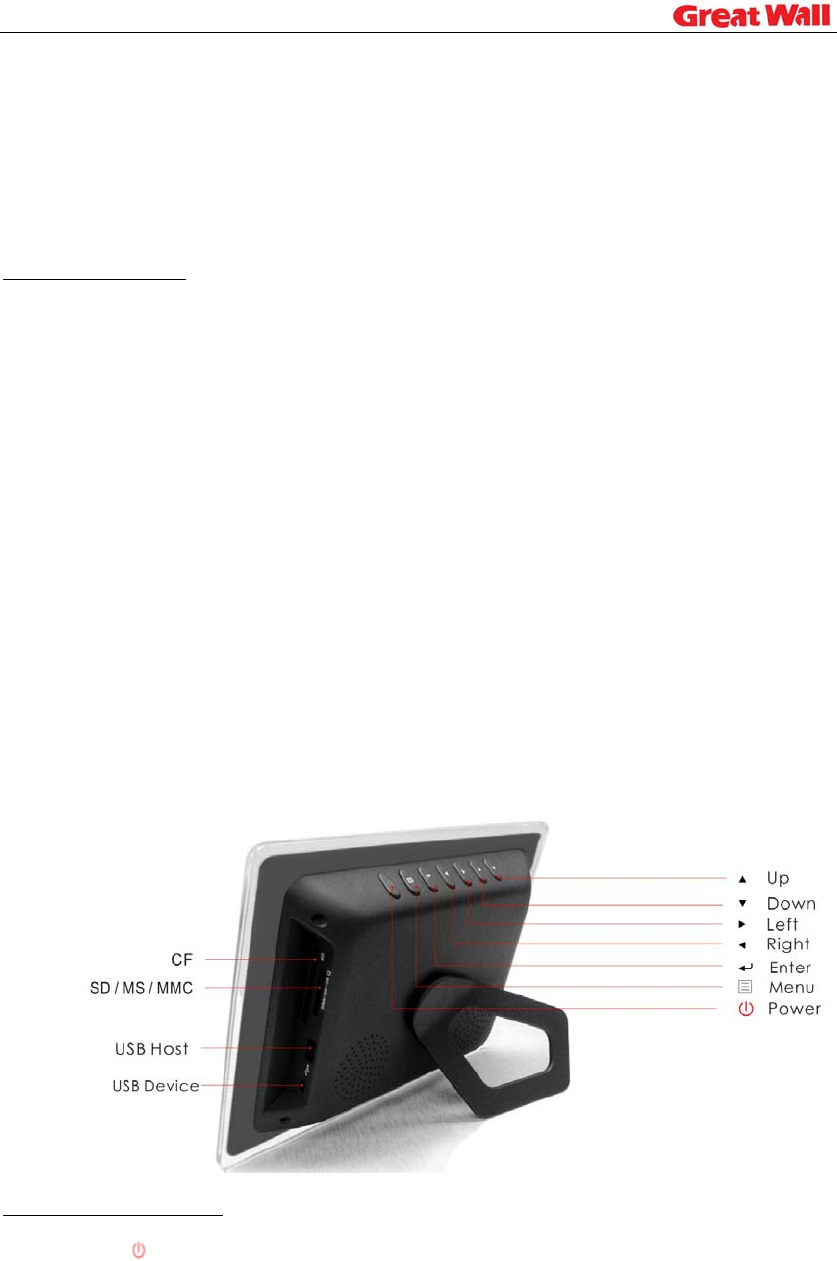
2. Button, Port and Remote Control Instruction
Buttons on the frame:
Up: move upward
exit tool bar under picture mode
Down: move downward
Left: move leftward
return to parent of working directory
Right: move leftward
move to children of working directory
Enter: confirm the command
show command tool bar of picture while browsing picture
Menu: exit working directory and return to parent directory
Power: power on&off
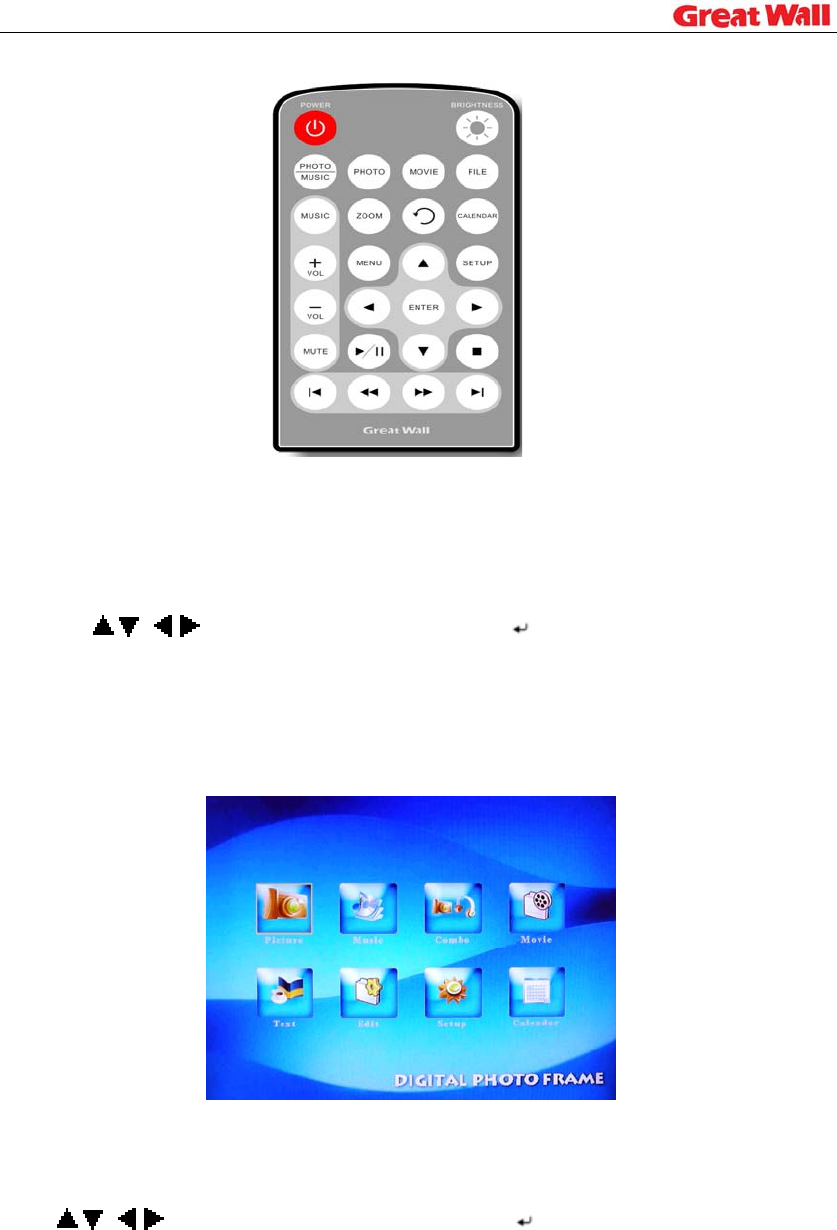
Buttons on remote control
Power button on remote control only switch bewteen standby mode and power on mode.
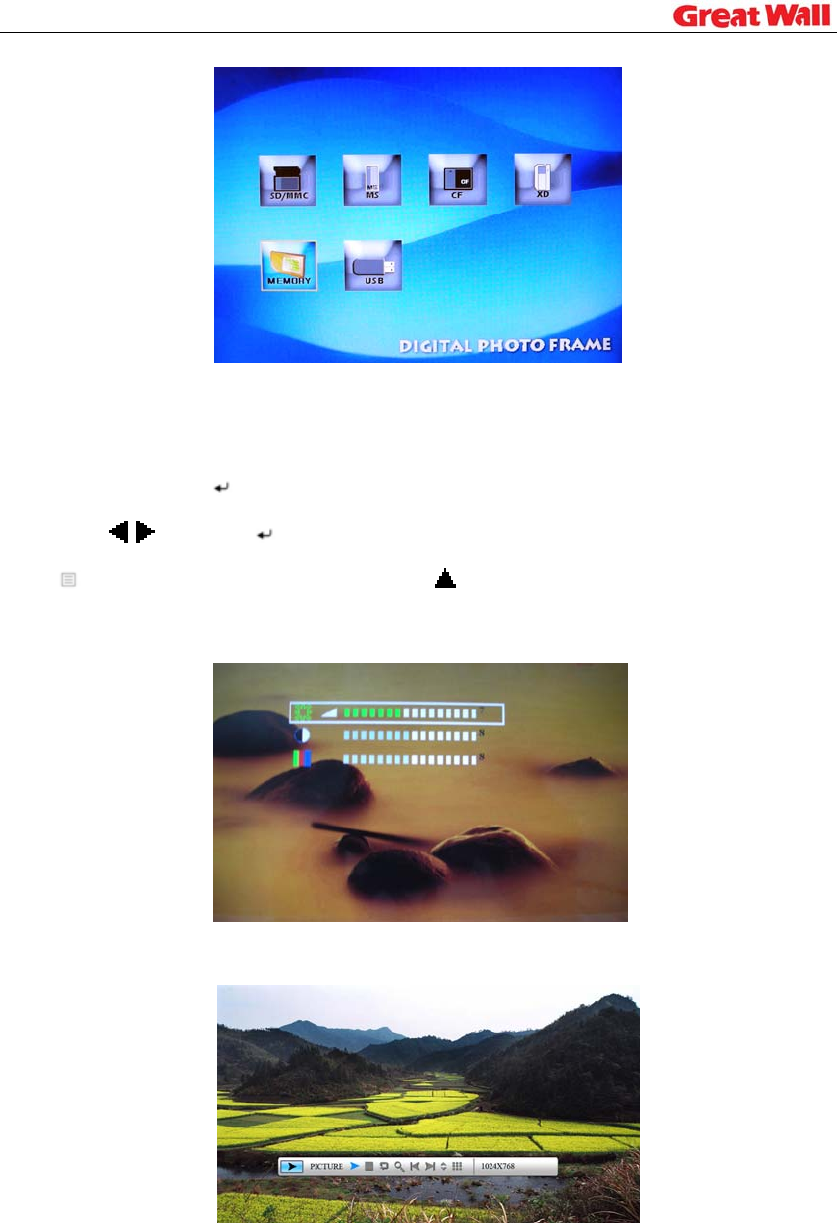
3. Volume label List
After the Digital Picture Frame being powered on, volume label list displays.
Actions:
a) Press /, /to select a volume label, then press Enter to enter the type of files that
you want to see.
b) If you select settings, the setup screen will display; if you select calendar, the calendar screen
will display.
After your selecting, card list screen displays.
Actions:
Press /, /to select target memory type. Then press Enter to Enter.
4. Playback
Actions:
During Playback, press Enter and info bar displays on the screen. Then select a function item
by pressing /, and press Enter to perform the corresponding function.
Press Menu to enable command tool bar. Press up to exit the tool bar.
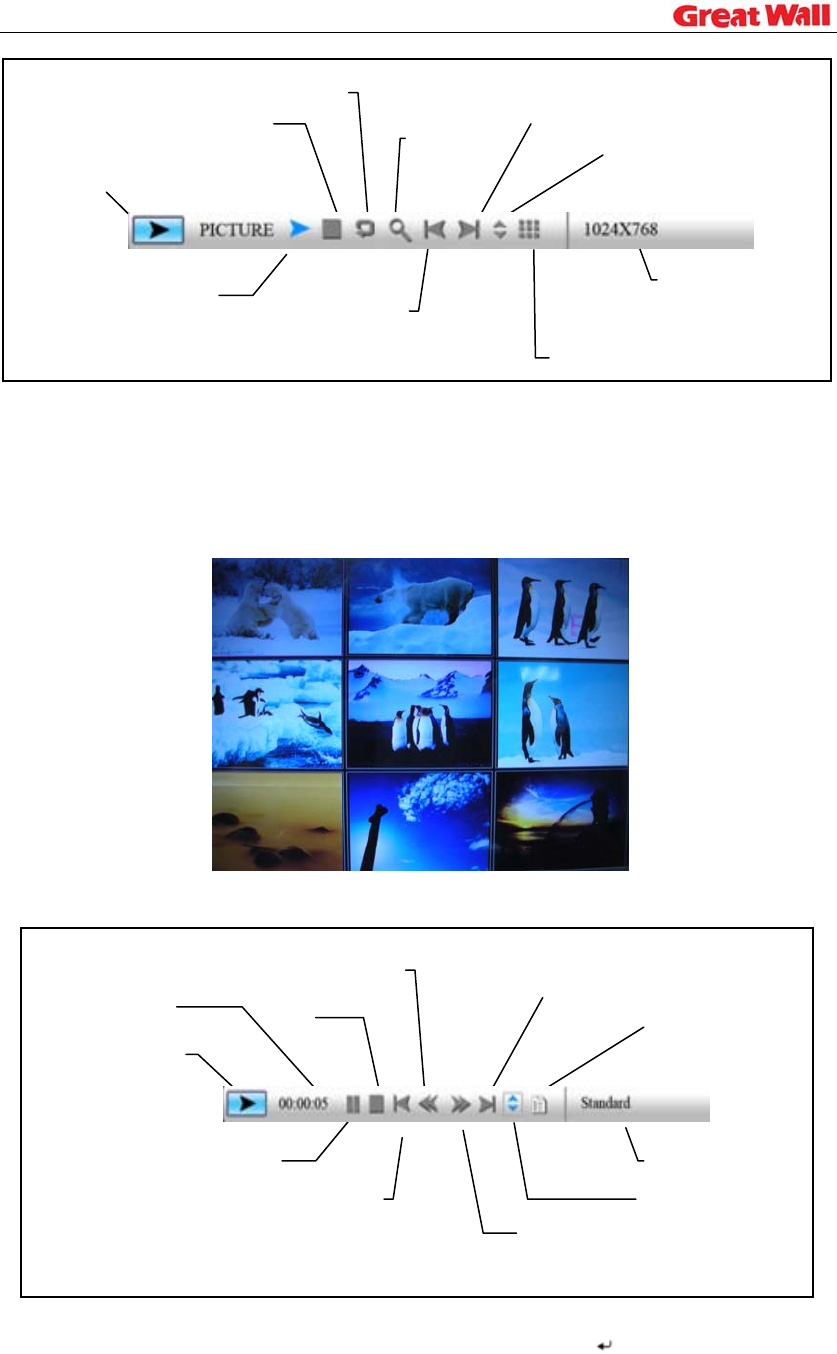
Press Brightness on remote control to adjust brightness, contrast and saturation.
4.1 Picture playback
Picture Playback with Info Bar
Rotate
Stop Next picture
Zoom
Show file info
Status
indicator
Play/Pause
Previous picture
Picture thumbnail display
Resolution
The frame only supports pictures of JPEG format.
Zooming includes 2/3/4/5 times.
Thumbnail display is as follow:
4.2 Music playback
Fast backward Next song
Status
indicator
Play/Pause
Stop
Fast forward
Previous song
Play back time
ID3 tag display
Play mode
File info
Playback mode includes: standard, repeat one, directory repeat. Press Enter to choose.
4.3 Combo playback
Choose a picture and press Enter to start slideshow, the music in the same directory will start
to play simultaneously.
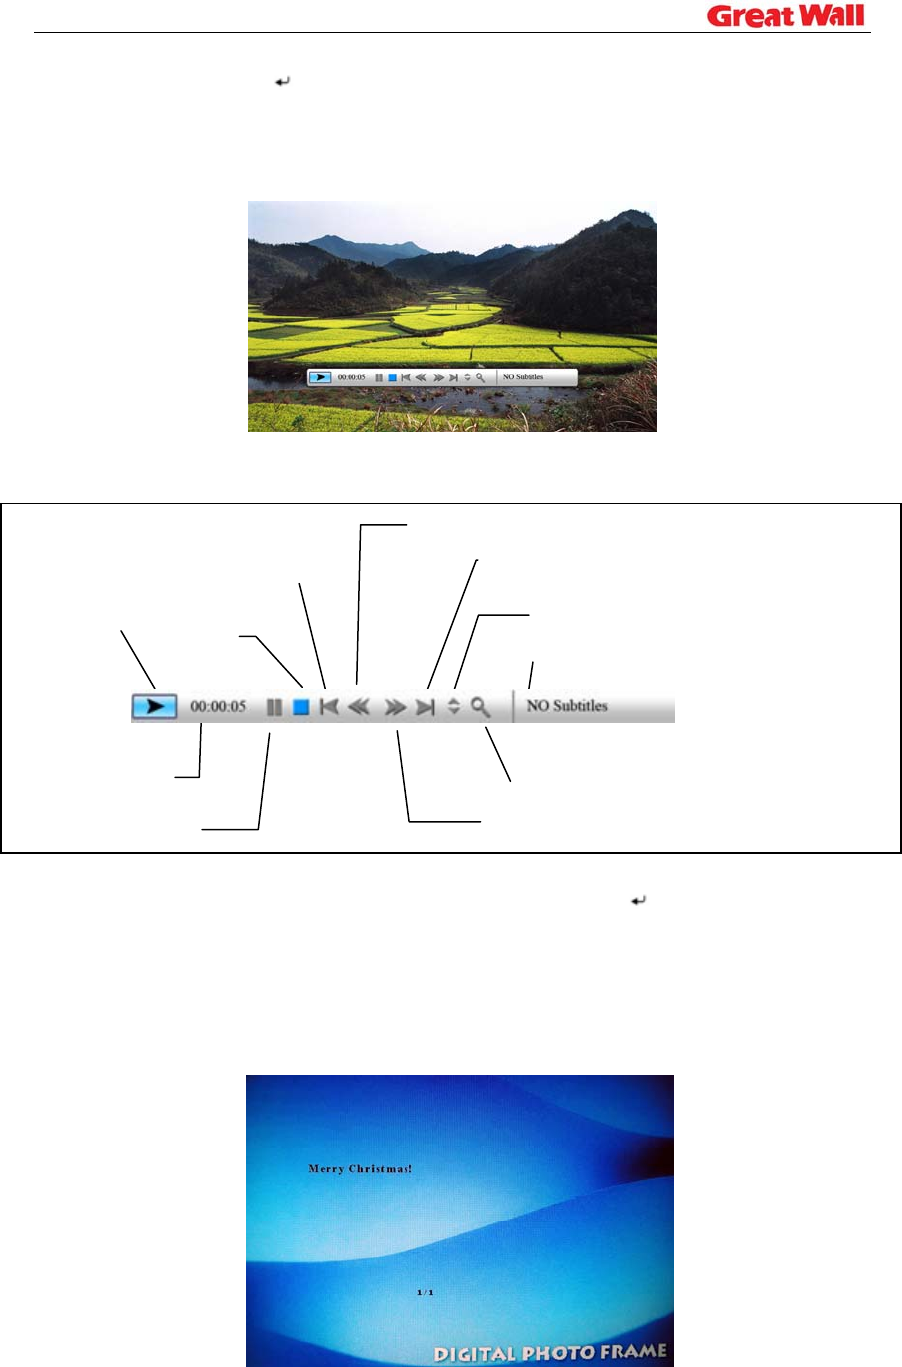
4.4 Movie playback
Movie Playback with Info Bar
Fast backward
Next movie clip
Previous movie clip
Status
indicator
Play/Pause
Show file info
Stop
Subtitle/Channels/Playback mode
Zoom
Play back time
Fast forward
Playback mode includes: standard, repeat one, directory repeat. Press Enter to choose.
Zooming includes 2/3/4/5 times.
5. Text
The digital photo frame supports files of txt format.
6. Edit----Copy and Delete photos
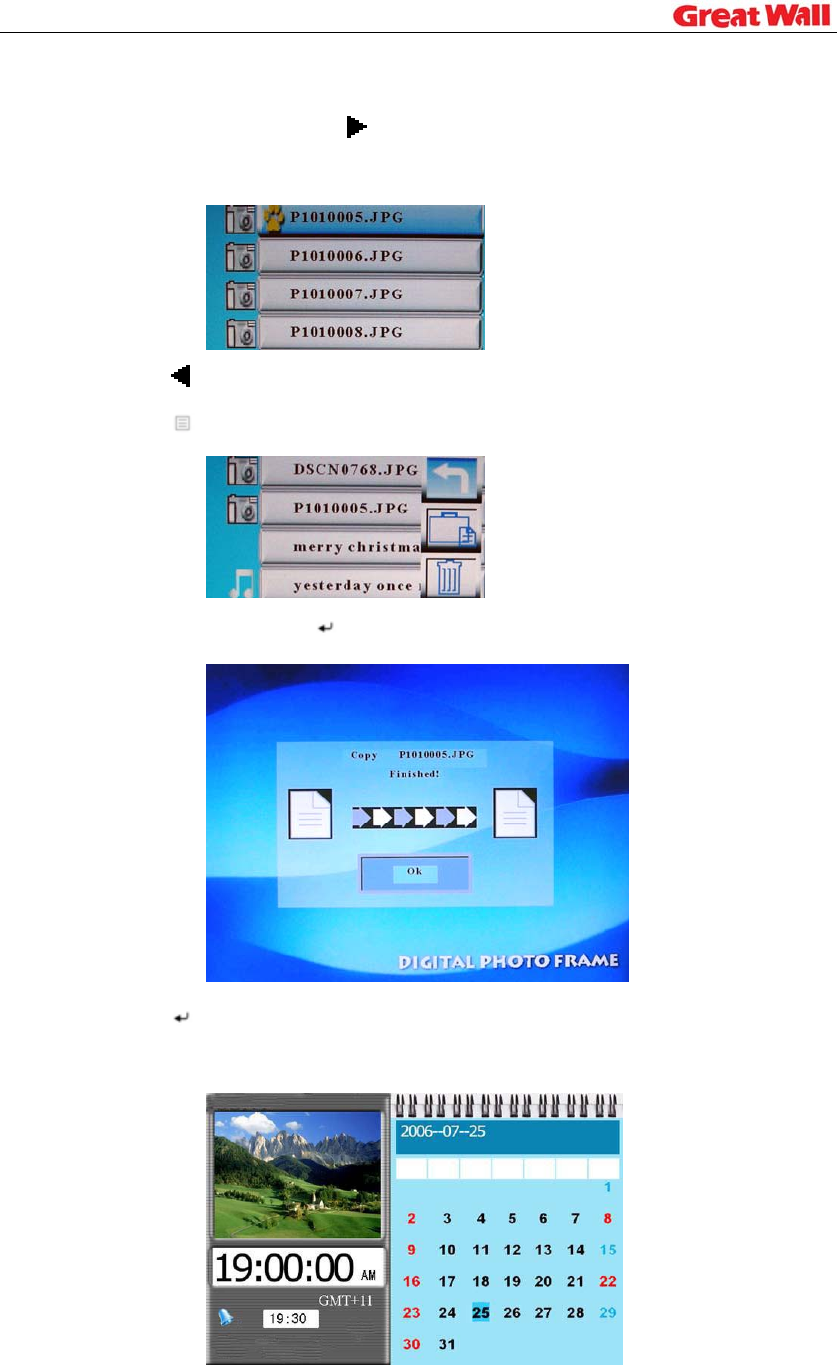
Action:
a) Select a file to copy, press on the original file. A will appear in front of the file
name indicating the file has been selected.
b) Press to locate and enter the copy-to destination directory.
c) Press Menu and Cancel/Paste/Del menu displays on the screen.
d) Select Paste and press Enter to paste the file.
e) Press Enter to return to the file list.
7. Calendar
Calendar Screen
Actions:

Press Menu to enable command tool bar. Select Calendar to Enter Calendar Screen.
Press / to move to the previous or next month.
Display Information:
Monthly calendar display
Picture display
Time display
Alarm display
8. Setup
Press Menu to enable command tool bar. Select Setup to Enter Setup Screen.
Actions:
a) Press / to select an item.
b) Press or Enter to enter the sub-menu.
c) Press Enter to choose the setup.
d) Press to return.
The operation system includes setup option items as below:
1. Language
There are 5 language setup options available: Chinese, English, German, French and
Spanish.
2. Picture setup
This setup item includes picture playing speed setup and slide show options. There are
three picture playing speed options, which are fast, middle and slow.
The picture play mode gives options include fifteen switching options, including Normal,
Random, Bottom_Top, Top_Bottom, Left_Right, Right_Left, Topleft_Botright,
Topright_Botleft, Botleft_Topright, Botright_Topleft, Hordoor_Close, Hordoor_Open,
HorIntercrosss, VerInterCross, Fade in & out.
3. Clock setup
4. Alarm setup
Alarm will not ring when the frame is power off.
Alarm will ring for one minute if you do not press Enter. When alarm goes off, the
screen displays current date and time. The alarm will change to the same time of next day
automatically.
5. Startup setting
This setup option is used for choosing function option, calendar or picture playing as boot
entry status. If you choose Picture, the frame will show pictures instantly when you turn
on power.
6. Display setup
This setup option is used for setting up configuration of brightness, contrast and
saturation.
7. Default setup
This setup option can recover the default setup status of the system
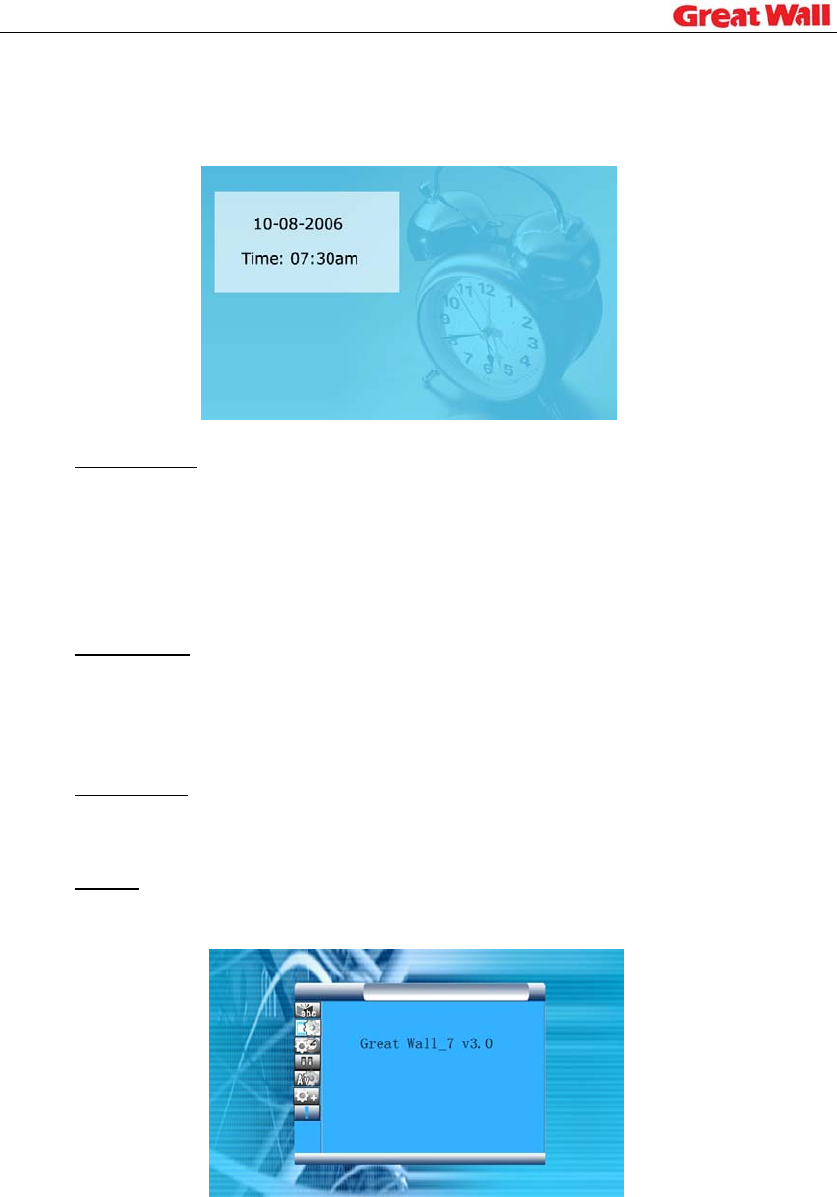
8. Version
The screen shows the version of the software used in the frame.