CipherLab 9700 Mobile Computer User Manual 9700 Mobile Computer CE
CipherLab Co., Ltd. Mobile Computer 9700 Mobile Computer CE
UserManual.wiki
>
CipherLab
>
9700 User Manual
User Manual
Navigation menu
Upload a User Manual
Namespaces
Wiki Guide
HTML
PDF
Info
Views
User Manual
Discussion / Help
Navigation

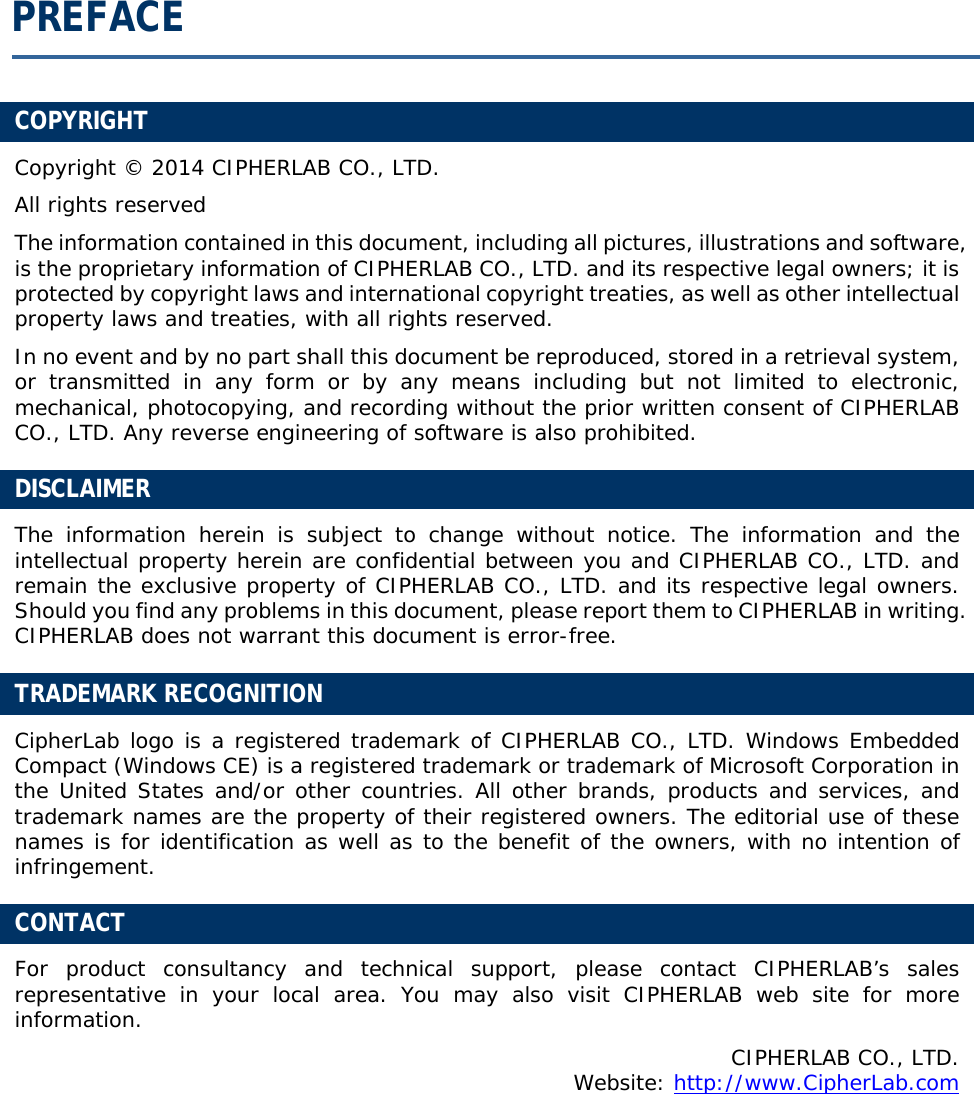


![45 Chapter1 Use Mobile ComputerNote: If you encounter trouble during USB ActiveSync connection, tap Start |Settings | Control Panel |USB Connection and make sure “ActiveSync Serial Mode” is selected.1.8.6. DISCONNECT USB ACTIVESYNC To disconnect USB ActiveSync: 1) On your PC, open ActiveSync by double-clicking its icon in the notification area. ActiveSync opens. 2) From the menu bar, click File | Connection Settings.[Connection Settings] window opens. 3) Deselect Allow USB connections.4) Press the OK button to apply the change and quit setting. This way when you plug your mobile computer the next time, ActiveSync won’t attempt to connect to it. A “Temporary Relationship” is established between the mobile computer and the PC](https://usermanual.wiki/CipherLab/9700/User-Guide-2266006-Page-54.png)
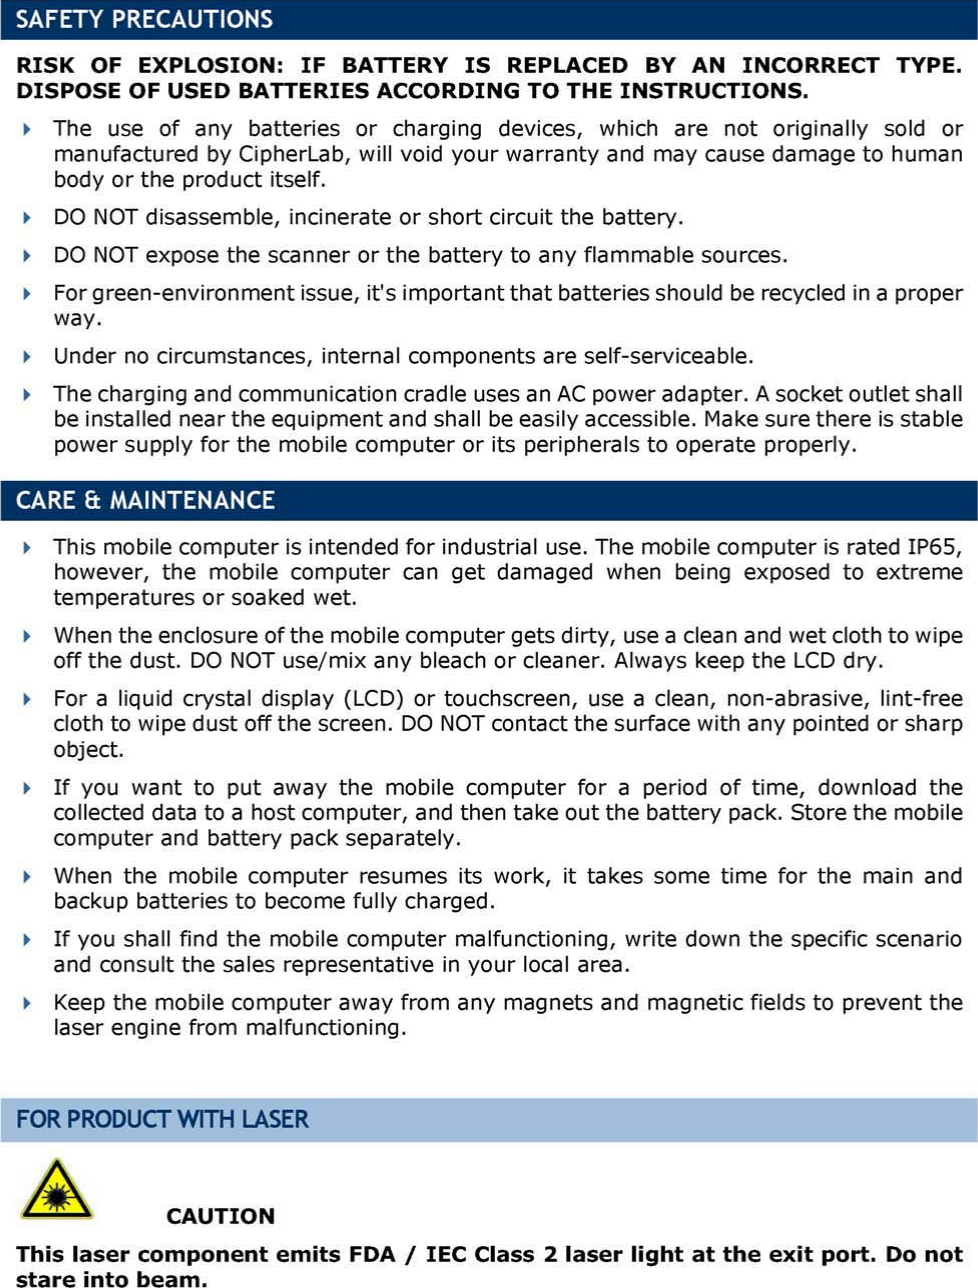
![469700 Mobile Computer (CE) Reference Manual1.8.7. ACTIVESYNC ACTIONS TO TAKE Once “Synchronization Relationship” or “Temporary Relationship” is established between two computers, a variety of actions can be taken to enhance resource sharing between them as previously mentioned in Sync Partnership.In summary, “Synchronization Relationship” outshines “Temporary Relationship” by being capable of syncing Microsoft Office Outlook data. However “Temporary Relationship” provides satisfactory file sharing if you don’t want to synchronize information. See the following to know what actions to take with ActiveSync: ADD/REMOVE PROGRAMS Note basically the applications to be installed to the mobile computer need to be installed on your PC first. So download the application programs to your PC first and install them on your PC so they can be installed onto the mobile computer later. Many application programs are installed in different ways. Read their installation guides or documentation to know how they are installed. If you are installing an application that cannot be installed on your PC first, try to install it right from the mobile computer. See Install Applications for more details. To install an application on the mobile computer: 1) Connect two computers as described in Use Snap-on Cable.2) Sync two computers as described in 1st USB Sync.3) On the PC, from the menu bar of ActiveSync, select Tools | Add/Remove Programs.ActiveSync starts to search for the application programs installed on your PC and opens its [Add/Remove Programs] dialog which lists those found. Each entry comes with a check box on the left. An unchecked box means the program is yet to install to the mobile computer while a checked one means an installed program.](https://usermanual.wiki/CipherLab/9700/User-Guide-2266006-Page-55.png)
![47 Chapter1 Use Mobile Computer4) Select the application program(s) to install to the mobile computer, and deselect the application program(s) to uninstall from the mobile computer. 5) Press the OK button. ActiveSync proceeds to install programs and/or remove programs to/from the mobile computer.6) Follow the on-screen instructions on both your PC and the mobile computer to proceed. Noteworthy facts: Normally the application program(s) downloaded from external resources are installed to the mobile computer’s directory at My Device\Program Files. However sometimes there are exceptions and the actual situation depends on the application. You can also uninstall applications directly on the mobile computer rather than on the PC. See Uninstall Applications for more details. If you would like to uninstall a program that isn’t listed in the [Add/Remove Programs]dialog, browse to it on the mobile computer by tapping My Device on the desktop. Tap and hold it, and select Delete from the context menu that pops up. ADD APPLICATION SHORTCUTS TO START MENU ActiveSync features “Explore” to add an application shortcut to Start menu where it is easier to launch the application. To add an application shortcut to Start menu: 1) Connect two computers as described in Use Snap-on Cable.2) Sync two computers as described in 1st USB Sync.](https://usermanual.wiki/CipherLab/9700/User-Guide-2266006-Page-56.png)

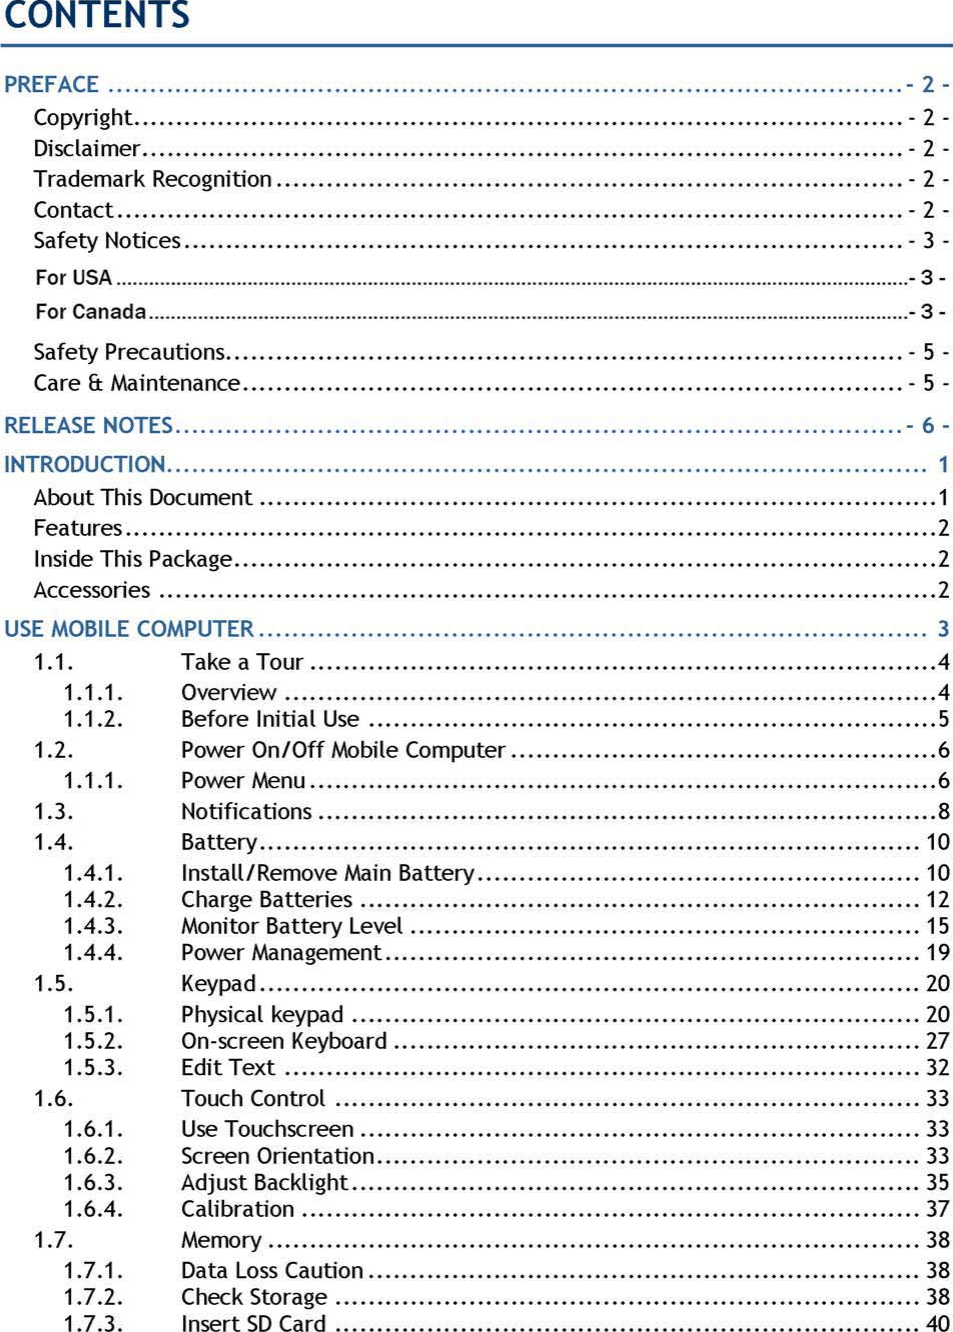
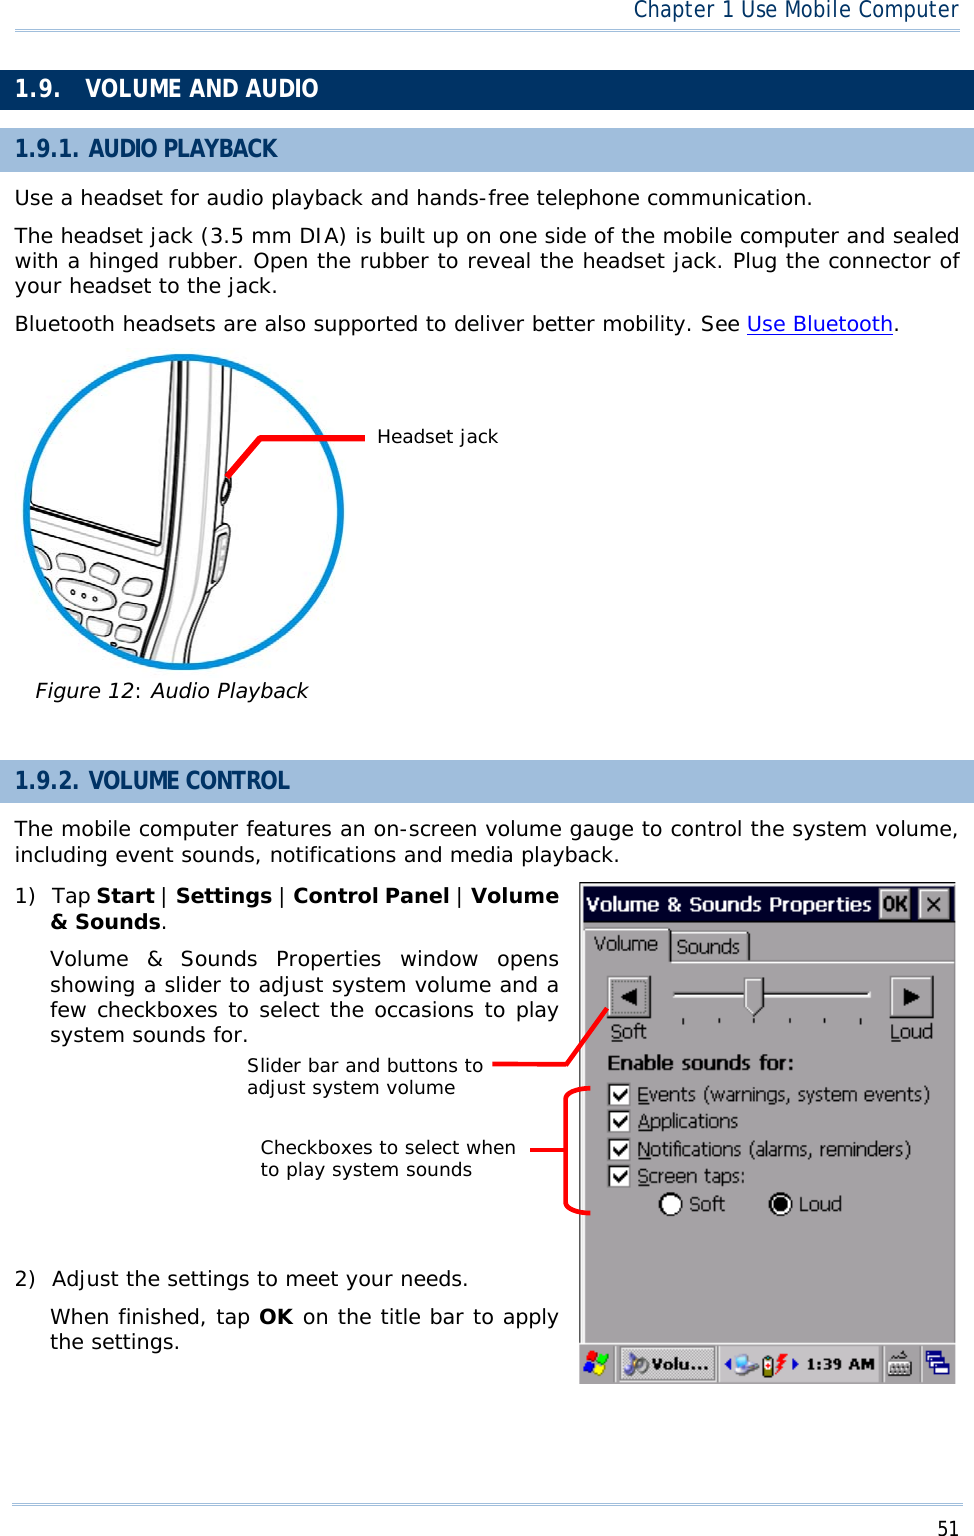
![509700 Mobile Computer (CE) Reference ManualBACKUP DATA To best protect your work, back up the data on your mobile computer regularly. You may choose to manually back up using ActiveSync to copy & paste the files to your PC. USB PASS-THROUGH NETWORKING ActiveSync supports “Pass-Through Networking” whereby the mobile computer networks using your PC’s data connection. For security, disable network bridging on the PC, especially the bridging to a Remote NDIS adapter. For more information on network bridging, see Windows Help on the PC. After sync partnership is set up between the mobile computer and your PC: 1) On your PC, from the menu bar of ActiveSync, select File | Connection Settings.[Connection Settings] window opens. 2) For This computer is connected to, select a network which your PC should connect to when passing through ActiveSync. Options are: Option DescriptionAutomatic Auto-detects proxy This option detects if a proxy should be used when passing connections through the PC. If yes, configure the proxy on the mobile computer. This option best suits connecting to a PC (laptop) that may be used at home (with no proxy), as well as to a corporate network (with proxy).Work Network Always uses proxy This option assumes a proxy should be used when passing connections through the PC, and uses whatever proxy is already configured on the mobile computer. This option best suits connecting to a PC that is always on corporate network.The Internet Never uses proxy This option assumes no proxy is necessary when passing connections through the PC. This option best suits connecting to a PC connected directly to the Internet through ISP (at home) 3) Select Open ActiveSync when my device connects.4) Press OK button to apply the change and quit settings.](https://usermanual.wiki/CipherLab/9700/User-Guide-2266006-Page-59.png)

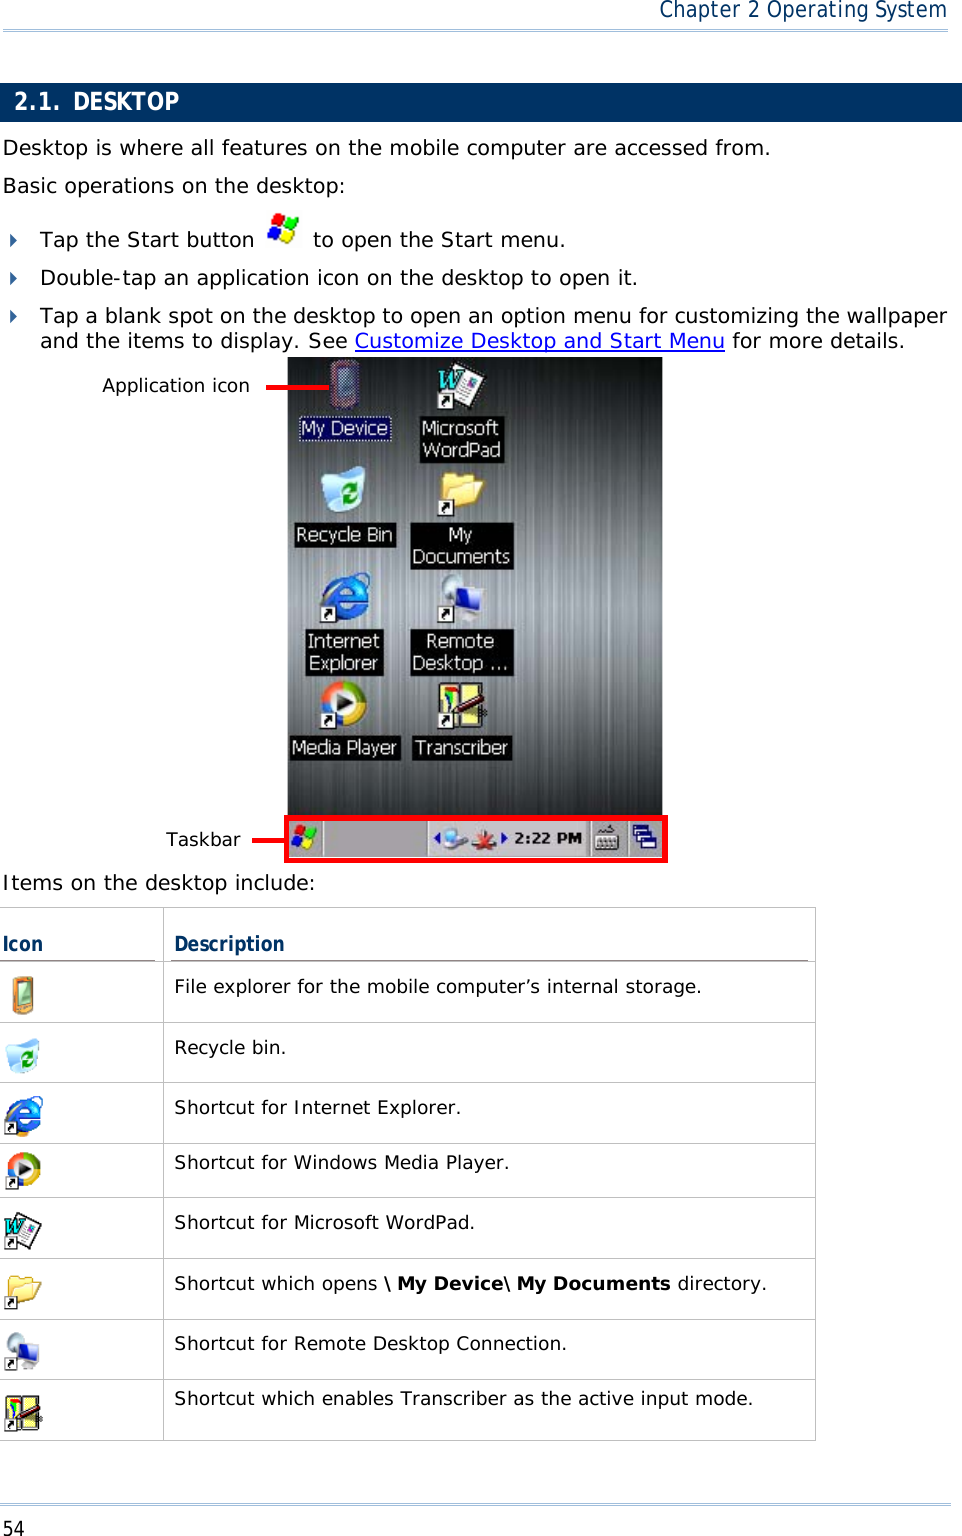

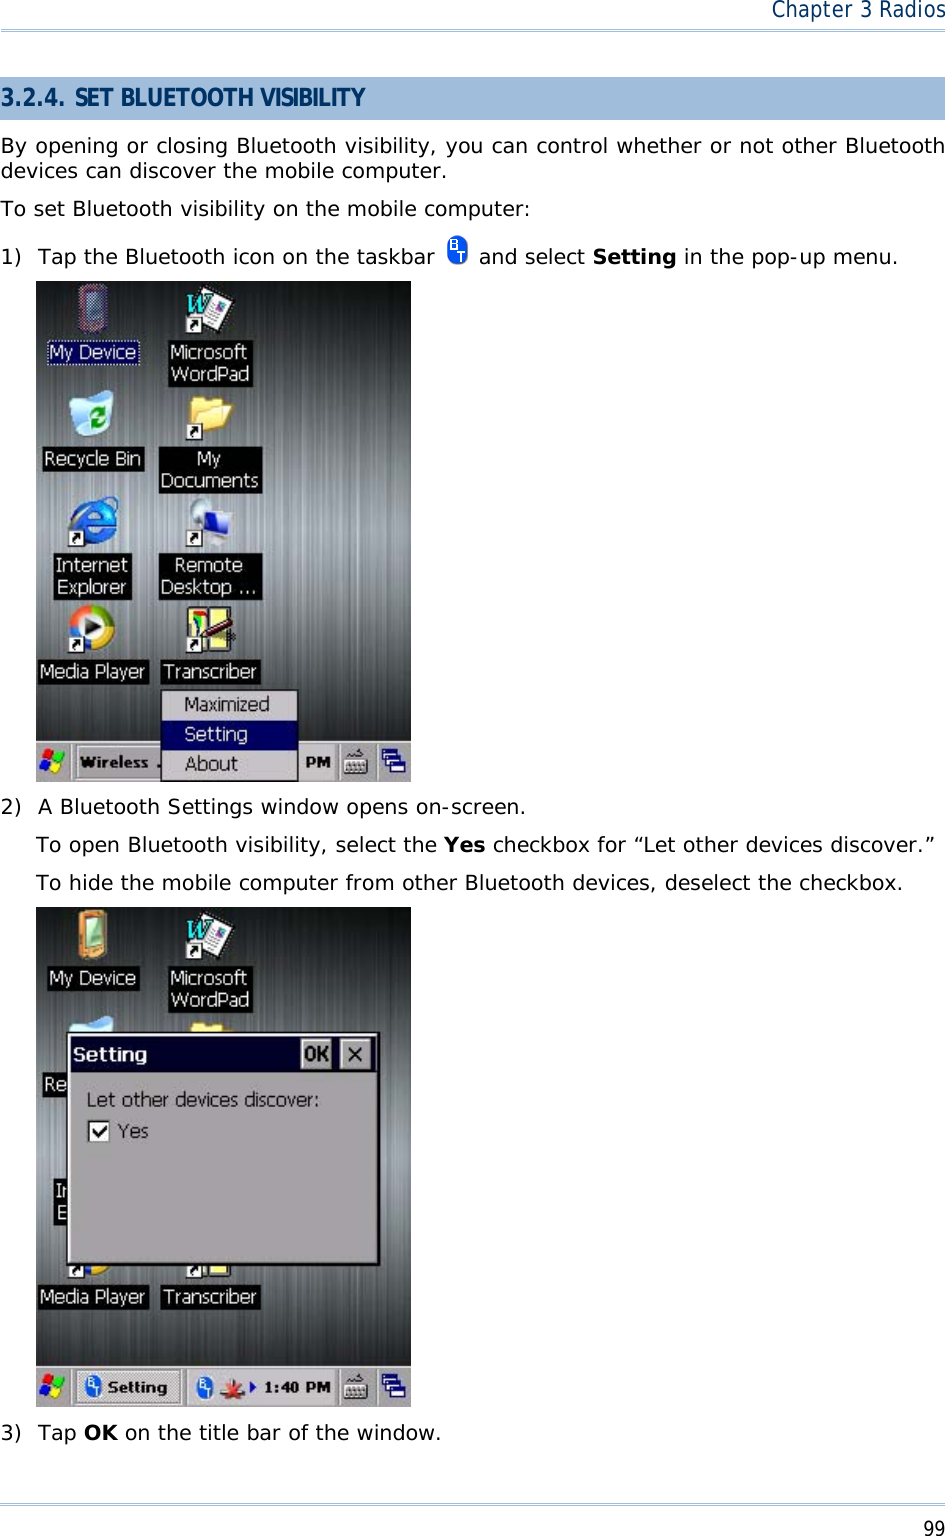

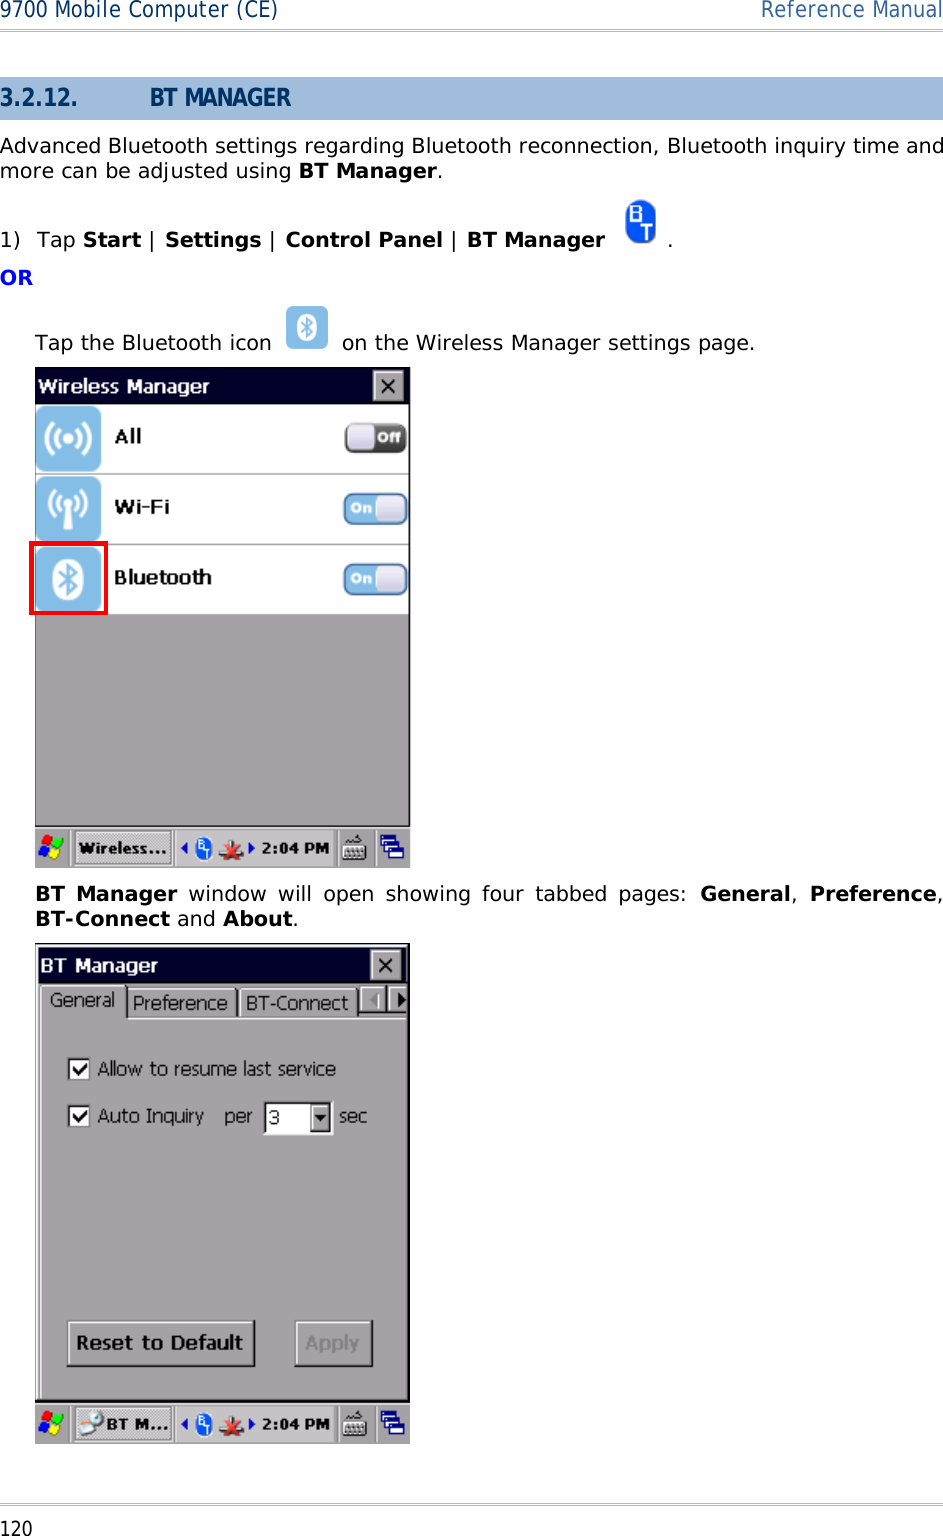
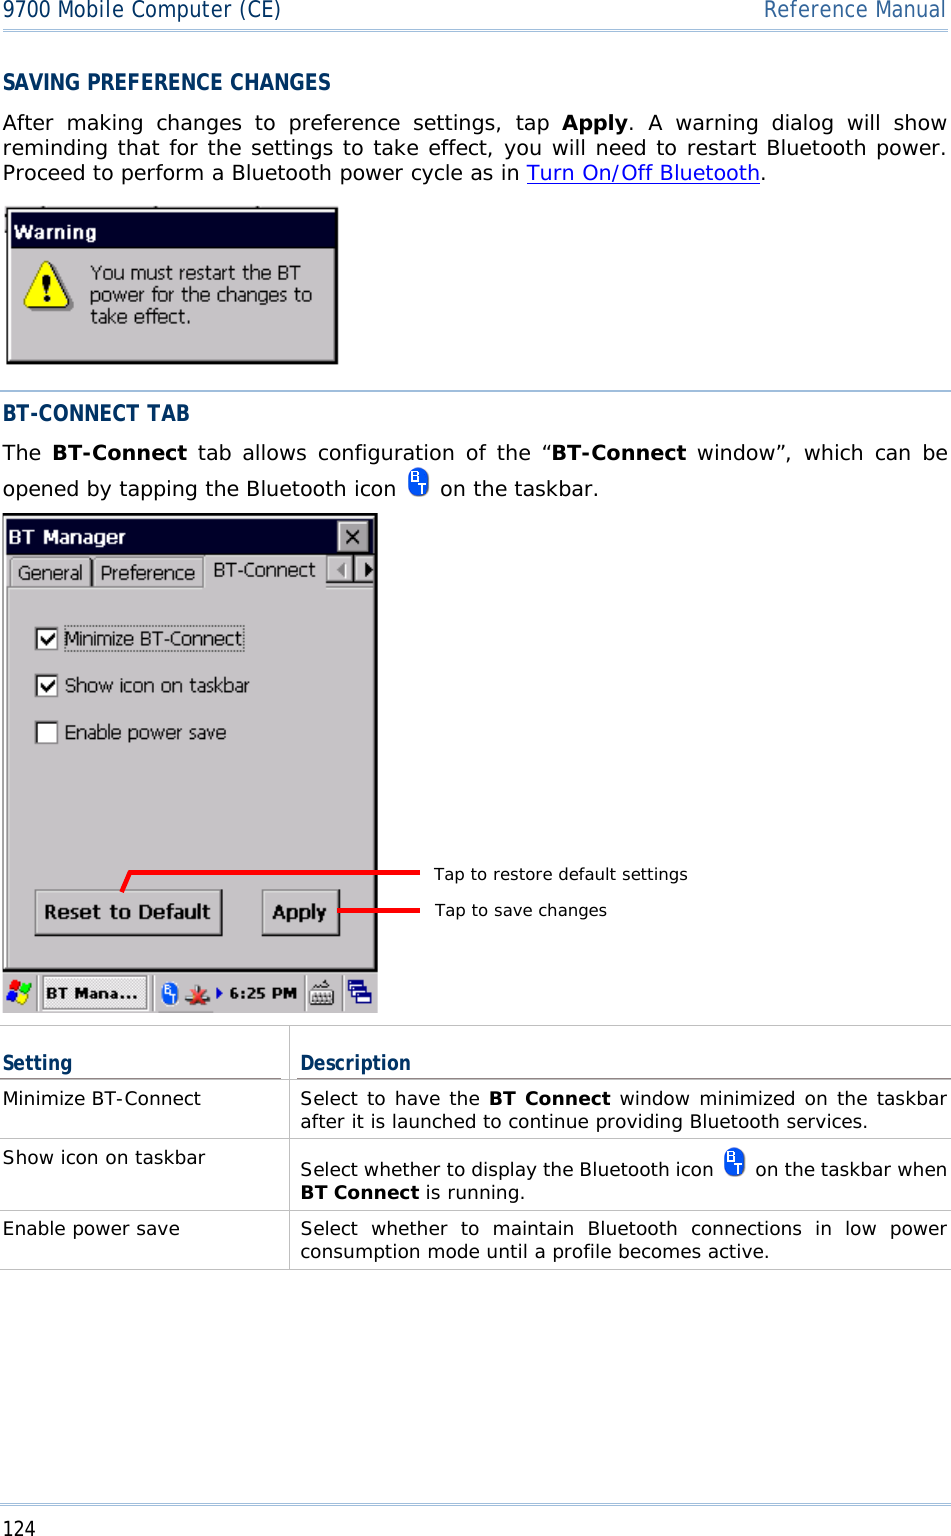
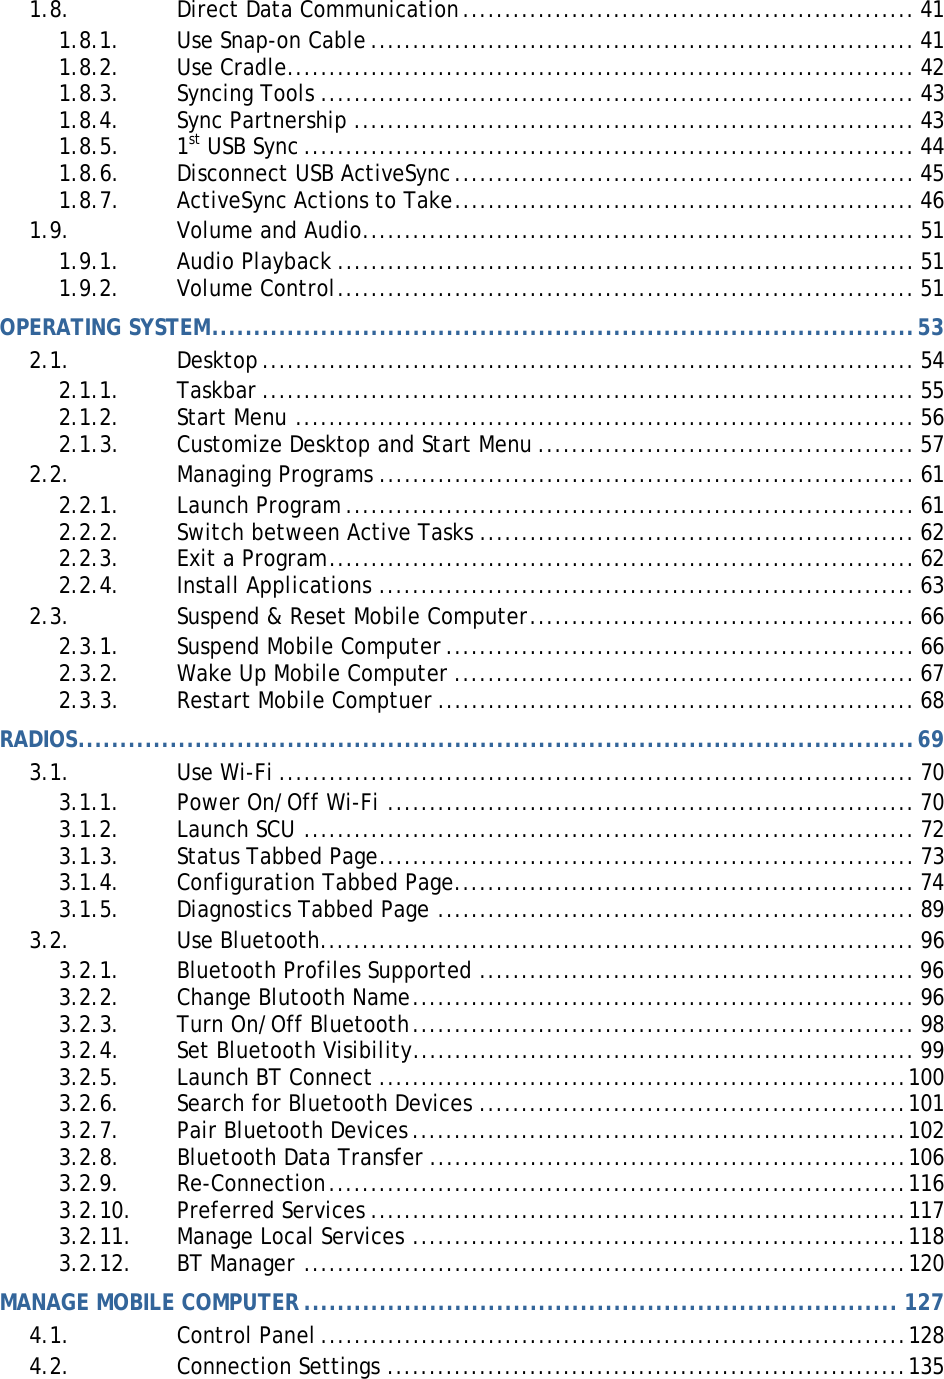
![121Chapter 3 RadiosGENERAL TAB This page sets whether to allow reconnection of Bluetooth services and auto-inquiry of Bluetooth devices. Setting DescriptionAllow to resume last service Select to automatically re-connect to all previous Bluetooth services after the mobile computer resumes from warm boot/cold boot, or goes through a Bluetooth power cycle. Auto Inquiry per [ ] sec Select to perform an inquiry on a remote device at a regular interval after the mobile computer resumes from suspension. Use Preference tabbed page to configure “Last Connection” and “Auto Inquiry” settings for a specific service. Note: Disabling “Auto Inquiry” helps save battery power. Enable this function only when necessary.Tap to save changes Tap to restore default settings](https://usermanual.wiki/CipherLab/9700/User-Guide-2266006-Page-130.png)