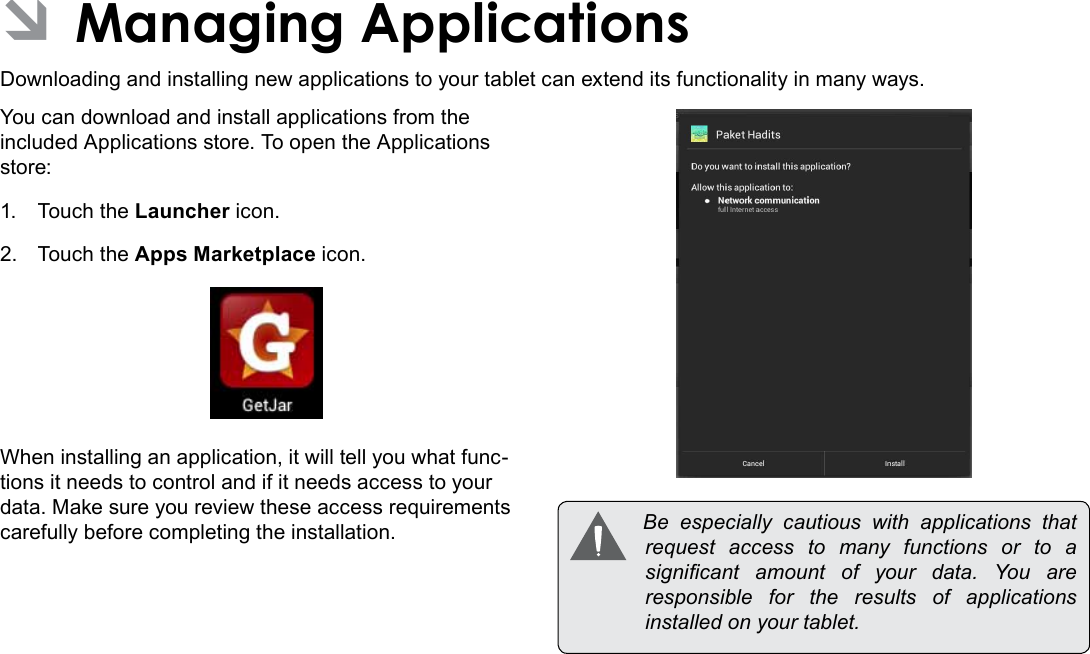
Coby Communications MID8042 Mobile Internet Device User Manual Users manual
Coby Communications Ltd. Mobile Internet Device Users manual
UserManual.wiki
>
Coby Communications
>
MID8042 User Manual
Users manual
Navigation menu
Upload a User Manual
Namespaces
Wiki Guide
HTML
PDF
Info
Views
User Manual
Discussion / Help
Navigation


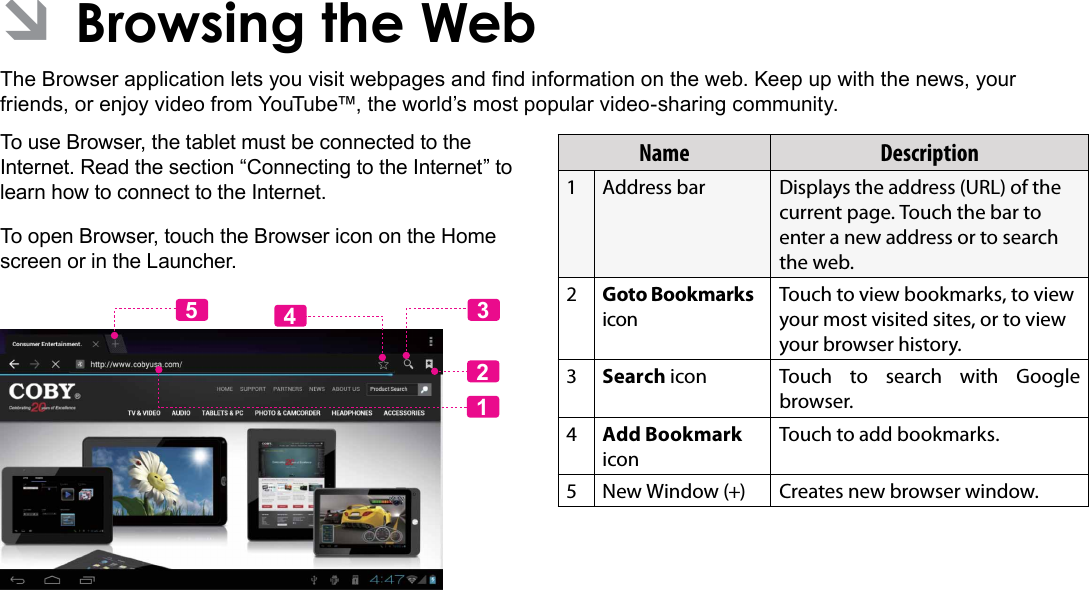
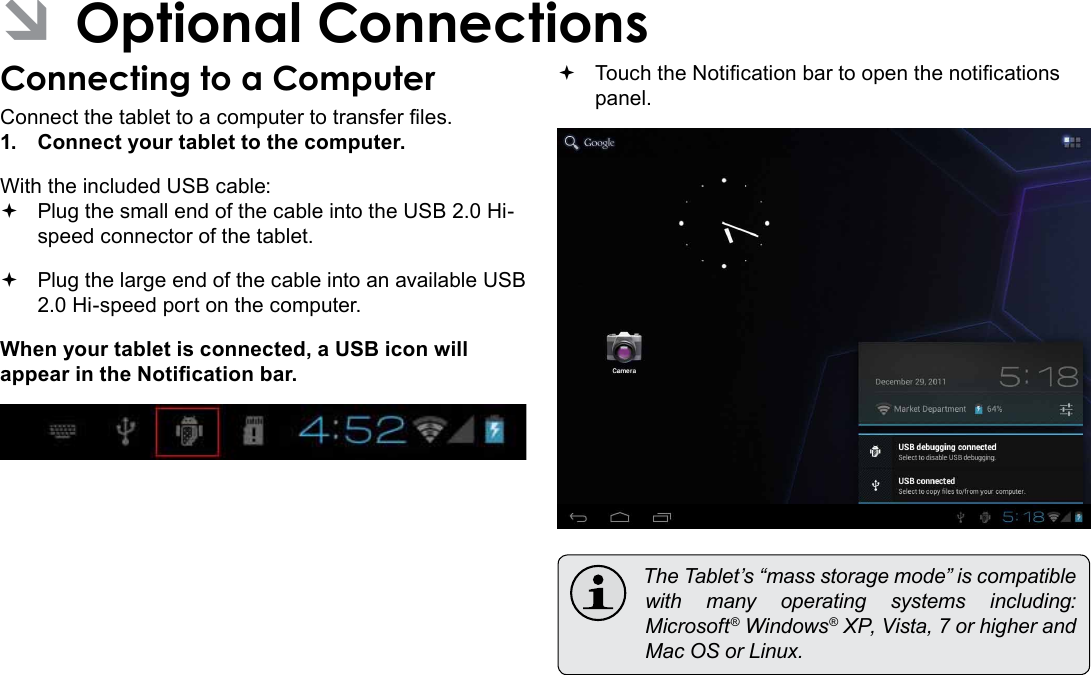
![Connecting To The Internet Page 21EnglishThe Notication bar displays icons that indicate your tablet’s Wi-Fi status.Connected to a Wi-Fi network (waves indicate connection strength).[no icon] There are no Wi-Fi networks in range, or the Wi-Fi radio is off.1. Turn on the Wi-Fi radio if it is not already on. To turn on Wi-Fi:a. Go to the Home screen: Touch the Home icon.b. Open the Launcher screen: Touch the Launcher Tab, then touch Settings.c. Open the Wireless & networks menu: Touch WIRELESS & NETWORKS.d. Open the Wi-Fi settings menu: Touch WiFi.e. Make sure that the Wi-Fi option box is setted to ON: Touch and slide the block right to enable the Wi-Fi connection.When Wi-Fi is on, the tablet will look for and display a list of available Wi-Fi networks. Ifanetworkthatyouhaveconnectedtoprevi-ouslyisfound,thetabletwillconnecttoit. If you don’t see your network in the list, youcanforcethetablettore-scan.Toscanfornet-works,taptheSCANiconthatlocatedonthetoprightcornerofthescreen.2. Select an available Wi-Fi network to connect to:In the same Wi-Fi settings menu above, touch a network in the list.](https://usermanual.wiki/Coby-Communications/MID8042/User-Guide-1707112-Page-21.png)